Jim Yergin
-
Posts
1,942 -
Joined
-
Last visited
-
Days Won
2
Content Type
Links Directory
Profiles
Articles
Forums
Downloads
Store
Gallery
Blogs
Events
Everything posted by Jim Yergin
-
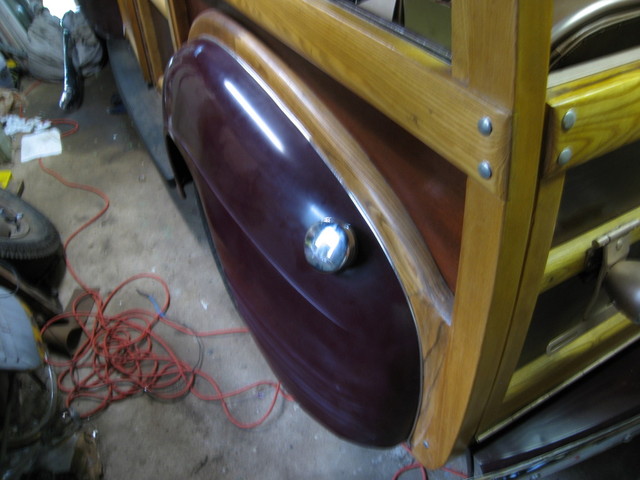
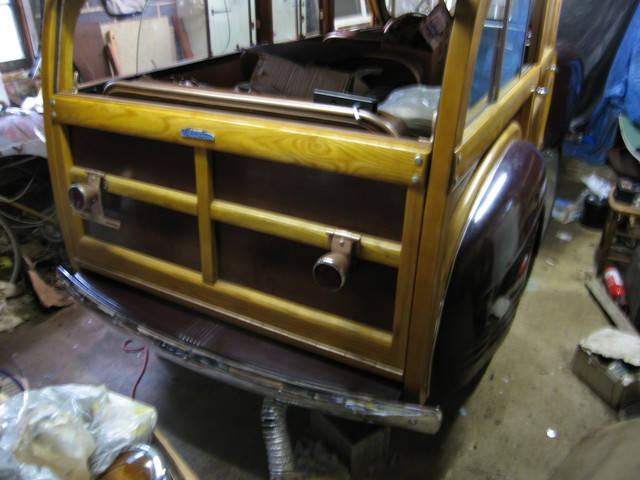
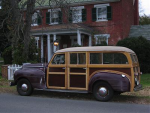
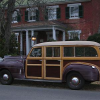
My wife and kids went to visit Grandma and Grandpa over the long holiday weekend and I got to stay home to work on putting my '41 Plymouth wagon back together. I managed to get all four fenders, the rear gravel pan and bumper back on, the tires mounted (Harbor Freight tire stand worked fine) and the wheels balanced. Slowed down a little on the front grill. Have about thirty pieces of stainless trim to polish and install. Many of the mounting studs are rusted away or broken so fabricating new ones took some time. This is really the "fun time." After all these years (19+) of working on the car, to see it finally coming back together is a real kick. Jim Yergin


-
Ed, I change grit when the orange peel is gone then use progressively finer grits to remove the sanding scratches. I go 1000, 1500 then finish with 2000. To buff it out I start with 3M Imperial Microfinishing compound followed by 3M Finesse-it II. Finally I go over it with 3M Imperial Hand Glaze. Jim Yergin
-
Drill Parts on the Truck for disk install?
Jim Yergin replied to Dennis_MN's topic in Mopar Flathead Truck Forum
When I did mine, I found it very helpful to use cutting oil on the bit. It made a big difference on the cutting life of my bit. Without it the bit quickly became dull and it would not cut. Jim Yergin -
I am using a Dodge turn signal/high beam indicator in my 1941 P12. I cut off the shaft and then cut it to match the angle of the P12 high beam indicator shaft. I then fastened it to the light bezel with JB Weld. I also used the turn signal indicator bulb holder that went with the Dodge piece. As modified, it fit fine in the dash. If you take out the standard high beam indicator bezel, you will see that the dash already has the cutouts for the turn signal bulbs, they are just covered up by the solid "wings" on the standard high beam piece. Jim Yergin
-
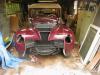
Today was a remarkable day for me. After spending the winter building a 230 for my P12 using the block and head from a P23 and the crankshaft and connecting rods from a D24, the time to see if it would work came today. What a great feeling to find out the engine works. I feel like I have finally "joined the club." It is because of this forum that I even attempted rebuilding an engine and why it appears I succeeded. I couldn't run it too long because of a bad oil line fitting on the oil filter that was leaking. It should be an easy fix. The next test will be to get the front clip on and the car out on the road to see if my overhaul of the overdrive transmission was done correctly. I may make the Sully car show yet. Jim Yergin
-
Ed, As I think we have discussed before, the needed modification to the Dodge piece isn't all that tough. I just cut the post off then recut the angle to match the Plymouth high beam shaft and re-attached it with JB Weld. Worked fine for me and should be even easier with the dash on the work bench. Of course I don't remember if you also have the light bulb holders that go with the piece. If not, then you will have additional fabrication but again, should be easier on the work bench. Good luck. Jim Yergin
-
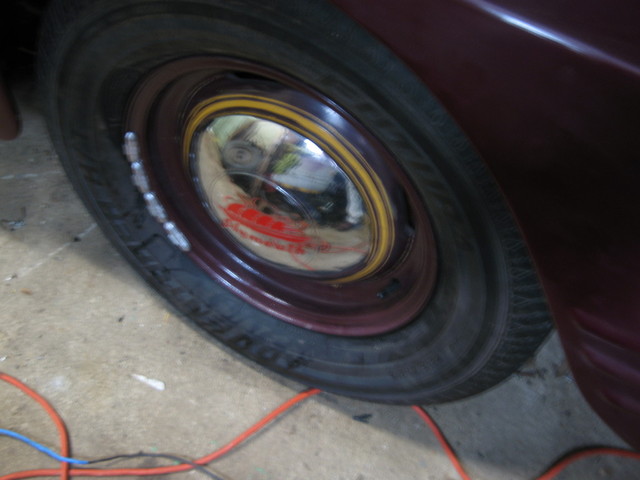
Last year I posted this about my wheel pinstripping efforts: http://www430.pair.com/p15d24/mopar_forum/showthread.php?t=4719 Jim Yergin
-
On the P15-D24.com portion of this site under the "Parts" section the NAPA part numbers for points is given as CS851P or CS725A. Hope that helps. Jim Yergin
-
Joe and Rodney, Probably wise to avoid Culpeper right now. I guess you all have seen or heard the tornado warnings on local TV for Culpeper and west. Jim Yergin
-
Fred, BTDC is "before top dead center" (i.e. advanced) ATDC is "after top dead center" (i.e. retarded) Jim Yergin
-
Bolt OD to 3-speed floor shift pu trans?
Jim Yergin replied to knuckleharley's topic in P15-D24 Forum
My understanding is that, at a minimum and at least with regards to the passenger car transmission, you would have to machine the back of the transmission to allow for the reverse shift rod to travel into the O/D to activate the lock out and you also need to create an oil passageway between the two units. Jim Yergin -
Bill, My understanding is that the flywheel from the 217 will not work on the 230. The crank on the 230 is slightly longer so the 230 flywheel is a little deeper to offset the difference and allow the starter to reach. Don Coatney made his 217 flywheel work on his Desoto motor by machining the starter mounting surface to give the starter more reach. I believe Vintage Power Wagons sells the correct flywheel. I do not know about the '56 bell housing. Jim Yergin
-
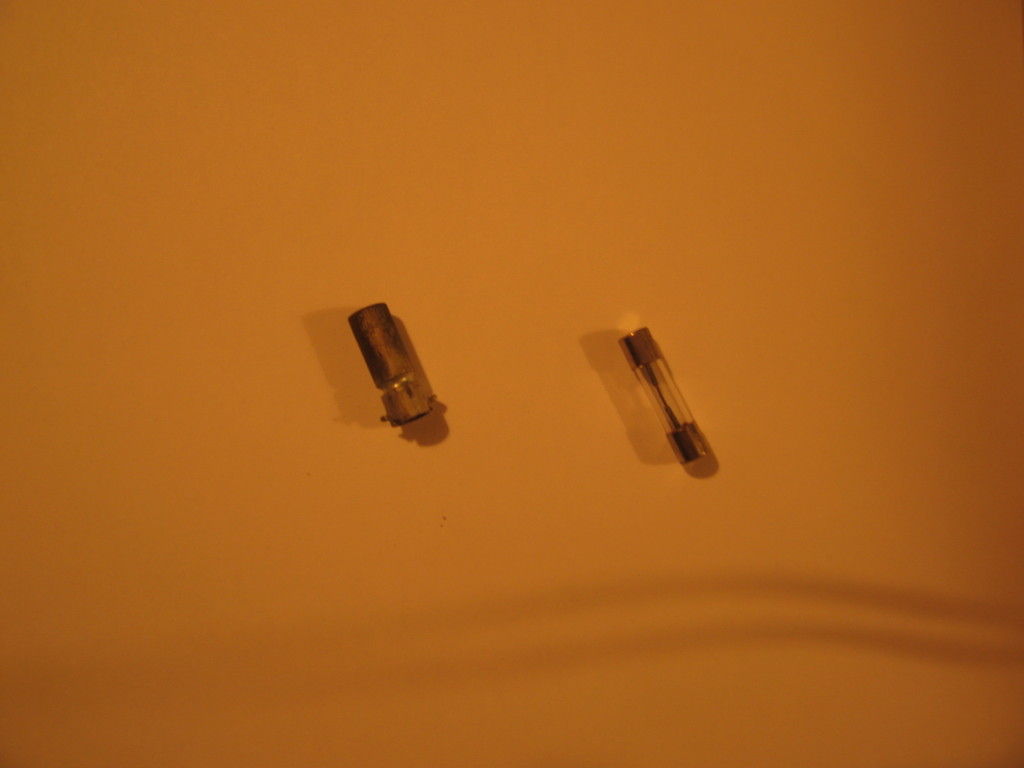
Here is a picture of the fuse holder cap. Jim Yergin

-
I don't know about the P15s but one of my 1941 Plymouth P12 parts cars had one of those automatic chokes and it appeared to be original. Jim Yergin
-
The chrome piece above the speedometer is the high beam indicator light. If the car had factory turn signals there would be translucent arrows in both "wings" that would be turn signal indicators. Otherwise the "wings" are solid metal Jim Yergin
-
Greg, Hopefully I will have a better idea this weekend on the status of my project. I have installed the rebuilt 230 and O/D transmission in the car. I am in the process of reconnecting everything so that I can try and start it this weekend. Then I will really know where I stand. Jim Yergin
-
Yes Greg, I did get get some good information on the POC site. Still not quite sure where the bracket is supposed to go but I have found a location I think will work. I will try and install it tonight. Are you going to Sully in June? Jim Yergin
-
Looks great Rodney. Jim Yergin
-
Chet, If it is not too much trouble, when you email the form to Don, would you email it to me too? Thanks. Jim Yergin
-
Don, I don't have the registration material and it does not appear on the whttp://www.gwcmodela.com/index.htmeb site. Maybe Chet or Rodney have that info in their material. I do not think you have to have your car judged. I think I remember signs on car windshields that said "Do Not Judge." I just know that when we were alloted our woodie space we were told that the cars would not be judged and that if any of our members wanted their woodies judged they would have to register for a judged location. Jim Yergin
-
Chet, Still not quite sure on the bracket. How can something so seemingly simple take so much effort? Will be close on Sully. If I do make it I will have my car in the Woodie area. It is a non-judged location set aside by our local National Woodie Club Chapter. In any event I am looking forward to catching up with you and Rodney and anyone else from the forum who can make it. Jim Yergin
-
Chet, Nice article and picture in the current Plymouth Bulletin. I remember when you posted it. Congratulations. Jim Yergin
-
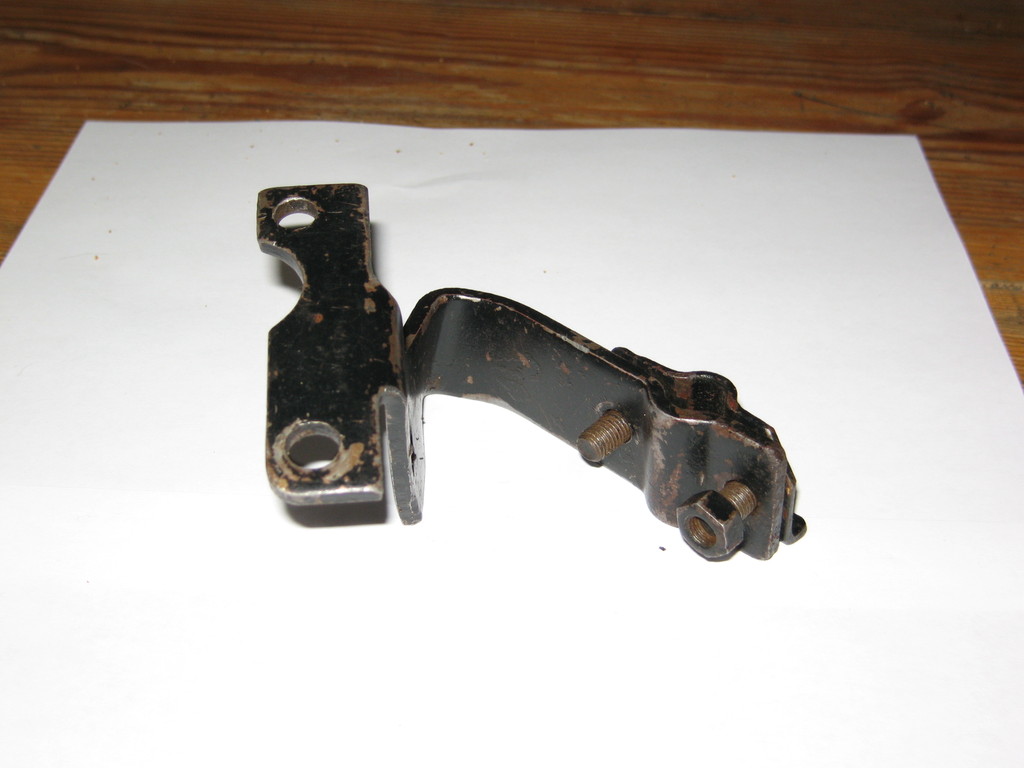
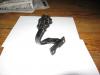
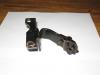
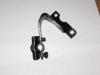
Thank you all for your suggestions. Rodney, in '41 Plymouth went to the solid shift rods in place of the cables. Mine has always had the solid rods. Marty and Greg, it looks similar to the bracket on the head that also holds the throttle cable but the clamp on my mystery bracket is much larger and the throttle cable bracket on my head is already there. Jon, I will have to get under the passenger side and take a look. However, I am leaning more towards Shel's idea. My car does not have that clutch pedal return spring attachment plate shown in Shel's picture. Also, a spring, which I now believe to be the clutch pedal return spring, was with the bracket when I found it. I'm just not sure why there are two mounting holes on the bracket and why the clamp isn't shown in the parts book as part of the emergency brake cable set-up. Does anyone have a '41 P12 who could check this out. Thanks. Jim Yergin
-
I hope some one can end my frustration and tell me exactly where this bracket goes. I have installed my rebuilt 230 and overhauled O/D transmission into my 1941 Plymouth P12. As I went to bolt everything back on that I had removed to take out the 201 engine I found this bracket. I am sure that when I took it off I told myself there was no way I would forget where it goes. Unfortunately I have done exactly that. I thought it goes in near the pedal assembly and that the one end of the clutch return spring attachs to the hole in the bracket and the handbrake cable is clamped by the bracket. However I can not find any mounting holes that match up and can not find any pictures or diagrams in my parts books or shop manual. Can someone help me? BTW, here is an engine insatllation tip: When your fifteen year old son, who is helping you, says "Hey Dad, I think we're a little too close on this side." Listen to him or else the next sound you hear will be the sound of the glass bowl on the fuel pump shattering. I wish I had known this tip and followed it. Thanks. Jim Yergin
-
Bob, Just a "wild" guess, 1940? Didn't know they were so air conditioned back then. Jim Yergin