


B1B Keven
-
Posts
2,322 -
Joined
-
Last visited
-
Days Won
13
Content Type
Links Directory
Profiles
Articles
Forums
Downloads
Store
Gallery
Blogs
Events
Everything posted by B1B Keven
-
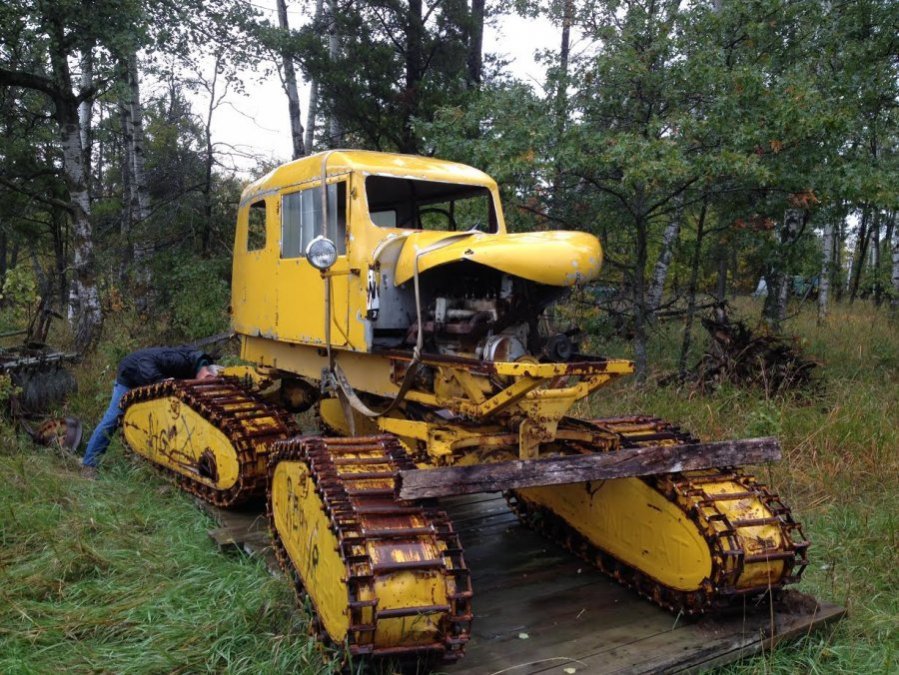
Lookie what I drug out of hibernation!!!
B1B Keven replied to buds truck's topic in Mopar Flathead Truck Forum
Welcome back Bud!!! I'll be starting a new project myself. -
Nobody is reproducing them at this time. Contact member Townwagon, he may have a set.
-
What happened to John Nida's web page?
-
12 volt conversion wiring diagram
B1B Keven replied to tanda62's topic in Mopar Flathead Truck Forum
http://www.ebay.com/itm/WIPER-and-other-Accessory-VOLTAGE-DROP-12-volt-to-6-volt/260805627953?ssPageName=STRK%3AMEBIDX%3AIT&_trksid=p2055119.m1438.l2649 Remember to wire the amp gauge backwards from original. I doesn't care how much voltage it reads. Drop the voltage to the fuel gauge or you'll burn it up. Also, wire it backwards. Just too much work converting to 12. -
$350 to re-arch a pair doesn't sound too bad. But, then, I used to live in Sac.
-
Cool, Curious to see what they say. I used them in the early '90's.
-
You're welcome. Did you happen to talk with them?
-
http://sacspring.com/ Even had replacement shackles in stock.
-
10TH ANNUAL CLEMENTS TAILGATE BBQ Clements, Ca.
B1B Keven replied to 48Dodger's topic in Mopar Flathead Truck Forum
-
10TH ANNUAL CLEMENTS TAILGATE BBQ Clements, Ca.
B1B Keven replied to 48Dodger's topic in Mopar Flathead Truck Forum
I still have the temp gauge you gave me. You haven't responded to my PM's. It's rebuilt and works great! Keven -
10TH ANNUAL CLEMENTS TAILGATE BBQ Clements, Ca.
B1B Keven replied to 48Dodger's topic in Mopar Flathead Truck Forum
The tax man taketh but doesn't giveth enough back. We cant make it this year. -
http://www.ebay.com/itm/1951-Dodge-Truck-Sun-Visor-Pivot-and-rod-PN-1279153LH-19521953-1954-1955-1968-/182482527918?hash=item2a7cce66ae:g:HngAAOSwol5YwMwM&vxp=mtr
-
Welcome Greg! How about some pics of the '48 Dodge too?
-
Powered by a Dodge flathead also. And they use the '48-'50 gauge cluster.
-
Just got a pic of one. They are the same as the '48-'50 B series truck with a slightly different face.
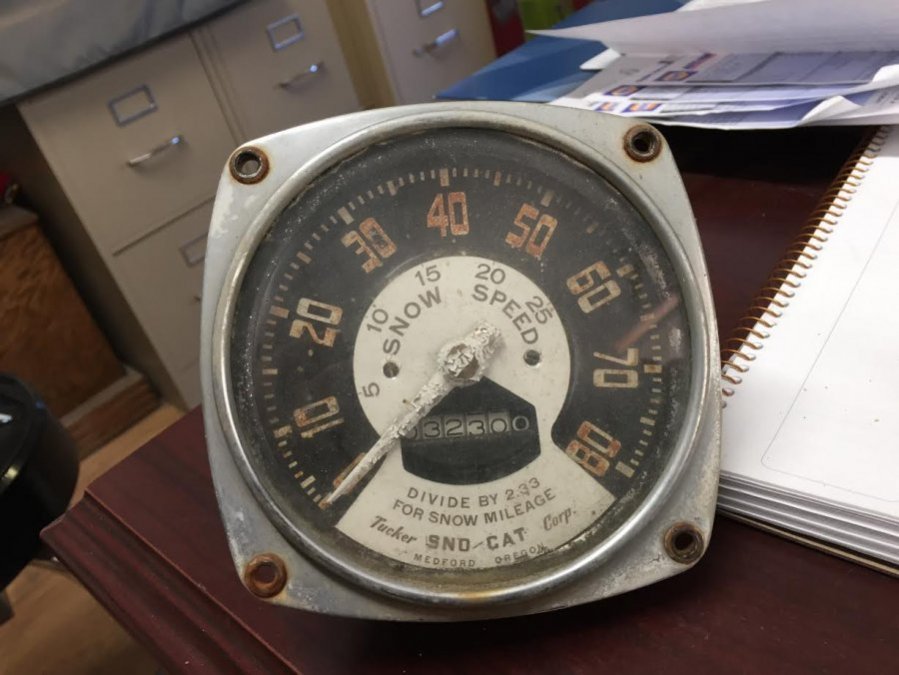
-
??? Might help???
-
LMP H6006 Headlight Bulb - High & Low Beam (Halogen) Bad dimmer switch. https://www.napaonline.com/en/p/ECHDS108
-
Welcome! http://www.edgyspeedshop.com/products.html
-
Excellent write-up! Thanks for taking the time to post this with the pics!
-
Thanks! Thanks. Between you and Brent, I might have to get another one. Ya, I was really surprised how well the camera did.
- 17 replies
-
- 1
-

-
- not working
- rebuild
- (and 3 more)
-
You're welcome. Let me know if I need to clarify some steps.
- 17 replies
-
- 1
-
-
- not working
- rebuild
- (and 3 more)
-
Once done, put some reverse turns/twists in the protective wrap and let it unwind into the short piece you soldered on the gauge.

- 17 replies
-
- 4
-
-
- not working
- rebuild
- (and 3 more)
-
With the bulb still in it's ice bath take the gauge over to a pot of boiling water. Unroll the coils made by using your hand and at the same time, put your nose near your solder joints and drop the bulb into boiling water. IF YOU SMELL ETHER GAS, REMOVE FROM HEAT, PUT THE BULB BACK IN THE ICE BATH AND CHECK YOUR SOLDER JOINTS. You'll probably get one more shot at the repair before you've lost too much ether. If you don't smell gas, CONGRATULATIONS!! Adjust the gauge as needed so it reads both zero (out of the ice bath) and slightly more than 212 degrees ( in boiling water).
- 17 replies
-
- 2
-
-
- not working
- rebuild
- (and 3 more)
-
Slide the exposed tube down the inside of the 3/32nd tube to check length (shorten if necessary). TAKE A DEEP BREATH AND RELAX. Take a pair of scissors and cut the small tube. Quickly insert it down the 3/32nd tube and solder.

- 17 replies
-
- 2
-
-
- not working
- rebuild
- (and 3 more)
-
Add a small amount of protective wrap to the tube in the gauge.


