John-T-53
-
Posts
1,647 -
Joined
-
Last visited
-
Days Won
19
Content Type
Links Directory
Profiles
Articles
Forums
Downloads
Store
Gallery
Blogs
Events
Everything posted by John-T-53
-

Do B-1-B 16" wheels bolt on to a B-1-C?
John-T-53 replied to red48b1c's topic in Mopar Flathead Truck Forum
I just measured mine, and I have 15" rims (w/235-75-15 tires) with 5 x 4.5" bolt spacing. I searched Bunn's book for some info on this, but did not find a lot mentioned about the wheel sizes other than the rim diameter and width. What's up with that? If I'm correct, wheel bolt spacing for 5-lug is measured from the outside edge of one hole to the center of the second next hole. -
That looks pretty much the same shade o' red. Good pictures. Rogers...I think that's up by St Michael, where there was a good steak house I used to go with my family whenever we were visiting. Not sure if it's there anymore...
-
You could also slide the pin over, clean it, then coat the end of it and the inside of the hole with RTV or permatex No.2, then slide it back (and peen it).
-
4 speed manual tranny & e-brake help
John-T-53 replied to ggdad1951's topic in Mopar Flathead Truck Forum
I wondered about this too; the cable-operated hand brake on my now defunct 3-speed never had the stout spring; it worked fine as long as I kept it adjusted properly..and remembered to disengage it before driving! One reason I can think of for this spring's purpose is to keep constant pressure on the band after everything cools down. Considering the brake would usually be applied when everything's fully warmed up from driving. What do y'all think? ggdad, I think you'll be able to get along without it. But, you might be able to substitute an old valve spring in its place. -
Thank you sir! Probably a Balkamp part? Yeah, Roberts has radiator caps for non-pressurized systems. They list them as for years '39-'50. I'll call Napa Monday.
-
I had a little leak happen at the tank seam, which is very rare with a good recore job. The shop suggested I replace the cap. They could not test the cap. 1950 and up trucks had a 4# cap, right? Where could I get a cap that is for sure the correct pressure rating? I'm not sure the cap I have on there is 4#...might be higher. It does not say on the cap. VPW and Roberts could not help. Could I get some of you to weigh in here who have had experience with this? Thanks,
-
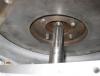
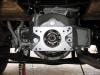
Your T/O bearing "floats" in there when the tranny is out. The fork will loosely hold it in place when you're reinstalling the tranny so shouldn't be a problem. If it keeps slipping down, have a helper step on the clutch pedal just enough to hold it, but not all the way! What kind of tranny was in there? I have not seen that bolt pattern before, with the right side mount holes positioned like that on the bellhousing. I was wondering what the circular pad was for on my BH.
-
Is it just leaking oil from the pin hole? The Airtex 9543 number sounds familiar. I got a Carter pump for my rig, mainly because that's what Nappa could get, and I trust it very much...so far, so good.
-
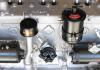
What kind of housing is that? Looks good! I need to get one to mount up by the carb.
-
Thermostat housing from NAPA?
John-T-53 replied to 50farmtruck's topic in Mopar Flathead Truck Forum
Yes. I got a new (used) housing from VPW after about a year's search elsewhere. When in doubt, I always call them first and start from there. They're pretty helpful on the phone. -
I have a P head! But it's not original to the truck. The head is dated 7-18-55 and the block is 3-10-53. To support the ggdad's earlier comment, my bellhousing has a 1948 date casting on it.

-
This is the same procedure specified for the differential pinion seal, and any other seals that used to moo. I used 10 wt and the old cow seemed to like it.
-
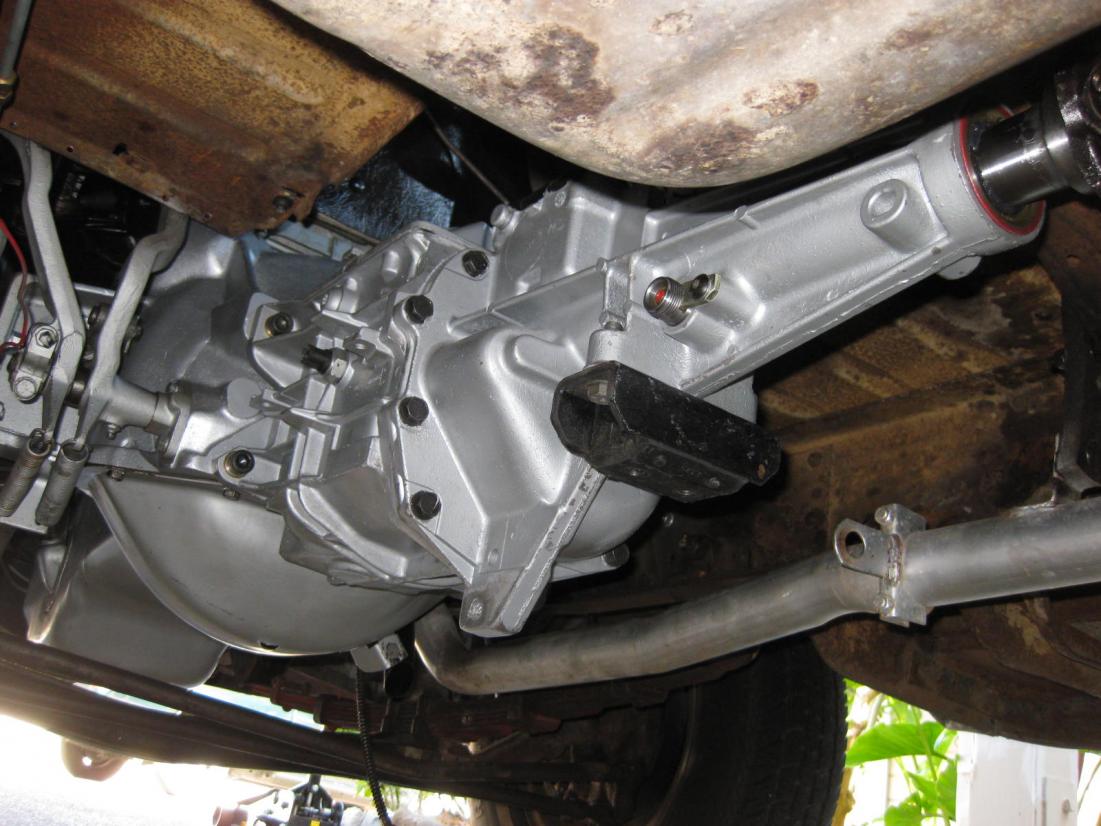
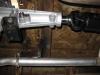
Thanks for the cheers, guys. Crossmember was Trans Dapt #9424 (universal, 6" drop, w/o mount). you can order the mount w/ the crossmember (#9444) in one package if you don't already have one. I had a mount for a TH-350 that fit the T5. http://www.tdperformance.com/products/?id=3387 The driveshaft was modified from the original. All they did was shorten it, which eliminated the built-in slip joint in the process. The original 3-spd stick is still in place. I don't want to trash it, nor do I want it taking up space in the garage. I think I'll just leave it in the truck; it doesn't bother me. Maybe I can figure out another function for it....ideas?? Thanks,
-
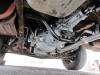
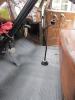
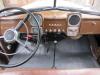
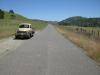
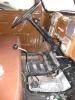
The last thing needed underneath is a rear cross member. I got a universal one from Trans Dapt. This one has a 6" drop and bolted right in between the frame rails. On each side, one of the mounting bracket holes lines up with a frame rivet, so I removed the rivet and bolted through in its place. Back inside the cab, the stick received two coats rust-oleum satin black, and was finished off with a simple Jeep T5 shifter boot from Morris 4x4 center. The boot is thick rubber and took some break in, although it has only pulled the tranny out of gear only about 3 times so far. Now it's good. On April 30th I took the maiden voyage down to San Luis Obispo, and took the backroads home east of the 101, near Parkfield. No services for 60 miles, but no worries. It's like a new truck! In addition to the od, the close ratio gears really woke this truck up. Keeping up with traffic is now possible, and fun.

-
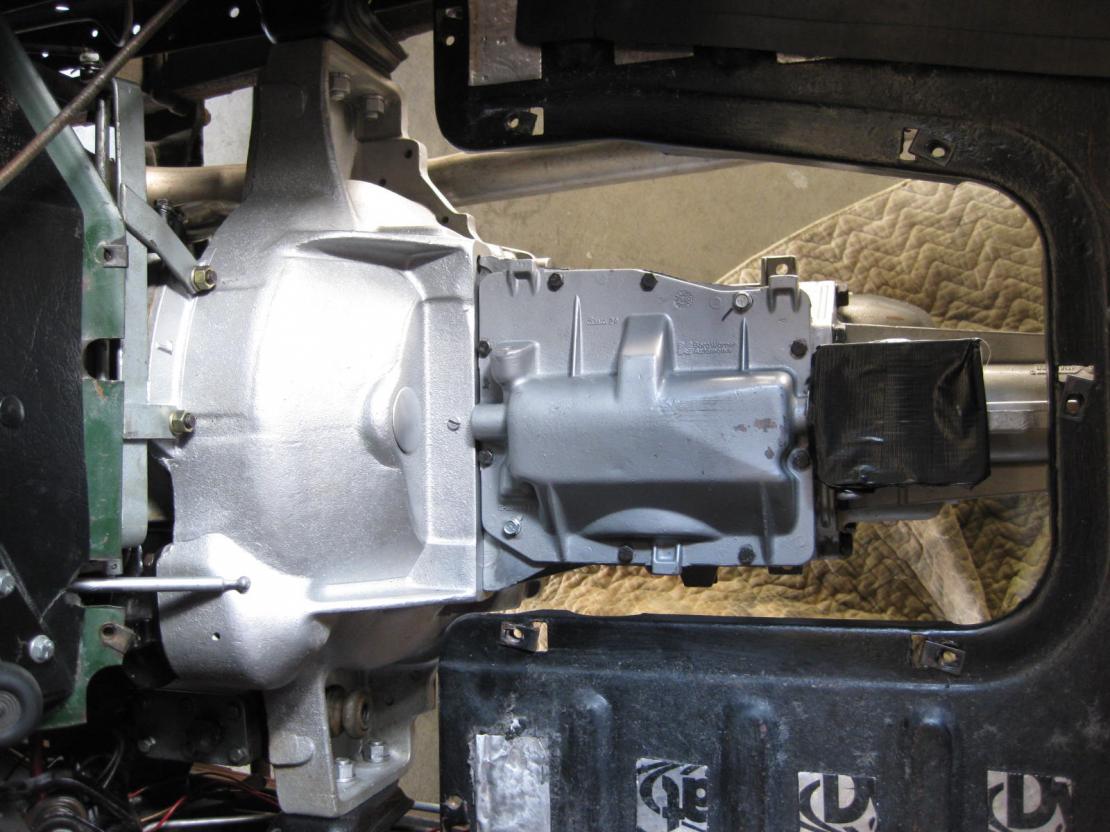
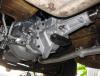
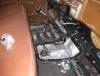
The T5 goes in. It took some finessing to get it to slide in all the way, lying on my back with the T5 on my chest was not fun. The driveshaft got installed, and the yoke position was right on. I had a 19" long custom stick fabricated from 1/2" round stock by the same shop that worked on the bell housing. They made this from a drawing I provided, and it bolted up to the short throw shifter. At this height there's about 12" throw, but clears the seat and provides the most comfortable driving setup. A simple ball from Lokar provides a good hand hold.
-
Well I guess I should finish the story here... With the input shaft changed out, I got the driveshaft back and checked the fit of the new yoke. It slid in and out smoothly. Then, did another mockup with the tranny in the truck. Checked the position of the pilot bearing and input shaft - I left the pilot sticking out about .1" so it would have more contact with the shaft. The Mustang clutch disk was also checked to make sure it had enough room to slide back. After all that, the clutch was assembled, pedals put back on, and ready for final install of the T5.

-
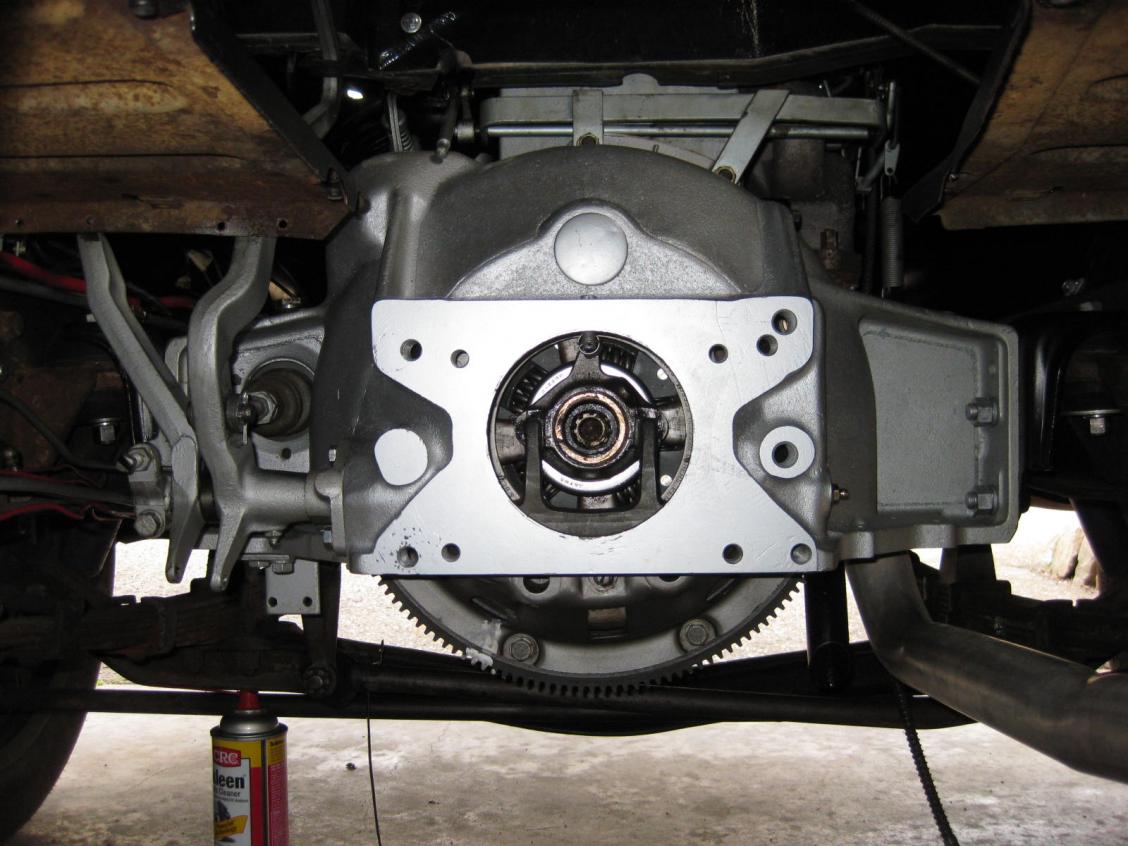
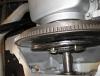
One leak I finally did fix was the diff pinion seal. I used to have to dump a quart or so into the pumpkin about every month, and the asphalt under where I park turned to goo (and stinks). With a speedy sleeve and a new leather seal, it's finally cured. I had doubts about the 'cow' material but it seems to be doing its job so far, about 1000 miles.
-
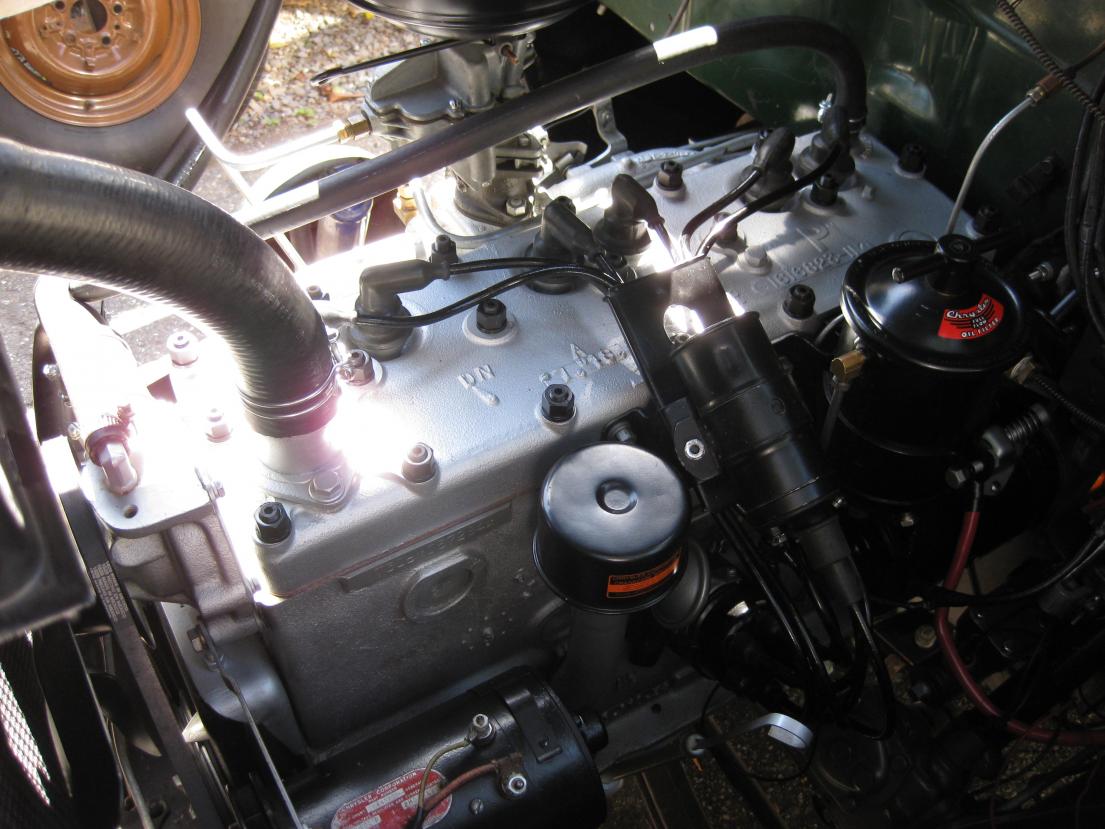
PTFE thread tape works great for things like drain and fill plugs, and bolts too. I've used RTV and Permatex #2 on threaded connections over the years and got the best results after switching to PTFE. Especially on head bolts. These engines will always leak, new or old. From the start after my rebuild, this included the front and rear seals, and a little at the timing cover. The side valve covers also seal up completely with a very thin coat of blue RTV between the cork gasket and the block. If you wipe the block clean with a rag, leaving a slight oil cast on the surface, it'll make removing the covers a lot easier in the future (for adjusting valves).
-
Dangers in posting picts on line
John-T-53 replied to pflaming's topic in Mopar Flathead Truck Forum
We don't cover our plates up when we drive down the street either (unless you're driving a getaway car). What could someone do with your plate number anyway? The only people who can get an address from a plate are police and DMV employees. -
Congratulations! Good thing that's all that came out of the tailpipe. A friend of mine had a hard time in the same situation with a mummified rodent, causing a little blockage.
-
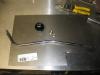
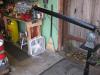
Thanks...I have an old battery tray that'll be perfect to experiment with this process. Now I just need my friend to return my battery charger!
-
Ok, so my VIN says 108" but I measured the other day (just curious) and center to center of each wheel is 116". What's up with that? I do have the longer bed, I think; it's just shy of 8' deep. Is my vin tag wrong?
-
Pilot-house trucks in Southern Oregon
John-T-53 replied to Bob_Koch's topic in Mopar Flathead Truck Forum
Bob, do you have contact info for this person? Or is it via facebook only? Thanks, -
Tod, I never knew you could remove rust by electrolysis. What do you submerge the parts in and what works for an electrode? Do you use a car battery? Thanks,
-
I did some research on this a while ago. I read somewhere that GL-4 gear oil is OK, but GL-5 is not. The latter has more additives (sulphur, etc) that might harm any brass/bronze metal inside the tranny. I ran GL-4 for the last 15k miles on my 3-speed without any issues, with the oil level up to the fill plug. Them trannys are bullet proof. Thw 3-speed still worked perfectly when I removed it last month for replacement with the T5....now it's tucked away under my work bench.