


50mech
-
Posts
310 -
Joined
-
Last visited
-
Days Won
1
Content Type
Links Directory
Profiles
Articles
Forums
Downloads
Store
Gallery
Blogs
Events
Everything posted by 50mech
-
1949 plymouth special deluxe cranks but wont start
50mech replied to ROXIE49's topic in P15-D24 Forum
This is the pickup screen in the bottom of the tank. It's sort of like the sintered bronze filters but some other material. IME a lot of crud can be in your filler neck and fall in when jostled. It won't really clog that pickup totally because there's a pretty large surface area there. Volume gets reduced then as you run more crud clings to it until it can't run. Sits long enough, crud falls and its partly open again.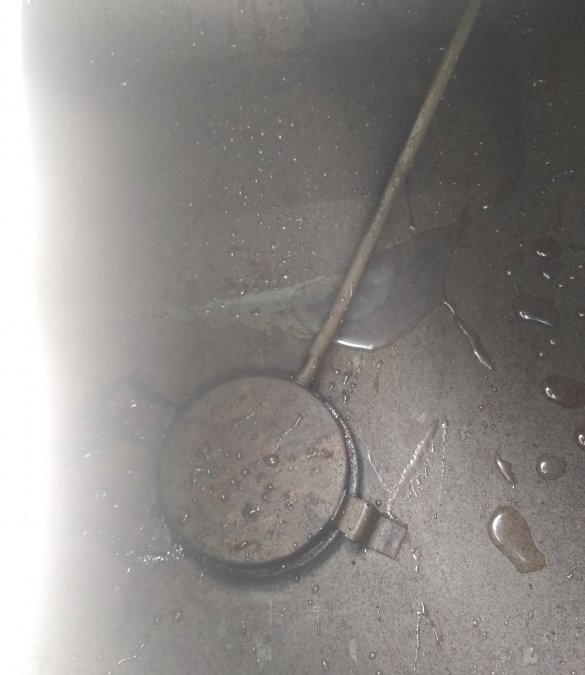

-
Most timing lights will work on 6...can't hurt it by trying. If not you can always power it from a 12 from a separate vehicle or battery...the inductive pickup is all that matters for actually triggering the light.
-
Does sound more like an ignition issue to me. Flame could just be loading up. Gotta have a little bit of valve leak but that's pretty common. What's your voltage at coil during cranking? What's your coils resistance? And are we sure plug wires are in the correct firing order? And I've not experienced a 180 out issue on these motors yet...anyone chime in whether they run like this... because some will... exactly as you describe.
-
Speaking just from an electronic standpoint here. Resistor is a good idea but needs to be matched to do much good. You'd need to activate the solenoid, measure the current then Actual measured voltage divided by measured current gives you the solenoids effective resistance (impedance really but that's another story) You'll need a resistor with about that same value that is able to handle the power (watts). Voltage x half the current you measured plus some safety margin will give you the required watt rating. Some guesses; 1. since the interruptor switch is originally fed through a 12ohm resistor you're going to need something in the neighborhood of another 12-24 ohms. 2. The one you're using is less than 1.5ohms 3. You're gonna need maybe 15 watt If im in the right neighborhood LED headlight resistors in series might make a good option...autozones and such have them on the shelf, they're usually 6ohm each and 15watt and around $15 a pair.
-
Now youll probably have to break out a meter. Check the black wires continuity to ground. I don't have any experience with these tranny's so just looking at the wiring diagram I'm guessing perhaps the interruptor switch is stuck as was suggested by @DonaldSmith. Have to check it's continuity after disconnecting it. I don't think any of that circuit is polarity sensitive so it wouldn't have to be switched around on the posts....but I could easily be wrong there.
-
If you get no spark with both of those wires unhooked and then the issue is with the coil or distributor (points). Wired back how it was , a stuck or faulty trans control component could still ground the coil.
-
Do you regain spark if you unhook the black and green wires? If so you'll know the issue is in the tranny circuit. Stuck kick down switch, shorted solenoid....etc. likely something causing the coil to remain grounded.
-
Yes, if it's being used with the housing in the picture and the head and block are external bypass type. Though it looks like the old seal is still stuck up in the housing there.
-
Don't worry about checking. I think I'm going to get the exact same setup. 2dr is calling for 4101 but it looks like the difference is length. 4101 being 8-11.5 and 4102 being 10-13. Mine were 11 so I'll go with the cheaper 4102's anyhow. Had I not needed a new arm anyhow just 1/2" barrel adapters, grand total here is about $65-70
-
Looks like that arm comes with the barrel adapters. So that's cool. I was thinking about trying to find some arms with a common modern fitting for blades......idk if that will work out or not. Oops nevermind, looks like those do have a modern type end adapter. I may very well go with the same thing...thank you.
-
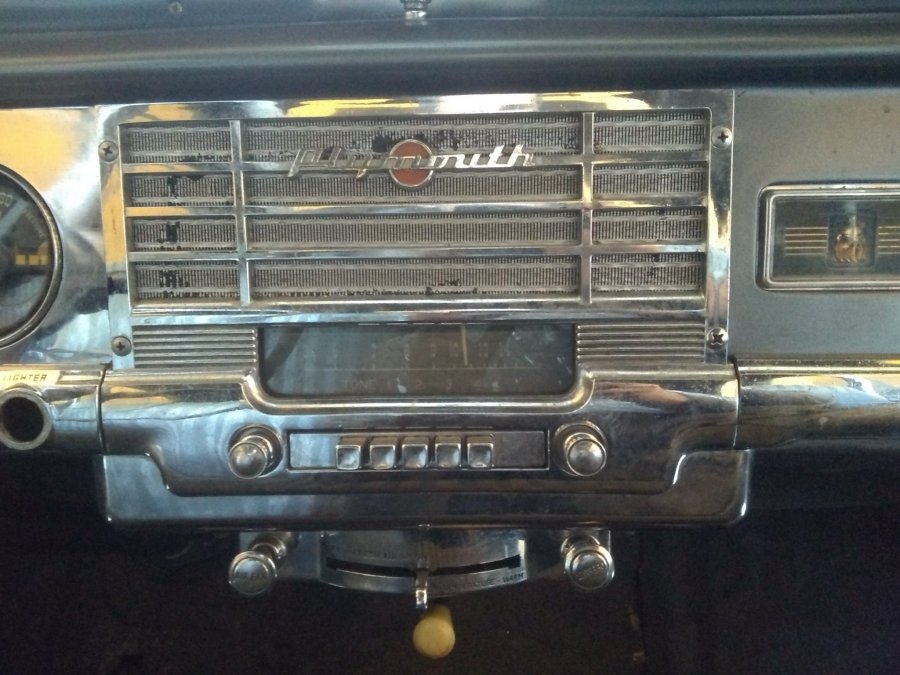
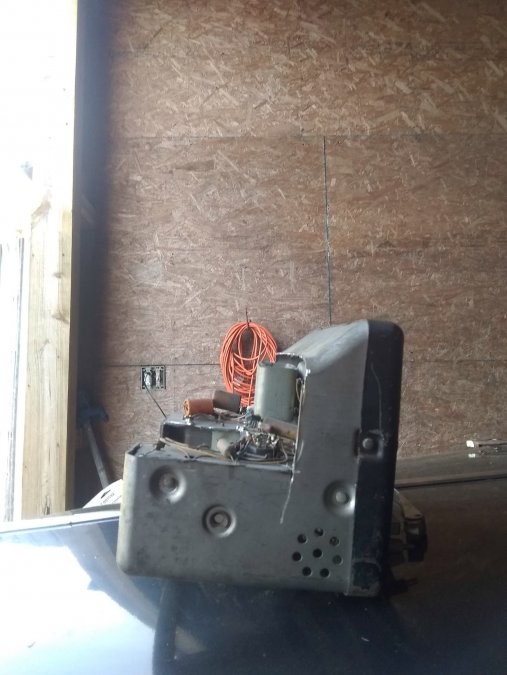
And that's basically it. I screwed the swivels and bezels together marked where the holes in the bracket were on the dash support , drilled and put in a couple rivet nuts then bolted it up with some rubber washers on each side of the bracket and metal on the bolt side. One of my wiper arms springs were gone so now I just have to decide on either anco 42-02 (1/2"). Or 42-03 (5/8") drum adapters for the shafts and get a pair of 11" wiper arms. The ones on it were 1/2" drum but I'll just replace both. Here's the decorative radio back in place and the shafts sticking out of the bezels. The switch goes in the original hole and uses the original knob.


-
No need to be jealous of your mom giving me presents, she still loves you.
-
Aww hell, you got a handle on it but good info for onlookers anyhow.
-
I think if anything you'll find it to be closer to too tight and probably require a little reduction. Press fit for a .875 hole is .8745 to .8750. The OD on that runs .877-.878
-
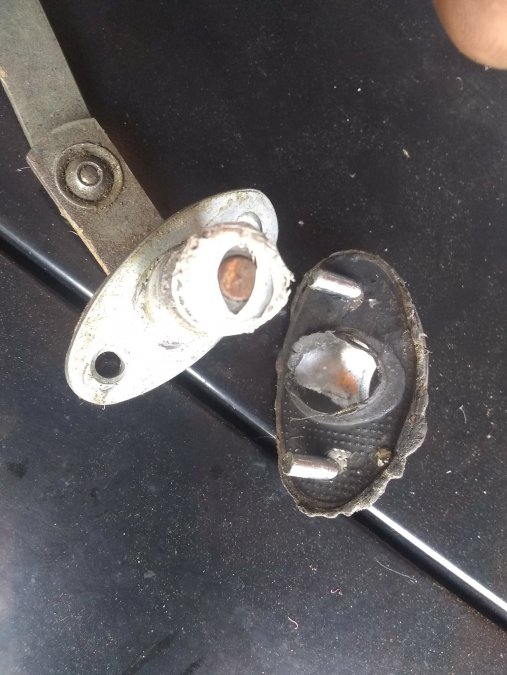
For now I've drilled out the original bezels to take a screw. Quick and dirty until I get proper bezels. They're in bad shape anyhow. Thread size on the swivel mounts is 8-32. And here's the radio cutout.

-
If you are on 12v the motor can probably be easily replaced with a 12v unit. Frame size and shaft length choices in 12v are pretty abundant. Otherwise add a resistor...
-
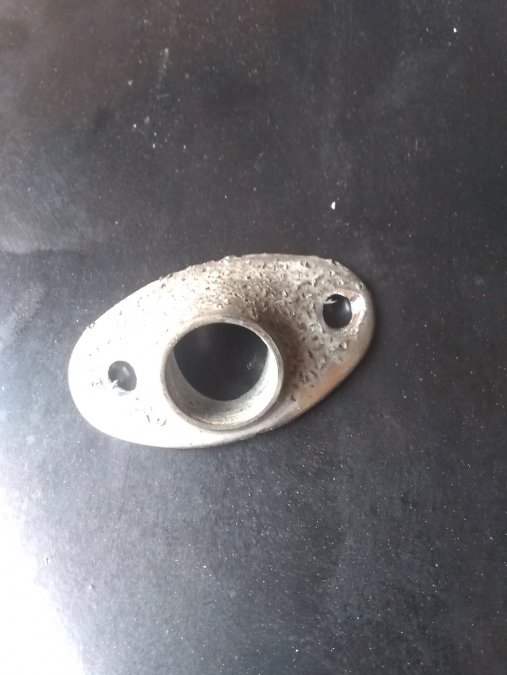
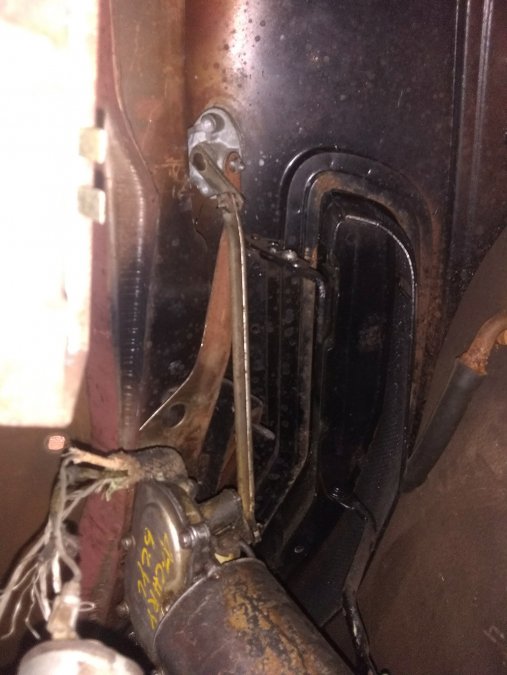
Fresh air vent rod does clear it, it's just not tightened in the pic so it is sort of leaned toward the motor at the junction there.
-
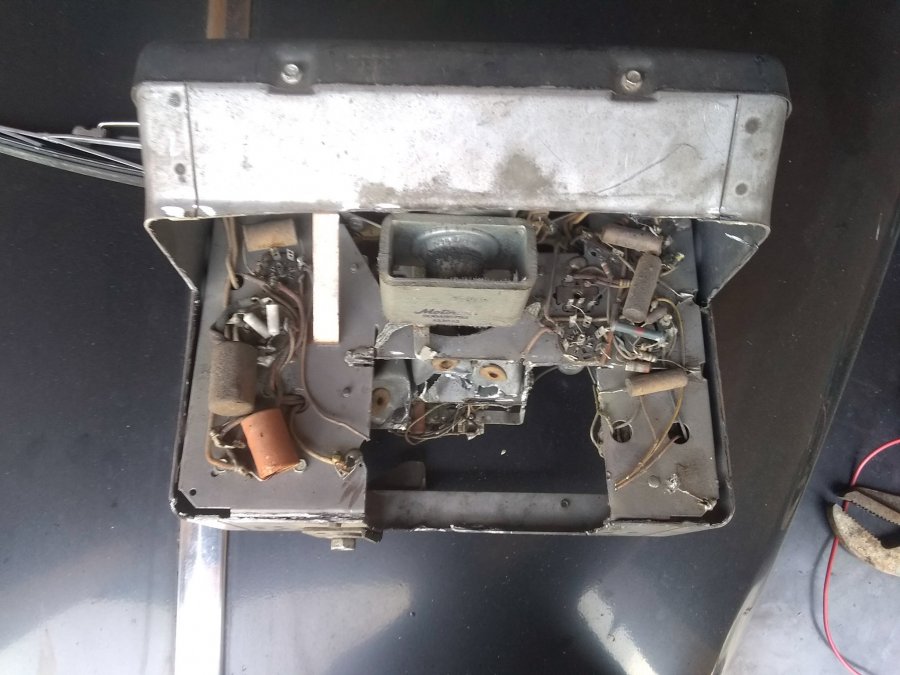
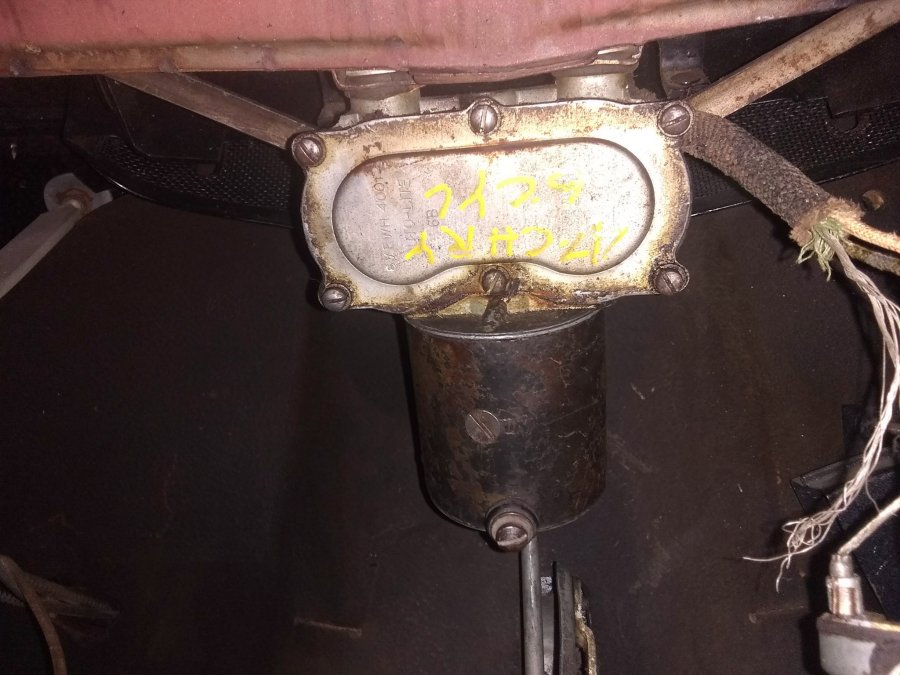
Finally got around to the wiper conversion. I am using a 47 Chrysler electric wiper assembly. Here's what I've found. Width is no different, if it is it's not discernable. The unit goes in like it was made for it. I did not check to see how much is correct and original on mine. Differences, at least the ones I've encountered; Wiper arms will need changed from something accepting the larger straight splined piece to ones accepting the small tapered spline shaft. Wiper arm bezels originally have pegs that stick through and are secured with push nuts. I need to find bezels with screw holes. It will absolutely not clear the radio. I will be cutting off a large portion of the radio which doesn't work anyhow. The original vacuum motor mount needs bent forward just a hair ( 1/8" or less) so the arms going from motor to shaft don't hit it. Finally, have to attach the bracket to the dash support, could be as simple as sheet metal screws. I will likely use rivet nuts.


-
Head gasket can also go in such a way that it pumps air into the water jacket and does what you describe. I'd try not topping it off, see if it finds a good level and stays there and is still able to keep itself cool....you'd be surprised how low they like to be for expansion. If it continues to do it until it's too low to keep itself cool then you probably have a head gasket leak.
-
Guess it's also possible that 283 just pushes more than the radiator can flow....low pressure cap should alleviate that. They don't normally spit, but also the fill level should be a couple inches lower than the top, not totally full or they will spit it out.
-
Sounds like an air pocket if this was an initial startup. Do you have a cooling system fill funnel. The type that lock on to the radiator and hold coolant above it so you can bleed it?
-
52 PLYMOUTH CRANBROOK RESTORATION - NEED ADVICE
50mech replied to 1952Cranbrook's topic in P15-D24 Forum
Heat riser is definitely stuck on heating. That could lean it out. Does the misfire appear after a warm up or immediately? Is it worse when warm? Best I can work out it sort of seems to be cylinders 1 and 5 and maybe occasionally one other. 1 and 5 are adjacent in firing order so possibly distributor play.... Could always try pulling wires and doing some 5 cylinder runs to see if you can pin it down to one or two cylinders or if you're correct that it's just erratic. Use the vac guage at more than just idle....check a vacuum guage diagnoses chart....it can help narrow things down quite a bit especially about leaky or sticky valves and worn guides. All in all I'm favoring a lean condition. Although the slightest issue with grounding can make your coil less consistent...what your voltage there? -
There's always the water distribution tube to check. If you're thermostat was in backwards before, perhaps it caused enough restriction to mask an issue there...?
-
I do, spring down. I did check too and make sure my cylinder head was correct for internal bypass and I didn't just have the wrong housing on there.
-
I believe that's the new version. The NOS part you showed is bypass as well. ...I think. But more to the point, I run the type you have with no issues.

