-
Posts
384 -
Joined
-
Last visited
-
Days Won
3
Content Type
Links Directory
Profiles
Articles
Forums
Downloads
Store
Gallery
Blogs
Events
Everything posted by JSabah
-
Thanks for the pictures! It is a bit hard to tell because of camera angle etc but it looks like the overall length to the cap is about 14 3/4” and that the fill line is 2 1/8” from the bottom with the full line being about 3/4” or 13/16” above that....
-
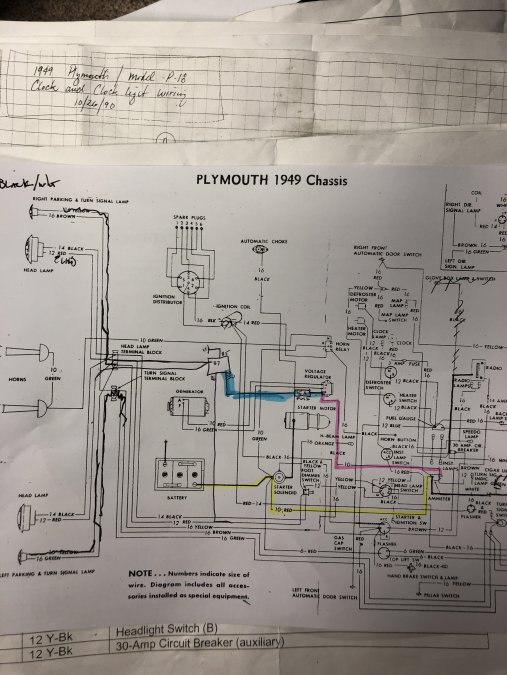
sorry for my denseness but to me the Battery terminal on the voltage regulator IS on the opposite side of the ammeter (see pink on attached picture). I was just trying to avoid running the wire all the way into the cab and having to get under the dash again. Isn’t the output of the generator (yes, I’m still on a generator) going to the voltage regulator ? And wouldn’t you want the power source to be conditioned thru the regulator? also, I’m using a 12ga wire as the power source with a 15 amp fuse... and I’ve converted to 12v.
-
Makes a lot of sense to me. Thanks. BTW my mechanic that worked on my Jensen's (Chrysler engines) always suggested to run at the "Add" level as will. I've never had a problem.
-
So to be clear. My engine is fresh off a rebuild and has no fluids/oil. 1. I’ll stick a stiff wire in the tube all the way until it hits the bottom. 2. cut my dip stick 1/4” short of that measurement 3. Put 4 quarts of oil in 4. mark the “add line” 5. Put a 5th quart in and mark the “Full” line but expect that I’ll be adding another quart after the engine is run due to the oil filter holding what it holds plus any interior lines etc. - interesting that the manual gives a quantity without the filter (ie capacity according to the manual is 5 quarts - not 5 quarts plus filter quantity etc.) Assuming that the quantities are correct (I’ll confirm with the manual as I have a Flathead 6 -218) I’m just not 100% clear on the quantity aspect. Please confirm I’m understanding. Thanks
-
What is the length of a dip stick for a 49-50 Plymouth 218 with a 4” tube? Mine is missing and someone gave me one off a different car and when I put it in the tube it feels like it goes all the way to the bottom of the pan (and still hasn’t seated). So I’m looking for the correct one. I suppose you would measure from the tip to the cup/cap. Thank you
-
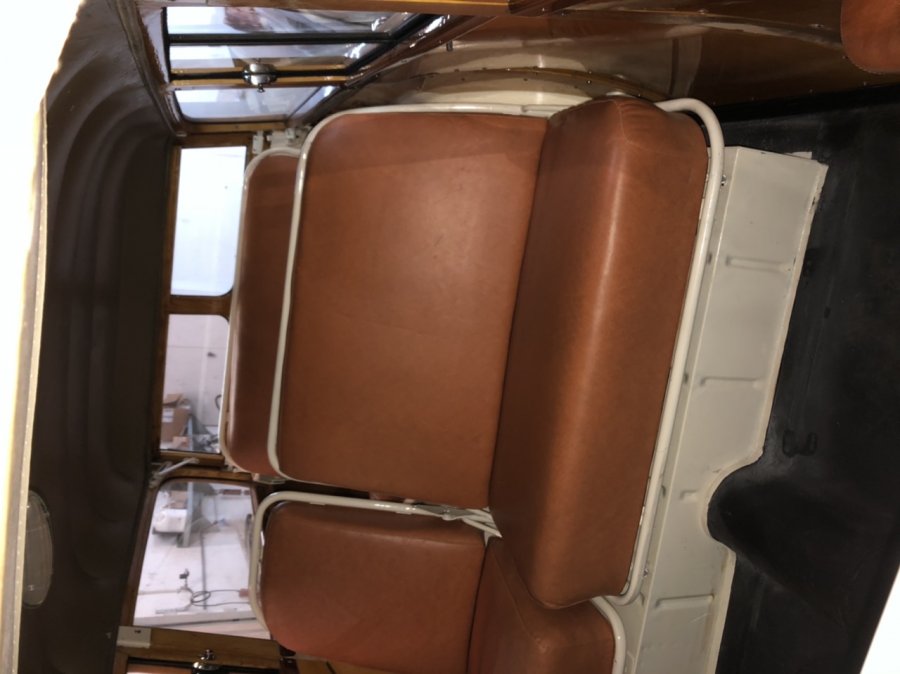
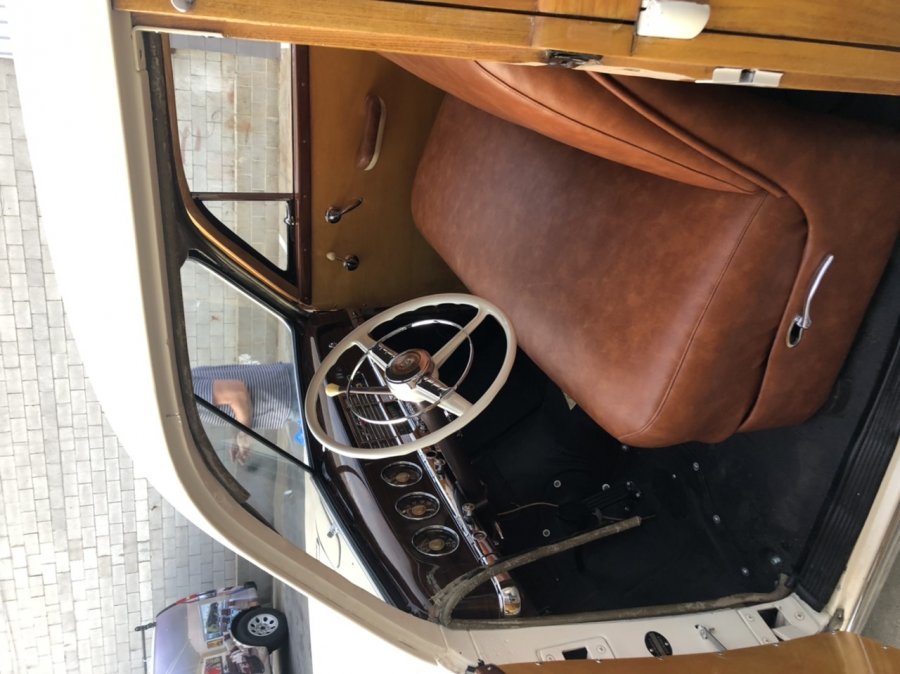
Front seat done.... for that matter all seats are done. In my excitement I took the picture of the front seat before I actually got the seat portion all the way in.
-
Those pics were perfect. Thank you. For some reason my rod had a kink in it as if it was supposed to be there. Straightened it out and it is all good. I also discovered that there is a “loop” under these at frame that keeps the rod up and from getting hung up on the hump. Thanks again.... another job checked off the list
-
Can anybody post pictures of the front seat tracks before the seat is in? Specifically, I cant recall (or find my pics) of how the adjustment rod runs and connects. I believe the kinked side goes on the passenger side but from top down or bottom up into the oval hole? or one of the round holes? Also, my rod has a bend or 2 in it, is that somehow to get around the trans tunnel? Maybe installation order may help too. This is for a 49 Plymouth front bench seat. Thank you.
-
My mechanic that I have used for all my cars, both classics and daily drivers unfortunately passed away in an airplane crash on January 4th. He was a really good guy, a great and knowledgeable and honest mechanic of all types of vehicles. He will be missed but now I find myself in need of some help. My ‘49 Plymouth is just about ready to be started up for the 1st time but there are some things that I need some help finishing and checking. Any Los Angeles (SFV) referrals are appreciated. Please feel free to PM me. Thank you.
-
I was just double checking steele when you posted this .... Thanks. Ordered.
-
After reading the manual, I may give it a go. Question ...molded rubber no longer seems to be available... or at least I didnt get one from AB (mine is a long strip) - where do you put the joint? top center? lower center? elsewhere?
-
Can anybody refer me to a glass installer in the Los Angeles area for the (2 piece) windshield on the ‘49 Plymouth. I’ve tried calling several and have not had luck
-
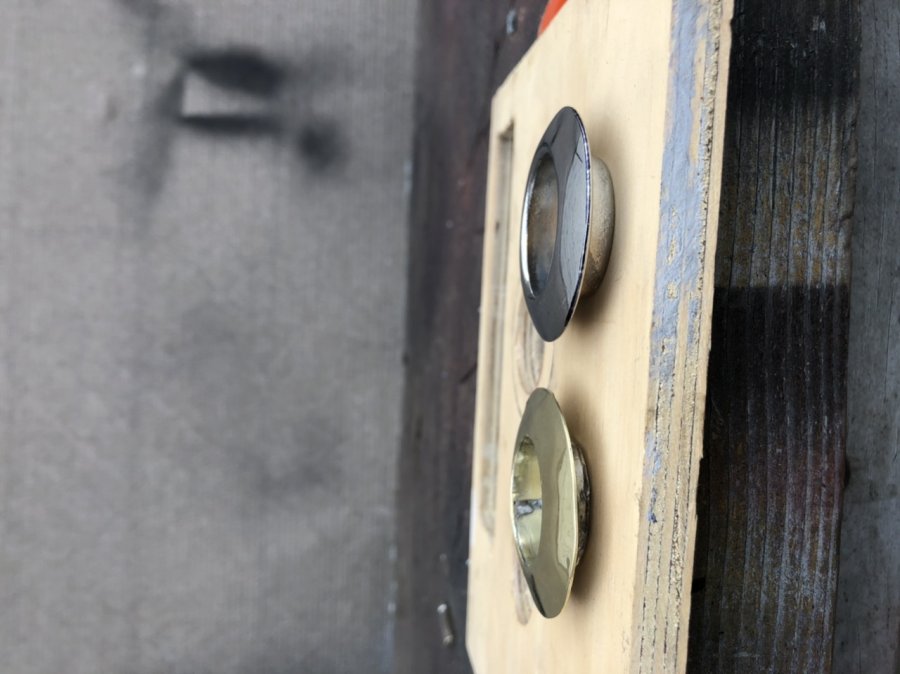
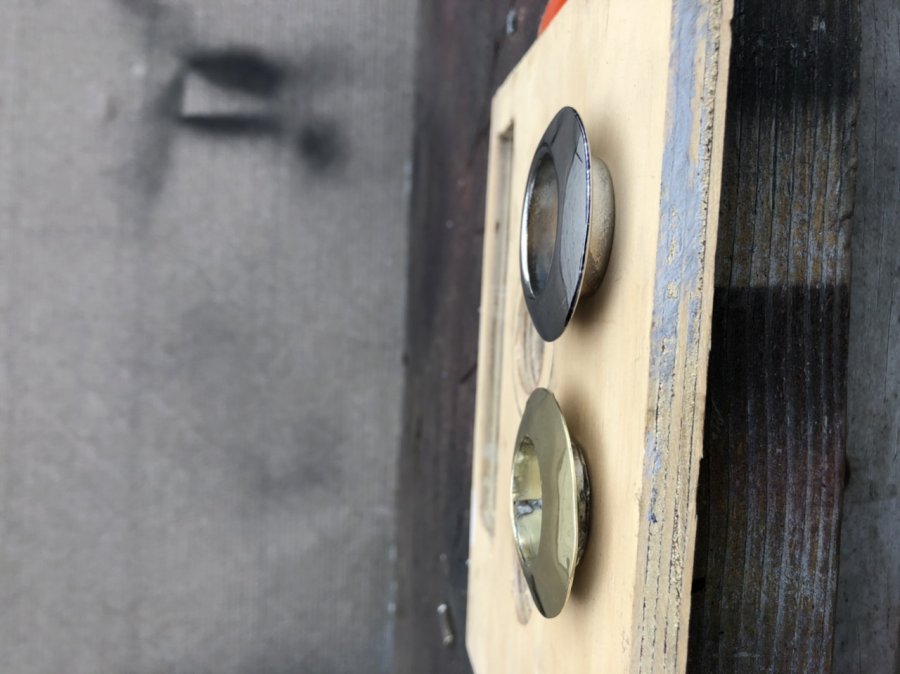
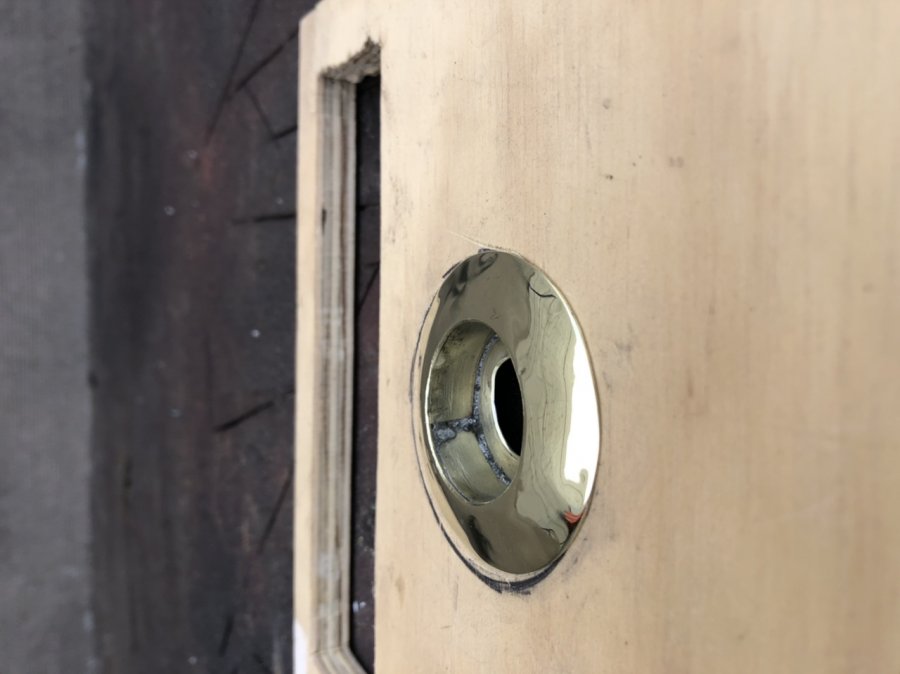
Unfortunately none of what I found on line or by calling suppliers matched what was original for my car - which is low profile, recessed with no embellishments. So, After weeks of searching with no luck, I decided to see if I could make one myself. I happen to have some heavy brass sheet pieces that I picked up from the metal supply remnants pile for pennies some time ago. With a little research on brass metal forming, I learned about “metal stumping” . I tried forming my first piece without tempering and then a second with.(the tempered piece worked better). Then I cut and formed (around a socket) the depth piece and also cut a disk. When soldered all together it didn’t come out half bad. A little wet sanding and buffing (so I could see the defects) and here are pics of the new and the original. Definitely not cost effective when you account for the hours it took and the chroming that’s still needs to be done, but as I wanted it to be like original I had no alternative.
-
After weeks of searching with no luck, I decided to see if I could make one myself. I happen to have some heavy brass sheet pieces that I picked up from the metal supply remnants pile for pennies some time ago. With a little research on brass metal forming, I learned about “metal stumping” . I tried forming my first piece without tempering and then a second with.(the tempered piece worked better). Then I cut and formed (around a socket) the depth piece and also cut a disk. When soldered all together it didn’t come out half bad. A little wet sanding and buffing (so I could see the defects) and here are pics of the new and the original. Definitely not cost affective when you account for the hours it took and the chroming that’s still needs to be done, but as I wanted it to be like original I had no alternative.
-
Really beautiful work.... absolutely outstanding. Just curious as to how you removed the old paint. That was the most difficult part for me. Thanks
-
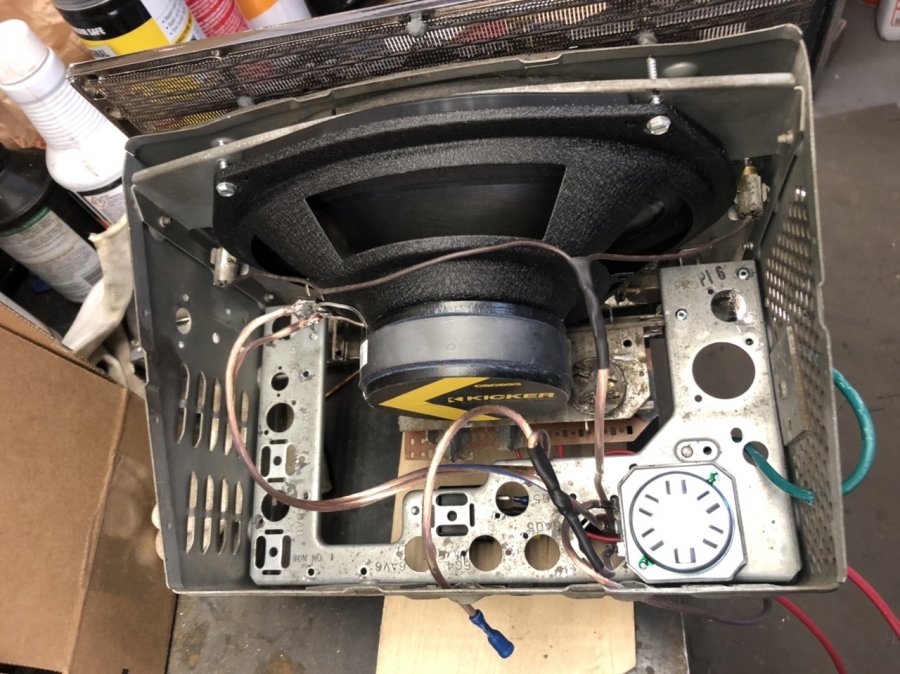
Tested my setup today. Seems to work great. Micro switch Is positioned to get depressed by the 1st station button (all/any of the others disengage the micro switch ). That switch triggers a relay which powers the Bluetooth amp and dial lights. I decided to install 2 speakers in the footwell sides and a mono speaker as a center channel for fill-in. Since the center channel is tapped off the front right positive and left negative, I installed a volume control for the center speaker so that if can be adjusted independently.
-
Joe, I sent you an email re a different part... FYI
-
Maybe that’s why I sent it out for re-chroming
-
I think I may have wasted all of your time ... sorry. Looks like this may be a Ford part. I DO recall taking it off something but maybe it was a spare handle that I had found in a box of spare parts. I came across this while looking for an interior door handle escutcheon that I’m missing. https://www.ebay.com/itm/1941-42-46-1947-1948-Chevrolet-DOOR-HANDLE-ESCUTCHEON-vtg-40s-GM-exterior-mount/273458242196?hash=item3fab61a294:g:TboAAOSwaf1bmWOq
-
Thanks.... I’ll take a look there and see if it makes sense.
-
-
I wish I had a spot light...but I don't ...Ill look for old screw holes
-
Great suggestions BUT: Car doesn't/didn't have an antenna W/W are installed (except for 1 bezel which I am on the hunt for- odd size) and there is no place for it Door handle bases (as well as rear hatch and spare tire handles) are all on There was no passenger assist handle Odd that there are only 3 screw holes, and it has a bevel to it. The round portion definitely rotates line a handle and I have a sense that I pried it off something... More Pics to follow
-
I'm an idiot.... this information was perfect. I had the mechanism all the way turned. I set it in the middle and now 1/4 turn one way locks and the other-way (from 12) unlocks. Mystery solved and I'm pressing on. Thank you!


