Sharps40
Members-
Posts
759 -
Joined
-
Last visited
-
Days Won
5
Content Type
Links Directory
Profiles
Articles
Forums
Downloads
Store
Gallery
Blogs
Events
Everything posted by Sharps40
-
-
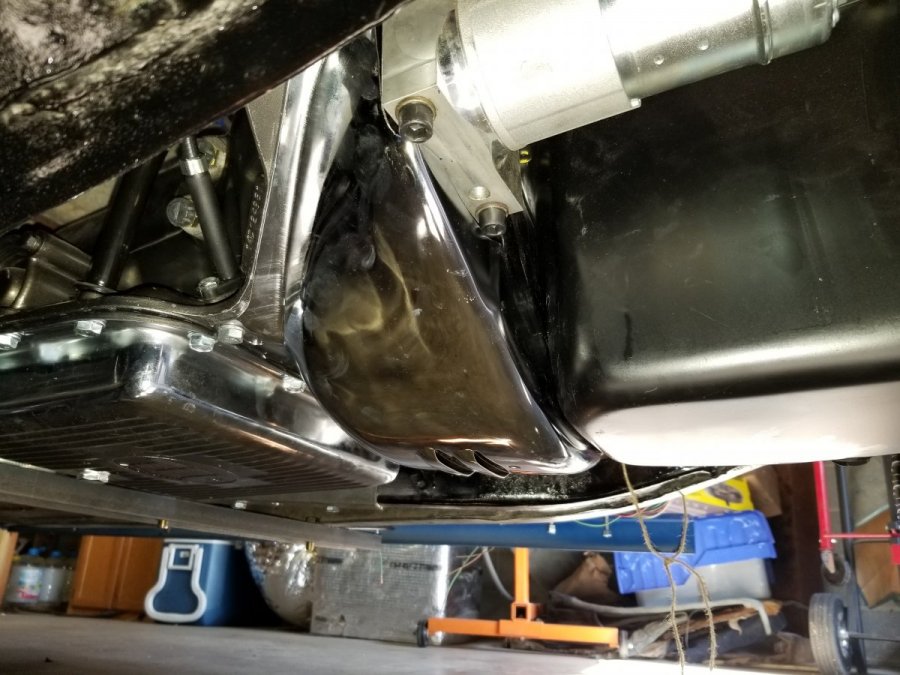
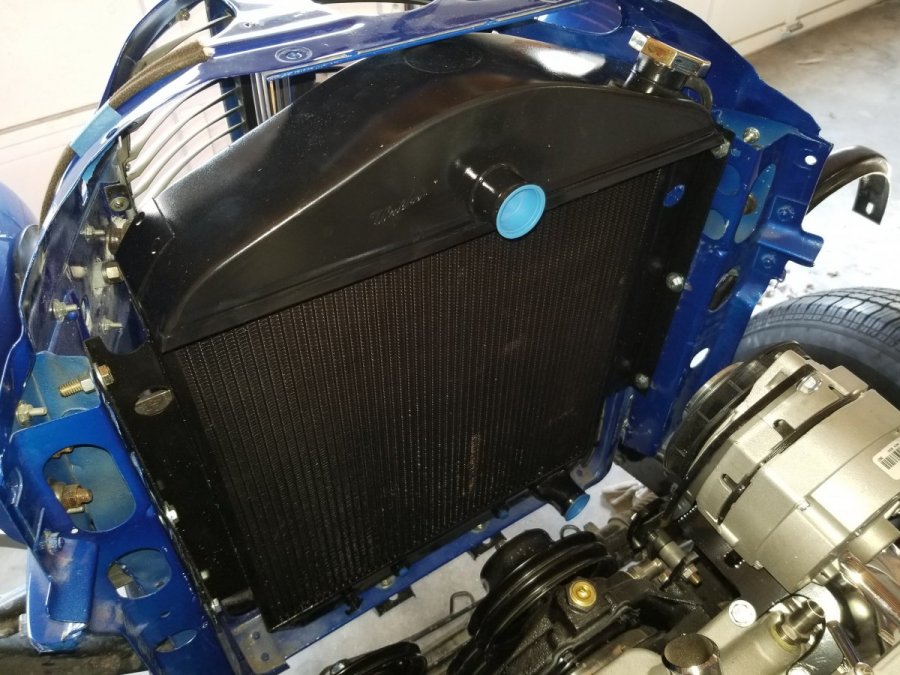
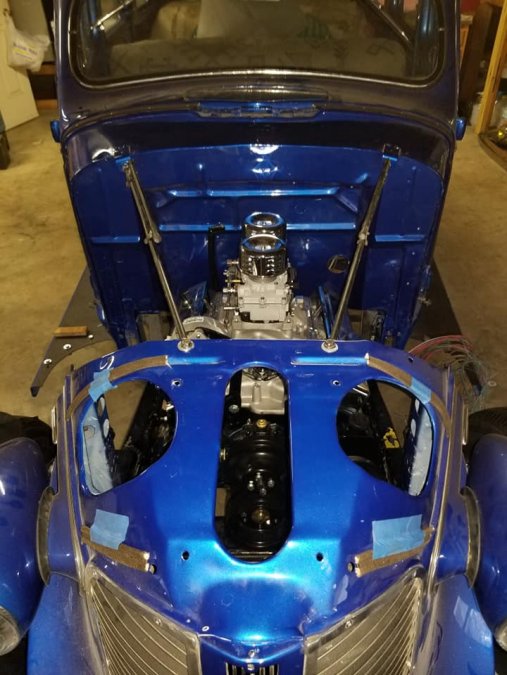
Dad,Long day, lots of progress.Been thinking about your Dad, Pappy, all day while I struggled with installation of the transmission inspection cover. Each bolt i installed stripped the threads in the aluminum housing and wouldn't snug up. Cast about for new bolts, none, not even thread cutting versions. Couldn't find the right tap to clean out the holes, couldn't find the right tap for the next size up. Then I thought of Pappy's like new but 70 year old tap and die set. Dug it out and low and behold, a perfect new old tap in the correct next size up......5 minutes later all the mounting holes were drilled and tapped and the chrome inspection cover sitting neatly between the engine and transmission.I measured the new all brass Walker 3 tube radiator with transmission cooler. 22 inches across. Measured the nose and it was 22 inches at the bottom tapering to 21 inches at the top. What to cut.....the cars radiator mounts or the new radiator itself......then i noticed, the shop had cut out the center brace in the nose. It fits in front of the radiator and when they removed it, for whatever reason, the top pinched in. So, I knocked in a piece of oak of the right length to see if it would spread, it did. So, a new center brace was made up and fitted in front of the radiator, including the original wiring clips to route the headlight and horn wires and we were in business. The new radiator slid right into place and looks grand. So, I spose its about time to button up the motor, wire it and hopefully soon, turn the key!
-
Dad, Starting the mock up of steering shafts while we await arrival of the parts. In bound is a double u-joint, a single u-joint, a support bearing for the double joint, Stainless Steel tilt steering column and a Mahogany and Stainless steel Banjo steering wheel. The column has 5 position tilt, turn signals, horn, etc. Its looking like the shop set the hole for the steering column too high in the firewall. May have to patch that one/use it for wiring input and cut a new hole lower (black tape) for the column. Angles look good. Plenty of clearance on the motor mounts and power steering pump. The toughest angle will be at the firewall and I suspect it'll be well under the maximum of 35 degrees. This first wag shows us somewhere in the neighborhood of 25 degrees. Measurements will be more accurate one I have all the parts and start the install later this week.
-
Dad, Getting ready for the final big push on the mechanical parts. Called Walker Radiator in TN....Ordered a brass radiator with auto trans cooler. Will sort the fan once we see how it fits and what the clearance is. Ordered the steering u joints, stainless tilt column and stainless and mahogany Banjo Steering wheel. A few odds and ends needed to button up the motor like spark plug boots, throttle/kick down bracket, chrome trans inspection cover, etc. Once the steering is in the last big job will be to set up the brake master and power booster, we have three options for brakes. Firewall, frame or under dash mount.
-
-
Dad, Motor mounts done. Trans mount 90%. Choke hooked up. Oil dipstick is installed. Starting to route fuel lines.
-
Top left or top right if we have room on the firewall and under the dash for the ancelaries. For now I'm not messing with ac
-
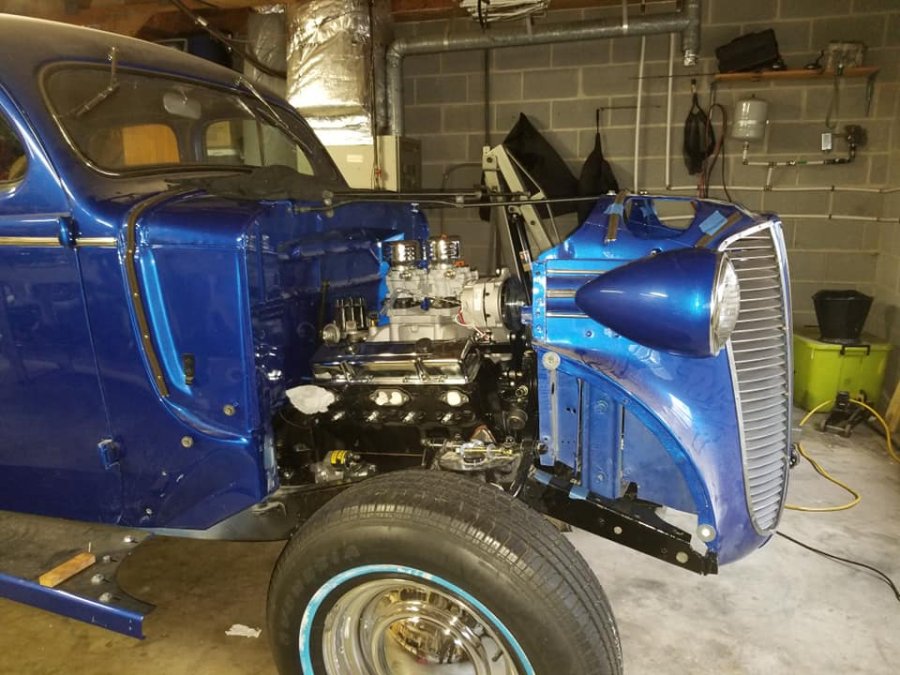
Dad, Tossed the nose back on and started lining it up. 2.5" or more clearance between water pump and radiator. So, will still use a pusher fan, but may be room for a metal one. Almost time to order all the steering and radiator...another week or two.
-
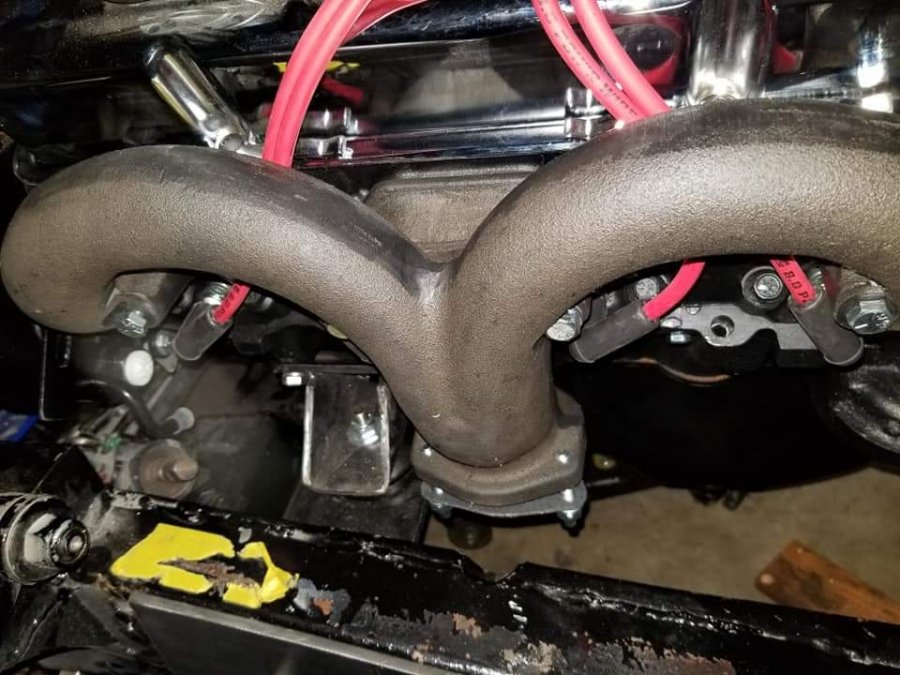
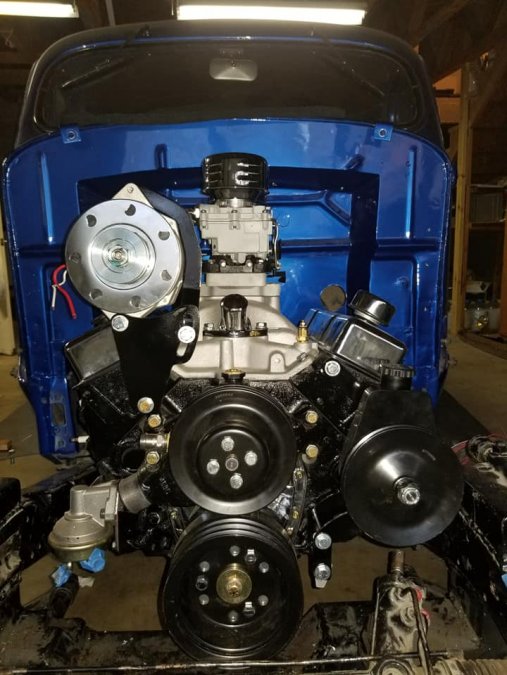
Dad, Motor is approaching 75% installed. Finalizing motor mounts out front. Accessories bolted on and drive pulleys aligned, much creative cutting and drilling of the good quality Alan Grove accessory mounts to get them to fit in the space available.....damn, Bessy got a narrow frame. Some wiring and waiting the Dizzy, exhaust manifolds but should all fit good....even got room for steering now.
-
Prolly wrap up the mounts tomorrow....I hope.
-
Dad, It don't look like much but one more big job tackled. Spent the morning on the Passenger Side, working positions for the lower motor mount bracket. Made up a drill jig and lots of measuring and found I could decrease the engine angle from 10 degrees to 5 degrees by dropping the front end about 1/2".....this put the motor mount bracket bolts just above the bottom of the arch in the front frame. I'll increase the bolt diameter later and sleeve the boxed portion of the frame to prevent pinching when the bolts are torqued. Probably also add an external plate and weld it all once finalized. Still need to trim this side and pretty it up but tomorrow I'll use the drill jig (indexed off the lower and now unused shock bolt hole) to set the Drivers side lower motor mount bracket. The brackets are set 1/2" further back than the motor mount center line as we have enough room to scooch the motor back. Should still allow us choice of large or small cap distributor and gets the crankshaft triple pulley off the steering rack and out of the radiator. In any event, the newly installed PS motor mount is taking weight and we should be 75% done with the installation by lunch tomorrow. After that, I'll clean up the mounts for aesthetics and figure out how to elevate the power steering pump brackets we acquired from Alan Grove in order to clearance the steering pinion. Last step will be to check the angle at the tail of the trans and see if it needs to go up or down any. Progress. PS....we still had time to spread 3 cu yd of rocks in the front yard! Retirement is grand!
-
reground cam ... new or reground lifters?
Sharps40 replied to kencombs's topic in Technical Archives
Time and money. If you have the cost of a second cam, lifters and gaskets laid back in the checkbook go for it. Otherwise its potentially less costly to break in new parts together -
reground cam ... new or reground lifters?
Sharps40 replied to kencombs's topic in Technical Archives
Rule of thumb....new cam, new lifters and/or reground cam, new lifters. -
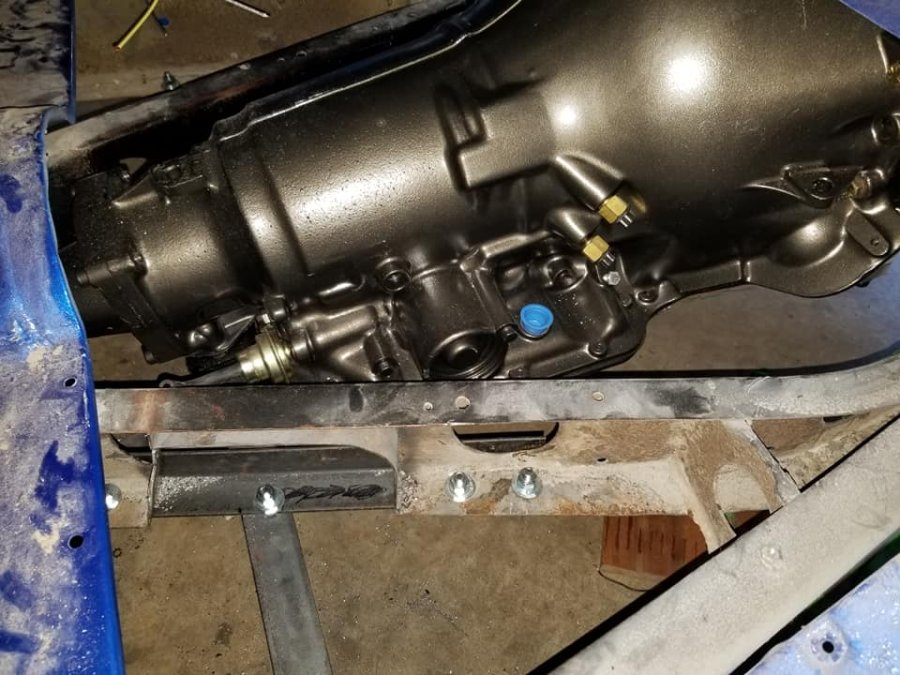
Dad, A full day today. Temporary brace for the transmission, no more jack support, everything taking its weight and I don't have to rely on hydraulics to hold it all up. Hours spent measuring and aligning engine/trans to frame and rear but its all within 1/16" any way i measure it. Trans will need a stiffer brace but for now, this gets me centered and allows me to shove the engine back once I bring its nose down some more. Yard work and vet visit tomorrow but Fri and Sat should be trimming the motor mounts to drop the front of the engine down several more degrees. So, I have left to right figured out. Next is up down and then finally, front to back. After that, more measuring and selection of distributor and exhaust system. Then steering and brake and suspension and wiring and fuel plumbing and..... She's coming along.
-
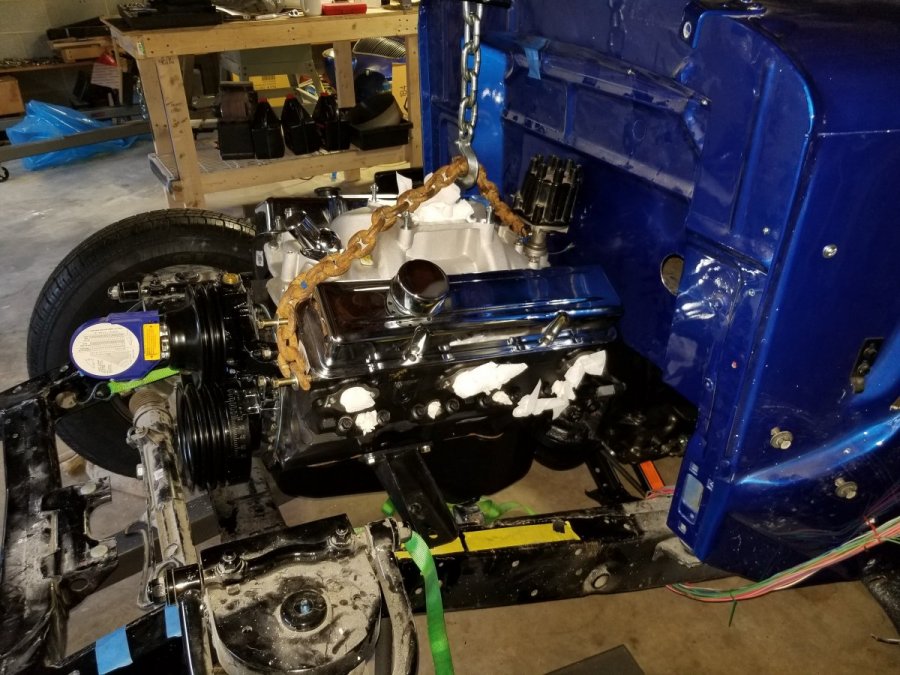
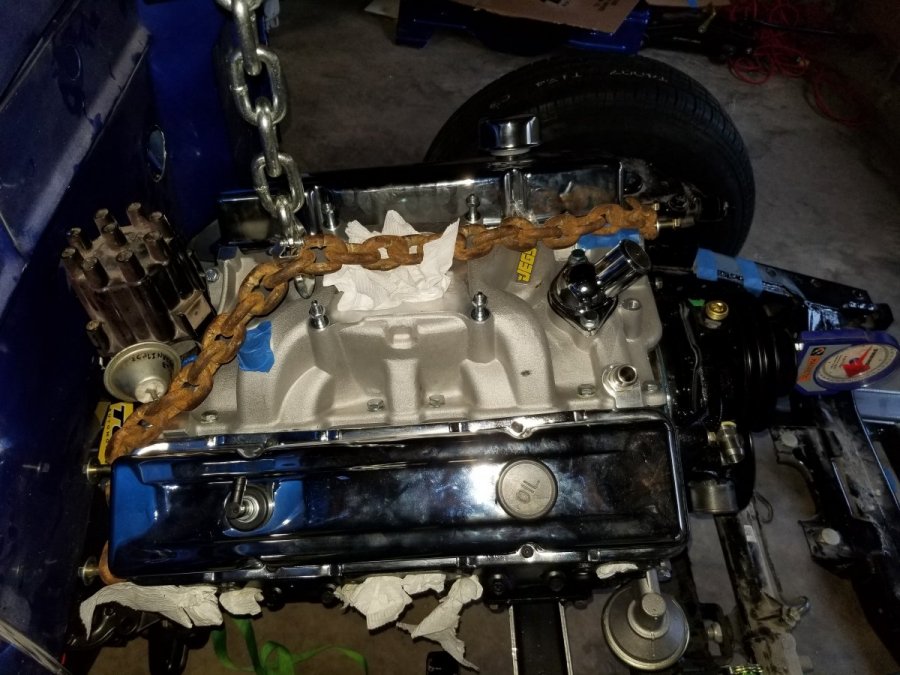
In rough. Much to do starting tomorrow.....back to front again. Align the engine/trans up/down, left/right and forward/back. Check fit and potentially modify the Power steering pump bracket, fabricate the trans cross member, repair the frame x member where it was cut out to fit the ginormous other GM transmission, trim and drill the motor mounts, install the frame brackets for the motor mounts, etc.....prolly a couple days with everything still sitting or hanging on chains and jacks and such.....but, great progress. Couldn't have done it without help from GoodWife! Feels real good to have all that heavy iron off the stand where it could have fallen and sitting in better security between the frame rails.
-
-
Ate breakfast. Cleaning shop. First set of Ol Bessy's motor in a few hours. Hopefully have it roughly set by evening.
-
Circuit Breaker (and other) electrical questions
Sharps40 replied to JSabah's topic in P15-D24 Forum
Install a new breaker and relay. Install new headlamp relays to maximize volts [brightness] at the lamps and to prevent overheating old or even new dash switches [fire hazard] -
I have no idea what you mean.
-
Dad, Baring any issues, we set the engine and transmission in the frame Tuesday. Starter is in place, a gear drive mini to save room and its clockable to allow for exhaust clearance. Starter is also rough shimmed for clearances on the gears. Final shimming after the flex plate is torqued into place. Flex plate is bolted to the back of the motor, just needs final torque. Much learning going on here. I recall all the flat head motors we assembled over the years with calibrated arm torques, no assembly lube, no pre oiling and not a drop of sealant or lube on fasteners. Was probably a minor miracle that they all ran so well....or perhaps Dodge Flatheads are so sloppy that any old work is good enough to run them. I don't know, but I'm following instructions on this one as its the last motor you and I will ever install in Ol Bessy. I'm sure it'll move her down the road well past her 100th Birthday.
-
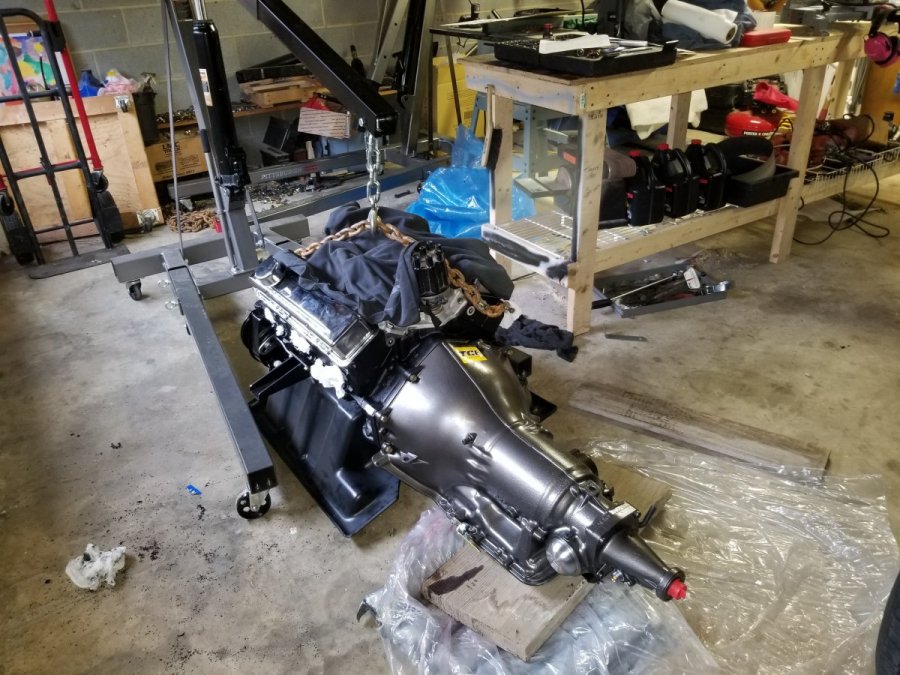
Dad, Quick video update. Trans is together. Motor and accessories test fitted. A flexplate and starter/shim kit is on the way.....once thats tweaked, it'll be time to bolt the power pack to the slush box and stick it between the rails. Looking good. Alternator to set, pulleys to shim, exhaust and steering yet but almost far enough along to get it off the stand. Perhaps mid week. https://www.youtube.com/watch?v=MeHuy5gPJLA
-
Not a matched pair. One runs full time and other is a secondary coming on progressively. Secondary carb is much simpler/less parts.
-
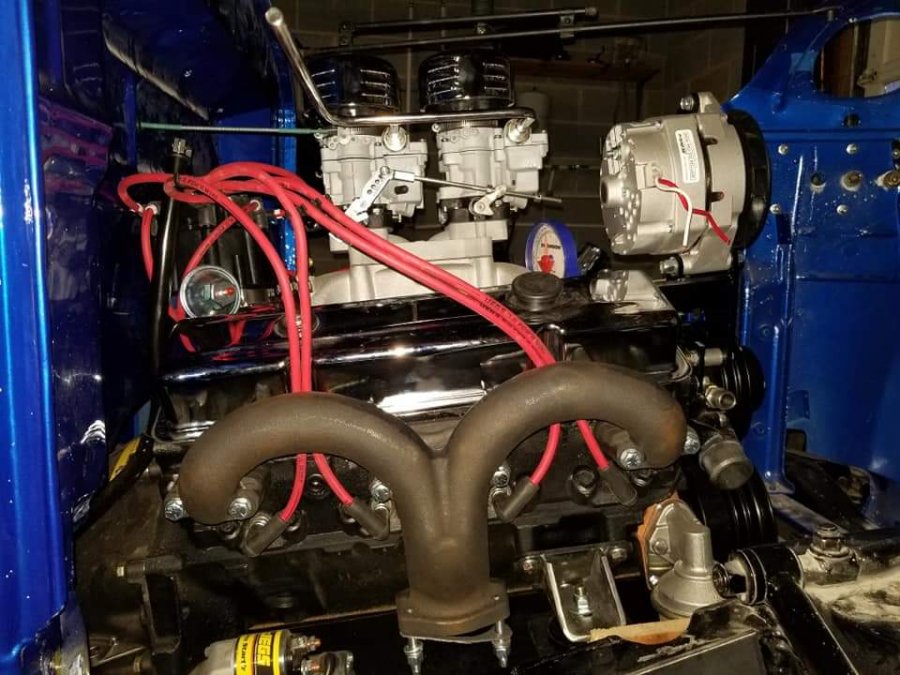
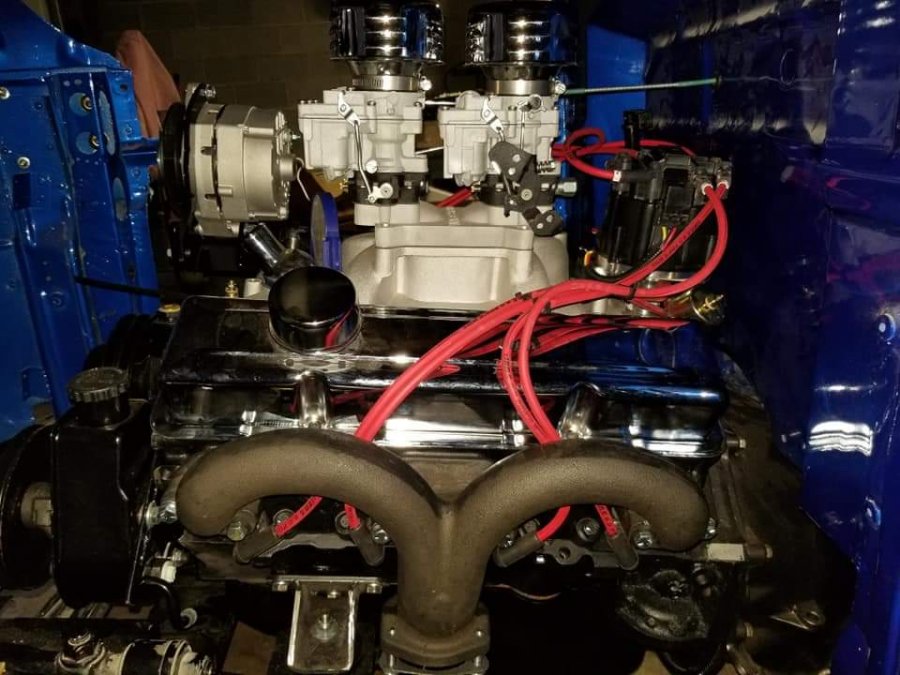
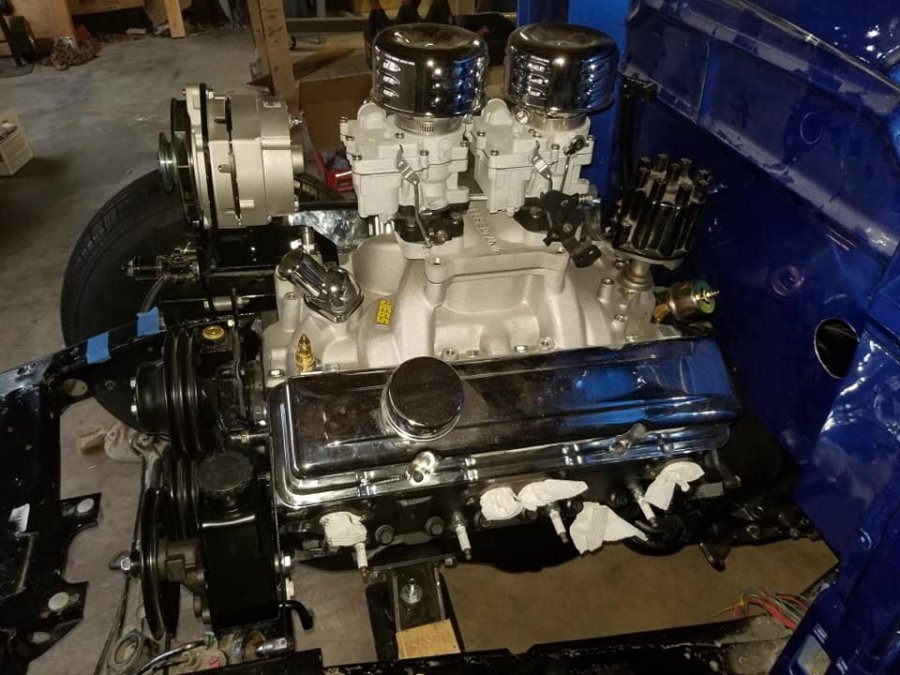
Dad always ran dual 1 bbl carters on his 218 flathead 6. He always wanted a chevy v8 and automatic for it but couldn't reach the goal. I decided the theme for old bessy would be what he could have done back in the 60s. So .... paint , wheels, v8/auto and two carbs (in this case double 2 bbls) to make it go. I struggled on the carb choices. Very nearly went with dual 45 weber side drafts on an adapter. Worlds best carbs (webers) but the Rochester's have the right period look for the theme. These 2 Rochesters are progressive, functioning like a single 4 bbl, second carb will tip in about 60% throttle.
-
Dad, Starting pump and pulley assembly. Water neck is good, bolts a bit long for the aluminum manifold, so some tweaking to do. I scrapped the o-ring and put in a real felpro gasket with the Stant 180 degree thermostat. Started placing the Alan Grove pulleys and brackets, for now, crank set is assembled and the power steering pump and bracket assembly is roughed in. Brackets will need paint but it all looks like it'll clear. Back of block to front of crank pulley is 26.75", add a half inch for clearance at the firewall and the nose of the pulley set will be well back from the radiator. Power steering pully at mid point of its adjustment is 12" from center of crank to outer edge of power steering pump....as the inner fender wells flare out as they rise, should be plenty of clearance both to the side and between the power steering pump and power steering shafts.....i think!.....we will know soon. Hope to be setting the package in the frame for first test fit in about a week.
-
Pretty much.....I think back on how high the Impala had to be and figure I was stronger in muscle than brain at that time......nothing fell on me, thank the Lord for that!


