Sharps40
Members-
Posts
759 -
Joined
-
Last visited
-
Days Won
5
Content Type
Links Directory
Profiles
Articles
Forums
Downloads
Store
Gallery
Blogs
Events
Everything posted by Sharps40
-
-
-
Dad, As I work on the 37 Dodge, I continue to review the theme, what you might have done with her in the late 50s to mid 60s. I think back to your original set up with the flat head six, though you always wanted a V8. Your set up of the six was bored, shaved, split dual exhaust and twin factory 1 barrel carburetors....with that set up, you won a lot of races against more powerful cars. Uncle Mike, your brother, did similar things with his Fords. So....since the computer controlled engine and transmission is coming out, I'm going to try getting us back in line with the agreed upon original theme. Pending some fitment questions from the manufacturer, the photo shows your potential new fuel system. Something an 18 year old could have done in 1960. Dual 2 barrel GM carburetors on an original look adapter, because of course, why have one boring 4 barrel carburetor when you can bolt on more!
-
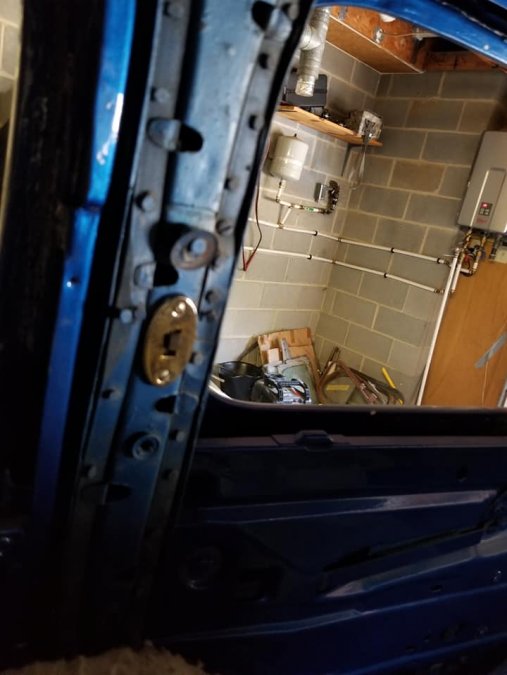
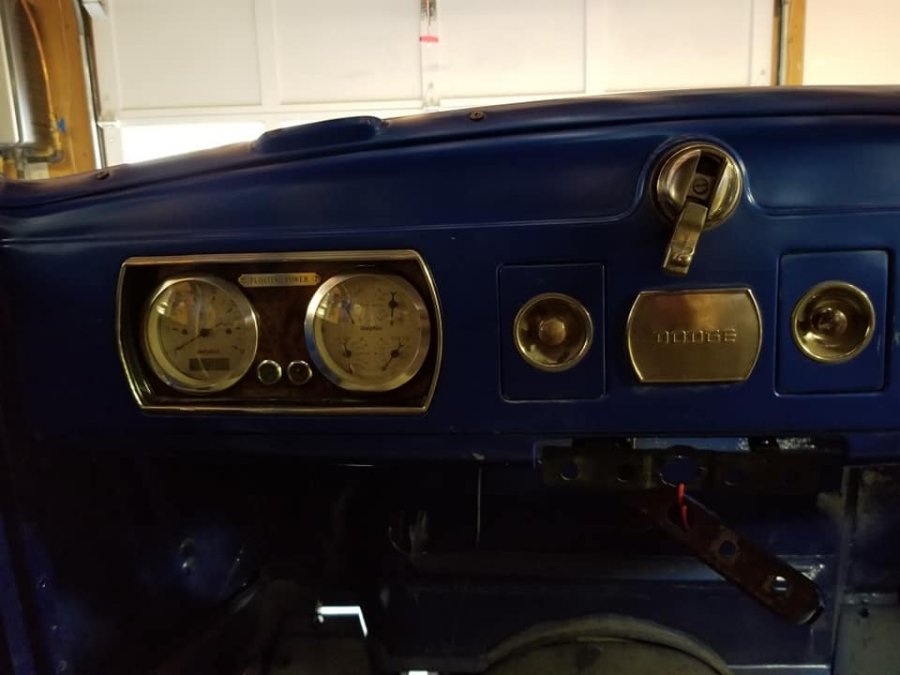
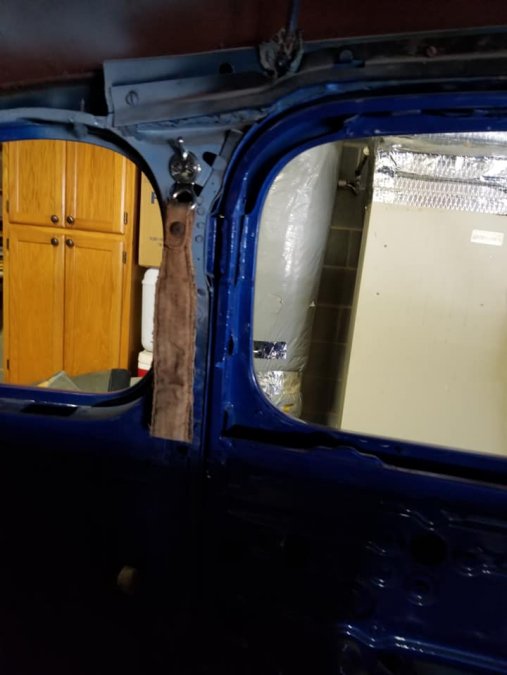
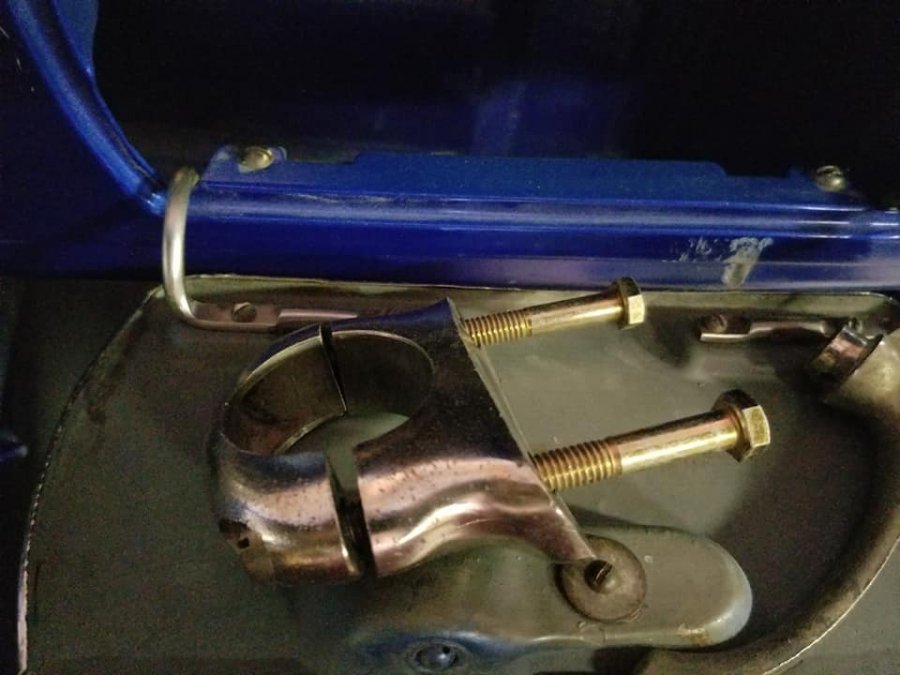
Dad, Tonights work. Rubber for trunk, opera windows, vent windows and cowl vent should be here Saturday. I'll start buttoning her cabin up snug, back to front like all the work. So, the first piece of glass is restored. Drivers side rear seat vent window. Frame and paint good, glass tight and the latch is now polished again. Compare to the Passenger side on the right. I have spare frames to replace the missing hardware so they'll stay open when driving. Will probably also build the original trunk shelf this weekend. And, buttoned up the dash for the last time I think. Here on the underside is the passenger side cowl vent hinge mounting point. they cut the studs off, no way to get to them from the top, but loosening the dash made enough room for the drill the studs came out. It'll be a 3.5 handed job to get the bolts and nuts back in there through the hinge, but i think duct tape and a drop of superglue on the wrench will make it go smooth in such a tight space. Finally, the windshield is coming along. I should be ready to prime and paint it in a couple evenings and then hopefully install it this weekend. If i get the cowl vent and crank open windshield done sunday, I'll let you know that the innovative MOPAR Bug Induction System is back up and running!
-
Yep, I looked at them. Not impressed with the visual quality. Very rough and porous castings in my opinion. Our original is in very good shape and the spare is too. Glad to have them.
-
Its working now!!!!!! Dad, tonights work. - Glass inventory. Three cars worth will yield 8 near perfect sections of glass of the 11 pieces needed. We'll buy 1 drivers window, and 2 vent wings for the front doors. Savings will be about $700.....don't worry, we'll spend that on rubber! - The window crank mechanism in the dash is cleaned, lubed and the zinc gears in near new condition. I have a spare mechanism for parts, and this part is not available at any price! - Windshield in good shape, I'd replaced it in 91, and the rubber is still soft and plyable, no cracks, so, cleaning it up and it'll go back on the car this week. Located every screw needed, those hard to find 8x32 dome top tapered bottom screws.....at least the shop kept them in jar in the box, in the trunk! - I properly installed the cigarette holder and cigar lighter box, seems the shop forgot the bolts. - The cowl vent is rebuilt with its bug screen and ready to install.....However, rather than remove the hinge bolts under the dash, they cut the damn things off. I'll soak them in PB blaster and see if i can drill them out from the underside. If not, i have to remove all the upper dash bolts and rotate the dash down and back out of the way. Galls my ass they did such good work on the car and got lazy with two bolts.
-
1. Shop changed owners 2. Dad lost $15000 to finish her to the departing owner. 3. New owner quotes $39000 to pick up where first owner left off and finish the job. 4. Dad is 80 and some health issues. I need to finish her so he can drive his car configured much like he wanted it back in 1957 when he bought it for $50.
-
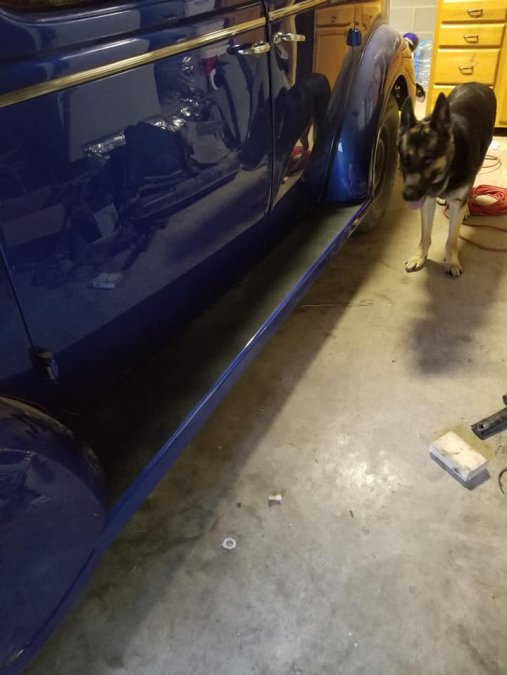
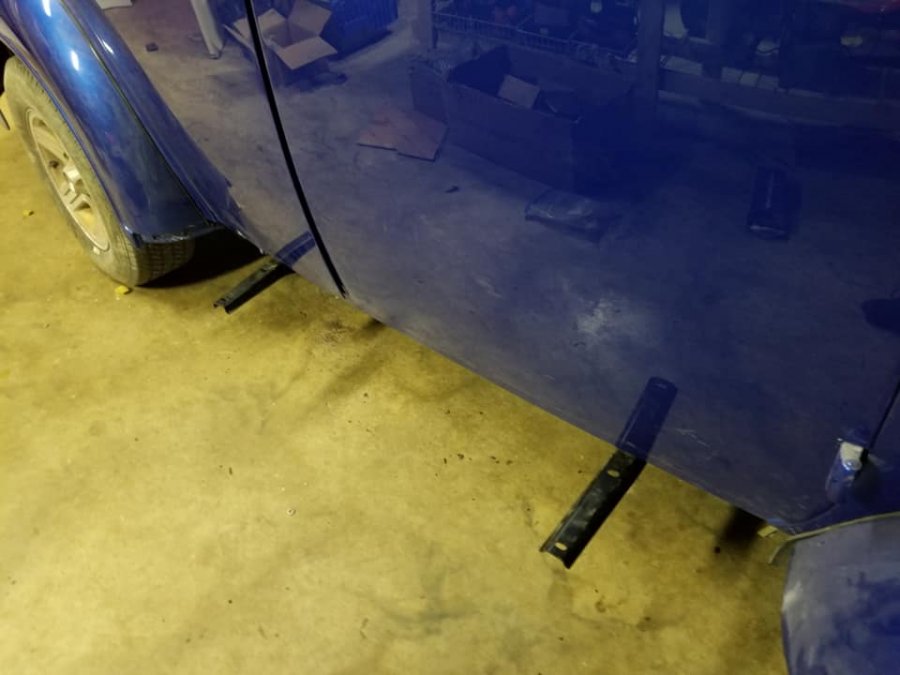
Dash is fully secured now, top and bottom. Top screws are stainless with stainless nuts and washers as the windshield opens for ventilation and is subject to water. I have three windshield drains to hook up. Running boards by Smoothie Fab are on. Pretty good fit for 82 year old car and lots of body work. Drivers side is a bit off but i still have front sheet metal to align. Back to front is where it needs to be and locked down snug. These are made for stepping on, top coat is black bed liner instead of the old style rubber mat.
-
nah, already set up for chevy. Plus I like chevy motors and trans better than mopar or ford.
-
Yep. Rubber and glass. For now, installing running boards today, aligning metal from back to front. Front has to come off as we intend to toss the ls and 4l60e for a non computer drive line with a warranty. Also I need to go through the suspension, looks like the shop might have installed over long springs and the rack hits the lower control arm bolts/needs shimmed forward. Much to do. Retiring in 19 work days. Hope to have it driving by thanskgiving. If so, we'll take it hunting and see if 4 deer will fit in the trunk!
-
-
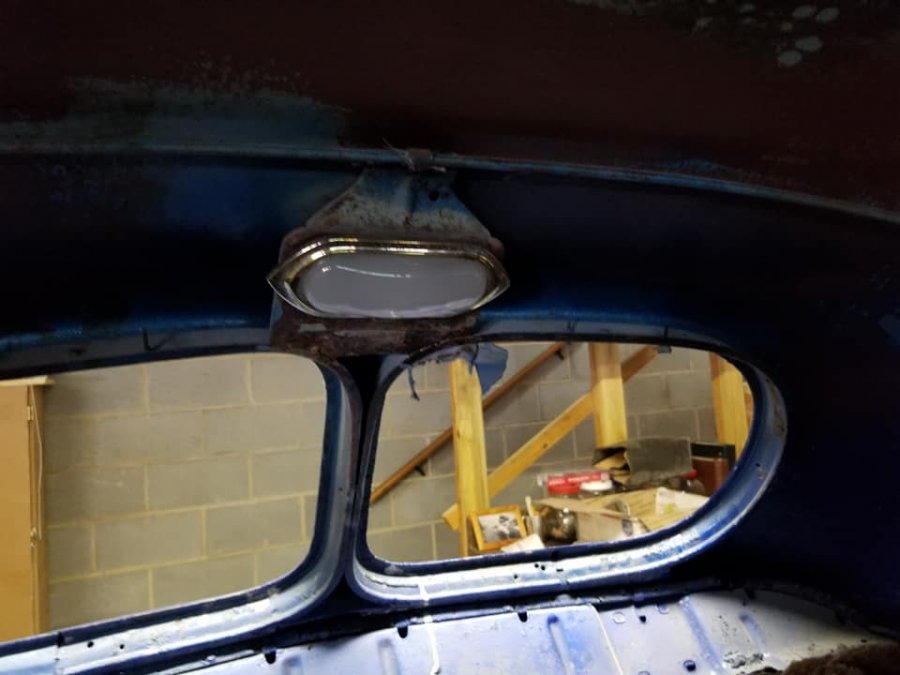
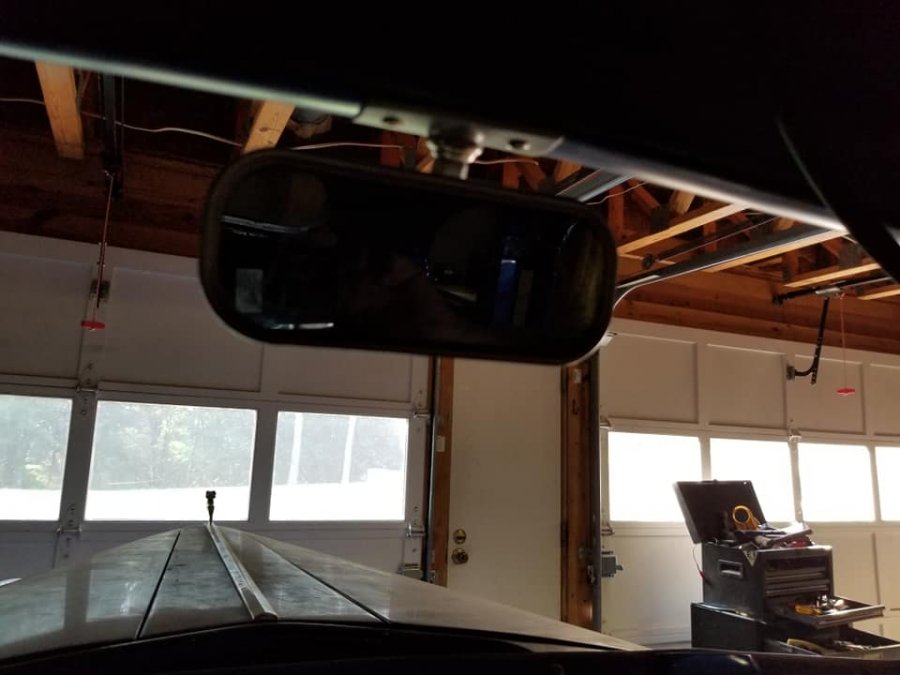
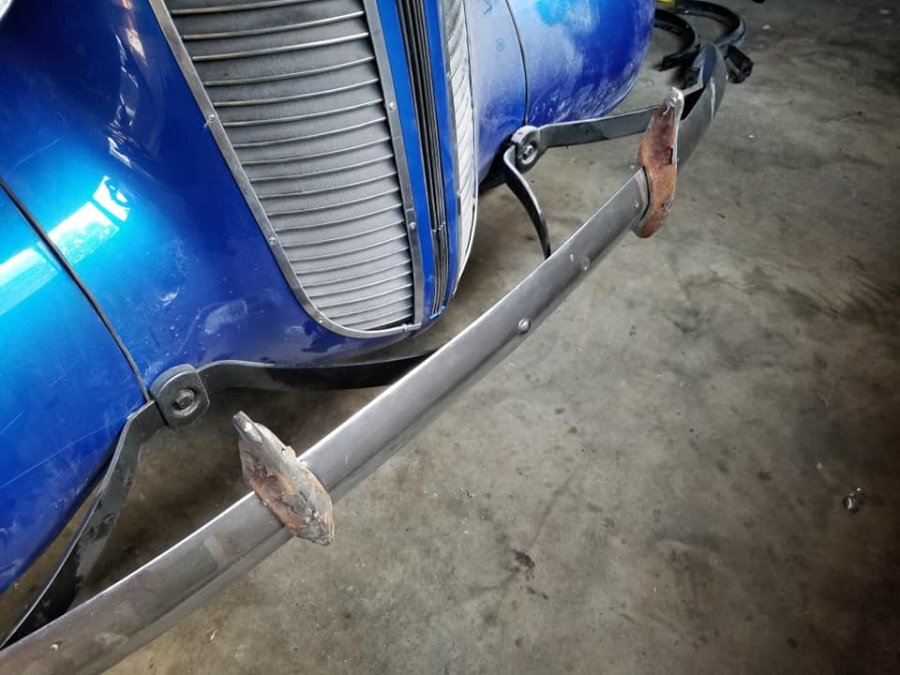
Email to Dad this morning..... Dad, this mornings work......off to mow and buy bolts to fix the dash attachment. Installed the windshield inner trim, installed lower dash bolts (it won't fall out now), found steering column drop, installed rear view mirror, painted and reinstalled the license plate bracket (Silver), installed back seat hand straps and coat hangers, installed dome lamp and dome lamp switch, found and hung the dash plates that hold the light switches, throttle and choke, installed the full filler neck and grommet, located and installed the very poor condition front bumperetts.
-
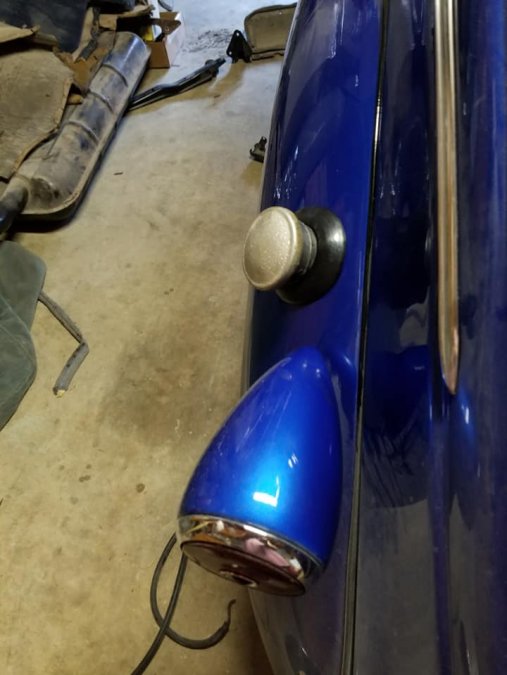
Todays work. Got her home and in the garage. Front suspension springs are too long, bent and shocks won't fit.....I'll call Fat Man, may need shorter ones....not sure, this is a potential major screw up by the shop. Dash is scraped up and needs new paint, probably by the shop in the moving around. Headlights are scratched, not too bad though. Hood braces installed, hood aligned, hood pins fitted, hood handles adjusted/freed up to operate. Door check straps installed, door hinge pins seated. Running board brackets installed, running boards need drilled and fitted. Headlight stands and trim installed. Headlight buckets installed. Headlight inserts installed (6 hours to figure it out!!!) Front Wing emblem installed. License plate installed. Screws installed in dash to hold it on, all threads are stripped, will have to repair to hold the dash up.
-
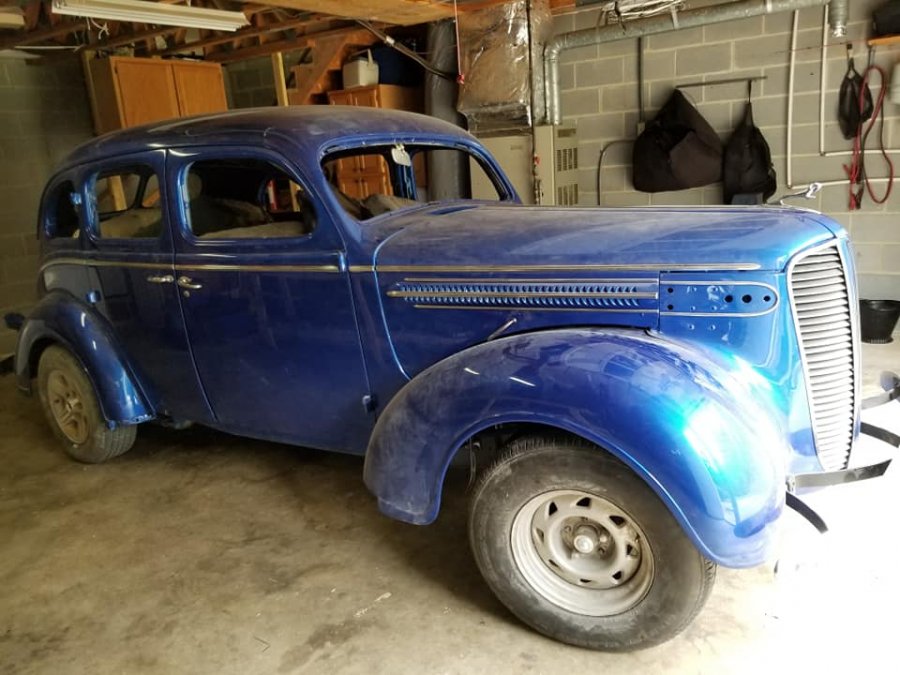
Ol Bessy went on the truck this morning at 11 AM. Should be here tonight or tomorrow morning. Looking forward to having her home in my garage for the first time since 1991. Hope to be driving her by Christmas. That'll also be the first ride in her since 1991, many more horses and amenities this time though.
-
NC is easy. Go get a NC YOM plate. Go get a real plate from the DMV with your title and registration. Stick the real plate with current registration in the glove box. Put the NC YOM plate on the back of the car. Go drive.!!!! Show the real plate from the glove box if you get stopped.
-
Been doing a lot of research. I'm thinking about first three steps in this soon to be garage project. After inventory and bolting up all the sheet metal, I think I am ditching the used modern engine and transmission. Looking at the cost (let alone complexity) of fuel system mods, trans wiring/programming, engine wiring/reprogramming, coolant system hose/steam line/pressure vessel monster, and the list go's on.......I am leaning towards a v8 and trans more closely aligned with my budget and knowledge.....a small block and a th350. The modern stuff would have been wonderful.....if they would have finished the car. Hell Bells, the engine alone needs 40eleven electrical connectors and 2 miles of coolant hose, brains, 6 million lbs of fuel pressure and its so wide, I can't even see where it'll all go..... I'm liking the simplicity and cost of a 600 CFM carb and HEI lots better. Hell, a Goodwrench engine and TCI trans with converter are less new with warranty than all the mods to get the LS motor just to run....let alone fix whatever it needs as a used engine. Crossed fingers, car might just be in my garage this week. Wed is supposed to be the loading day.
-
She's not finished but the time has come for final assembly.....at home! Awaiting confirmation, but current date for pickup at the shop is 14 August. With some luck, it'll arrive in my garage that weekend or early the following week. On the final assembly list is exhaust, steering, brakes, fuel, cool, glass, rubber and upholstery. Barring any issues, I hope to start the car for the first time in 25 years by thanksgiving!
-
Amen. Always fun to see these cough back to life and then purring
-
Heavy electric fan. Blow thru rad during the 20 min break in
-
Asforbypass. Drill a hole in thermostat till you get the right parts. 1/8 inch is fine.
-
If you intend to start it do it right. on stand or in car makes no difference. Set it all up and run it 20 mins at 2000 rpm. Anything else, especially those short runs and rube goldberg coolant hookups recommended above risk your camlobes lifters and bearings. Break it in. After that you can piss around with short runs at much reduced risk
-
Stock cam, I'd use ported vacuum and 15 degrees initial advance may be way too much anyway.... Set #1 at TDC Drop in the dizzy, rotor pointed at what ever tower you want for #1. Align the nipples on the rotor with the nipples on the ring. Install cap/wires. Ensure power is full voltage (12V) from an ignition on only source, heavy gauge wire, 10 or 12g. Start car. Warm Up. Adjust idle. Check timing, should be close to 0 (TDC). Loosen clamp and turn dizzy to 10 or less degrees advance. Adjust idle. Check advance at 3000 or so RPM....shooting for 32 degrees all in. Go drive. If no ping, done. If ping, try an advance closer to factory of TDC to 4 Degrees advance. Final note, you probably have a soft can bringing in about 10 degrees on vacuum. Figure about 18 to 25 degrees mechanical built in to the dizzy weights. As such, 0 to 4 degrees initial timing will likely get you all in for 32ish degrees at 3000 rpm. (If you have to, measure and mark your timing wheel in 2 or 4 degree increments so that you can see the new 32 degree mark aligned with the pointer on the timing cover. Its like using a tape but just sharpie marks carefully placed on the balancer.)
-
80 is the key and the risk. Download a wireing diagram and plan to install a complete new harness. Its your best electrical insurance policy.
-
Pull no 4 and pan Cover crank at 4. Tape off 1 2 3 5 6 cyls Measure and lightly hone cyl 4 [optional if unscarred and not badly tapered] Clean it all twice. Fit new piston and rings Reassemble and break in 20 mins at 2000 rpm. Go drive
-
I am having 5.3/4L60e installed in a similar car, 37 Dodge 4 door sedan. Its tight. Probably some similarities to your 350 swap. Thoughts as follows: We used fatman Mustang II style suspension and crossmember with 2" raised spindles for a near factory ride height. Both it and the frame needed notches to clear some components, like the low mounted ac compressor. Exhaust and steering is tuff to route as the frames are very narrow. Fatman crossmember is supposed to be a direct fit but still takes a LOT of work to fit to the humped dodge/Plymouth frame (you must make up the round top panels to weld the member up under the humps...much cut and try). The original front suspension and steering, in good shape, should be (and positively reported on HAMB and AACA) fine with a 350, still, plan for exhaust and steering box fitting issues. And note, the original steering and suspension leaves you with 80+ year old non power steering system. Hard to fix on the road if a part breaks. The factory boxed front portion of the frame was pierced and then motor mounts inserted and welded for the 5.3L. Not sure if the 350 can use some bolt on style or if the motor mounting points are even the same. I believe the LS motor mounts are further back than the earlier gen 350s. Engine will sit low in the frame, fan will be covering the bottom half of the radiator. But the rear sump LS pan leaves good ground clearance on a factory ride height car, I used 2" raised spindles since I don't want it looking slammed. Its a resto mod. A lowered car, I can't say what pan to ground clearance would be, but with an LS I suspect it'll be worrisome. I believe you can easily move the radiator forward an inch or two, we are exploring that now....though it looks like the engine and fan are far enough back for a factory install of the walker radiator. If its too close, we'll simply push the radiator forward in the nose. In any event, the 5.3L did not require any modification of the factory front brace to which the radiator and nose bolt. I suspect we will have to ditch the inner fender wells to accommodate the exhaust, but are exploring block hugger headers to see if we can dump exhaust within the narrow frame rails and still clear the steering shafts. If not, I imagine we will toss the inner fenders and take headers out over the frame and then back under. Either suspension, plan to fit up ford or Gm power disc brakes on the front. The old manual Lockheed drums will not be up to the job in modern traffic with the much increased hp and torque from a v8. You may well have to notch the firewall to move the engine back. We had to with the 5.3l, (About 4+ inches over the full width of the engine) I assume the 350 block will be similar length to the 5.3L and will add issues for the rear mounted dizzy on the earlier generations of 350. I do note the 5.3L appears about 3 or 4 inches wider than the earlier generation small blocks. The 4L60E needed a larger center hump for the floor pan and half moon cut in the fire wall notch to clear the bell housing. Assume same for the TH350. However, we will be using a lokar floor shift and ebrake handle in the floor to retain some original look. We have not explored whether the original mounting holes are in the right spots yet. If not, will weld them up an cut new holes. The 4l60 needed a notch in the passenger side x member to fit, but otherwise, we retained the x member and driveshaft loop with no issues. Assume similar for the TH350. We placed a gm Pontiac LeMans rear end on the original/nos semielliptic rear springs. Good fit. Simple swap of the spring perches and bolt it in. Planning to run 600x16 for original look so no clearance issues and better rear brakes with e brake hook up. You'll want to do similar since I don't know how the original dodge rear will react to a doubling or tripling of horsepower and torque that comes with a v8. Your original rear axle is probably 4.1/1 ratio and 10 spline shafts. About any modern axle with fine spline axles will be much stronger not to mention giving you the option for much more suitable gears for highway travel and the ability to add a posi unit.


