falconvan
-
Posts
1,646 -
Joined
-
Last visited
-
Days Won
8
Everything posted by falconvan
-
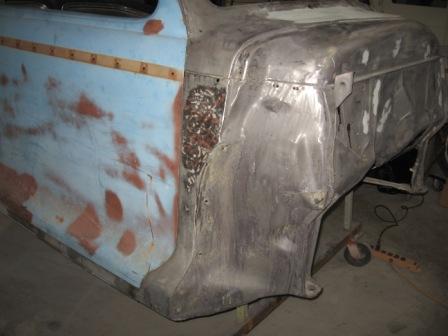
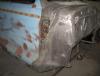
Well, we fought with this door for a few days trying to get it to line up right with no luck. Finally we called in one of the local old timers who looked at it and said that the minor dent in the fender and the cowl had apparently caused more than minor damage. The whole "A" pillar on that side had been pushed back about 5/8". He tried a hydraulic body jack to push it back but it rebounded as soon as you let it go. So it looks like we're going for some serious "A" pillar surgery. Luckily I had cut this piece from the other car so we have a donor. Now I'm really glad I farmed this out; I never would have saw this or figured it out myself.
-
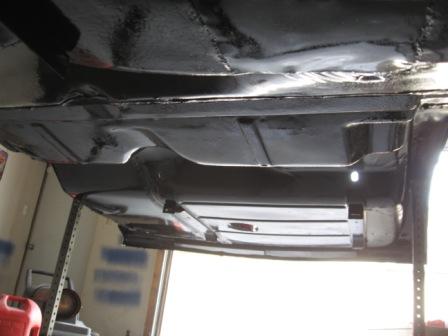
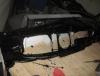
I guess we call that a gas pan rather than a tank.
-
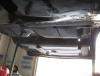
Since I'm waiting on the tie rod ends I spent part of the day under the body with a couple tubes of 3M paintable seam sealer and a putty knife. I did a lot of patching to get the floors together and want to seal all those joints to keep it all as watertight as possible. Quite a mess but well worth it.
-
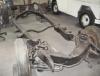
I've done body swaps onto newer frames and frame upgrades over the years. Generally speaking I think the best way is to upgrade the correct chassis for the car with a frame stub or modern suspension/steering parts. Things just seem to fit better. I put a 57 Buick Roadmaster on a 74 Impala frame years ago and although the wheelbase and rail width was the same it was a ton of work to get it to look right.
-
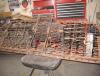
Sure is; i never throw that stuff away. I made quite a few car parts out of Unistrut over the years.
-
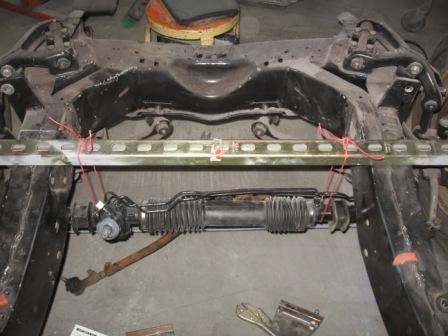
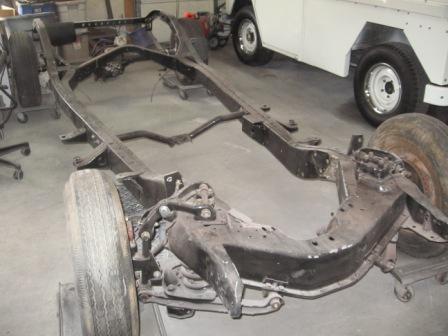
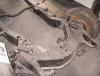
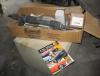
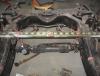
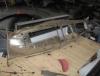
I finally took some time and started setting up the Fatman's steering. You get a kit with brackets, tie rod end adapters, and instructions. The first order of business was to get an 89 Cavalier rack and pinion and hang it to approximate the location. The instructions are very good so it should go smooth. The next thing I saw was that I was missing several parts I needed to get so off to the bone yard for a set of Cavalier tie rods, hold downs, and the bolts. I cleaned up the rods, installed the tie rod adapters, and ordered the tie rods ends. It uses a 04-05 2wd Explorer tie rod end. Once they come in I can do the final location on the rack and weld the brackets on.
-
That's a nice job; these cars must be prone to rust in that area because mine looked exactly like that. What have you figured out for all the little rectangular holes for the rocker molding clips? I'm mulling that one over myself.
-
Thanks! My trunk was very good but the floors were junk. I took a few days off to get some quality garage time in so hopefully we'll get some more done in the next week.
-
Glad you're back but you got nerve posting those pictures in February!!
-
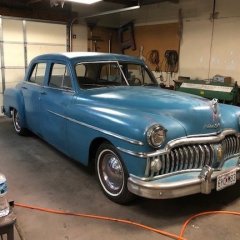
For some insane reason that I cant fathom; I like it. The color is all wrong but lower it and give it a silver/black two-tone; I think you'd have something pretty slick.
-
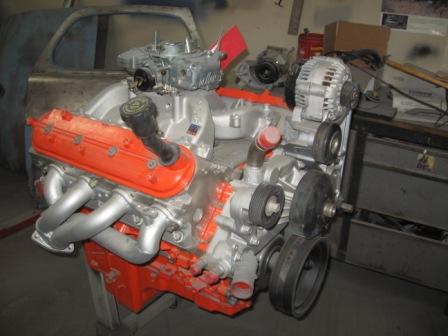
Me, too, Chester. Starting when I bought the first car I've been building this for about 4 years. I kept changing ideas and directions with it but I'm locked in now. Funny, when I decided this would be my wife's car things just seemed to fall into place with it. She's an amazing woman and I want this to be my best work for her. I painted the bottom of the car with POR-15 yesterday; This is great stuff but don't get it on your skin! I made sure I wore protection; hat, rubber gloves, long sleeves, goggles, and a mask. So what happened? I dripped a big glob right on my ear! I guess I'll have one ear with a big black racing stripe for a while cause it aint comin off! Anyway, the bottom is painted and I just need to go over it with some seam sealer to button it up. I also sanded all the old paint off the front of the dash. I'm hoping this week to bolt the motor and tranny together and start working out the motor mounts and steering. We've got one side of the car ready to primer and we're moving to the trunk sill area. I did a lot of patching back there so there's plenty of smoothing to do.

-
That is a good idea, Bob. Thanks; I think I'll do that!
-
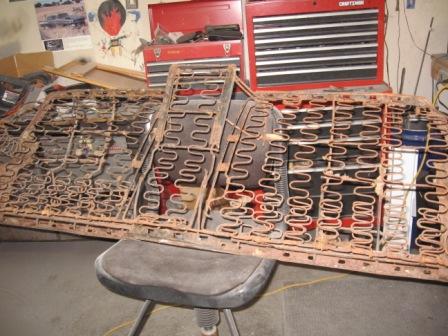
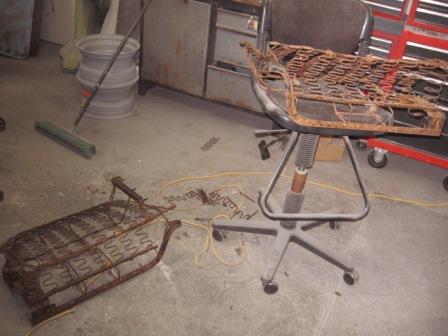
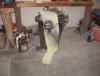
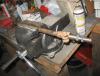
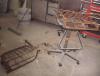
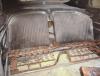
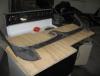
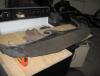
I took the seat base today; sliced it in two and pulled four inches out of the middle. It looks like it will fit pretty good but I need to do some reinforcing and add a piece at the bottom front to make it tall enough. I've got it sitting on a piece of unistrut and that looks like just about the right height. Also I stripped the dash; the back of it had a lot of surface rust so I sanded that and coated with POR 15.
-
No, but it shouldn't be too far off. We're shooting to have the main body all in primer by the middle of March. Once that's done I'm going to set up the drivetrain and steering and drop the body back on temporarily to get everything roughed in before we blow it back apart for paint. I'll make sure I get some good pics and document the steering install in case anyone else wants to give it a shot.
-
Thanks guys; I'm glad you like it. After measuring the armrest I'm thinking more along the lines of just a padded or painted filler panel now. It would be really narrow and not of much use as an armrest. But I'm still tossing ideas around. LittleMo, just let me know when you're up this way and I'd be happy to give you the tour.
-
That's all great info, guys. Thank you!
-
Thanks guys, lots of great advice. I'm putting them back on come hell or high water; the car just dont look right without them.
-
Next I'll narrow the seat base and start on the folding armrest.
-
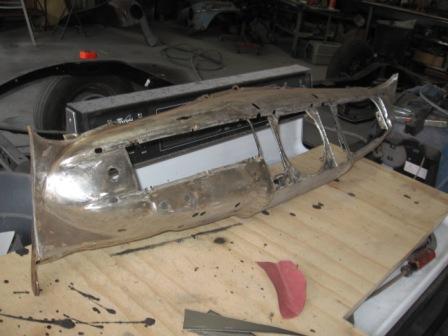
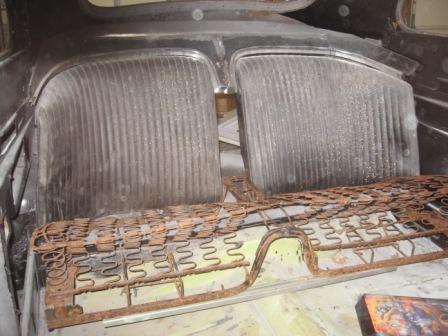
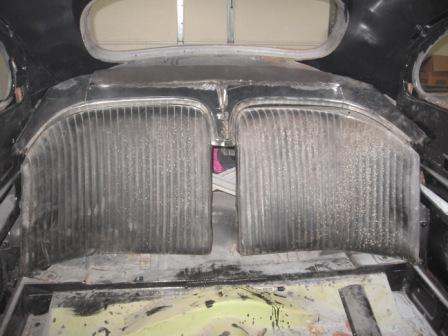
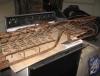
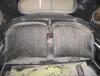
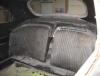
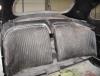
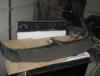
We hung the other door so we can start fitting it and making sure everything lines up good. In the meantime I went back to work on the package tray, making a filler piece and finishing up the mounting brackets for it. I like it; I think it'll add a nice touch.
-
Alright, what the heck is going on?? :confused:Three days ago they predicted a blizzard and we got next to nothing. Now they called for no snow until Sunday night but I wake up this morning to 4" and it's still coming down hard! Crazy... Anyway, I have a few questions about the rocker molding on my 48. I had to install after market rockers as the originals were rotted out but the new ones did not have all the little rectangular holes for the original molding clips. I really don't see any way possible to cut those; the stores seem to be fresh out of rectangular hole saws. Has anyone else gone through this and what solution did you come up with? Also, can anyone recommend someone who straightens and polishes stainless trim? My rocker molding needs some work.
-
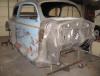
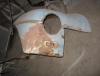
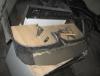
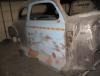
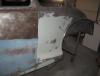
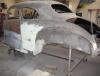
Here we are starting to float out the quarter panel; defiantly a few high spots to work over. I'm not totally sold on using this door, that's why I stopped stripping it for now. Once we get the main body done I might look for a better candidate; it's got some rust damage near the bottom. They do make a lower door skin, too.
-
I got mine from the local yard for $85; its a Chrysler 8.25. That's just a standard one legger, no posi. It had a stock 2:73 gear, I swapped it out for a 3:55.
-
Thanks guys. Not much to report this week; it's been a busy one for me so I havent been out to the garage. But my body man has been plugging away for a few nights so it's nice to know something is getting done.
-
I"ll second that; Dakota rearends work great. I used an 87 Dakota rearend. The length was perfect; I relocated the spring mounts and used the stock springs. Also, the bolt pattern on the wheels was the same.
-
I think most of us (including myself) have to admit that the main enjoyment in the hobby is the build rather than the finished product. There's just something great about a nice summer day with the garage door open and the ballgame on the radio while you tinker with whatever it is you're trying to give life to. Dont get me wrong, driving the finished car is great but it's the time spent using your skills that really sparks us. I've started several cars over the years that didnt get finished for one reason or another and I dont regret any of them; they taught me a lot. So if you want to put your time into this, go for it. Whether it comes to completion or not, it looks like it would be a lot of fun.