DutchEdwin
-
Posts
393 -
Joined
-
Last visited
-
Days Won
1
Content Type
Links Directory
Profiles
Articles
Forums
Downloads
Store
Gallery
Blogs
Events
Everything posted by DutchEdwin
-
I live in Holland and have used them on 3 shipments on my 55. All shipments were good quality. Once had the problem that they sent the wrong part. Because we live on the other side of the pond, sending the item back is no issue because of the high cost. They did understand it and did sent the right part without claming the wrong part back, with no charge of anything.
-
Hey Matt, I did a rebuilt on my 259 poly. The engine is the same as a Hemi, only the head differs. Great help was this guy http://www.hotrodsandhemis.com/Rebuild/HemiRebuild.html . I followed his directions. Only I wouldn't recommend the painting of the lifter valley. If the paint comes loose, you are in throuble! I got all of my rebuild parts (gaskets, pistons etc.) from www.egge.com, the quality is very good. They produce the pistons. Upgrade parts from www.hothemiheads.com , Balancer is recommended. Have fun. Edwin.
-
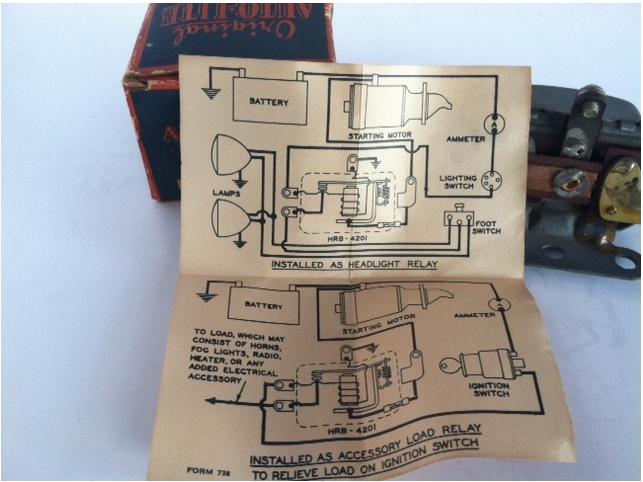
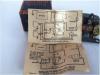
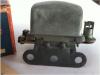
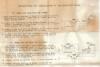
The information I have found so far is this adjustment manual on the relays. Missing is the section where it mentions the fuse rating. HRB-4201 relay.pdf
-
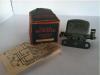
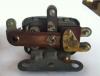
Jim Yergin, I've been looking for information on the amp rating of the auto-lite HRB-4201 relays. Other then they are used in 194-1941 Hudson and 1939 Studebaker I can not find any information on them. Do you have the information on the amps they are rated for? Also I saw that on this relay there is a fuse holder. What kind of fuse does go in? See picture 1, the tube on the right side.
-
Hi Jim, thank you for the reply Do you know what car it was used in and how much amps the relay is rated for?
-
Randy, thanks, I did some seaching on this site, and come up with some good posts. http://www430.pair.com/p15d24/mopar_forum/showthread.php?t=16390&highlight=headlights+relay http://www430.pair.com/p15d24/mopar_forum/showthread.php?t=28661&highlight=headlights+relay Also the wiring diagram I was planning to use.
-
I'm not a flathead guy, my car has a V8. But at the front of the engine, there should be a number beginning with a P(lymouth) or D(odge). Mine is a P27, so jours would be near P15 or D24 I think, followed by the engine number. By that way you can find out what car it was used in. You need this to find out what parts will fit. your finger is probably pointing out the part number of the head of the engine. Good luck.
-
Thanks all for the reply's. I rewired my car about 12 years ago. Even then the headlight didn't produce much light. I could mount knurled rings between each connection to get better contact. I think it doesn't do the trick to get the most out of it. Headlight is halogene 55Wx2= 18 amps. I took at least one size bigger wire for all wires when I rewired the car, from 18 to 16 for the headlights, and 10 for the main wire from batt to amp meter in the car. But still I can feel the light wires warming up a little when the lights are on. And that's resistance, so loss of volts and need of thicker wire. So I made up my mind to get short wire length as possible, go to gage 10 and put in a relay to switch them on. This will also take the amps out of the main wire to the am-meter and the rest of the electrics and save the light switch. I looked on eBay, but no 6V relays other then GM stuff for horns. I do not know if they can take the 15 amps. Jim, can you tell me what part number they are or what car they are used in and what for. I like the autolite ones, as a lot of autolite was used in our cars. Rich, can you tell me what dual relay you are using? A picture would help. Thanks.
-
I don't know how difficult your carb is, but I did my Carter WCFB 4 barrel carburetor my own. It was the first one I did. Hole in one for me, runs like new now. The trick....have a good overhaul kit with all the parts. (got mine from egge.com), cleaned the carburetor with thinner and a brush to get all the gunk out. Some of those little holes are hard to find. It took me one day of cleaning. Because of the numerous parts I recommend to take a lot of pictures and put it back together the next day.
-
Welcome to the club. Looks like you have a lot of work on hand. Will you keep them original?
-
I know it has been mentioned before, when running headlights on 6V they do not give much light. I measured loosing 2V in the wiring. To solve this is changing to thick wires and run them as short as possible from the battery to the lights. I want to keep my '55 as original as possible. I do not want to use modern relays. Does anyone know if there are double operating relays, one side for headlight, one side for high beam. If a double relay does not exist, what other relays are there. It doesn't have to be from '55.
-
Last week my headlights stopped working. I solved it but want to share the odd cause of this electrical problem. Before it took 3 to 5 seconds until headlight gave light when I turned the headlight switch, then the next time it was OK, immediate light. One week later the same again and so on, until they stopped working at all. When the lights are off I measure 6V at the main wire to the switch. When turned on, 0V??? I was puzzled. The cause turned out to be the wire terminal at the am-meter. Too much resistance to give the amps for the headlights. After cleaning (with sand paper) and putting a knurled ring between the wire terminal and nut all was solved.
-
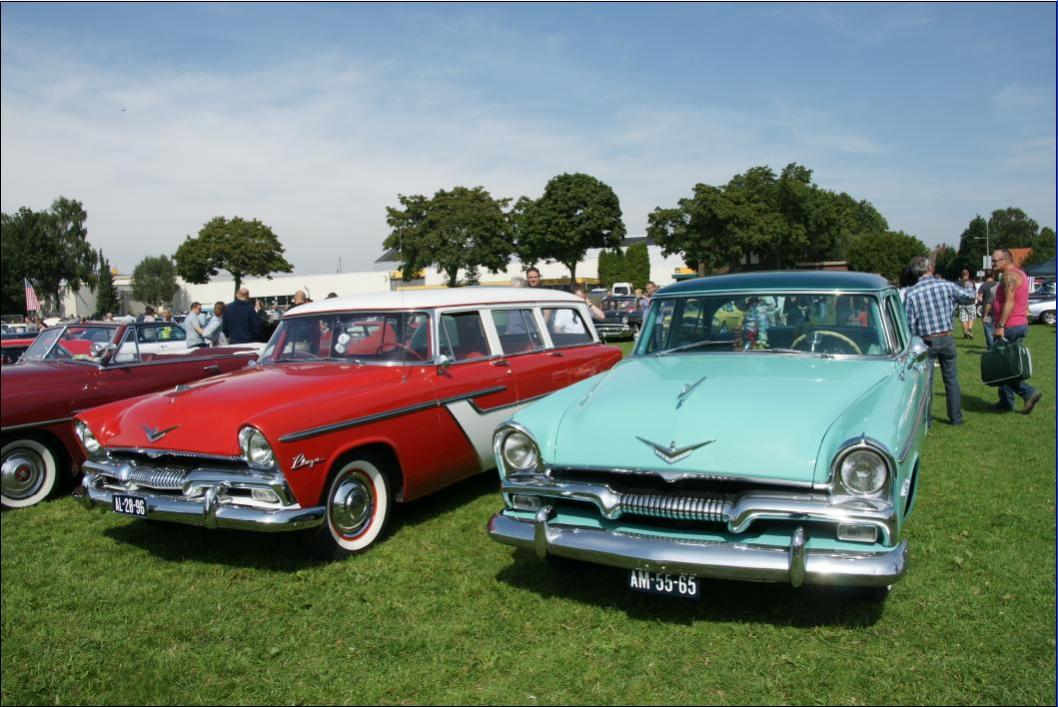
and the last


-
and more


-
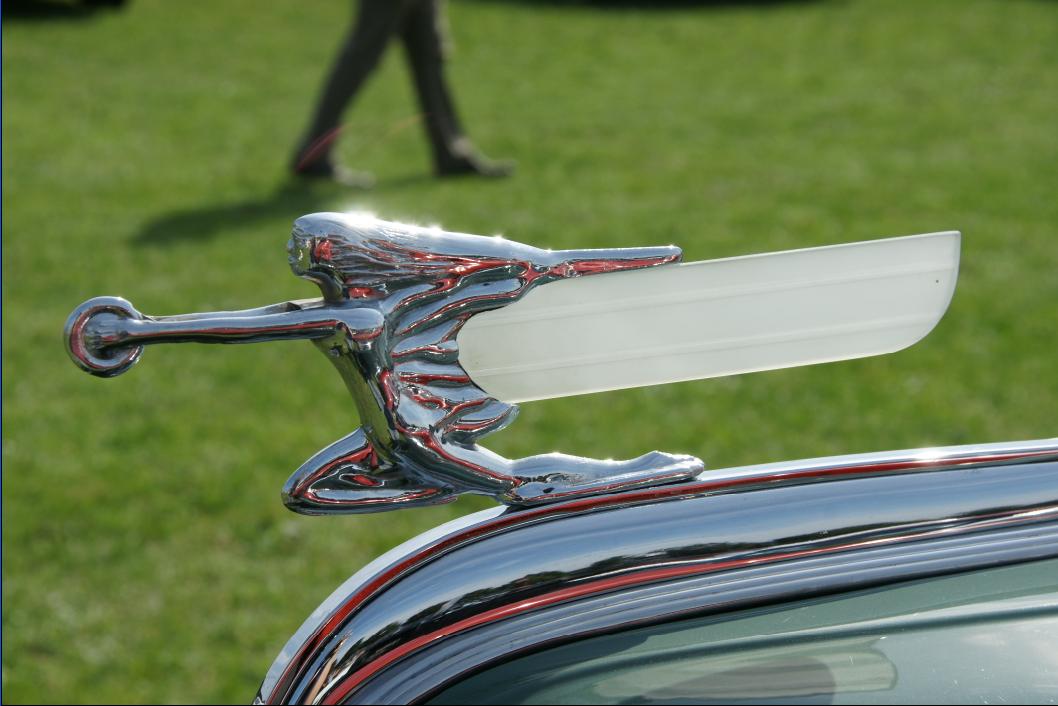
some more pictures


-
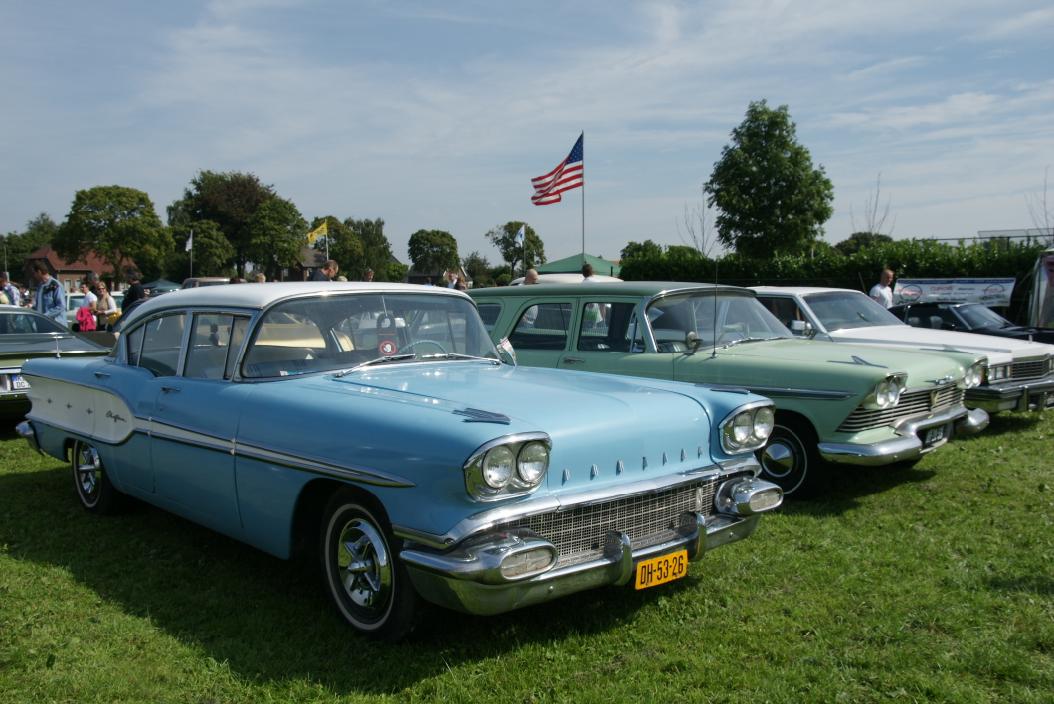
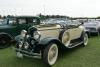
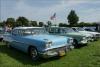
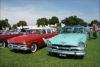
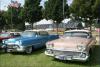
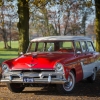
Hi everyone I went to the international classic USA car meeting in Reuver last Sunday. I finally got to meet Go Fleiter with his 1951. It was nice to see his overdrive working. Great day. Beautiful cars. To come to the meeting, Go had to do a last minute job, get his radiator in on Saturday evening as it was leaking. He did some nice improvements to get is car running in today's traffic and drives in the Alps. I'll put some pictures here. If you want to view more, check the website of the organiser, Gerrit Hillen. He is an amazing guy. The last 5 years he did give up his holiday to organise these events, to bring the old American cars together(and also Cadillac event) . Even spending his own money to cover the costs. The site is in dutch of course, but google translate should do the trick. http://www.cadillac1962.nl/ go to the tab "foto's" at the 2012 event Go's and my car are at row 14 picture 28-29-30 Enjoy.


-
Hey bob, i'sn't that antique auto supply.....
-
I had the same muffy, dusty smell in my car. I took all the interior out, exept for the carpet as it looked new. Took out the dashboard. Cleaned all the interior parts and inside of the car with water and normal soap. Also the car interior with softly spraying with a high pressure cleaner (spray from a distance, I only wanted to get rid off the dust, not the paint) in area's where I couldn't get in. Carefully to prevent a lot of water getting in the car and soaking the carpet with durty water. Let all sit in the sun on a hot day. After that (as all was out) I sprayed the inside of the car with material that stops rust and spray it with a wax afterwards. After assembly the smell was gone. It smelled like a used car of 3 year old. When I cleaned the interior and the dash a lot of dirty water was comming off. I guess that's what is creating the smell is just like in old buildings.....a lot of dust. I didn't do anything about the seats. Thay are old and still the original ones with foam falling appart. They do not smell. I only cleand them with water and soap on th outside carefully. If it is mice.....well I know the difference of that smell. When leave the area you will tast the smell in your mouth and throaght for five more minutes. Lucky I didn't have that problem.
-
Nice adventure, just wondering how you keep the windshield clean when driving behind an other car (if there is any) with all the road dirt/salt spraying on. Over here they have reports on people doing stuff like this (travel in an odd way other then hitting the beach in Florida) on National Geographic Channel. Did you ever consider inviting them? Would make a great program. Ed.
-
when I overhauled my drive shaft, the grease was hardened, rubber boots gone. I cleaned the parts, polished the needles assembled with molykote grease and new rubber boots. Is running great with no vibration or noise from the drive shaft. Those old shafts are very robust compared to the job they have to do. It took me 1 day. So you might reconsider buying a new one.
-
Hi John...interesting story....cleaning up the car makes it running? We should post this idea more often when anybody shouts HELP, ENGINE WON'T START. B.t.w. do you thing of spanking her on the trunk occasionally
-
Darren, I'm thinking about putting a OD in my 3 speed car too. Can anyone show what you need to change at the steering wheel, geer shift handle?
-
has anyone tried to add an electrical fan (modern one) so you can switch it on when you need it? The problem I can think of is they are 12V, and draw a lot of amps. So a small conversion block 6V to 12V will not do.
-
convert from 1955 3 speed to od, which one fits?
DutchEdwin replied to DutchEdwin's topic in P15-D24 Forum
My car is a 6V. -
Rebuilding is straight forward. I have a 4 barrel, with a lot of parts, did it without knowing anything about the carb, only to HANDLE WITH CARE, SMALL FRAGILE PARTS INSIDE, DO NOT USE FORCE. I used thinner to clean the carb from the gas gunk. Did the trick very good. A must is a repair manual with the carb section, and take a lot of pictures, lay the parts out in the order you take them out, do not leave them for weeks but assemble within a few day's. Human nature is to forget some crucial details.....,so you'll skip the moment where you say " I got this teeny part as a left over ??? ":D