


bartenderfloyd
-
Posts
116 -
Joined
-
Last visited
-
Days Won
2
Content Type
Links Directory
Profiles
Articles
Forums
Downloads
Store
Gallery
Blogs
Events
Everything posted by bartenderfloyd
-
1950 Plymouth Special Deluxe build thread
bartenderfloyd replied to bartenderfloyd's topic in P15-D24 Forum
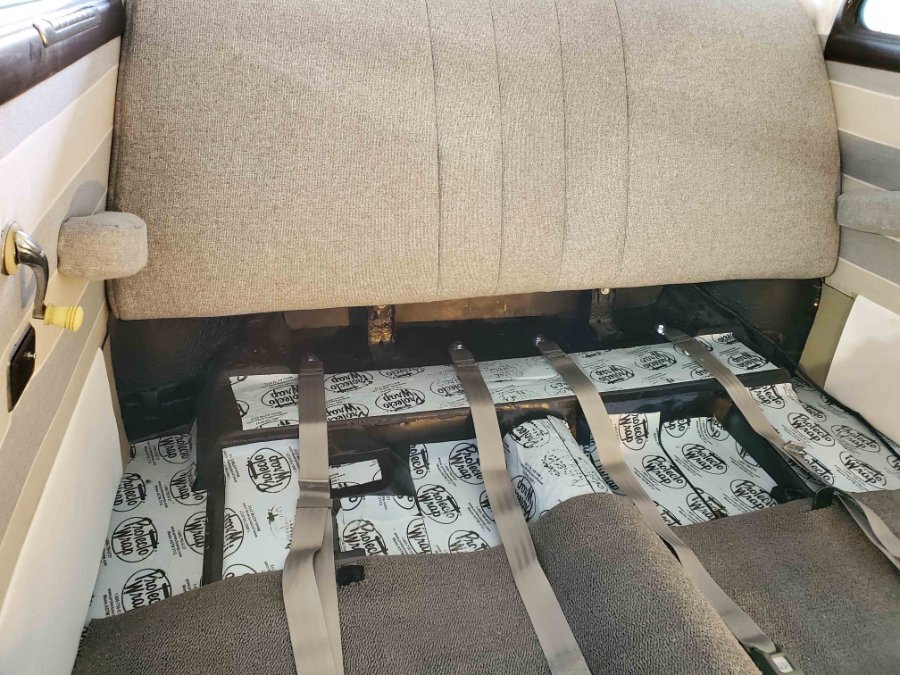
Seats going in, seat belts, and I'm done for now. I bought regular belts for the back and 3 points for the front. I can't figure out how the 3 points will work as the B pillar is pretty small and my wife wants to keep the clothes hooks. I'll have to order regular belts for the front. Going to start working on the exterior. still need to wet sand and polish the paint.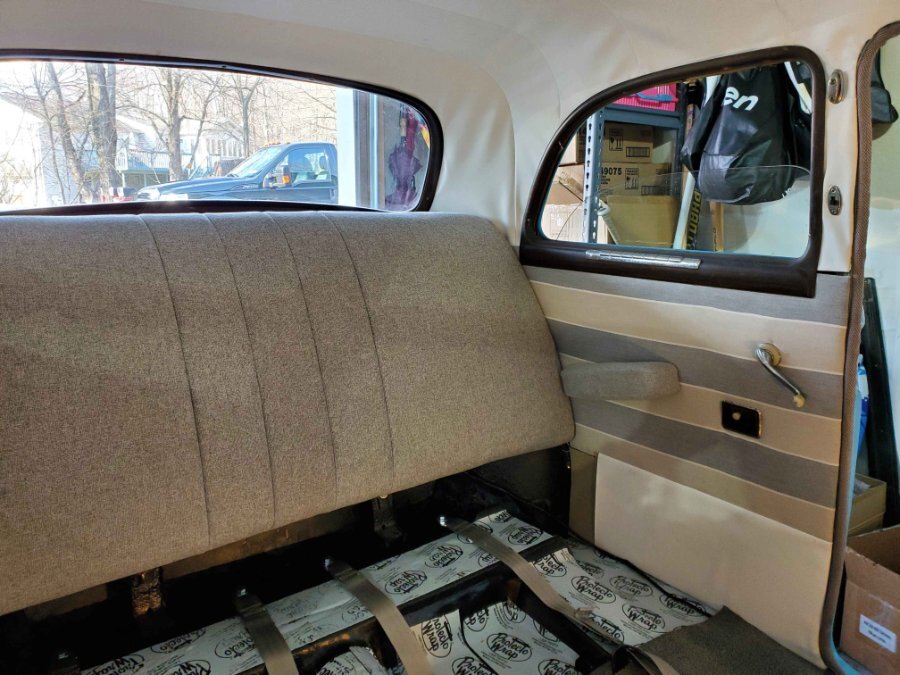


-
1950 Plymouth Special Deluxe build thread
bartenderfloyd replied to bartenderfloyd's topic in P15-D24 Forum
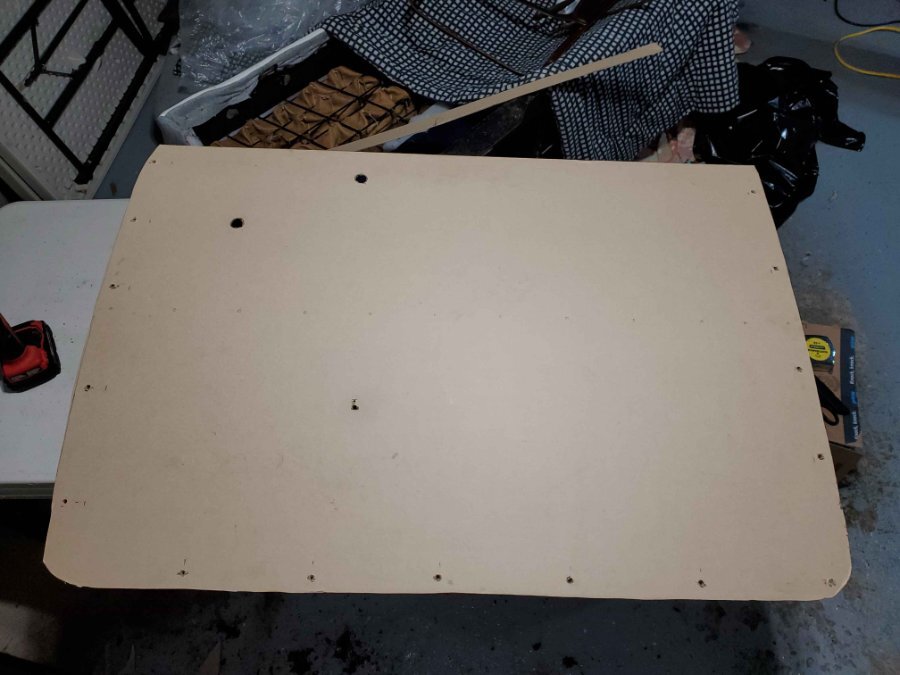
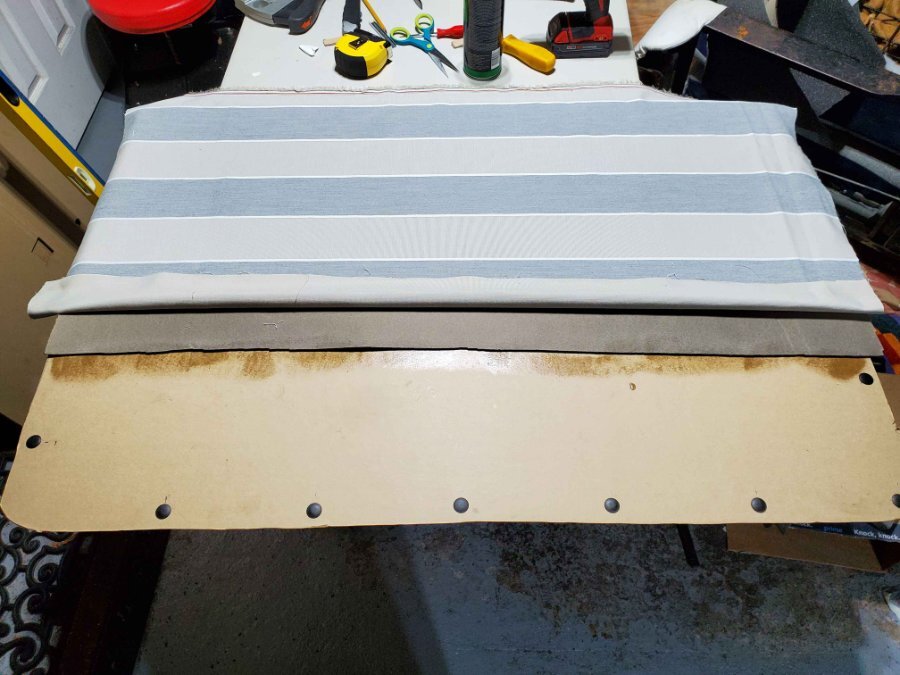
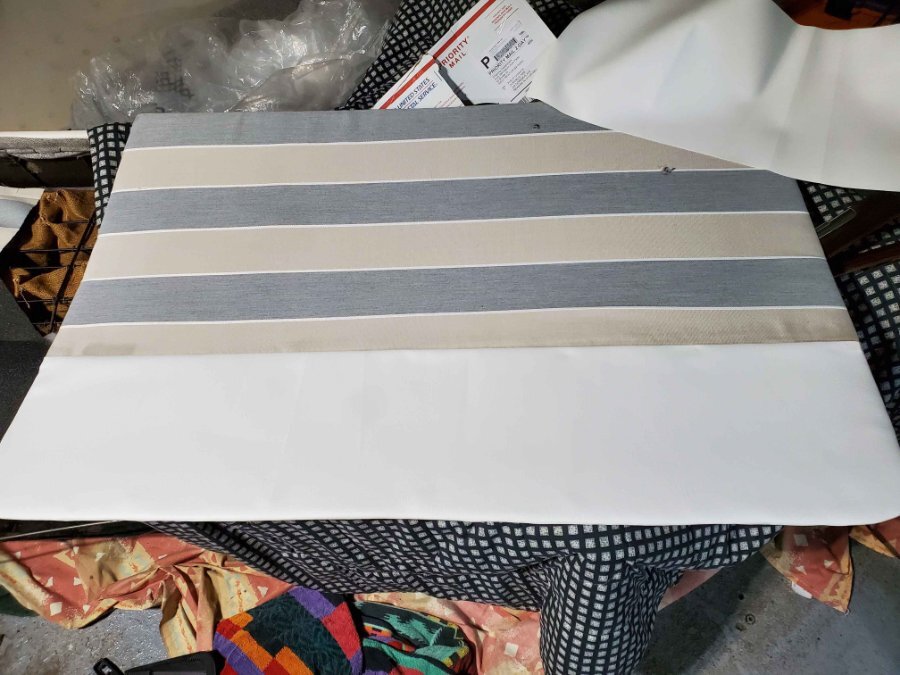
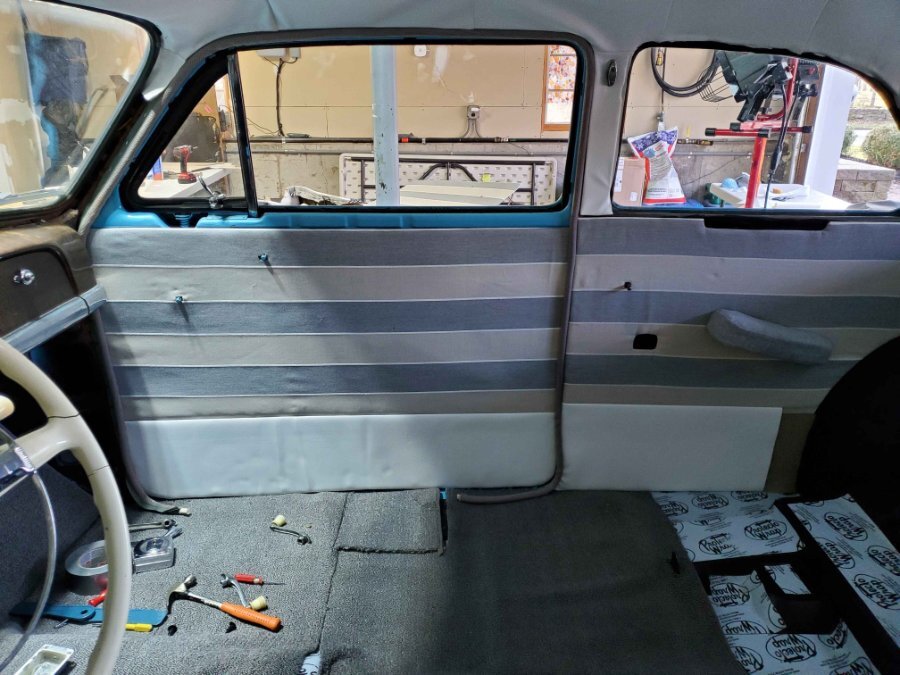
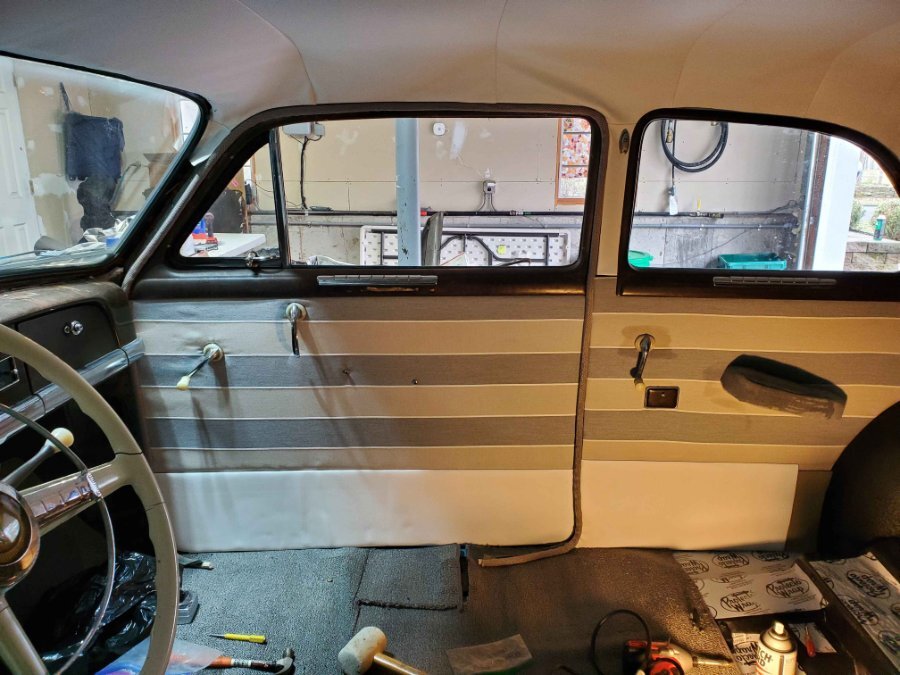
Have to split this into a few groups of pics. On to the door panels. Used the old panels as a guide. Trim pieces on. The drop light make the colors look off.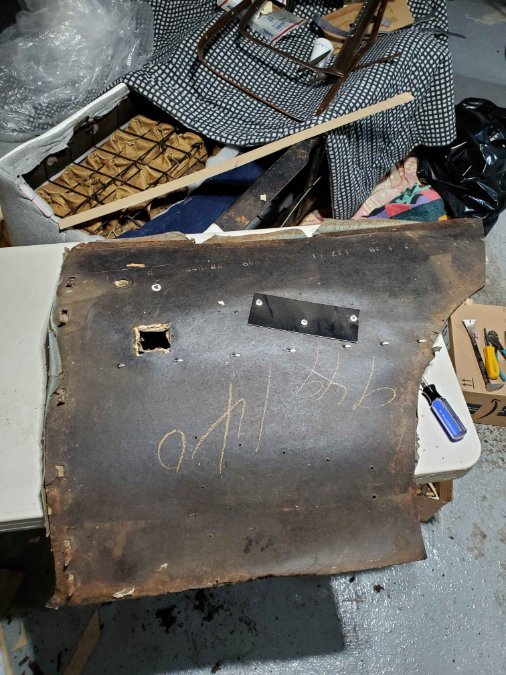
-
1950 Plymouth Special Deluxe build thread
bartenderfloyd replied to bartenderfloyd's topic in P15-D24 Forum
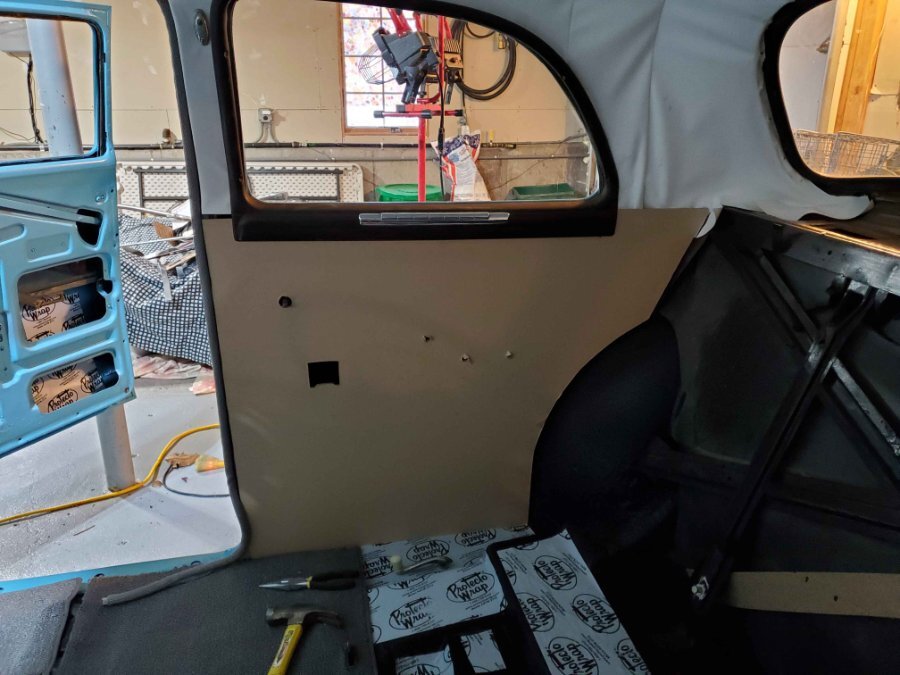
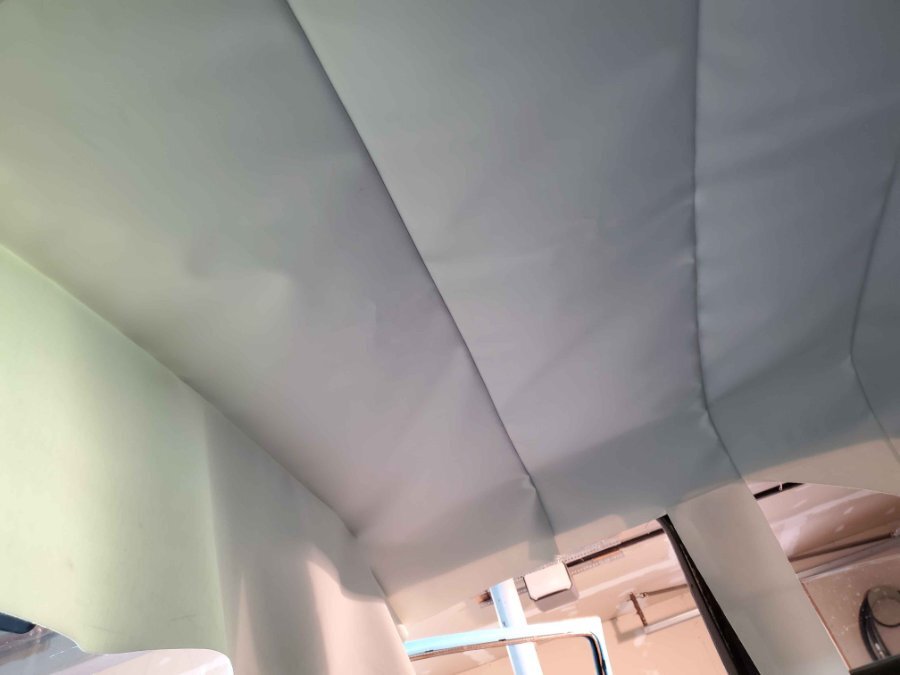
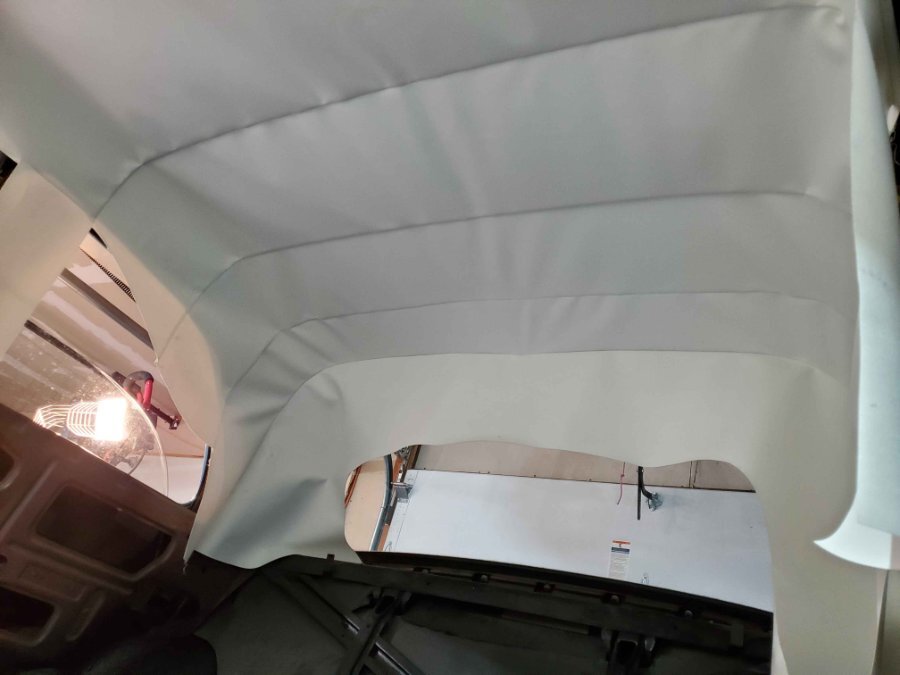
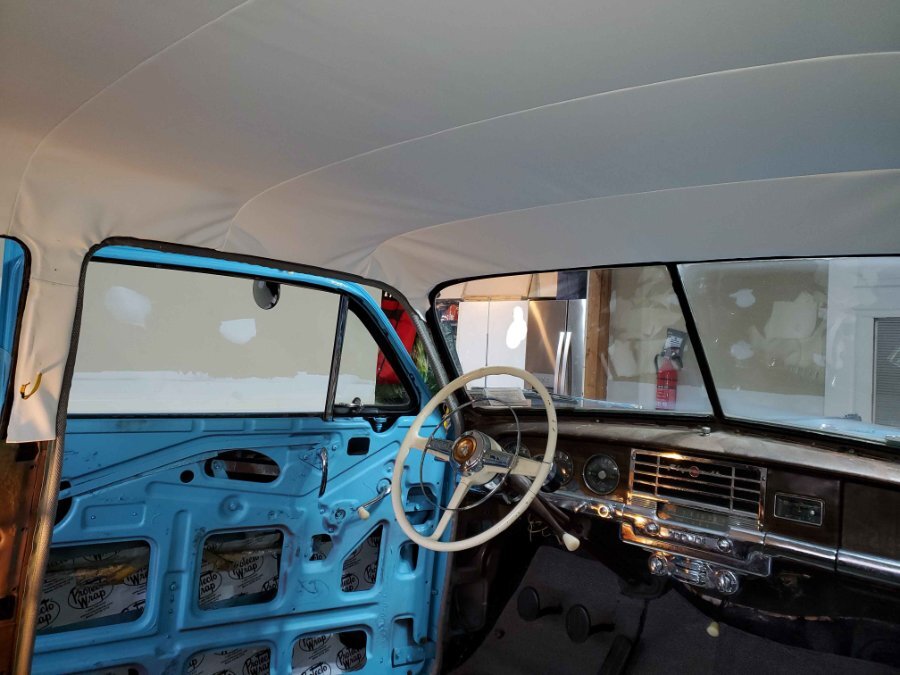
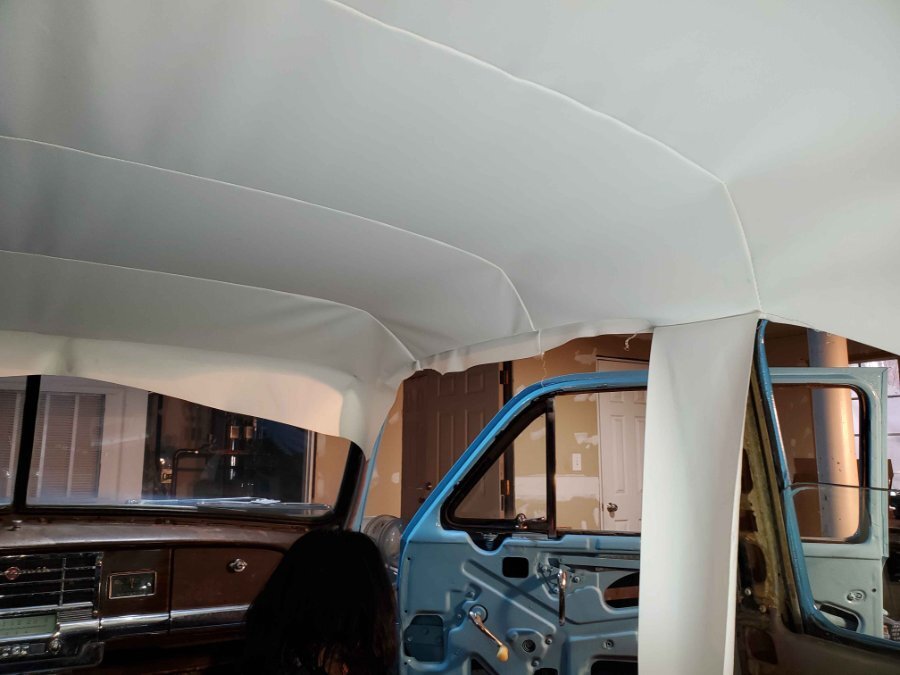
It's been a busy few weeks. Finally found the time to install the windlace, headliner, door panels, and seat belts. interior is now 95% done. Only have the door pull handles left to cover. Here are some progress pics I didn't take pics of the install but this was the result. I was lucky all the original hardware was still on this car. I rewired whatever was running along the roof because I figure this is the last time I'll see it. I can see why the headliner is so difficult to do well. But it's easy if you aren't bothered by wrinkles. Took my wife and I about 4 hours start to finish. We let it hang in there for a few days and then started in the front (using both glue, 3M 94 adhesive, and staples). The teeth grabbed real well in the rear and on the sides but I did use lots of glue when I could. I had to switch to regular contact cement because the 3m fumes were brutal, even with all the garage doors opened. Thank you for all the tips, especially user @harmony who sent me step by step pics of his project. Install
-
Jacquiline, My 1946 Plymouth Special Deluxe
bartenderfloyd replied to OUTFXD's topic in P15-D24 Forum
Nice job -
1950 Plymouth Special Deluxe build thread
bartenderfloyd replied to bartenderfloyd's topic in P15-D24 Forum
The carpet is in. It's not the greatest but I did it myself and it's better than a metal floor. I wish it would have been a better fit but I made due with what I had. All of the cuts will be under the seat so I'm not worried about looks. Now on to the windlace and headliner.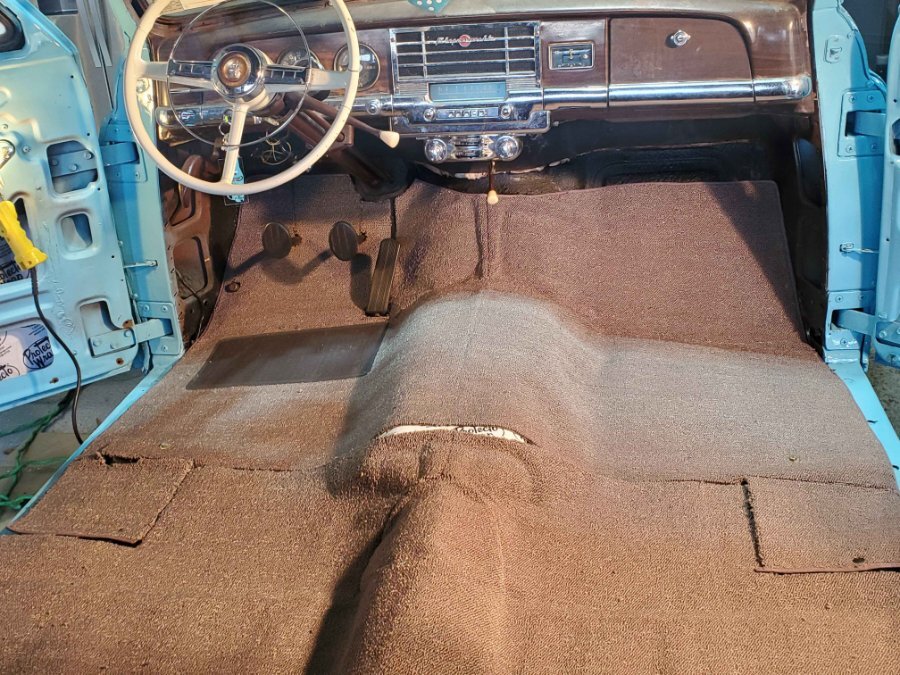
-
1950 Plymouth Special Deluxe build thread
bartenderfloyd replied to bartenderfloyd's topic in P15-D24 Forum
Yes, I inspected them already. Looks like the last owner replaced them and the brakes because they were all in good condition. -
1950 Plymouth Special Deluxe build thread
bartenderfloyd replied to bartenderfloyd's topic in P15-D24 Forum
I've been dragging lately waiting for the weather to break. Did some rewiring and got the dome light to work. Then realized the headliner was wrong and ordered a new one, which I posted about here. But now I'm onto the rug. I have garage space now so I removed the seats and prepped to install the rug. I am going to put the sound deadening in tomorrow but wanted to test fit the rugs before I put them in. Now I am confused. Do these look right? Do I just need to cut a lot of rug? I got them from Kanter in Jersey and it looks like the instructions but if I install they way the instructions say there will be no rug under the rear passengers' feet. Any thoughts?


-
This is awesome! Congratulations. So exciting to experience the first drive.
-
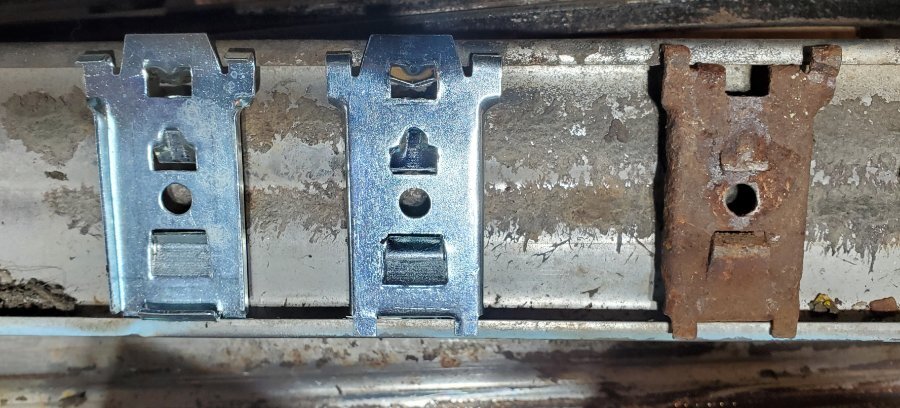
I just bought rocker molding clips off ebay here (https://www.ebay.com/itm/173592661249?_trkparms=amclksrc%3DITM%26aid%3D111001%26algo%3DREC.SEED%26ao%3D1%26asc%3D20160908105057%26meid%3Dd120076aeafd4bfba1f6fafaf62d363c%26pid%3D100675%26rk%3D3%26rkt%3D15%26sd%3D322984935790%26itm%3D173592661249%26pmt%3D0%26noa%3D1%26pg%3D2380057&_trksid=p2380057.c100675.m4236&_trkparms=pageci%3Abf5ad498-80a6-11ec-b007-9e122ad8ba98|parentrq%3Aa38ccb9717e0adb9dadb57d4fffd7934|iid%3A1) I'm having trouble figuring out how to install them as they are slightly different from the old rusty ones on there now. Do I install them like the one on the left in the pic below or like the one on the right? I included an old rusty one for comparison but I don't remember how that one was attached. Second question, do I attach them to the car first and slip on the molding or attach them to the molding and screw them in from the inside of the rocker?
-
Update - I just got off the phone with Kanter. They told me I ordered one for the sedan, not the club coupe. But the sedans for sale online also have 6 bows so I think they just didn't want to replace the headliner and wanted me to buy a new one. Hopefully it will be here in a month.
-
OK, looking at the car interiors for the two door here (https://classiccars.com/listings/find/1950/plymouth) I'm guessing at the very best they forgot to sew the 6th listing and at the worst they gave me the wrong top. I'll call them tomorrow.
-
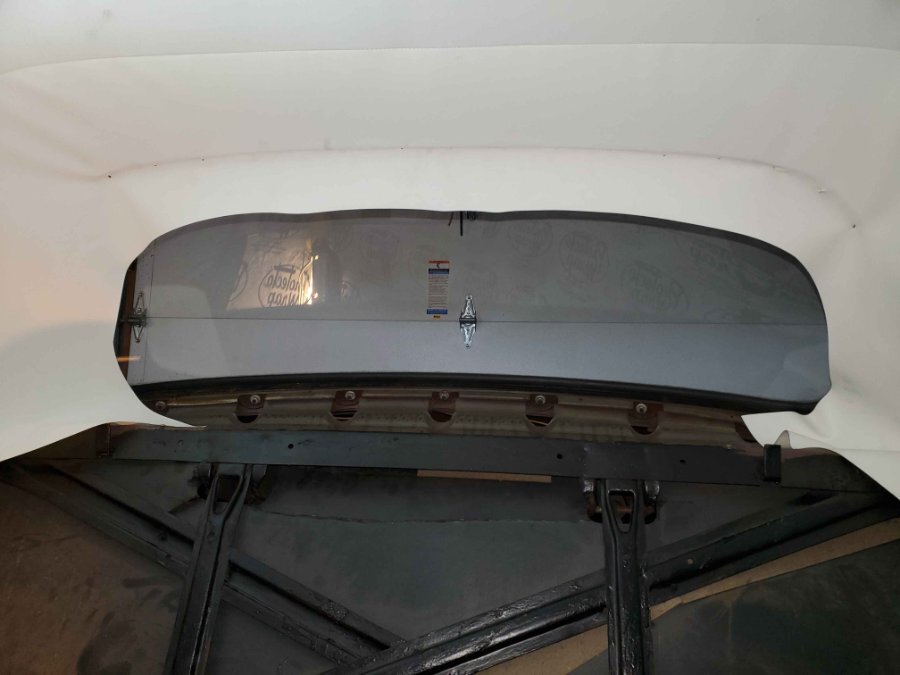
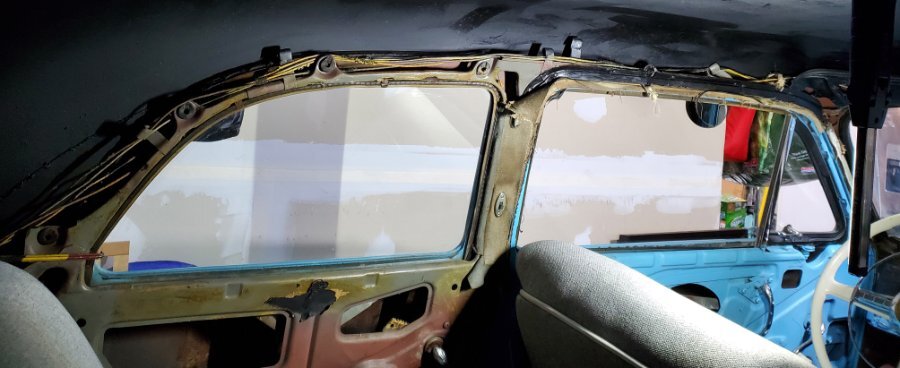
I could be mistaken as to where the hoop goes but the headliner came with 5 listings but I have 6 bows. I read the 6th holds the wings on the side of the rear window but I don't know what it should look like. The 6th bow is very different from the other 5 There are definitely 6 holes I assume the 6th bow goes in something like this but seems like it won't fit. Maybe it goes over the back window?


-
I'm getting ready to install the headliner (I will update my build thread with detailed photos) and I'm having trouble understanding how to install the 6th bow. I can't find any youtube videos that deal with how the headliner is supposed to attach to that bow and where it lays exactly under the rear window. I see everything else I need to install (tack strips, metal teeth, etc) but without any references for the 6th bow I am a bit puzzled. Can someone point me in the right direction?
-
Engine rebuilt in 2012. I'm using 10w-30 synthetic. No issues.
-
That's kind of what I first thought of. I figured I'd clean them up, drill them, and tack weld a bolt.
-
Does anyone have a suggestion as to what to do about these fasteners? I have 4 broken on each side of the grill and one at the top. How have you guys gone about fixing this?

-
I hope everyone had a wonderful Christmas!
-
aftermarket radio and speaker installation
bartenderfloyd replied to bluefoxamazone's topic in P15-D24 Forum
My 50 Spexial Deluxe speaker is a 5x7. I am installing it now but I need to cut some of the metal to make it fit. I ordered this one (https://www.amazon.com/RetroSound-D-572-Replacement-Speaker-Vehicles/dp/B00VWH3LT2/ref=mp_s_a_1_43?crid=29Q0MSFS9QIF0&keywords=custom+classic+car+speaker+5x7&qid=1640309095&sprefix=custom+classic+car+speaker+5x7%2Caps%2C84&sr=8-43/ ). -
Jacquiline, My 1946 Plymouth Special Deluxe
bartenderfloyd replied to OUTFXD's topic in P15-D24 Forum
I just got mine freed up last night. I hit it with penetrating oil at least 3 or 4 times over the last week and let them soak. Last night I sprayed them again and used a pair of channel locks to slowly wiggle them back and forth. Both broke free and then I lubed them with white lithium grease. I'll put the cowl back together after I get the weatherstripping back in. -
New carpet recommendation Plymouth PJ
bartenderfloyd replied to rrunnertexas's topic in P15-D24 Forum
I got mine from Kanter (https://www.kanter.com/index.aspx). Call them though because their website is a bit lacking. Their catalogue (I mean...who uses catalogues anymore, LOL!) is much nicer and has more stuff in it. I didn't install it yet but I will once it snows and I put her away for the winter. I'll post pics then. -
I watch all your videos and get very excited when I see your Plymouth. Thanks!
-
1950 Plymouth Special Deluxe build thread
bartenderfloyd replied to bartenderfloyd's topic in P15-D24 Forum
oh, modern. Base with a clearcoat. -
1950 Plymouth Special Deluxe build thread
bartenderfloyd replied to bartenderfloyd's topic in P15-D24 Forum
Ran into a minor snag and wanted an opinion. The rattling was the parking brake rivets digging into the drum. I've seen on this forum where people send these out to Tennessee Clutch to get relined. Is that still the goto? I saw the brake band lining at bernbaums. Will that work as well?
-
1950 Plymouth Special Deluxe build thread
bartenderfloyd replied to bartenderfloyd's topic in P15-D24 Forum
Not sure, I get my paint from Allied Paint in Newark, NJ. My fat fingers are covering the name but I wanted to get an extra pint from him so when I go there I'll find out. I do know the paint number is 6B-4958232A. -
1950 Plymouth Special Deluxe build thread
bartenderfloyd replied to bartenderfloyd's topic in P15-D24 Forum
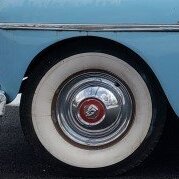
Just got her back from the body shop today and happy to say she is all one color again. Just some minor work left to get it back to my house by this weekend (put on the new tires, install the back seat, get the bumpers on). Probably tool around town with it for a few weeks and then tackle my winter projects. Door panels, carpet, and headliner. Have to wait a few months before I can compound the paint and really make it sparkle.

