Ulu
-
Posts
2,485 -
Joined
-
Last visited
-
Days Won
12
Content Type
Links Directory
Profiles
Articles
Forums
Downloads
Store
Gallery
Blogs
Events
Everything posted by Ulu
-
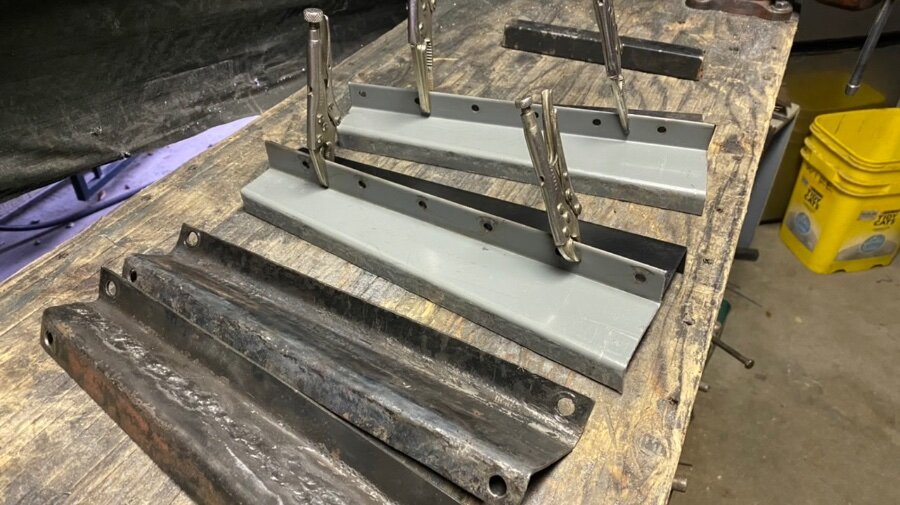
I believe it was Lord Admiral Nelson, who said to forget about tactics and just go straight at the enemy with everything you can muster. In direct opposition to this theory I am always trying to think outside the box. But sometimes I should just go directly at a problem and solve in the most obvious way. I wanted to reinforce this chassis a little bit and build some new and improved seat risers at the same time. When I originally got this car the seats were kind of off location, because somehow the original kit had included four right seat risers and no lefts. They just buggered up the hole locations and made it work (sort of.) In order to correct the seat locations (in a hurry) I had to “reverse” two of the seat risers. I reversed them with a large hammer, over my homemade anvil. The first one turned out so ugly that I decided to do the second one by cutting it with a saw and welding it back together the opposite way. I did this with an oxy/ acetylene torch. It looks pretty crude, because it was one of the first things I torch welded in many years. I put those in the photographs for comparison. Anyhow, here you can see me hammer new seat risers from some nice old 14 gauge steel. I spent some time making them as accurately as I could, considering that I don’t have a press, and had to use angle irons and a vice, and a bunch of clamps. So now I have two proper pairs, but I don’t have the bolts to mount them yet. Off to the hardware store again…
-
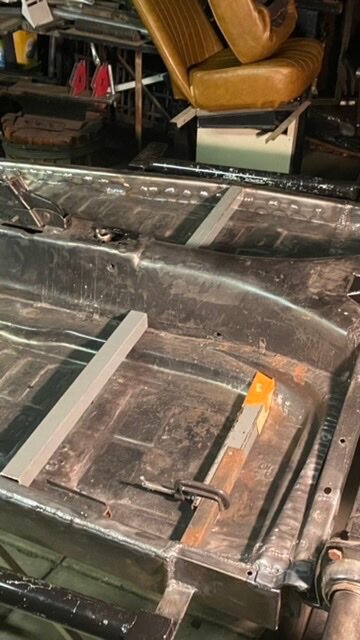
I got the boatyard 99% dried up. It was over 65°F today. I did Not do any welding, but I did start to cut and fit the new seat frame supports.
-
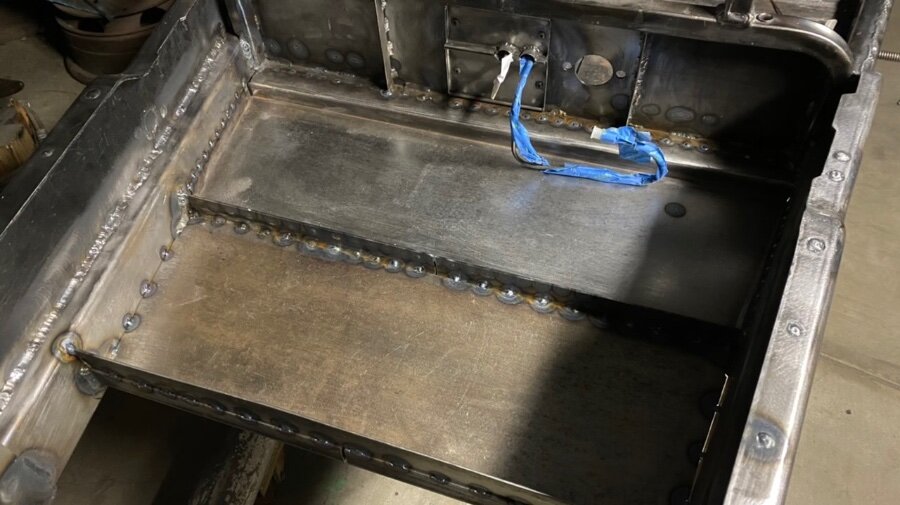
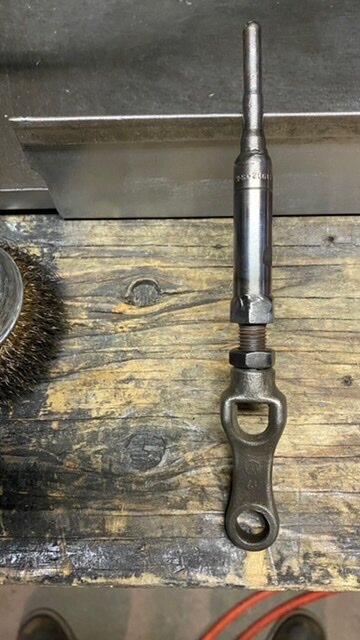
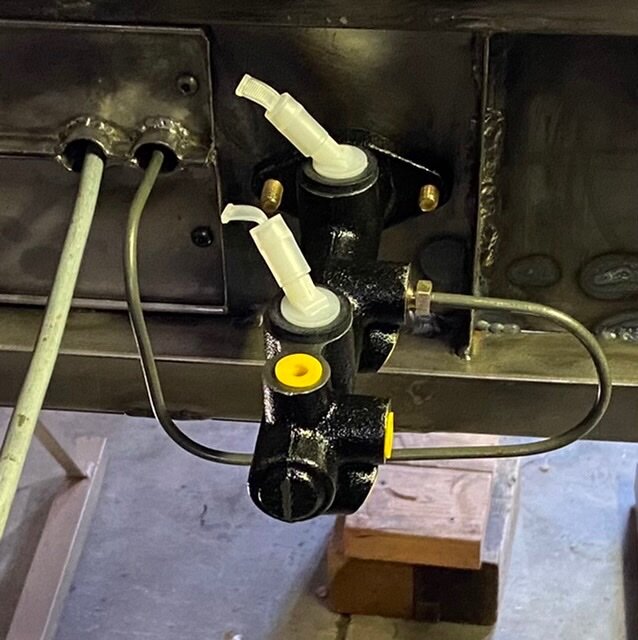
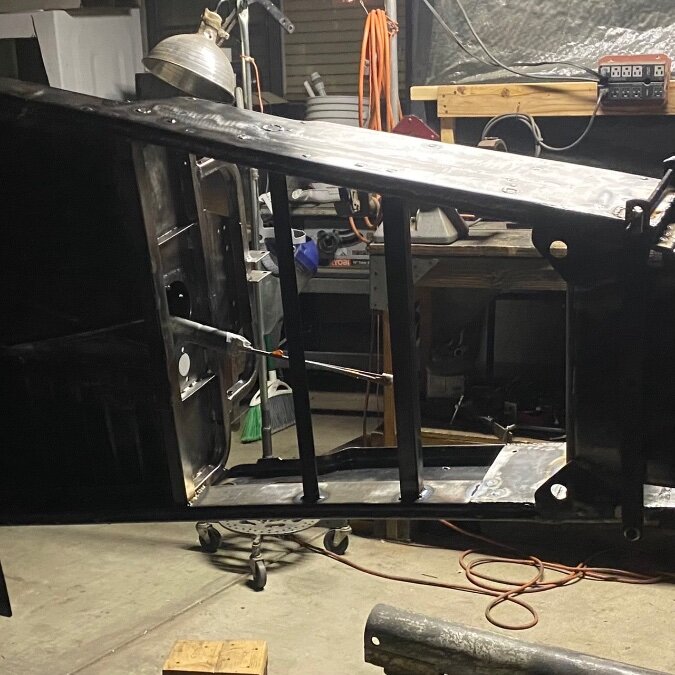
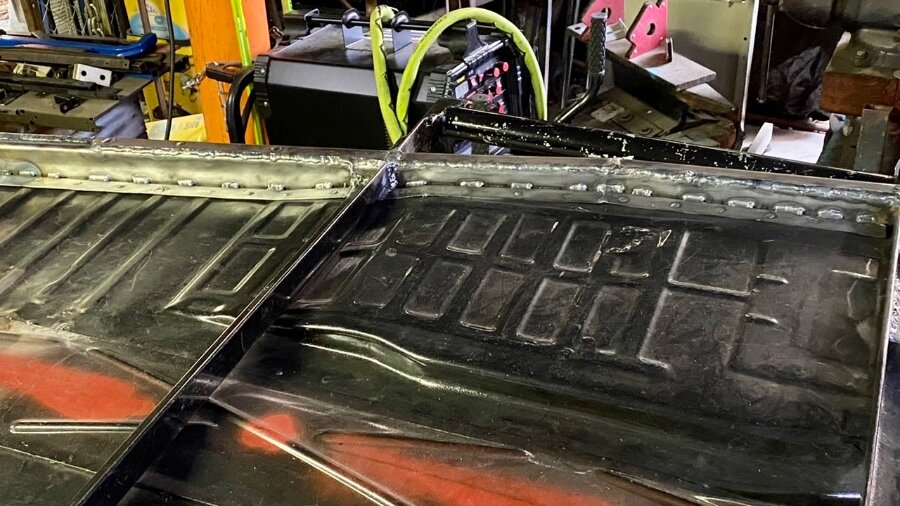
Today I managed to get the floor panels tacked in. The truth is that each one got about 50 small TIG welds. Now I need to flip it over and weld them on the other side. I also welded in the pedal stop which I didn’t photograph, & I fixed the brake cylinder pushrod. This is a stock pushrod that I extended by cutting it and welding it into a long 3/8”chrome vanadium socket from SK Wayne. This Just Happened to be exactly the size I needed, and some contractor had left it laying in my yard, so it didn’t match any of my tools. I also welded in these little corner brackets which help tie together the rear of the frame. Anyhow it turns out I made 136 welds today, but over half of my time was actually spent cleaning the things that I needed to weld.
-
I had a major failure when I tried to apply some black rust etching enamel over a test sample of this beige paint. I had feathered it out with the DA sander and all the edges lifted immediately. It was a lumpy mess and so in the end I took off every molecule of existing paint. This first panel got a flange on it, but I was originally going to make it into a hem. I changed my mind and left it as a flange for stiffness; but then I changed my mind again, when I tried to fit the gas tank in there, and realized I need another quarter of an inch. So I need to hem that panel and clean up a little rust and a couple of lumpy welds. Then I can start welding these in.
-
I need to trim flanges and corners, but there it is.
-
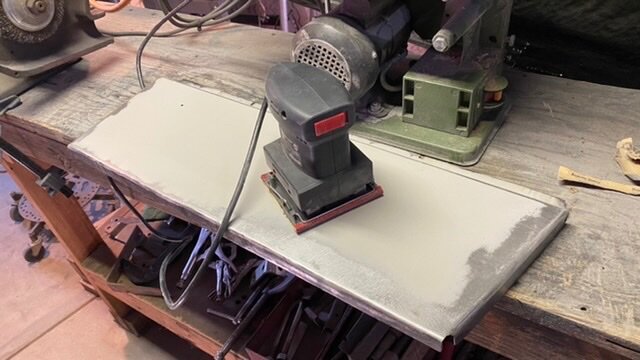
It’s been rather windy and uncomfortably cold outdoors, but I still managed to go out and form up another sheet metal floor pan. This is heavier than the metal I was going to use but I decided that I wanted the ability to carry one more battery. I was going to use this metal as part of the boxed cross member assembly but decided against it. It originally came from the pedestal base of a $5000 ENCAD pen plotter. Which was recycled long ago, as it was 30 years obsolete now. But I wasn’t going to throw away all of that nice 18 ga. sheet-metal.
-
This week was kind of a bust. We had a storm that messed up the boatyard. I spent some time cleaning up, then I caught some stomach bug that spoiled my week. I did make an extension for my brake pushrod. I also made a floor for the battery tray, some small frame reinforcements, and a pedal stop, but none of that is welded yet. I got some better brake lines flared up. I still have to bend and install them. I won’t install the brake lines yet. I want to install the front axle at the same time, but there is bottom welding yet to do on the frame. I should paint the bottom first too. I took off the forward pivot clamp business for access to the brake lines, but it will be reinstalled soon.
-
I located those brackets and installed some brake lines. One turned out too short, so it’s off to the buggy shop for parts.
-
This is why I’m building the fiberglass 30’s “replikar”. Those Big Swoopy Fenders! Even in plastic, it’s just so swoopy!
-
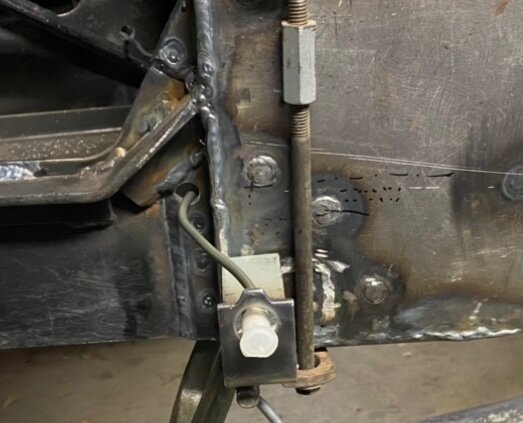
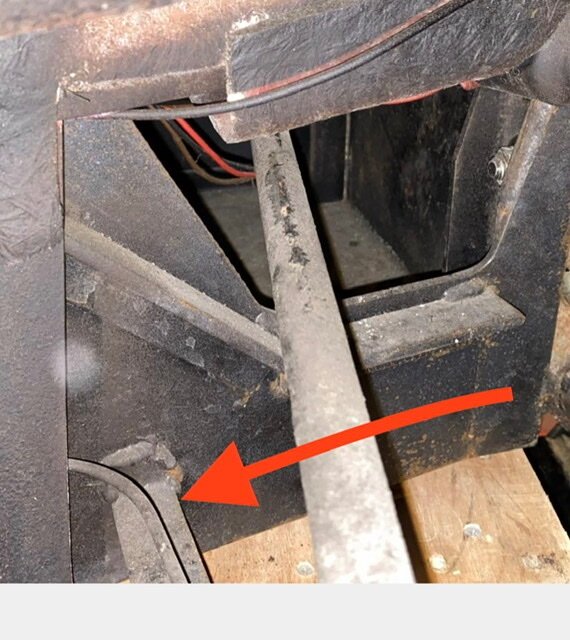
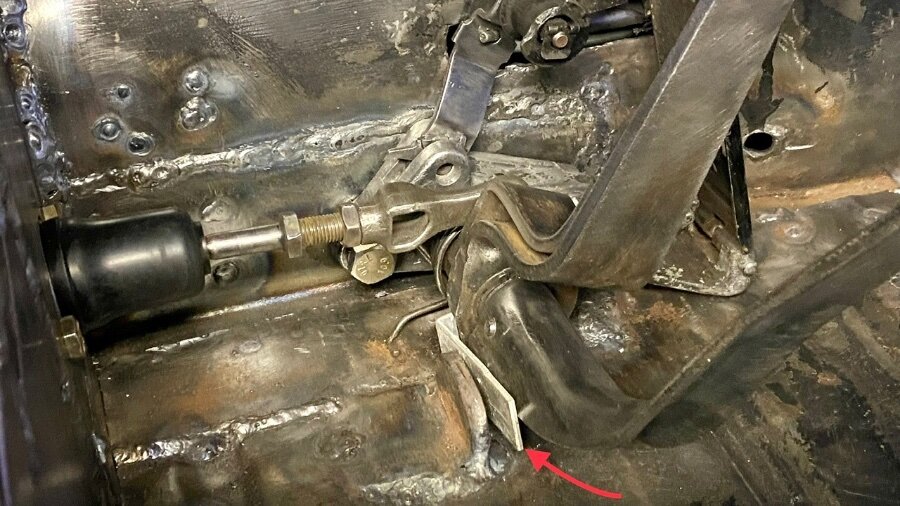
If you wanna go down a rabbit hole about location, there’s a lot of philosophy to cover there. 😉 When I went to put these on, I realized I had no dimensions written down anywhere in my sketches. All I had was a photograph to go by and I had to find it. Here it is and you can see by the arrow where the little bracket and the brake line will be mounted. There is however now, a big steel box over that area, because I have boxed this entire section of the frame from approximately that bracket rearwards. There may be dimensions or a template in the construction manual. Time to go look. You can also see in my photograph that the brake line just kind of snuck out from the gap between the body and the frame. There was no grommet or any provisions for retention in that area.
-
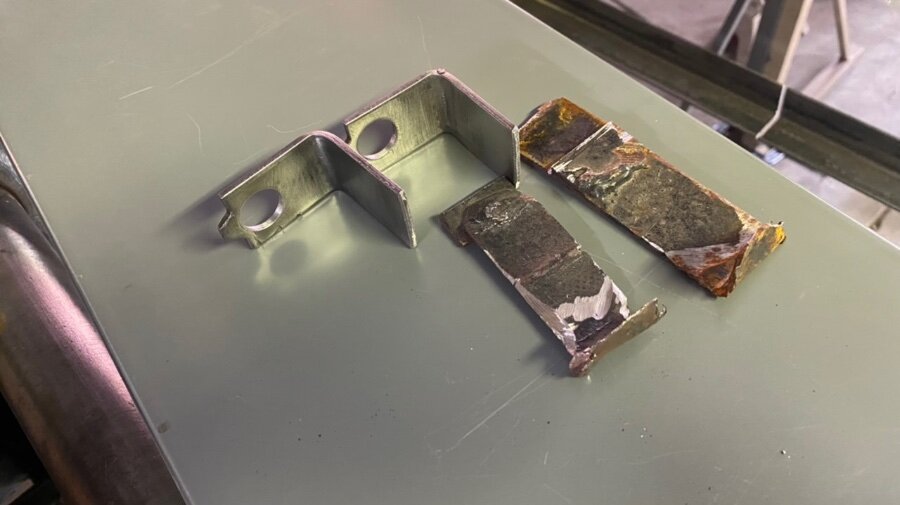
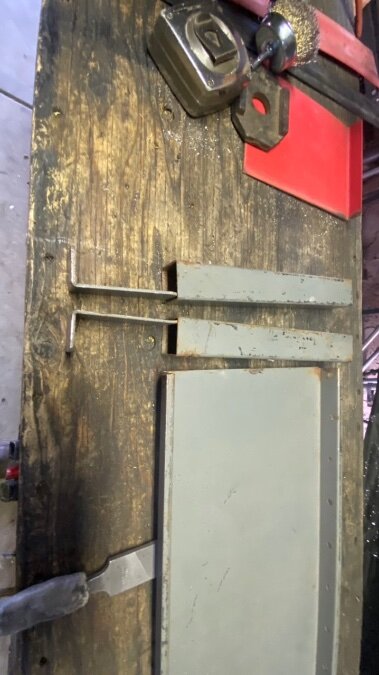
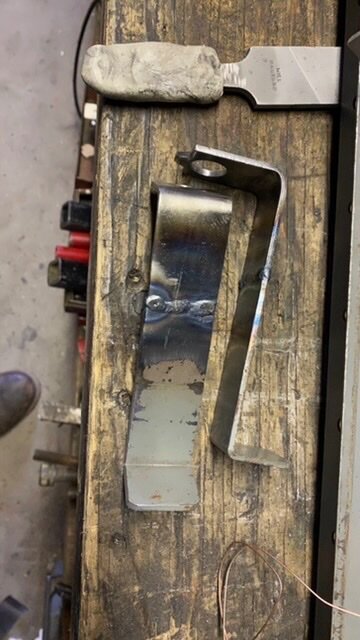
It’s a flaw in my design, but I will live with it. Today I started to bend the front brake lines (before I install any more obstructions) and realized that I didn’t have any brackets worth using. Just these, which I cut off & cleaned up. Then I cut up some scrap parts for the straps, and re-made them. Now I have to locate the brackets.
-
I set this up with some “gage blocks” and I find both rails sucked in by over 1/4” each in 6 feet. At least the body won’t rub there.

-
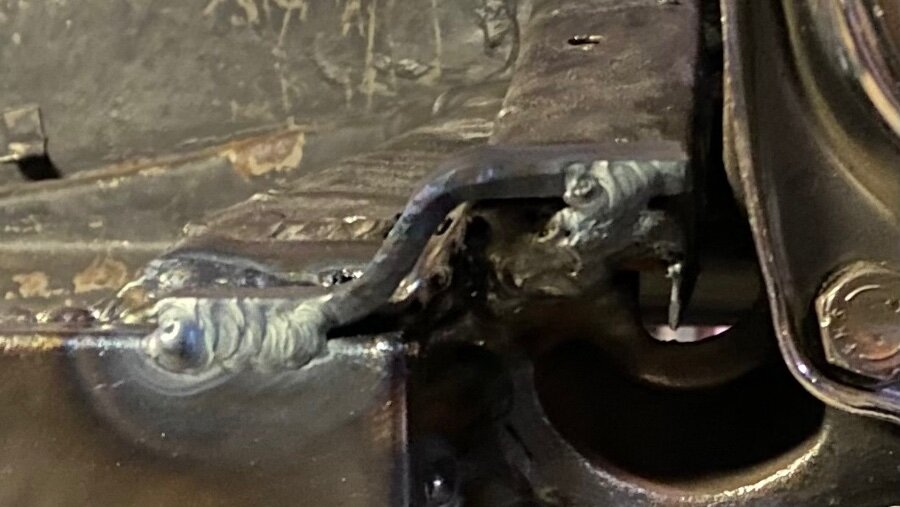
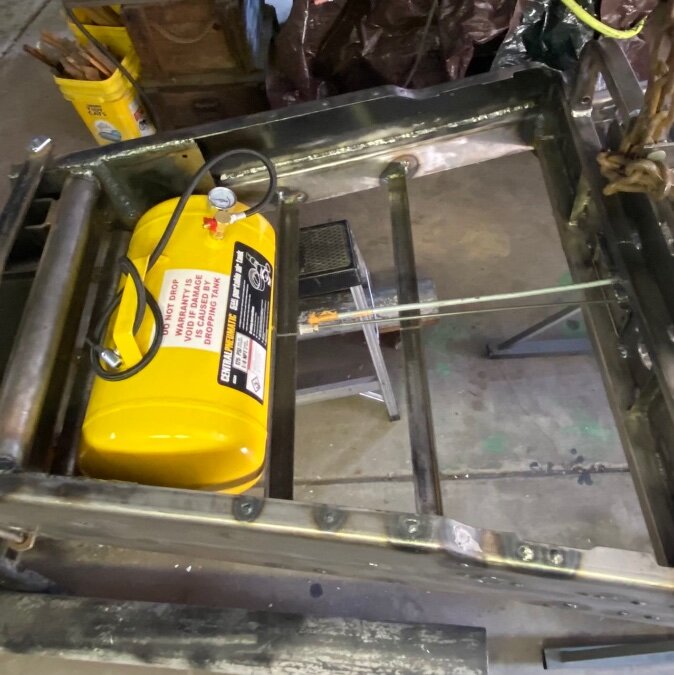
I have finally come to grips with a situation I was fighting, and it is really a big relief. I was set on making the front compartment (“frunk”) watertight, but it just cannot be airtight. Not unless I seal around the batteries and gas tank, and vent them outside. Also, working on the master cylinder or fuel filter will be much easier if at least part of the floor panel is removable. I decided the battery area will have a solid structural floor, the floor under the master cylinder and fuel filter should be removable, and the fuel tank doesn’t need a floor. I might use this thick 5gal pressure tank. That’s enough fuel for this kart. lf you look closely you’ll see I did cut the two little rails, but the frame only popped back 3/16” Not the 3/8 to 1/2” I foolishly expected. The weld draw is 90% from the long seams. I will live with it. I had to get the steel lines out of my way. I cut the fuel line, installed the master cylinder and pedal assembly, and bent the rear brake line to fit. I cleaned up the pedal assembly 95% then had to fuss with cable ducts and control cables, and bend the tunnel out a bit with a slide hammer, to get it all working smoothly and without anything rubbing. The brake push rod is 2” too short, so I must make a longer one. Also I stuffed an aluminum shim in the pedal stop for temporary alignment. (See the red arrow?) It still needs a bit of welding.
-
This floor has already been trimmed so it’s too late bead roll it, unless I trim the flanges off all the way around and mount the floor on ledgers. because of my fuel tank issue and one other consideration, I’m probably going to change my design a little bit. I’m looking at making a steel fuel tank here, from a cylinder I already have, and it’s maybe gonna want some sort of a skid plate under it.
-
I’m having some other issues as well. I was measuring to order a fuel tank. You can’t buy a racing style tank in California. At least not from the vendors on Amazon. Even Speedway! The laws affecting power lawn equipment somehow cover this too. I didn’t want to make a fuel tank, but it seems maybe I will.
-
Well I got sidetracked, and suddenly one thing leads to another. I needed to cut those rails, but I didn’t want to get the tunnel full of crap. So, I decided to put the tunnel covers on. At that time I realized that I should put the clutch cable in first. Then I realized I hadn’t test-fit the pedal assembly, after welding in the new tunnel side where it fits. It did fit, with a little grinding and hammering, and some smacks from a slide hammer. But then I put the throttle cable on and it rubs the tunnel. So I bent the tunnel a bit and took the pedal assembly apart to bend the throttle lever a bit, so now it all clears. Of course, taking the pedal assembly apart meant I had to stop and clean it up. It had lumpy paint over grime, and corrosion, so another sidetrack. Finally, I did get the tunnel covers on, but it was too late to continue, so the battery box rails never did get cut.


-
That paint flakes right off. It is brittle and thin. It appears to be polyester. I will attempt a test weld today.
-
Did that come from the over-bored 396? I had a 368 with quadrajet that was really a de-bored 427 Cadillac.
-
I sure don’t like the flat floor. I’m telling myself to make another one, from a side that is embossed, rather than the flat front. I don’t even know how this metal will weld. It seems pretty soft. And it is thin enough.
-
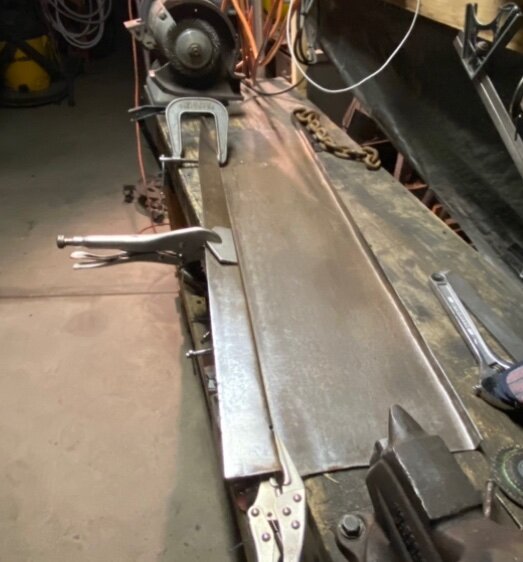
These floor braces must also support the batteries. The gas tank gets its own brackets. They put lots of weld draw in the frame. Too much. These will get cut.
-
“….I cannot understand….” Surely you can, but are you willing? Too many have closed their minds, to the possibilities, on purpose. Guard against that, if you are able.
-
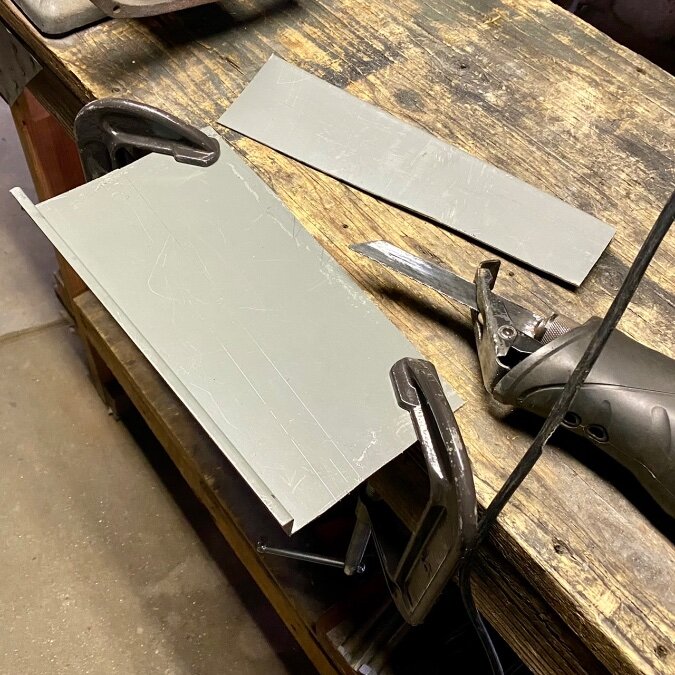
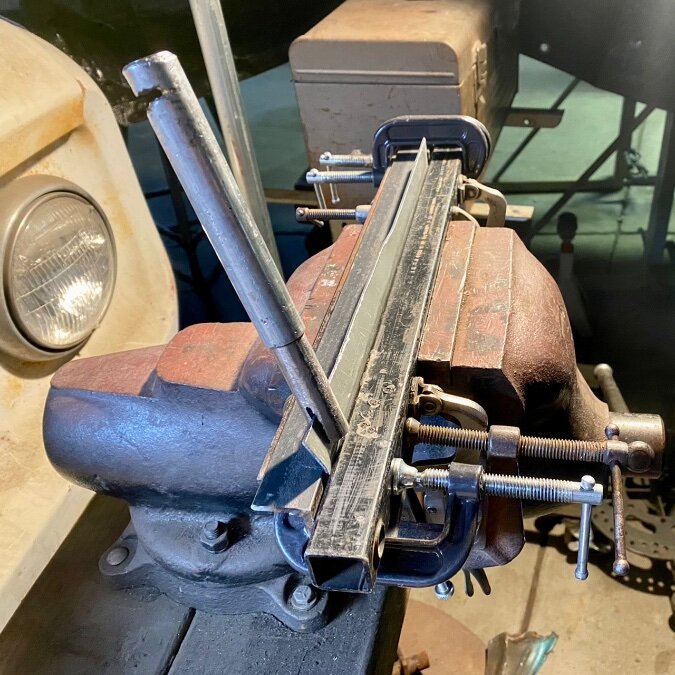
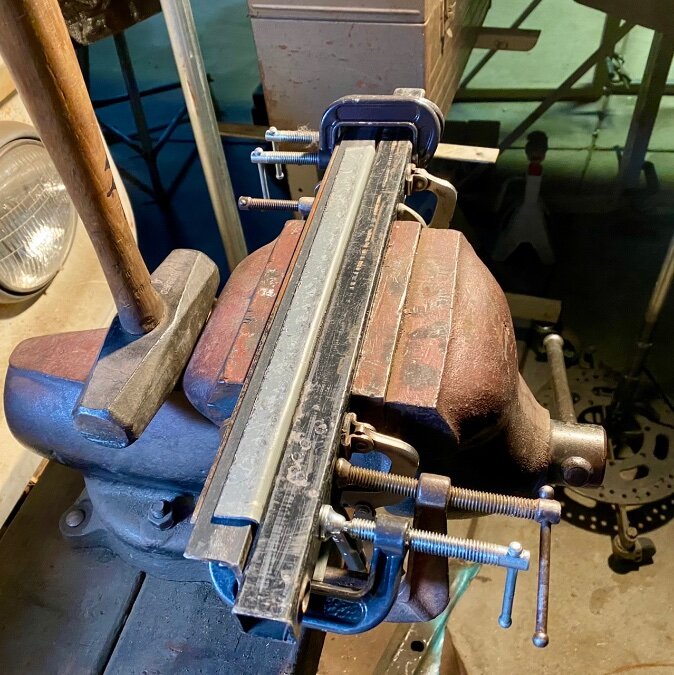
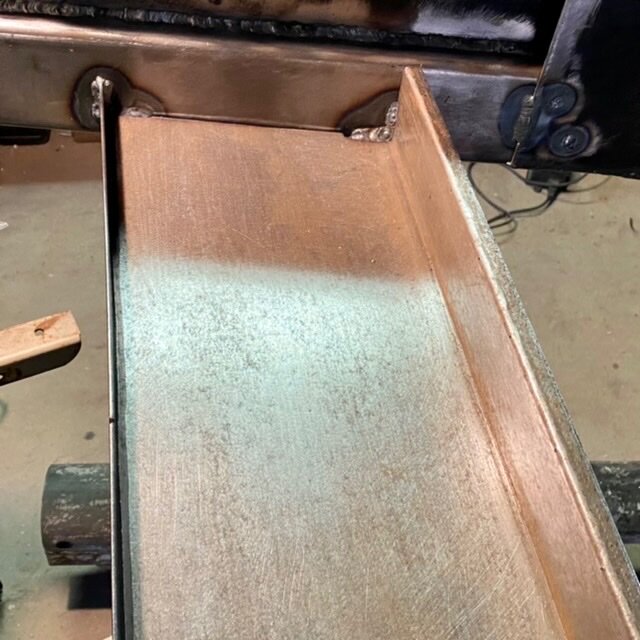
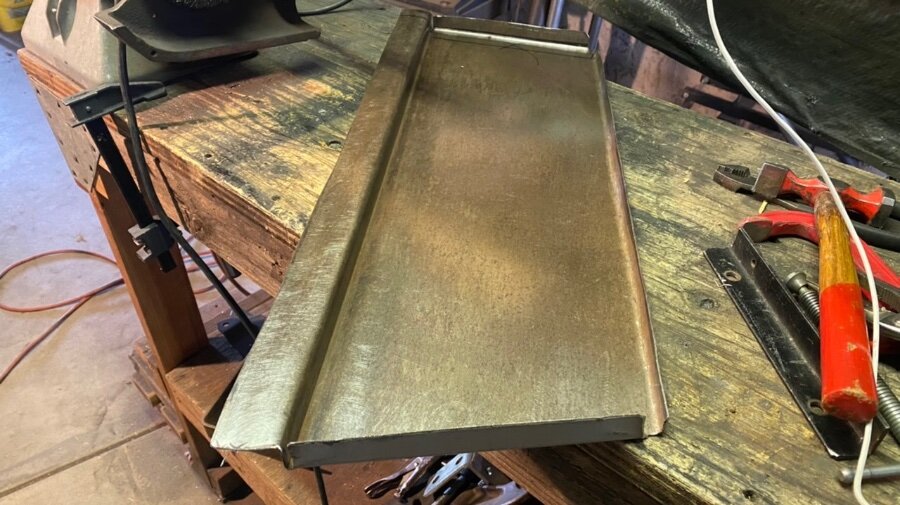
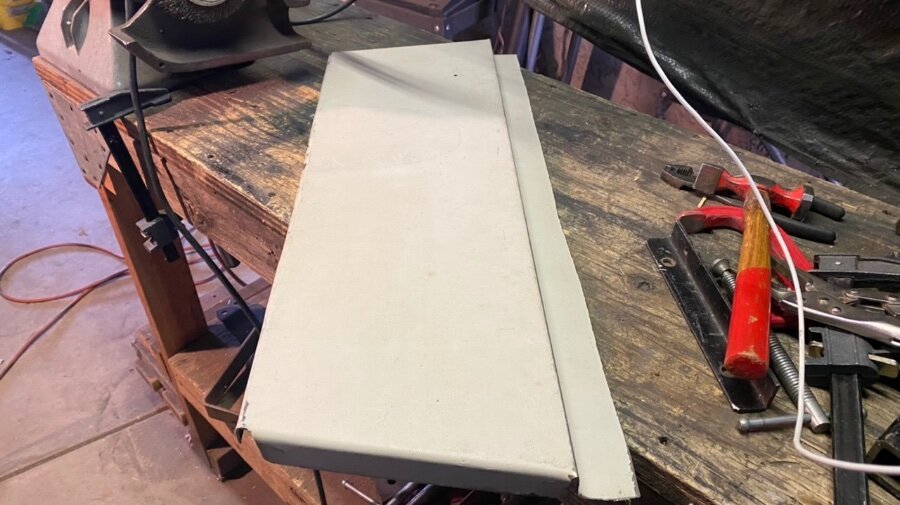
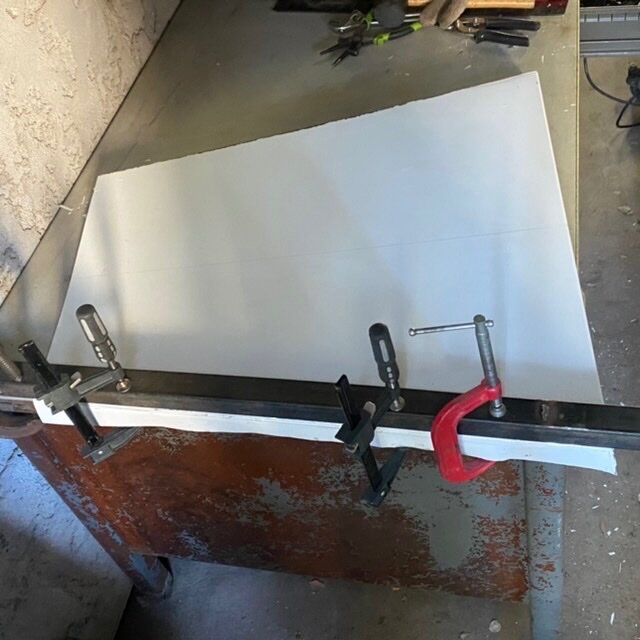
Whenever I keep something that other people would throw, out my wife always askes me the same question. “What are you going to do with that?” Then she reminds me for the next seven years when garbage pick up day is, so I can toss it out. OK maybe not seven years but this has been kicking around since our washing machine died a few years ago. Not having any kind of a box brake, I used the old time method of clamping it to a table with a piece of square tubing and smacking it with a mallet After lots of fussing and fitting I put a flange on all four sides, made corner notches, and made joggles to clear the big gussets on my frame. Now it almost fits. But it’s not ready to weld in yet. This floor will need reinforcements, and some get attached to the frame first.


-
We had our first fall rain and now it is starting to dry up. Time to grind. I still had to skip weld the bottoms of the floor ledgers, as they were still only tacked on 3 sides. It took about 50 really easy 3/4” to 1” long welds. Because they were on clean, new metal, flat position, Bench height, they all came out nice. Now I do need to clean up some corner welds, where I blew it trying to weld vertical. I will grind them out, roll the frame down, and re-weld a few short welds. I still need to make gussets.
-
That was just the argon solenoid clicking on and off. Right now I am still catching up the misc floor welding.
-
I can mass produce something nobody wants? I don’t need money that bad.