Ulu
-
Posts
2,484 -
Joined
-
Last visited
-
Days Won
12
Everything posted by Ulu
-
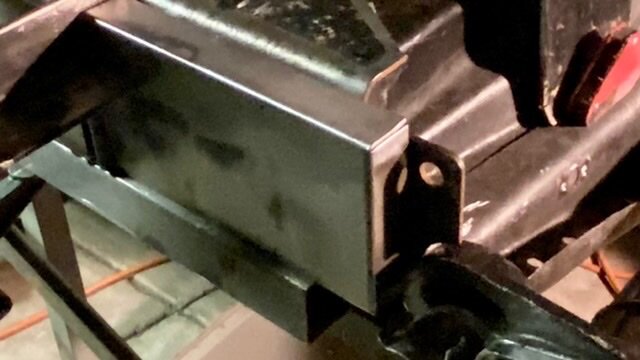
My dad bought that JCW fly wheel tool in 1967, so I don’t have the receipt to return it. ;( I will have to make a real manly flywheel tool. I have been putting that task off a looong time. Today was just hours of sanding, brushing, and scraping; all to prep for welding. I have to plug some holes. About ten of them. It will be easier to do them later, except one that is right in the way. The front of the rear body subframe Was bolted with one half inch dia bolt on each side. It’s a ridiculous situation for this lite gage metal and I am going to add some plates to those connections and use smaller bolts. Probably two 3/8 diameter on each side.
-
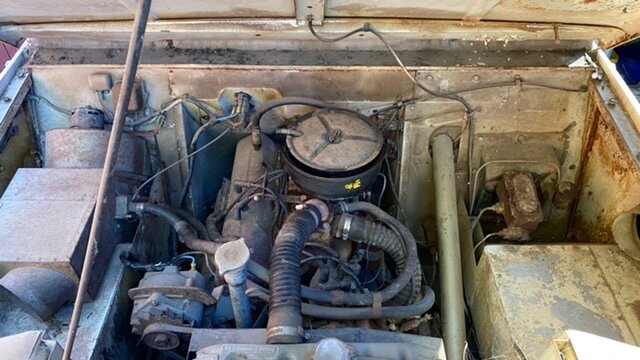
It’s a plastic body. I can just glue it to the chassis, right? Anyhow, if I survive this job, I have a steel body car awaiting. Body has very minimal rust. Engine is seized. I shot some penetrating oil in the cylinders. It won’t turn. I filled the cylinders with atf and let it sit for a while. 20 years now… I might try again to turn it, before winter, but I broke my JC Whitney flywheel turner.
-
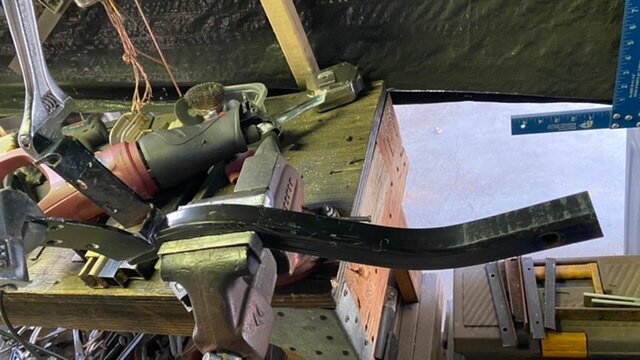
OK! I got both pan corners trimmed and made the patches.
-
All of those dirty parts have been dipped overnight, scrubbed, sanded and brushed. Now all of the paint and rust is gone and everything is nearly ready to weld on. (I am currently out of photo space again, so just imagine all those dirty parts in the previous photographs are clean and shiny now.)
-
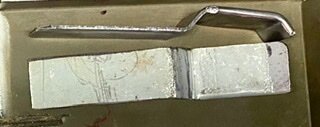
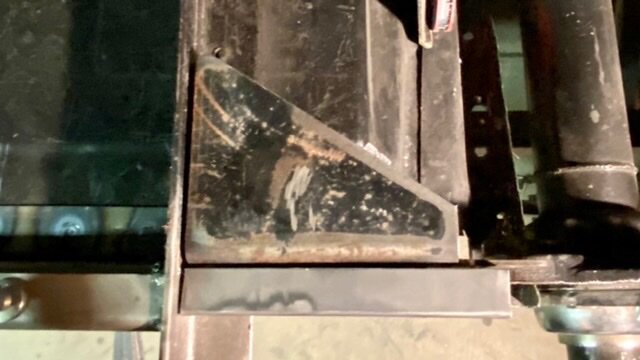
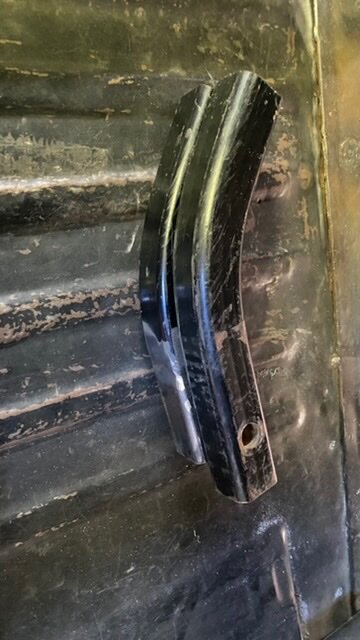
Better view of the little doublers.
-
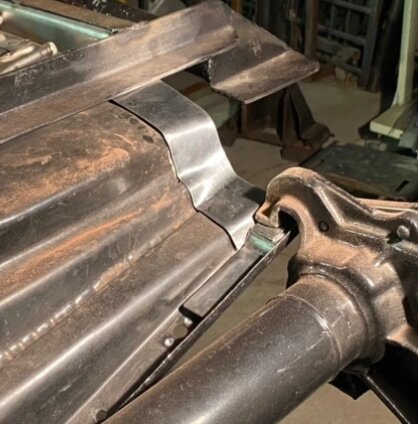
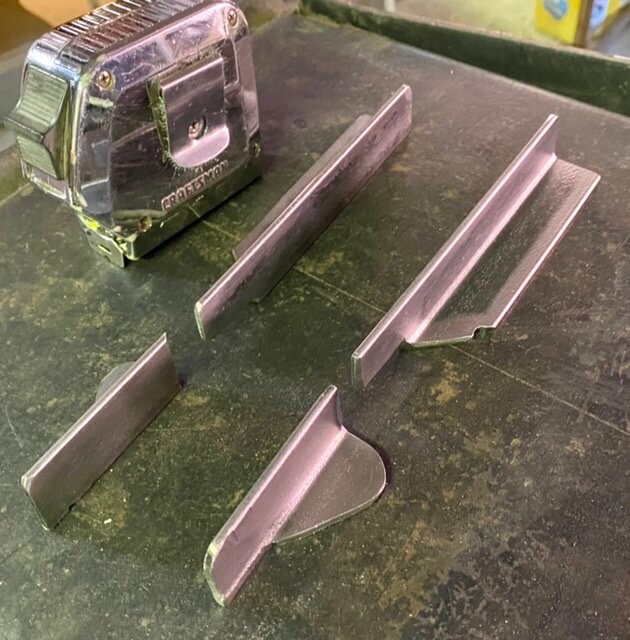
More special frame doublers. I made two by hand, a left and a right. That’s gray USAF paint from the ‘60s. That’s how long I kept the metal they came from. These strengthen the pan corner and provide a doubled 14 ga pad to weld the casting.
-
You can see that the frame rail steps in a little bit here, because the body has a lap joint in it, and I start losing clearance for the panel-to-panel connections. I got the little front rail closures tacked in. So I don’t lose them. I only have to do a little more cleaning and welding and then I will be ready to flip the chassis over and continue welding on the other side. Of course I still have to patch those rear pan corners, but that’s just minor sheetmetal. I am really anxious to flip this chassis again as that will represent a major milestone in the design and welding. Once I flip it over I can start working on the seat frame supports.
-
I figured out how to tie the last 9” of my SS frame together in the back, without buying more steel. Old parts from a Craftsman mower and a ww2 army desk will make a sturdy boxed gusset. A couple closure plates were required too, so basically I fabbed up six new parts (lefts and rights) and started burnishing off the old paint. I’ve been acid etching everything, so into the bucket they go.
-
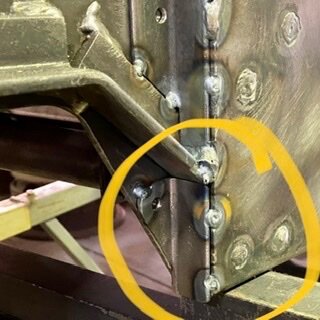
Well that bogus weld cracked as soon as I smacked it with a hammer. I bobbed off the remaining unneeded sheetmetal pan and carefully removed the frame doublers. I ground off all the old welds until I was left with the bare hooks.
-
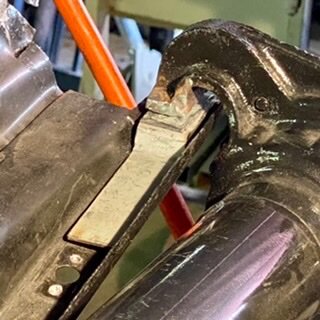
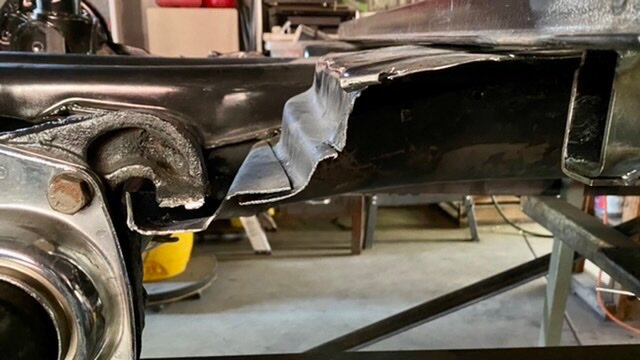
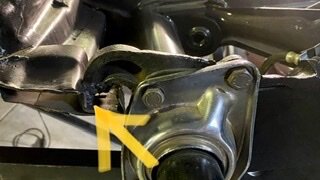
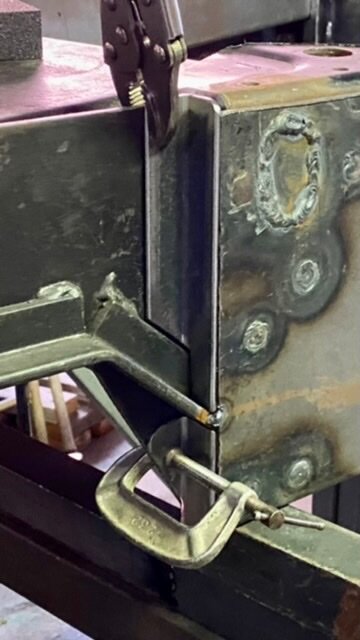
So it looks like someone almost MIGed this repop floor to the cast steel hook, (machined casting is factory welded into the frame.) But there should be two welds, and this half-weld is 50% slag. The re-design of this connection is keeping me awake at night. The previous cardboard mockup isn’t looking good.
-
My plan was always to buy a rust free California chassis to put this body on. But there were legalities and expenses and effort required. It was much easier to get it titled here, with a chassis matching the import papers. Also it’s much easier than titling a new construction, to register an already constructed/titled/continuously registered, imported car. That was part of what I was buying. The situation of easy registration. I could have registered it on day one, but it wasn’t safe to drive. Also, I wasn’t privy to the total junkyard “engineering” behind this kit design! Just pan-swapping would leave me nearly in the same place. Re-designing it all but with less rust. Plus I would need to chisel up the stock seat frames, move the pedal assembly mounts, shorten the shift rod, move the shifter mounts, bob the jacking point brackets, then still strip, burnish and paint it all. As they say in Vegas, it was a push. A 50/50 deal. Except for the $$$ and effort to find another titled pre-smog car or pan. Pre-smog cars with title are fetching a premium price. Even the lowly VW. BTW, the longer this takes, the more valuable the P-15 becomes, just sitting.
-
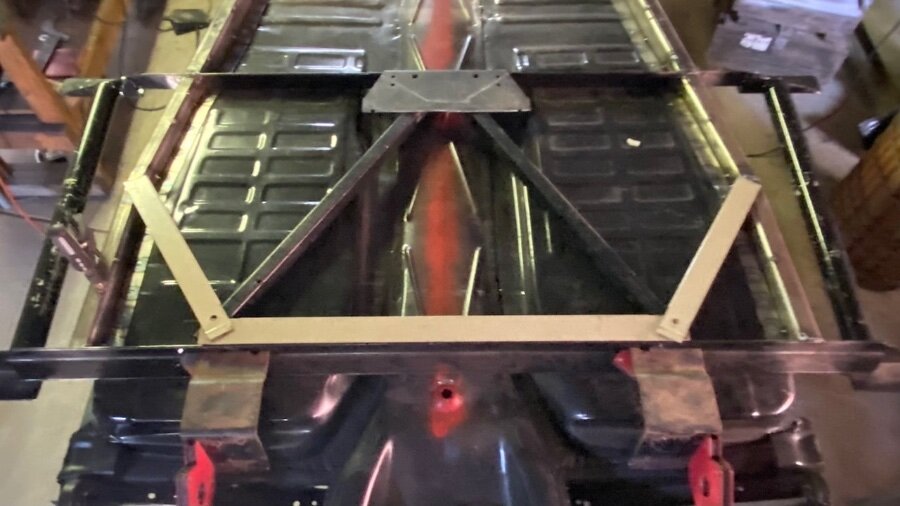
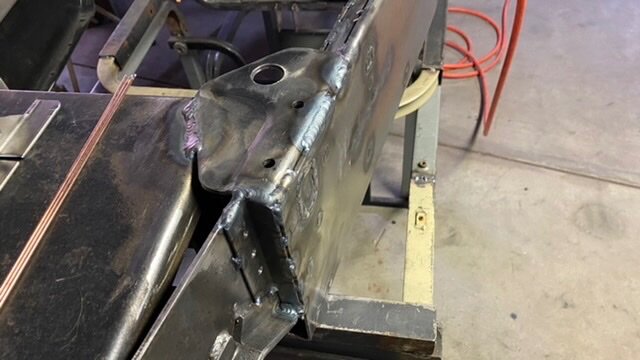
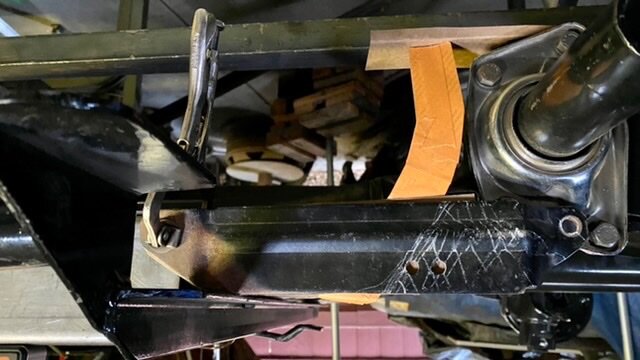
I haven’t welded those rear frame connections yet. I keep changing my mind on how I want to do this. Also there is some additional tubing that needs to be worked onto this connection, where I reinforce the frame at the door sills. I decided that I really needed to work out the sub frame connections and brace the crossmembers. I have some odd stamped channels & light tubing that will do the job quite nicely. There you can see how the heavy steel brackets will bridge from the reinforced crossmember to the edge reinforcement channel on the back of the floor pan. (Where are the red magnets are.) Those landing pads need some big bolt holes in them and I don’t know exactly where they’re going to be. I know approximately, based on what the pan was like before I reshaped it and Welded up all the holes. But I think I’m going to put oversized holes in them on the drill press before they are welded in, and then I will use big flange nuts. The rear subframe rails will each get some sort of a reinforcement shoe on the on the forward end, which attaches with the flange nuts.
-
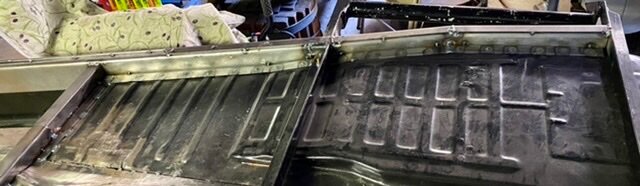
Haha… No this wasn’t rust. The panels had a big gap you could see through I found out when I stripped the gasoline soaked carpeting.
-
Yes, and I remember her complaining before, because she could look through a hole in the floorboards and see the road passing under.
-
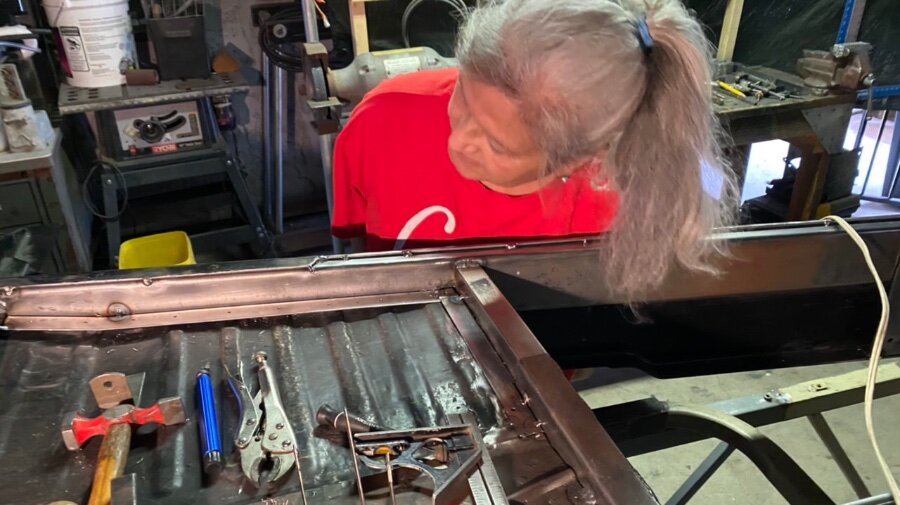
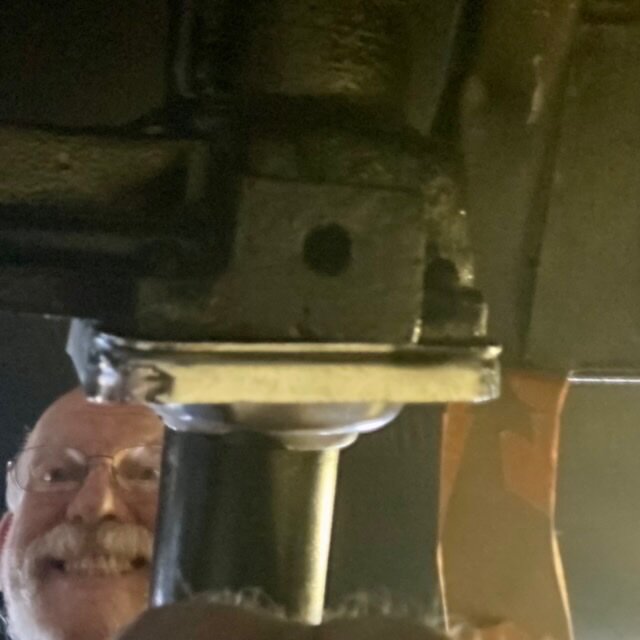
My wife inspects the welding.
-
I have managed to attach all eight floor ledgers, trim them and fit them, and get them all tack welded into place on the rails. Two of them had to get joggles which I made with the vise & a hammer. I also have one side already plug welded to every flute in the floor and I am going to do the other side now.
-
Ok, I could have bought a spot welder, as I’m welding the edge of a floor pan. but I decided I should just plug weld with the TIG. I only had to do two dozen, and though it is 10x slower, it would take longer to go buy and set up a new welder. It did take me a couple tries to figure out the process and get really good welds. But after I had made several of them successfully I started to get bored, and that’s when I noticed what happens in the puddle. When I hold the torch vertically, directly over the puddle, for the final fusion, the molten steel spins. Not rapidly but noticeably & it doesn’t really do it well until I get a good fusion. It stops instantly when I release the button and the cold Argon chills the weld. (I do not know why the iPhone decides to capitalize the word Argon, but since it is a noble gas I will continue to allow this.)

-
I got six gussets tacked up. Two are now 90% welded up, but 4 are only 25%. I’m doing ok with uphill, but I want to roll this frame before the full welding. I did some more overhead, and it was much better this time. I just needed a few overhead welds, but I had to sit on the floor inside the jig, looking up at strange angles, bumping my helmet. I kept that to the minimum needed to get things secure enough to flip the frame. Today I welded until I ran low on argon and the wind came up. I’ll have to grind the last one out. I’m not showing that crap weld, but most of the welds came out very well.
-
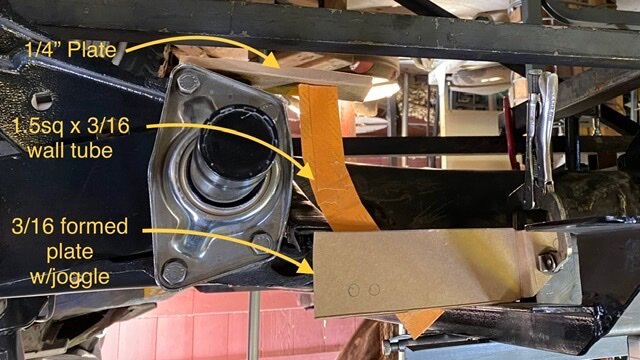
I must tie the new frame rails to the old VW pan and body mounts. Here is my frame joint Mockup & frame connection bits. The orange bit is from heavy tube. I removed the bracket and split the tube. One is a bit long. They will get trimmed past the hole, after welding. I have some heavy stamped side plates to hold that tube. The part labeled 1/4” plate has to bolt to this body mount hole. This is all still upside down, while some of those photographs have been flipped over.
-
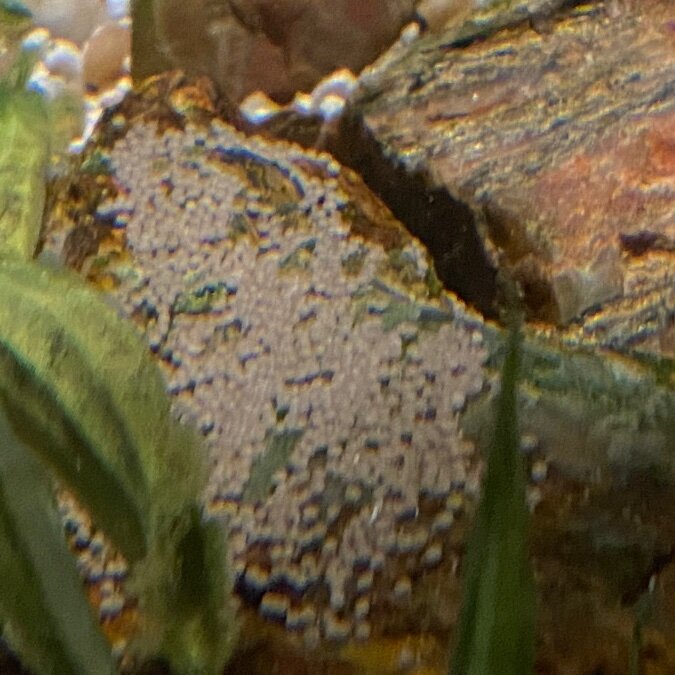
I’m rather disappointed by the fact that we won’t have fry, but in another 3 to 4 months they will lay eggs again. This is pretty amazing since it’s rare to breed Oscars at home. Oscar fish usually do not like each other and I was lucky that these two were friends right from the start. Also you just have to have a really big tank to breed Oscars. I have a 125 gallon and I consider it better than minimal only because it shares an additional 100+ gallons in the attached filters, sumps, and guppy breeder.
-
I stripped that angle with hot phosphoric acid solution, and it worked well. (My wife steadies the plastic tube as it foams over.) I burnished the angles, cut them to length, and fit them in the chassis. I also cut up some heavy wall tube for the rear frame joints. Pix to come…
-
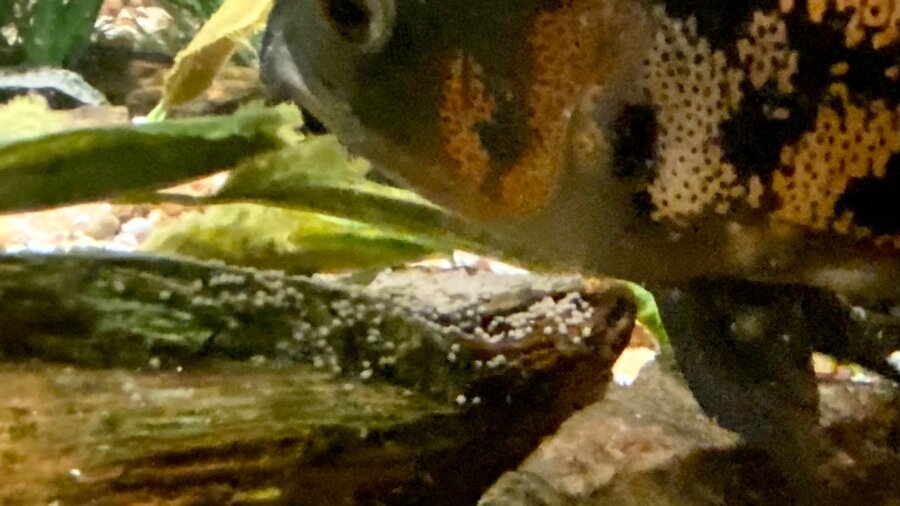
Maybe if I hadn’t disturbed things. I think I ticked them off by accidentally moving the rock, and last night they ate all the eggs.
-
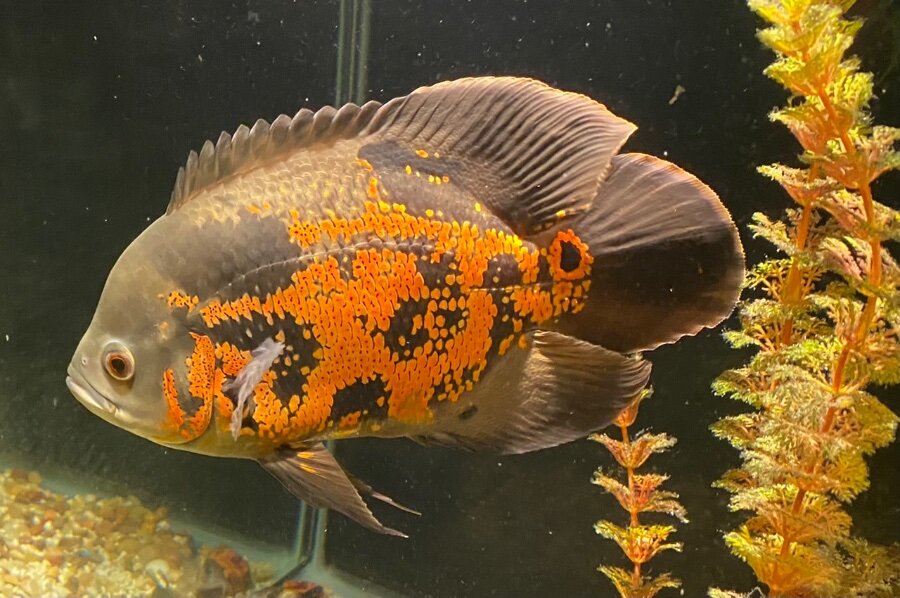
I have been keeping fish for 45 years or more, and I thought I knew what I was doing. I was wrong, wrong, wrong! Sometimes action is more predictive than physiology. I thought I had a breeding pair of Oscars. They seemed so fond of each other. But as they grew larger, I decided they both looked like males, physically, and that was that. Well that was then and this is now. The Oscars have been moving rocks and plants as per usual, and they seemed stumped by this big rock they couldn’t move. Distressed and forlorn, even. I stuck my arm in the tank and moved the rock away a foot. I immediately got bit six times in 1.5 seconds. I looked closer, realized my blunder, and got bit six more times as I replaced the rock. I didn’t see the eggs drop, but Papa Bear was fertilizing the eggs. He is visibly the male fish, displaying a pearly white appendage for the first time. They are both very aggressive, and guard their rock 24/7 from the catfish and snails.
-
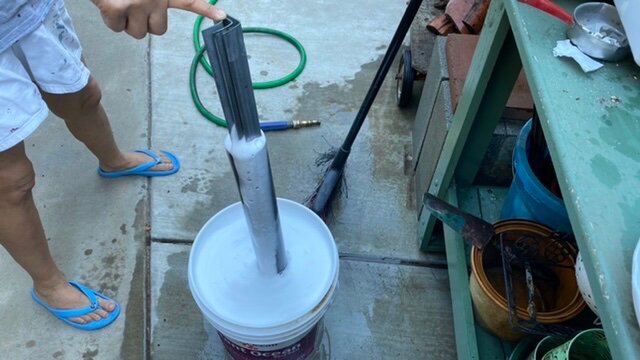
I bought some 11ga angle to gird my floor pan, but it is zinc coated. I think this is what’s called in the industry “redi-coat”. The zinc is so thin. Not like G90 or G60 but maybe like G5. I have strong ammonia, ordinary vinegar, phosphoric acid solution, and sand paper. Also electricity. I can’t decide how to strip it yet. There may be some quick & dirty experiments.
-
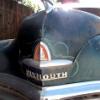
I rode in a 1937 Teraplane one time, and I thought it was a pretty awesome car. I was about $10,000 short of making a deal. Good luck Dan.