

Art Bailey
-
Posts
309 -
Joined
-
Last visited
-
Days Won
3


-
Welcome...looks like a nice, solid car. More stats and pics!
-
I enjoy watching those guys, and Halfass Kustoms. My go-to guys, though, are Coldwarmotors (though Scott modestly insists he's an "amateur." Anyone who can splice together 3 '60 Furies and make them look like one perfect car has me fooled. I've marveled at watching him bash out a complicated patch panel using a dogmeat ball peen hammer and a stump), Wray Schelin, Karl Fisher at Make It Kustom, and Carter Auto Restyling. Wray, Karl and Kyle Carter are really gifted teachers, extremely good at explaining the mysteries of getting metal to do what you want it to. Years of watching CWM has lowered my tolerance for poorly fitted panels, which would've made it a lot easier to just toss a couple spools of wire and some brake parts at my project and drive it.
-
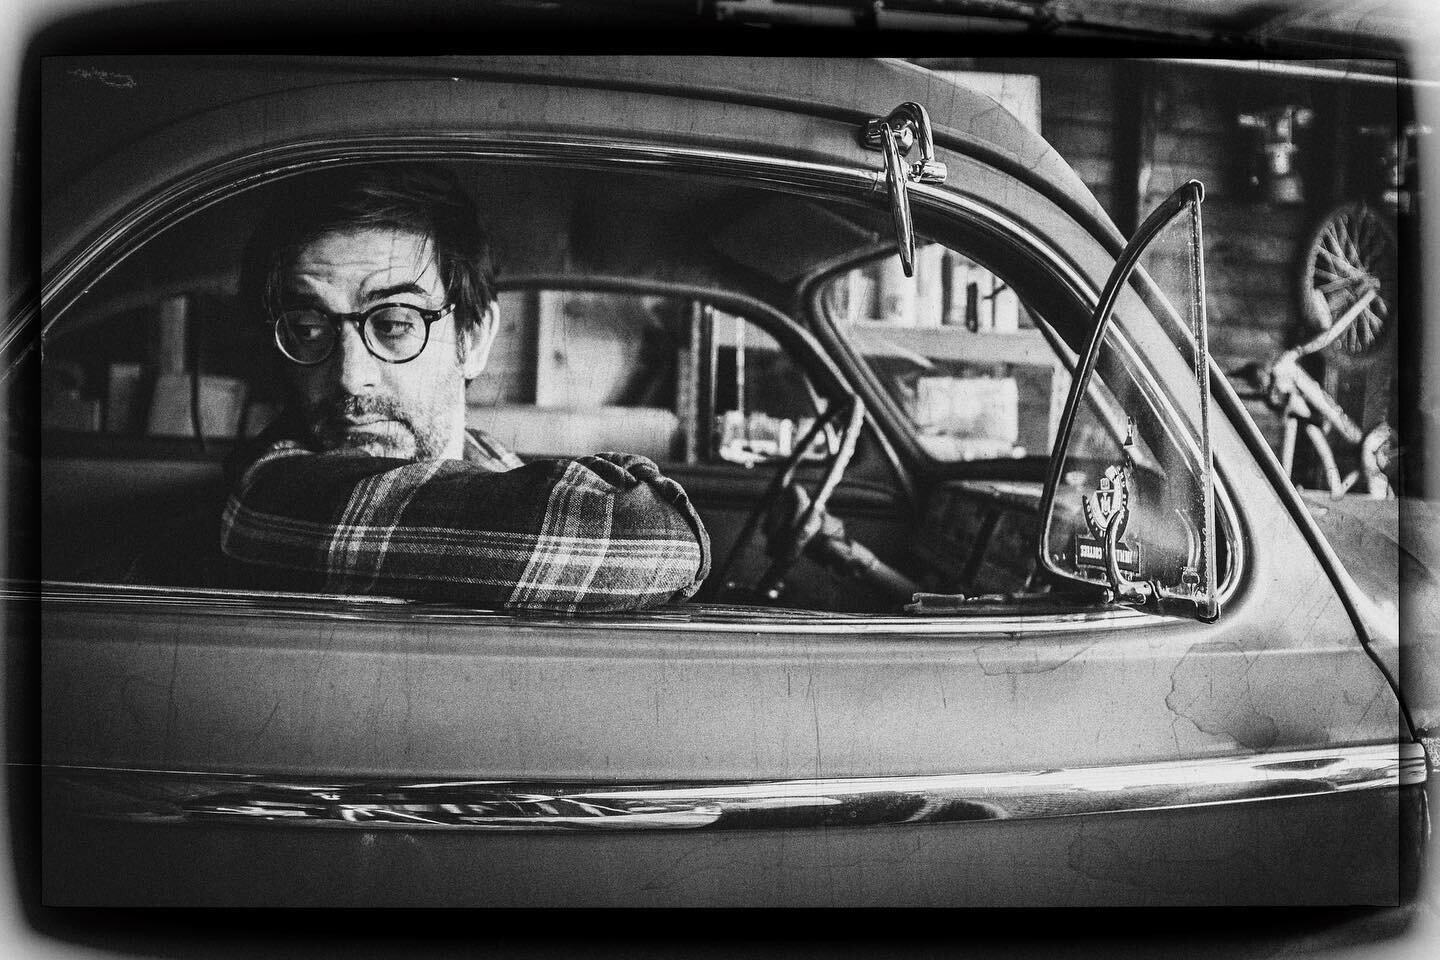
Ha! Almost, I said, almost! At some point, though, you have to swagger in there and pretend you know what you're doing, or it'll never get done. Honestly, I can't even see where the repair is in the pic you posted, looks great to me. You know where it is, though, and what it should look like, and yeah, I'll be driving myself crazy if I have stuff visible that I didn't quite get right. The welding isn't the only thing that worries me, it's also the panel beating and alignment. There's a bunch of stuff on my car that someone brutalized into fitting...it's pretty ugly. The left door was misaligned, needed to be moved forward about 3/16 of an inch to close properly, but instead, someone creased over the left edge a little. Front fenders are all out of whack, and there's that collision damage. Agreed...trying to pace myself and take my time. It's helpful that my garage is a quiet place where no one bothers me and I can talk to myself without getting funny looks, and swear profusely when necessary. And unlike the family minivan, I don't need the DeSoto by 8am the next day to get to work. It'll be done when it's done. Thanks for the note, it's helpful to hear from fellow travellers who've been there already!
-
Thanks for the kind words, man! Just found your build thread, I dig those pilothouse pickups so much! Looking forward to following along. I'm almost feeling confident to weld on the DeSoto, I've got a few welded repairs around the house that have held up well, and a few more on the list to prove to myself I can be trusted. The graduation project is a '62 Buick fender I picked up on FB marketplace...smashed dents into it, got some metal to replace, if I can make it look like a fender again, I'll be ready.
-
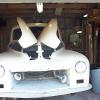
3 years since I last checked in. What's my excuse? Life, crumbling house, kids, learning a new trade at the age of 53. I haven't been doing much wrenching in that time, but I managed to get a few things done. Got my wheels sandblasted, and sprayed my first non-rattle can paint job with an LVLP spray gun and my anemic Craftsman compressor: Not bad, if you squint. Fortunately, they'll be completely covered by hubcaps and beauty rings. Other than that, I've been working on stuff that'll help me to not have to farm out work on my project: refurbed a giant, old drill press that I have no idea how I got by without, refurbing a South Bend lathe and a Sun distributor machine, trying to learn to weld and do body work, etc. Reading my old posts, I have to laugh at my optimism at thinking I'd get this thing on the road quickly. Fool! The more I poke at this thing, the more I find that needs to be fixed. The shiny stainless trim and crappy splash job paint hid a lot of sorrow. Here's what I found lurking under all that shiny trim... I think the mice who used to live in the rockers had something to do with some of this. Really, though, not bad for a 75 year old car from this part of the country, and I'm glad that my attempts at body work will be hidden under stainless trim, for the most part. Gonna have to make some body mounts, and of course, while I'm in there, replace the rubber, and then, of course, while I'm down there, just replace all the body rubber, because, why not...: ...and this bit of hilarity, my left front fender is practically sculpted out of bondo. Fooled me, but apparently that's not hard. I'm pretty sure I can do better than this. Then there's the engine. I started off by thinking I was gonna just send the harmonic balancer off to be remade, and slam it back together. Time goes by, I'm reading too much, and learn that there's this thing called a timing chain that stretches out over time. I learn how to check it, and go out to my wreck and find out that I can turn the engine over by hand a good amount before the distributor moves. Dang. Might as well do that while I've got the rad and balancer out. Last night, thanks to posts on this site, I figured out how to pull the crank hub: Not sure if it's evident in the pic, but some caveman used the old "hammer the snot out of it until it's back on" method, mushrooming the hub near the key, and trapping the pulley on, causing me to think that the pulley wasn't meant to come off. Here's a tip for anyone who might be wondering what torque specs to use for tightening bolts. If you can't find the specific torque specs for, say, the harmonic balancer bolts, don't just use random torque specs that you find somewhere on the internet. Find the torque specs for the bolts you're using, taking into account thread size and bolt strength. Then, you won't have to look for a new part, or learn to heli-coil the old bolt holes. Not saying I did this, or that I'm an idiot, but... Other issues include; rear axle with spun bearings. Repaired, sort of, with shims and loctite, not sure I trust it. Fortunately, have a line on another rear end. Brake shoes with those damn holes drilled in them (see other posts). Sick of rebuilding B+B carbs, 4 hours of driving on the Long Island Distressway and 50 bucks netted me one good Stromberg BXVES and a box of 4 or 5 other old one barrel carbs that I can flip. Stopped fooling myself that the interior was useable as is and didn't smell like mouse pee, going to need to learn to stitch up an interior. Wiring, of course. Thinking back to 3 years ago, when I tried to put it in gear for a cruise down the driveway, the gears would grind---probably looking at a new clutch. Steering box is dry and doesn't hold fluid, that should be an adventure. Bad body fitment is driving me crazy, fortunately one of those Mopar service bulletins deals with exactly that, specifically for my era car. Etc. Gonna keep after it, 4 years later I still feel lucky to have it, and really dig wrenching on it.
-
Love the chop! The downward slope of the roofline gives it a nice fastback look. I see twin carbs, would love to see more pics when you get time...
-
Last year, I cobbled together an oxy acetylene kit---tanks, Harbor Freight table, Smith Airline torch, gas saver valve, big old Oxweld handle and cutting torch. What a game changer...the usefulness of my shop increased 300%. I won't post pics, because you guys all know what a torch looks like, but here's a thing I made: Panel beater, or, as Trev on Trev's Blog calls it, a "smacky smoover." Made it out of an old furrier's rasp, for filing down horse hooves. Took a bit more of the temper out of the beater part that I would've liked, but it should be fine for what I'll be doing.
-
52b3b Joe used 225/75/15 on his '48 DeSoto. He didn't say what size rims he used, though I'd assume 5.5 wides, and didn't mention rubbing issues. I have 5.5 rims on my '48, and was planning to go that route, but fate dumped 5 barely used B.F. Goodrich Silvertown white wall bias plys on me, cheap. If you have time before you have to move it, keep checking FB Marketplace...
-
Here's what I got, 18 bucks from Amazon: https://www.amazon.com/gp/product/B081PN3C1D/ref=ppx_yo_dt_b_search_asin_title?ie=UTF8&th=1 There was no way a socket plus wrench was going to fit in that tiny space between the rad support thing and the damper on my '48, and I didn't have a 3/4" drive wrench anyway. So, I hacked off the end of the socket to the bare minimum and welded on a hunk of 1/4" flat stock for a handle. My damper and pulley are two seperate pieces, and there's a ring of six hex head bolts around the big crankshaft nut, the socket is a tight fit.
-
Thanks! Great...good to know I can squeeze that size into my DeSoto. Trying hard to stifle the 13-year-old in my brain that tells me to put bias plys under there 'cause they look rad.
-
What a fantastic job you did on this car! I'm going to be doing much of the same on my '48...looks good from 500 ft., but close up, the bad bodywork and paint drives me nuts. Curious to know, what size radials you went with?
-

1946 Chrysler starter questions, more help needed please!!
Art Bailey replied to harmony's topic in P15-D24 Forum
I decided to put the clevis back in there because the because the bolt looked to be wearing out the hole in the yoke lever. My guess is that the bolt was slightly harder material than the yoke lever, and the clevis is probably plain unhardened steel, or at least softer. 98 cents for a Pebble Beach point ain't too bad -
1946 Chrysler starter questions, more help needed please!!
Art Bailey replied to harmony's topic in P15-D24 Forum
Don't know if you addressed the mechanical issues yet. Here's a photo of the starter as it came out of my car, you can see what the bracket to the plunger is supposed to look like. Just like yours, the clevis pin and cotter was replaced with a random bolt and nut. You're gonna need to bash one of your stamped plunger bracket pieces back into shape to look like the other one. Also, that square headed thing embedded in the plunger is threaded for adjustment. I believe the info for proper adjustment is in the shop manual. The yoke shoes need to go back in with the rounded part of the shoe pointing toward the gear. I'm still hunting for a suitable boot. I bought one for a '55 Chev that looked like it might work, but it was too small and ripped immediately. For lube, I put a light amount of white lithium on the plunger and other parts...no idea if this is recommended, but figured it can't be worse than what you see in the first photo. -
Hey All, I picked up some NOS brake shoes to rivet onto my '48 DeSoto's shoes. However, the majority of them have four big holes drilled at one end of each shoe, right in an area where I need to place two rivets, like the one on the right in this picture: Curious to know...why? Thanks, Art
-
You can check resistors in the circuit. I think it's worth doing---I'm not a pro, but in my experience with consumer grade electronic stuff that's 60+ years old, carbon comp resistors will sometimes drift higher. Hopefully, the schematic will tell you the tolerances of each resistor, and you can make a call based on that. I've also seen cases where some tech put in a completely wrong value resistor, and I'm glad I put my eyeballs and ohm meter on each resistor and caught it.
