NickPickToo
-
Posts
661 -
Joined
-
Last visited
-
Days Won
15
Content Type
Links Directory
Profiles
Articles
Forums
Downloads
Store
Gallery
Blogs
Events
Everything posted by NickPickToo
-

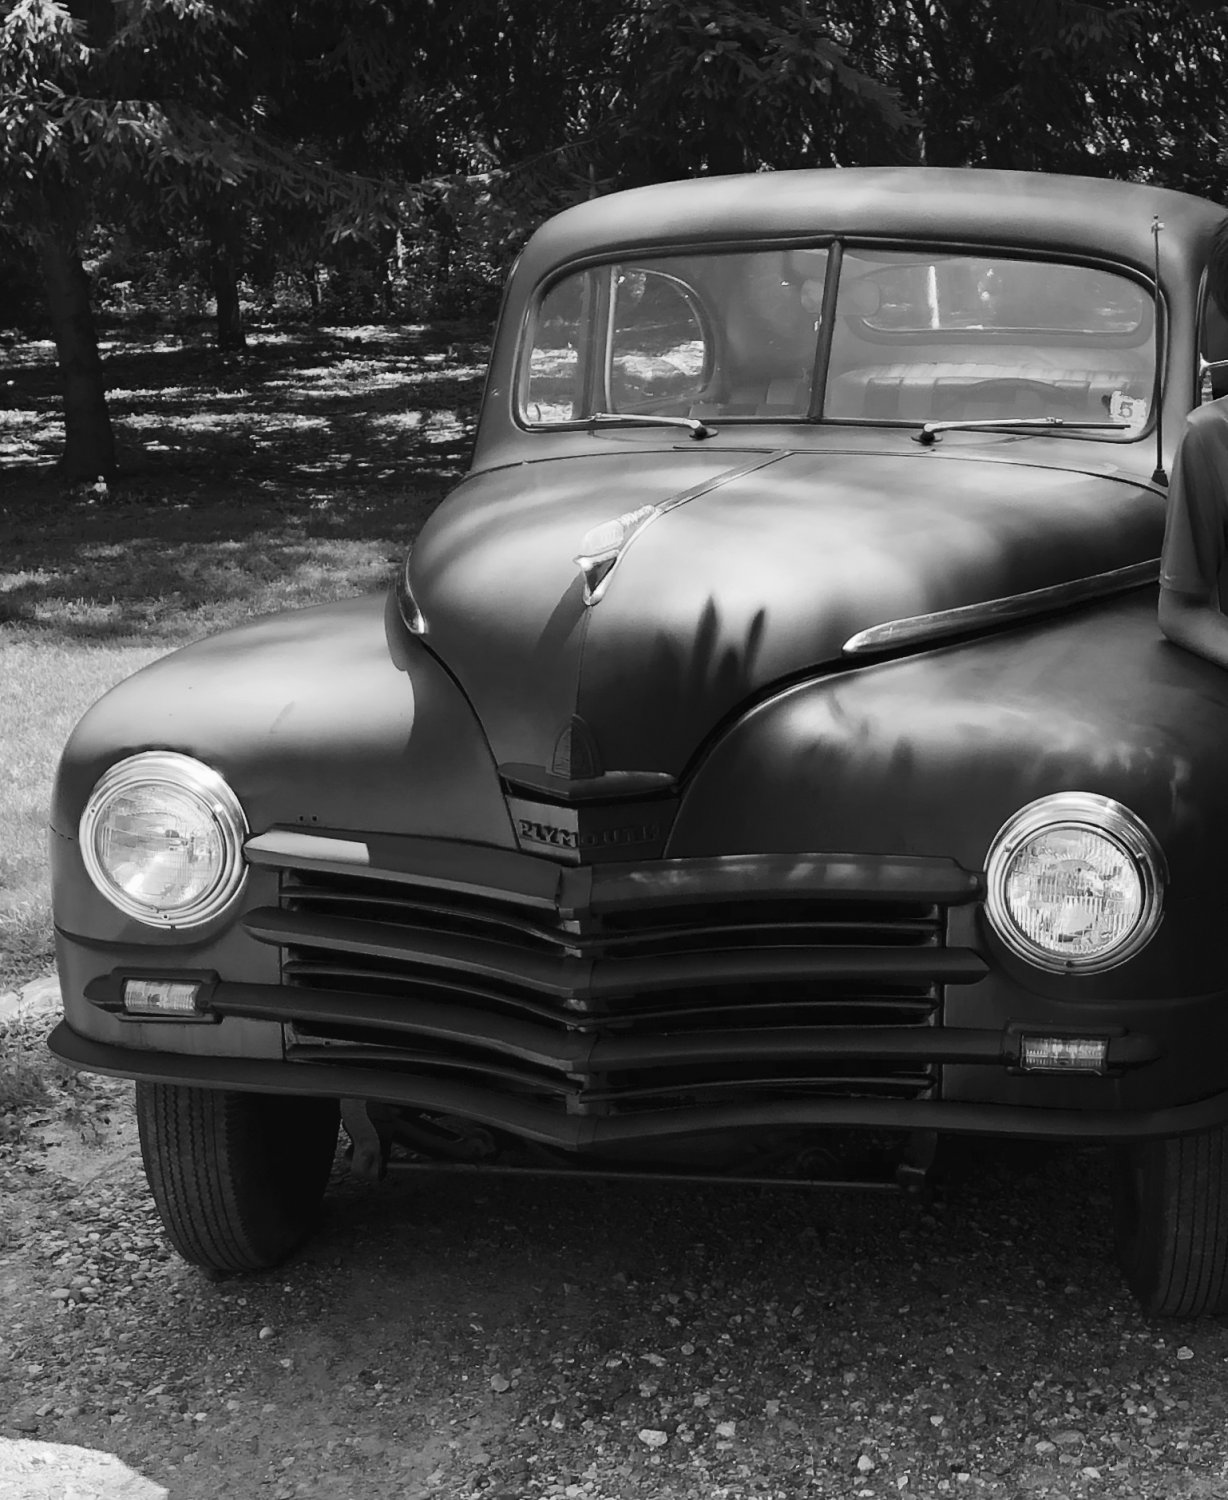
My First Car -- P15 1947 Plymouth Deluxe
NickPickToo replied to NickPickToo's topic in P15-D24 Forum
Any one know how to find the horn nut insulator and contact points that was original to the P15? -
and welcome
-
send them to yourself from phone by email. It should give you the option to select a small data set before the email sends
-
My First Car -- P15 1947 Plymouth Deluxe
NickPickToo replied to NickPickToo's topic in P15-D24 Forum
Question: Anyone know the measurement between the mounting holes on the front door arm rest? (center to center) I can pull back the panel to measure myself, but just seeing if I can save the trouble right now. Reason I'm asking is so I can find or make my own. -
My First Car -- P15 1947 Plymouth Deluxe
NickPickToo replied to NickPickToo's topic in P15-D24 Forum
We priced out new heat/AC, but it took me outside the budget. Yes, there is a budget believe it or not. But powder coating the casing on the old Comfort Master 53 was not out of budget. We use a local powder coater that gives us great rates. The radiator core still has decent flow and holds pressure. Mom got most of the old paint off the badge, but felt if she took any more off she would end up taking the red too. Now I just need to locate duct hose.

-
I coated my floor with Flex-seal, a rubberized paint/roll on product Then I laid down thermal/noise insulation from Quite Ride Then the carpet. All found online. Weather Tech sells general purpose size floor mats that I will likely pick up as well.
-
My First Car -- P15 1947 Plymouth Deluxe
NickPickToo replied to NickPickToo's topic in P15-D24 Forum
Thank you Mr. Adams This is very helpful -
My First Car -- P15 1947 Plymouth Deluxe
NickPickToo replied to NickPickToo's topic in P15-D24 Forum
Question: I have this original light switch with a Buss fuse. The markings are not clear on the fuse at all. What amp rating was used here and should I change this with the conversion from 6V to 12V
-
My First Car -- P15 1947 Plymouth Deluxe
NickPickToo replied to NickPickToo's topic in P15-D24 Forum
What was it sensing? -
My First Car -- P15 1947 Plymouth Deluxe
NickPickToo replied to NickPickToo's topic in P15-D24 Forum
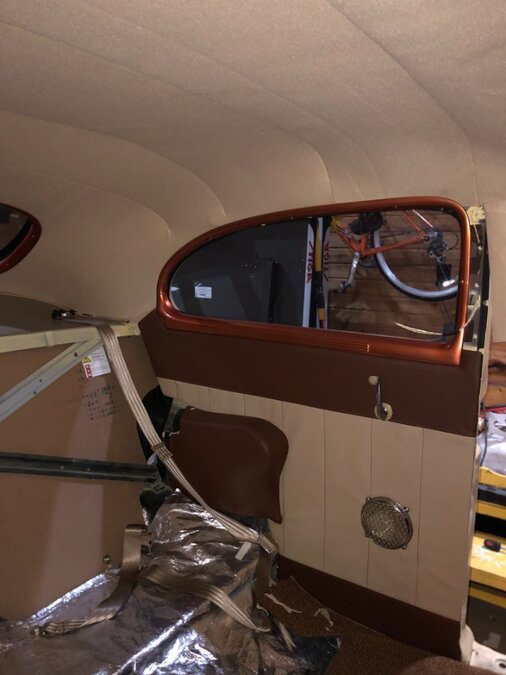
Little farther along. Need to attach the seatbelt strap to the B pillar and then hide all those screws.
-
My First Car -- P15 1947 Plymouth Deluxe
NickPickToo replied to NickPickToo's topic in P15-D24 Forum
Got it. I moved it just above the shifter but with enough room to hang my fingers out to reach the switch easily.
-
My First Car -- P15 1947 Plymouth Deluxe
NickPickToo replied to NickPickToo's topic in P15-D24 Forum
Thank you for the advice. The issue here is the three-on-the-tree shifter keeps me from mounting up much higher, but I'll take another look at it. -
My First Car -- P15 1947 Plymouth Deluxe
NickPickToo replied to NickPickToo's topic in P15-D24 Forum
TnZ wired it into the harness before shipping so I didn't have any circuit boards to figure out. I could have ran the wire down to the base of the column, but it tucks more cleanly up into the dash. I'll tie it to the main harness that runs there already.

-
My First Car -- P15 1947 Plymouth Deluxe
NickPickToo replied to NickPickToo's topic in P15-D24 Forum
Does anyone have a picture of one of these mounted in place?
-
My First Car -- P15 1947 Plymouth Deluxe
NickPickToo replied to NickPickToo's topic in P15-D24 Forum
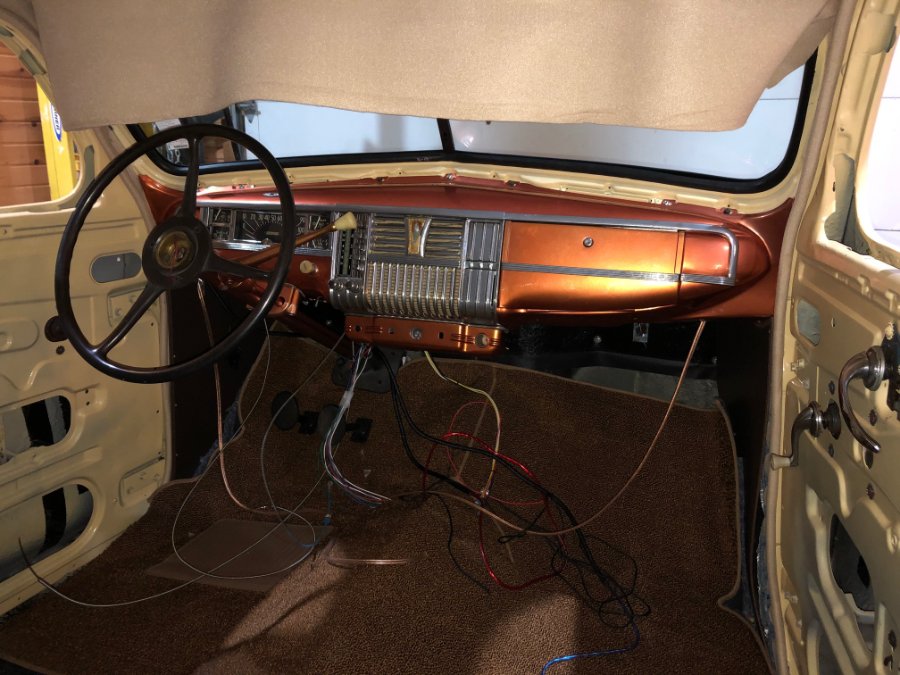
Thank you all. The photos were helpful. We're using a YNZ harness so everything is well marked. As I started to connect the wires, it all kind of made sense. -
My First Car -- P15 1947 Plymouth Deluxe
NickPickToo replied to NickPickToo's topic in P15-D24 Forum
Question: Does anyone have a good picture of the wiring harness running across the underside of the dash and also out through the firewall? -
My First Car -- P15 1947 Plymouth Deluxe
NickPickToo replied to NickPickToo's topic in P15-D24 Forum
Yes, that is the original. It's in pretty good shape. -
My First Car -- P15 1947 Plymouth Deluxe
NickPickToo replied to NickPickToo's topic in P15-D24 Forum
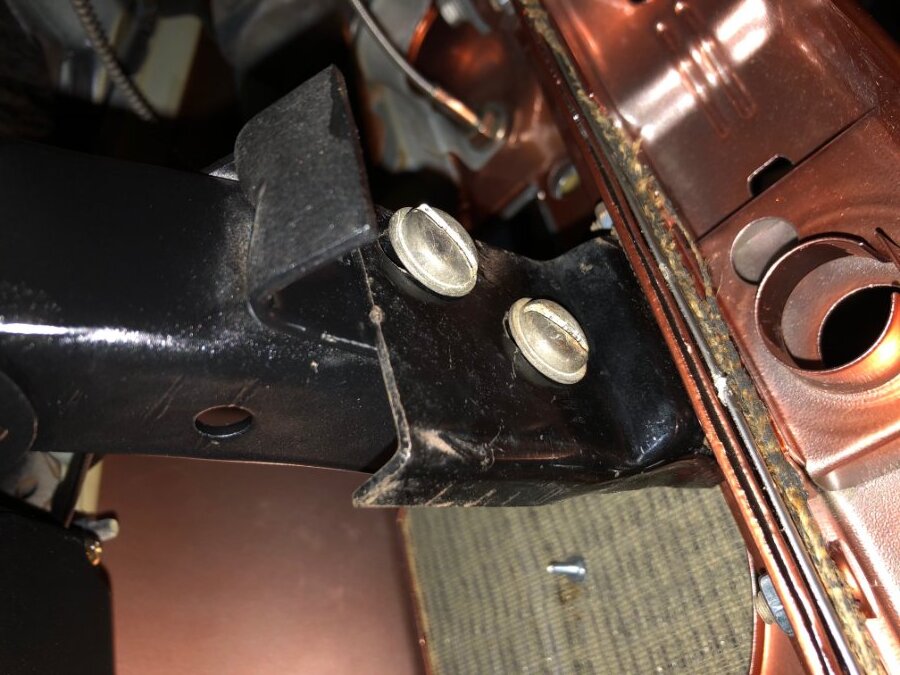
Take note of this brace attachment for the dash. It needs to go on before the front dash grill. I figured this out after I installed the dash. Anyway, got the dash and window garnish in now. I can see from the photo that I need to push the right side up a little tighter.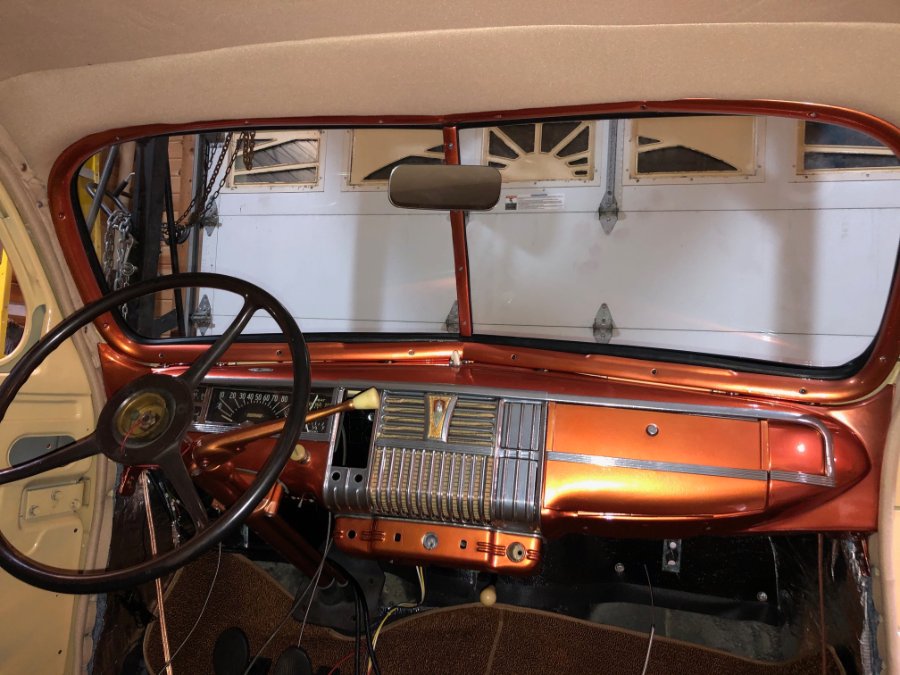
-
Car/truck safety precautions when working alone in your garage
NickPickToo replied to desoto1939's topic in P15-D24 Forum
My dad and I work as a pair. He watches or I watch or when were both working one is always out from under heavy objects. May not be practical for everyone, but having a wrench partner makes the project more entertaining as well. -
Yea, but don't get mad when you see mine out on e-bay with a slick story and a $40K price tag. I do love her, but if someone comes along that will pay me $40K, I'll find enough love for a few more.
-
My First Car -- P15 1947 Plymouth Deluxe
NickPickToo replied to NickPickToo's topic in P15-D24 Forum
? I know the dash badge is off, but it cleaned up nicely and really like how this is coming together.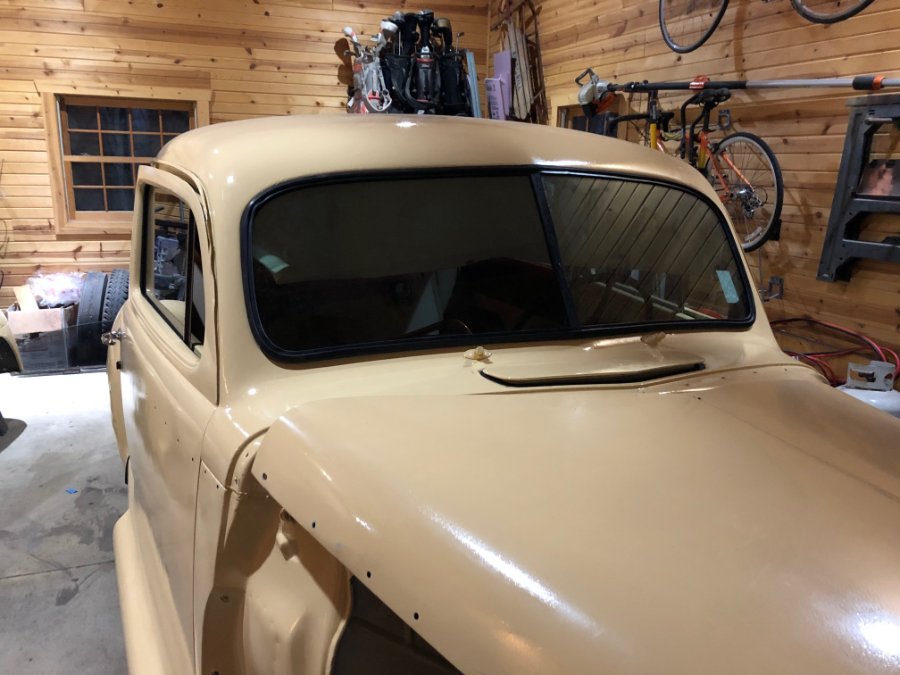

-
My First Car -- P15 1947 Plymouth Deluxe
NickPickToo replied to NickPickToo's topic in P15-D24 Forum
Question on reassembly order? Dash then windshield garnish or windshield garnish then dash. -
My First Car -- P15 1947 Plymouth Deluxe
NickPickToo replied to NickPickToo's topic in P15-D24 Forum
?!!!!!!

-
My First Car -- P15 1947 Plymouth Deluxe
NickPickToo replied to NickPickToo's topic in P15-D24 Forum
Aaaargggggg ?
-
My First Car -- P15 1947 Plymouth Deluxe
NickPickToo replied to NickPickToo's topic in P15-D24 Forum
I missed the B-Pillar by the entire width of the pillar ? Will have to come up with a mod. I saw another post where the owner started at the b-pillar and worked back and forward. Now I see why. Working from the back would have worked too, but need to be carful to pull it back far enough before pressing in the rear garnish trim Advice for anyone considering powder coating the garnish trim. Don't coat the backside. These are near impossible to get back in.