


chrysleritis
-
Posts
42 -
Joined
-
Last visited
-
Days Won
1


-
If it runs for 3 seconds, it's not the timing -- you have to hunt for the timing after switching to the pertronix setup -- it can be off by 5 or 10 degrees from where the points wanted to be. But there's a lot of forgiveness at being 5 degrees off either way, and if it runs, it's close enough. I would support the suggestion to open up the carb and just check the overall cleanliness and look for something gooing up the fuel/air mix. If you can get it to run by just spraying starter fluid or dribbling some raw gas down the carb throat, then that'll tell you that the idle circuit is clogged. Check also the fuel pump rate. Maybe the bowl isn't really filling?
-
Congratulations! Sounds pretty good. Chug, chug, chug! There's a lot to be said for getting it running and having a little fun with it before really working your tail off on every last thing.
-
Replaced/reworked: Remove/reinstall fluid drive. Multiple times. Replace rear main seal Fresh oil pan gasket Replace clutch disk Replace throwout bearing and sleeve Replace clutch fork retainer spring New leather boot for the clutch fork! Sexy new boot! Clean/regrease clutch torque shaft Replace motor mounts Rebuild/clean oil pump, new gasket to block Replace U-joints on both ends of propeller shaft Replace e-brake band New e-brake cable New speedo cable Replace transmission output seal Replace differential input seal Replace exhaust hangers Replace front sway bar bushings Replace rear sway bar bushings, repaint rear sway bar Change brake system over to DOT5: new hard lines, new master cylinder, new wheel cylinders, new pressure switch Bang the dents out of the downdraft tube, clean, repaint. Writing it down in a list like that, it seems surprising that the car ran and drove as well as it did, but a lot of this fell into the camp of "Well as long as it's up on the jack stands and not going anywhere any time soon, may as well fix that..." It took me most of the day just to clean out the garage well enough to be able to drop it to the ground and back it out. I award myself a well-earned beer.
-
Well, that was a longer repair than I had initially imagined. But the car -- it runs, it rolls forwards and backwards, it stops, it no longer spews fluid from every system. The fluid drive had to go to the repair shop three times before success. Details later, but it's a pretty good feeling to have it accomplished. Number of non-running cars in the household is now once again back to zero.
-
You don't need much of a tight seal on the fill cap on the master cylinder. The caps all have a small air vent hole in them, strategically placed so as not to let dirt in. So the gasket under the cap can really be any old thing as long as it does the job of keeping out crud. DIY cork or fiber should be fine, and I've had some janky-looking homemade gaskets on there over the years. Probably you're the only one who sees it! I prefer fiber, since it won't flake apart like a cork one might, which would land you back in the same place as with your piece of o-ring...
-
Hey, while I was crawling around under the car, it needs some new bushings on the front and back sway bars. Rock-hard, cracked rubber, not really doing anything. In the photo above, AndyD, you look like you have some fancy blue polyurethane bushings there, perhaps a MOOG product. If it is MOOG, can you tell me the product number on that and maybe save me some trial and error? There are some reproduction sway bar bushings available for these cars, but they look to be made of pretty undistinguished stuff. I have the snazzy urethane bushings on another car, and it really made for nice handling, so I'm interested in an "updo" on these. Thanks, if you can.
-
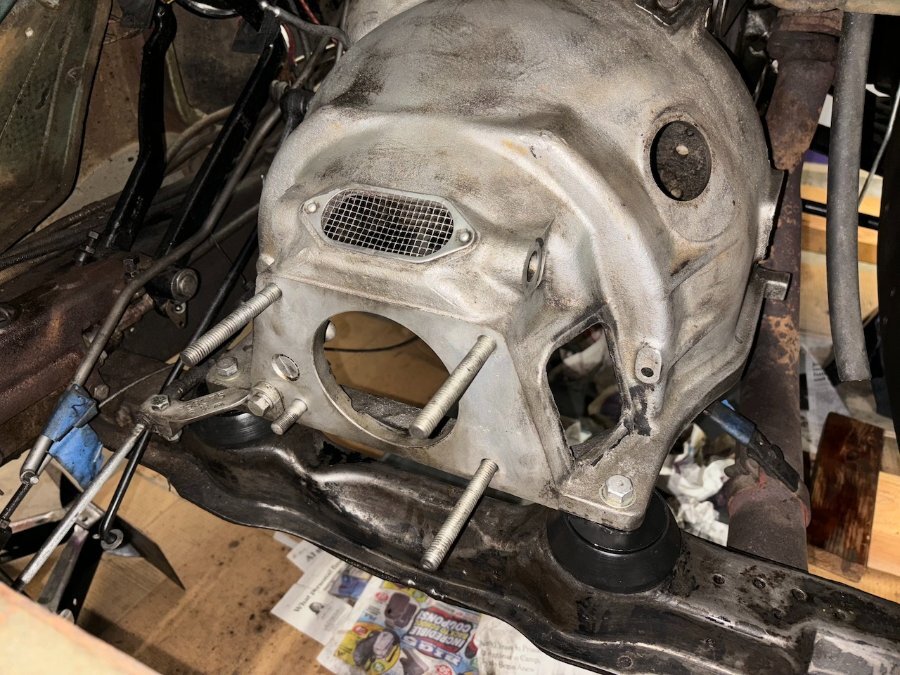
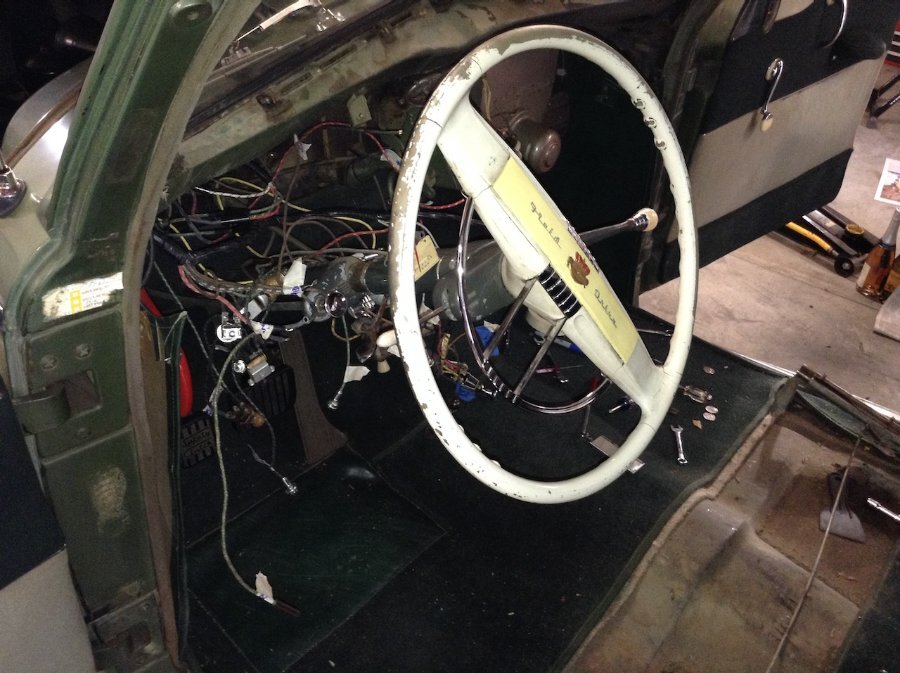
New motor mounts in! The previous owner or garage had installed the bolts in from the bottom, with the nuts on the top. Pro tip: it's very hard to install new mounts this way. It's much easier if you just bite the bullet and remove the floor pan so as to have access to the top of the clutch housing so you can get everything back into alignment. Old upper mounts were oil-soaked and gooshy, and one of the spacers was broken at the weld joint. Next up: replace speedometer cable with a NOS one I found in the pile of parts. I apparently bought it in 2005 for $40 and it is in great shape compared to the old one coming off. Replace parking brake cable -- old one has a broken strand that not only catches when you set and release the brake, but also catches me in the scalp whenever I shimmy under the car. Replaced pinion seal on the differential, and the transmission output seal. Parts are going back on the car. Fluid drive received back from rebuild. Now need to actually buy the magic fluid. And I think I need copper sealing washers for the fill plugs.
-
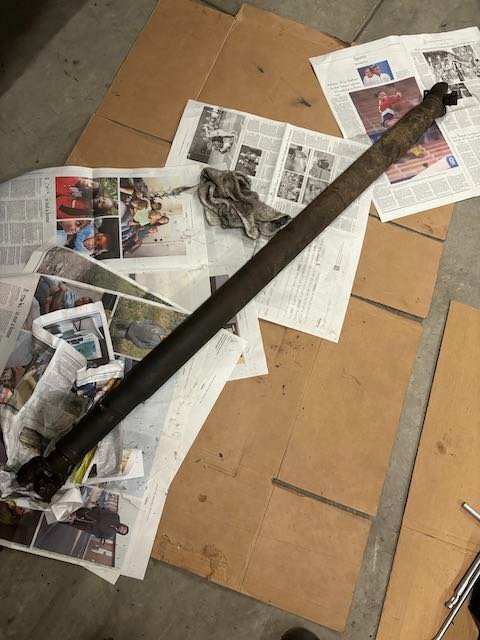
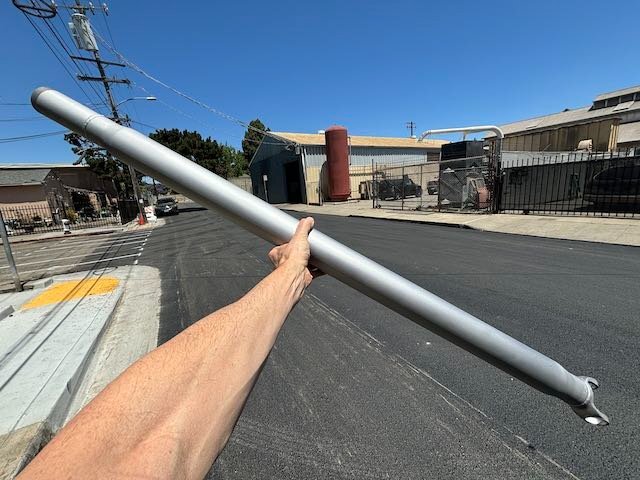
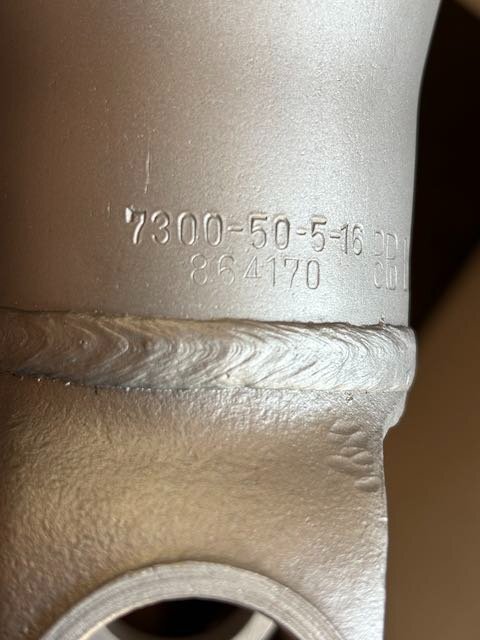
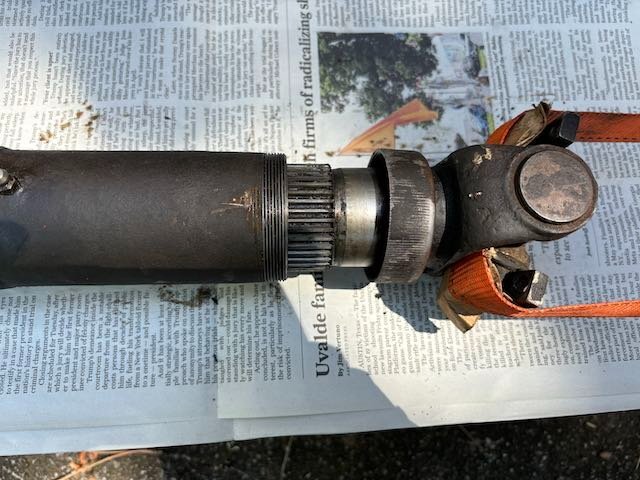
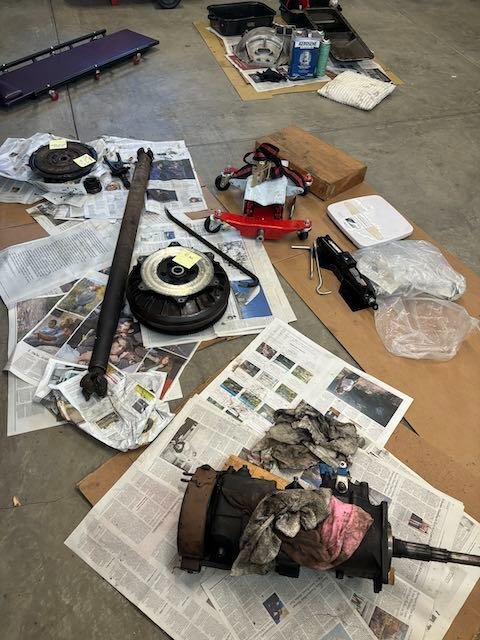
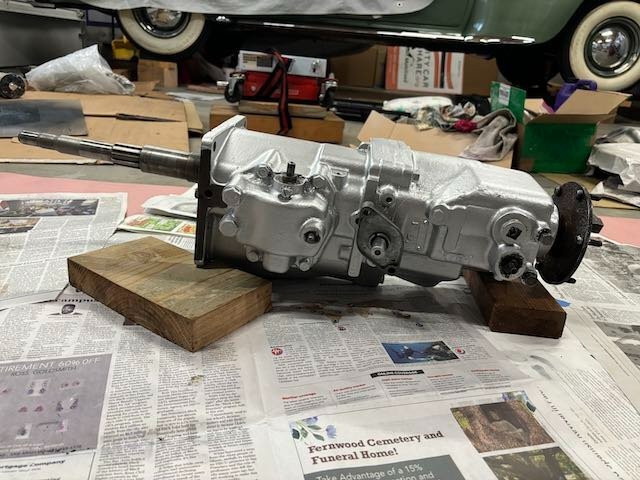
Fluid drive unit was shipped out in June. It's in the rebuild queue, should have it back in a couple more weeks. I think I have finished the stage of the project where you clean everything. No small task. Very messy and time-consuming for the home mechanic, but I feel like I'm better, faster, and tidier at this than I used to be some years ago. I'm annoying my wife less with the greasy filth, for sure. While everything is pulled off the drive line, I'm gonna address several of the leaks. (Today I passed by a cruise meet-up of Pontiac GTO's and those guys were all comparing notes on how many drip pans they have on the garage floor.) I have a pile of new parts to put in, including the rear crankshaft seal, rear output seal for the transmission, pinion input seal for the rear end, new gaskets for the oil pump, new universal joints, new grease seal for the propeller shaft. The propeller shaft was a real mess, so that got blasted and repainted. Clean and re-grease the clutch torque shaft and all the linkages and cranks. Fresh clutch disk to replace the fully-greased one. Clean up the transmission case. See if I can fix whatever is funky with the shift rail and fork that makes reverse gear not want to stay there. Propeller shaft before: Prop shaft yoke getting unstuck, which was bad: Prop shaft after: Transmission very dirty: And cleaned and painted. It's the little-known R7B-1 overdrive. Feels like I'm making good progress
-
Oh sure, you can just grab a length of steel stuff from the local auto parts joint. But if you have leftover nickel-copper stuff from the brake job, that's nice.
-
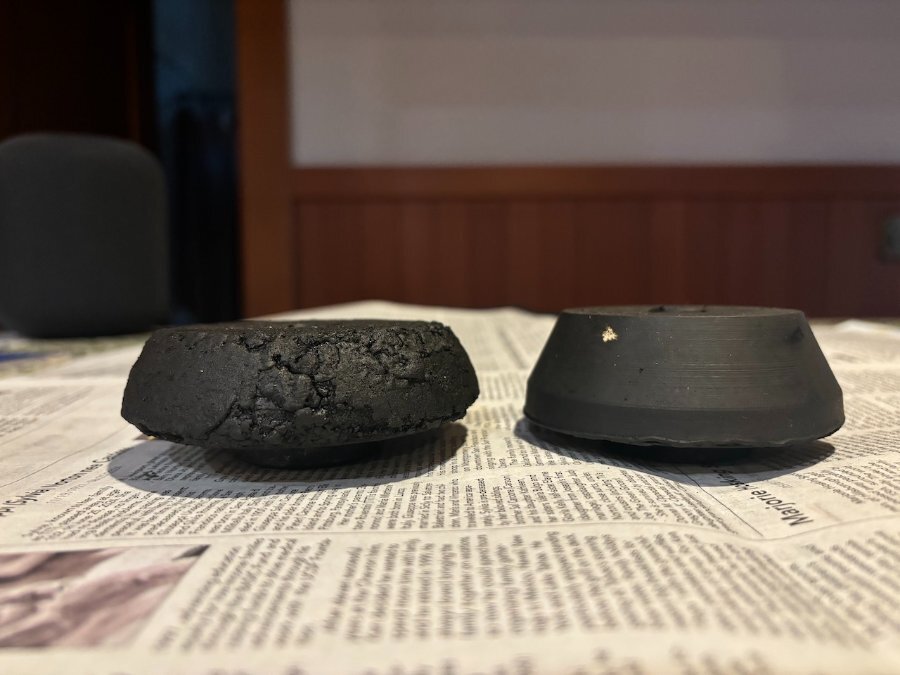
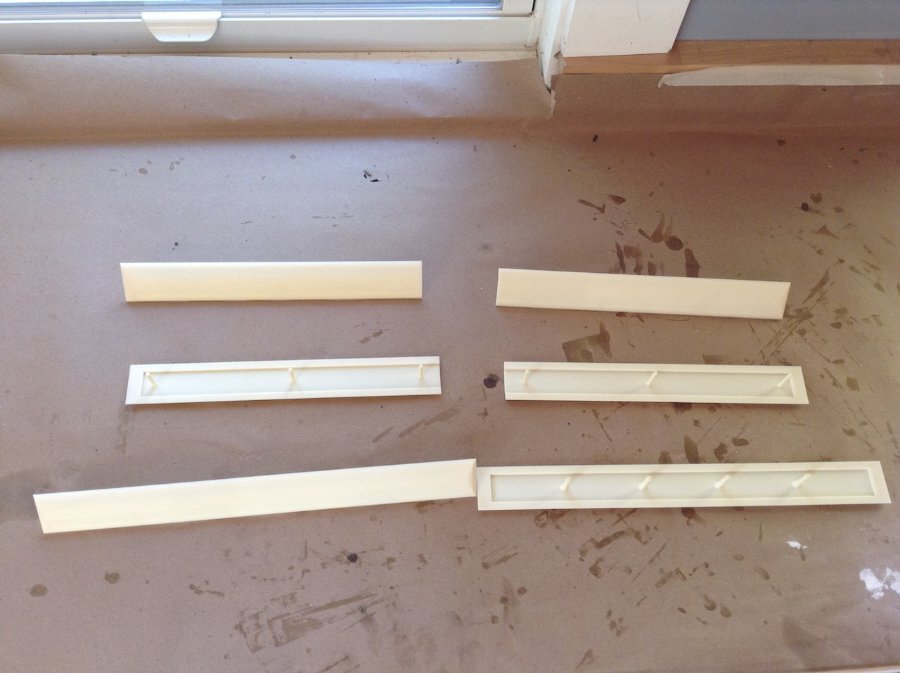
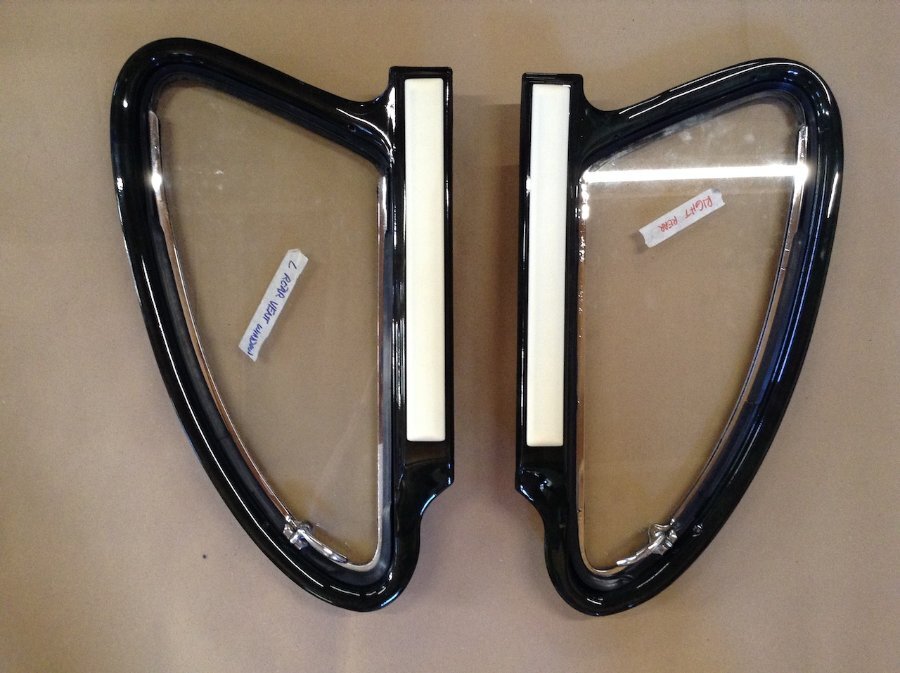
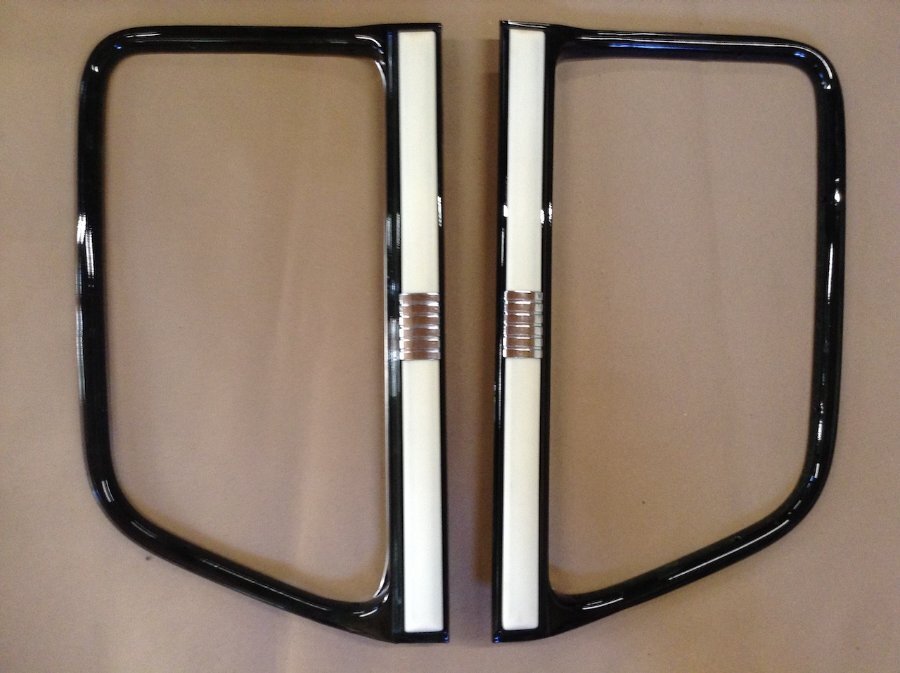
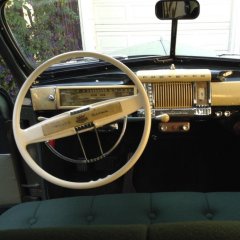
I think the short answer is no, nobody is remaking them. I've done both silicone molding from originals and 3-d printing and have had some success with both. The 3-d printing worked very well for simple forms on rear door and rear vent window trim panels. I made bunch of measurements and tracings, turned them into a CAD drawing of the pieces, and electronically sent the job to a 3D print shop. There are lots of colors available for the plastic material, or you can paint what you get to be the color you want. You'll want to spray some clear coat on them anyway, probably, for a little more UV protection, although the modern 3D print materials can be pretty good in that regard. The 3D printed pieces I got back did require a little hand-sanding to smooth the machining lines out, but that worked very well. I did have to invent a method of attaching them to the door/window molding pieces, but the the 3D plastic printed material drills and taps easily, so that worked well. For the more complex pieces, I tried some silicone molding, using an original piece. For that, I had to doctor up the originals to fill cracks and holes and stuff with a little body filler. And making good molds that pick up all the detail is tricky. I wound up making several different molds and several plastic castings before getting something satisfactory, which then got a little paint to look the way they should. So: 3D print simple stuff, try casting more complex things. Silicone-molded steering wheel insert here on 1941 Chrysler. 3-D printed garnish molding pieces as received from printer: And installed on re-painted moldings:
-
Often you see various conversion fittings on those things that have accumulated over the years. For what it's worth, my Chrysler parts book shows that in 1938, there was a standard nipple coupling that converted the double-flare tube fitting to the female input to the distributor vacuum chamber and also on the other end to the manifold. The manifold likely has the 1/8-27 pipe thread. They wanted you to use double-flare tubing for the oil gauge line, the distributor vacuum line, and a couple of places in the brake system. I think 3/16" tubing is right, and the flare nuts are 3/8-24. And yeah, leave extra length and use the flexy nickel-copper tubing.
-
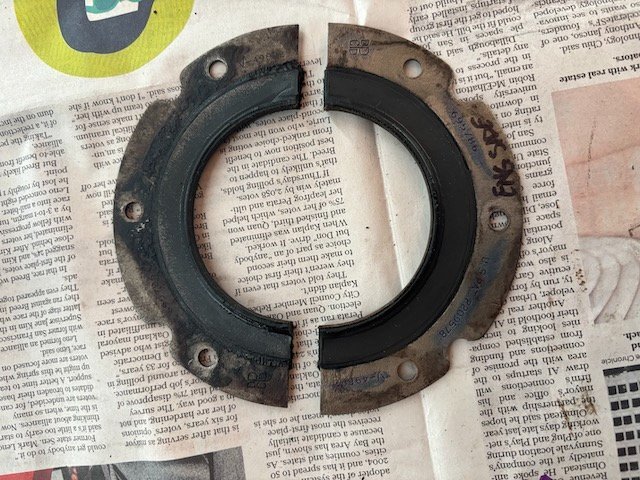
And now that it's been cleaned up in preparation for re-build, should the fluid drive unit be painted? It looks like there's some remnants of black paint on there, and if I mask off the important bits, should I spray it?
-
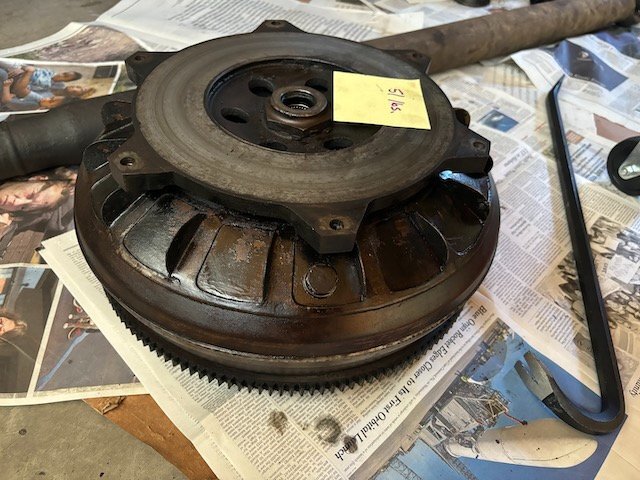
Thanks, that was the technique. I got out "the good crowbar", and applying the principle that two objects cannot occupy the same space at the same time, you have to just persuade the crowbar to be where the other thing currently is. The fluid drive weighs 51 lbs, although it might still have a bit of oil left in it. Once it broke loose, I slipped the transmission jack under it to get it down and out without trying to heft the thing on my chest. This step concludes the teardown process and represents the point of maximum number of parts all over the floor, so it's all gravy from here. Now have to concoct a shipping crate arrangement to send it out to be re-sealed. The rear crankshaft seal is fortunately not the dreaded rope type, and is available as Best Gasket kit #3774, replacing Mopar #695786.
-
Need a little info from Fluid Drive Whisperers -- anyone who has pulled one of these units out before. All the prep work is done. Large pile of parts neatly on the floor in the garage, fasteners sorted and labelled. I've pulled out the propeller shaft, transmission, clutch, clutch fork and throwout bearing, lower clutch pan, removed the oil pan, and I got those booger nuts off the studs that hold the fluid drive unit onto the crankshaft flange. Best tool: 5/8" flare nut wrench and a short cheater pipe. The manual says, "Remove drive flange stud nuts and pull fluid drive unit back free from crankshaft flange. ... After removing nuts, fluid drive and clutch driving plate may be withdrawn from clutch housing." The fluid drive unit will not budge and seems to be good and stuck on the crankshaft flange. Can I safely pry on anything, like between the studs and the engine block? Is there some trick to this? I don't think I wanna whack or pry on the fluid drive unit body with anything very hard. Any advice appreciated.
-
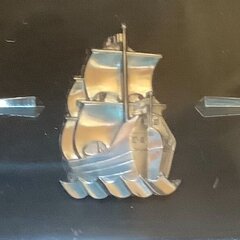
It's not a Plymouth or Dodge but it is a Chrysler
chrysleritis replied to joecoozie's topic in P15-D24 Forum
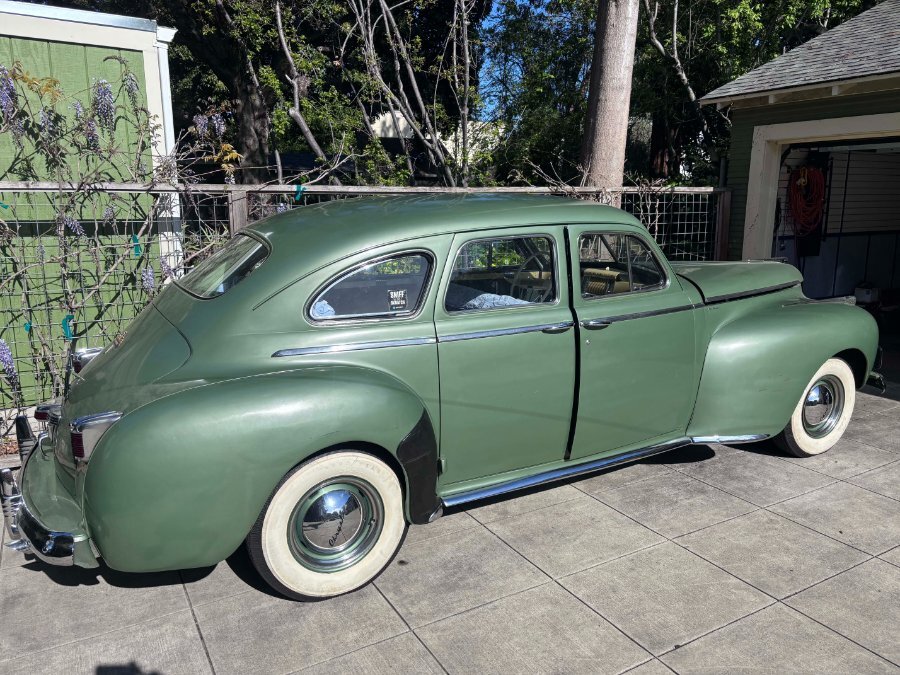
That's really a find and looks to be in good restorable condition. Running? Good luck and have fun with that!

