-
Posts
2,404 -
Joined
-
Last visited
-
Days Won
11
Content Type
Links Directory
Profiles
Articles
Forums
Downloads
Store
Gallery
Blogs
Events
Everything posted by Ulu
-
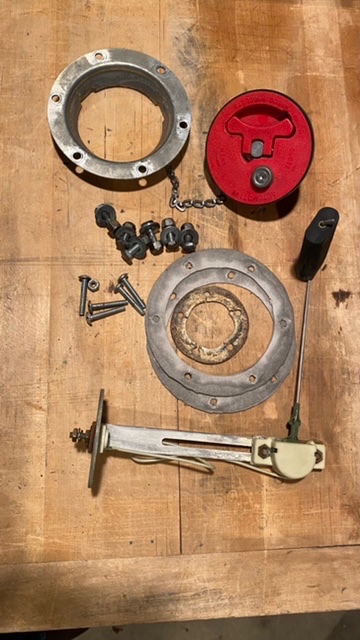
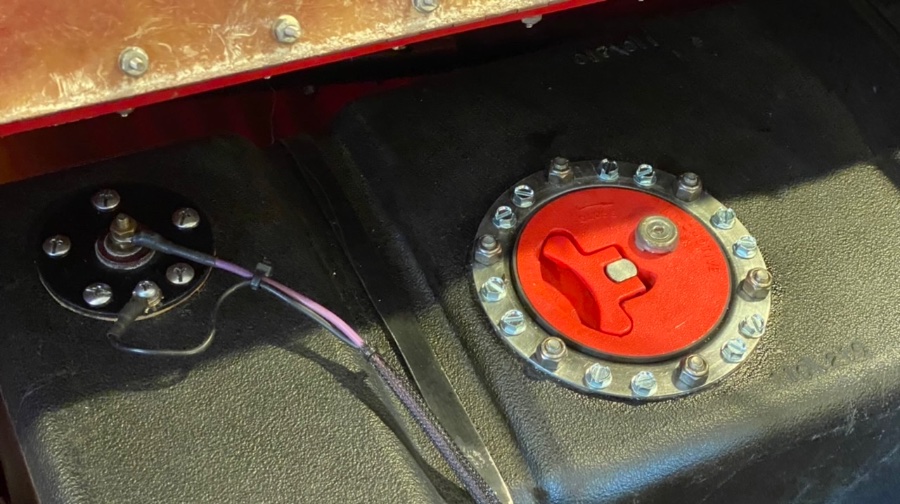
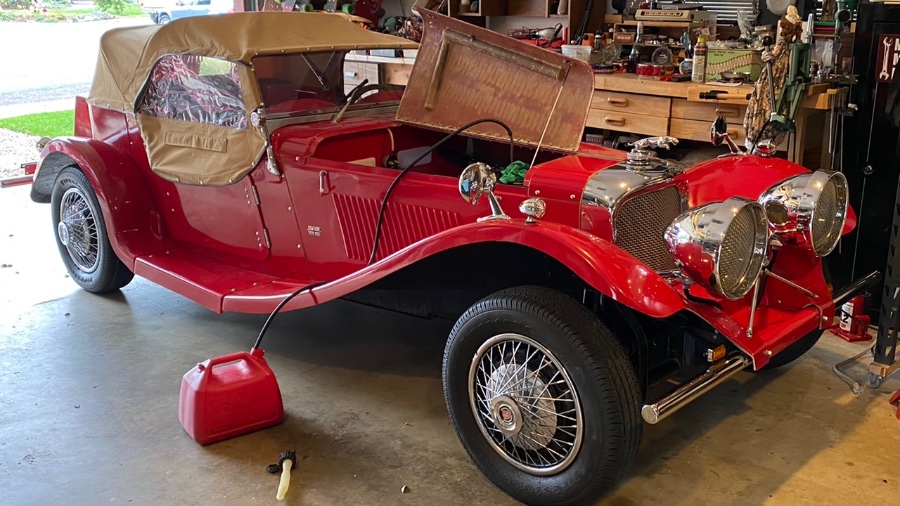
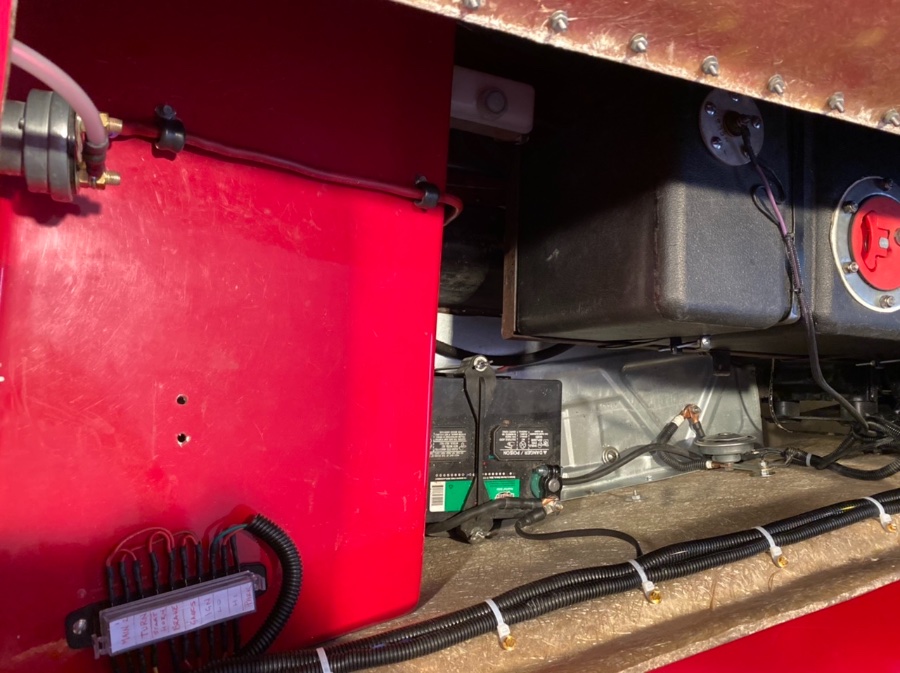
Unfortunately when I filled the tank there was a lot of fuel seepage and I had to tear everything apart and re-gasket the whole tank top. I added 12 more screws to the main cap ring, and I added back up washers and nuts to the five sender housing bolts (which were just screwed into plastic.) I also removed the ground screw from the mounting bolt, and added a ground screw hole just tapped into the steel plate. I wasn’t able to get gaskets for the stuff locally and the Seal-all brand fuel proof sealant can no longer be purchased in California. I made my own gaskets from 1/8” Fel-Pro fuel proof gasket paper and I infused them with cyanoacrylate glue. This will glue them permanently to the metal but it will not permanently glue them to the plastic tank. I used extra coats of glue to make it all conform, and this is an anaerobic sealant so soon as you clamp it all down and drive out the air it cures fast. If you’ve ever use Krazy glue, you know how fast it cures. If you ever tried to wash cured Krazy glue off your hands with gasoline and you know it doesn’t work. I used to use it to fix broken carb gaskets on the old Carter Ball & Ball. If you use Krazy glue to fix a tire or an innertube, gasoline will ruin the rubber and not touch Krazy glue. It was a beautiful sunny California day, but nonetheless I waited an entire day and more, because I don’t want to subject anything to gasohol too early. Siphoning out the gas before repairs:
-
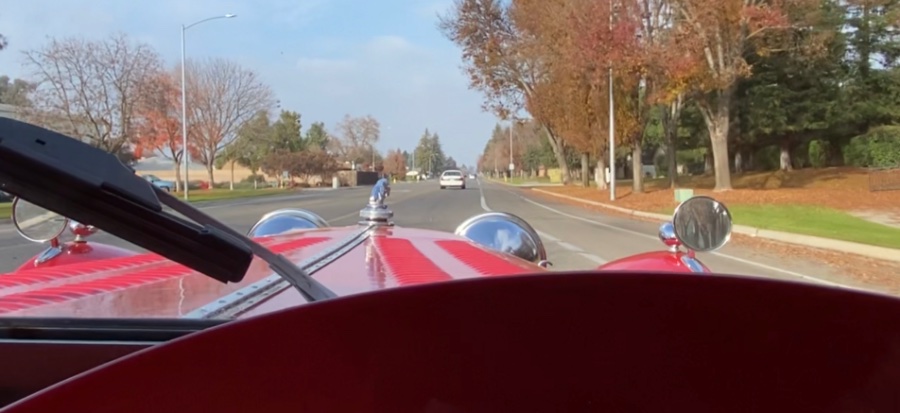
My wife shot these poor quality camera phone videos while we were driving the SS. They are mercifully short at only 18 seconds each but you get an idea of what this car sounds like. <edit> Also an idea of what my wife sounds like.</edit> (Please note: On YouTube My videos are posted on the channel “caddmannq”. This was my internet name before I retired from the CADD business. Most of the places where I was CadmannQ are now long gone from the web.)
-
All my family back in Kentucky were about 20 miles to the north of the destruction, very close to the Ohio river. I don’t know about all the cousins though . . . they’re spread out all over now.
-
Well it’s not that cold and it has been raining, but it still Christmas to me! we have cleared the decks and are prepared for a massive present landing this year. Tradition, tradition, tradition!
-
LOL yeah tire shop guys are pretty hopeless. When I had new tires put on my Tacoma they put 10lbs too much air in. I currently have 26 pounds in the back and 18 in the front. Drifts nice coming out of a corner on dry pavement. But don’t hit a bump. I never owned a beetle. I owned a hot fastback, & a junk bus that I bought for the tires. But I have repaired and driven a number of customer vehicles back when I was in college. I rebuilt several of these engines for myself and others. The round rear torsion bars float on splines, and are almost infinitely adjustable for ride height. You can change them by the fraction of the degree by alternating inside and outside spline movements. All the bars are transverse, be they front or rear. Unlike the rear swing arms, which are retained to the car with steel covers and big rubber donuts, the swing arms up front are retained by big set screws. The front ones don’t float & are not adjustable in any way. There are many ways to deal with this however. The front torsion bars consist of packs of flat spring steel leafs. Each end of a leaf “pack” is goes into a swing arm’s fitted socket. There is also a fitted socket at the center of each leaf pack anchored permanently. All three sockets have big set screws to retain the arms. You take the set screws out, pull the swing arms off. Then knock or pull the bars out, and trim them down, to reduce both spring rate and ride height (which I desperately need to do both.) How much you trim from the bars is a sort of black art. In other words, I’m going to have to guess. I do plan to remove too much, then add gas shocks for smooth lift. Another way to deal with this is to remove the leaf packs and replace them with long through bolts and special socket nuts on each end. Then you put on air shocks or adjustable coil-over shocks.
-
It’s in Clovis on Cole Street one lot north of Barstow. It’s called Burnett’s and you can’t miss it because it’s a cinderblock building with a sand buggy sticking out of the wall. Well my car is not running, and I was hoping to get it out today before the rain started. I put a heavy duty ground strap on the generator to the regulator and I’m hoping that will make the charging system more reliable. I put a better fuel filter on & changed all of the fuel hoses on it, believing that I was having an air leak, and my fuel pump was sucking air. Now I realize that I have a weak fuel pump, and the only reason it was running well before is because I had a lot of gas in the gas tank, and it was actually able to siphon all the way. It is possible to get a new mechanical fuel pump for this car at NAPA for $20, because they made them by the millions in Brazil or Mexico. Unfortunately the quality control wasn’t always very good, and they have a reputation for putting out too much fuel pressure. You can also get an old style rebuildable fuel pump, with all the screws instead of modern crimped-on construction. They are $80 however. They are rebuildable but I could not find anybody with a kit for one.
-
Believe it or not, there is still a Volkswagen junkyard and shop in this town. It’s not very large but it’s one of the last ones around as all the older junkyards have been crushed and scrapped. anyhow I went there today and I managed to get a nice used electronic regulator for the Volkswagen generator. The best thing is I only paid $26 and it works great. Unfortunately after installing the fuel filter and rerouting the fuel hose I’m still having problems with air leaks in the fuel system. Even with the car on a sloping driveway I could not get the pump to purge. Anyhow I did not get to drive it today which was my plan, but at least I got the charging system working.
-
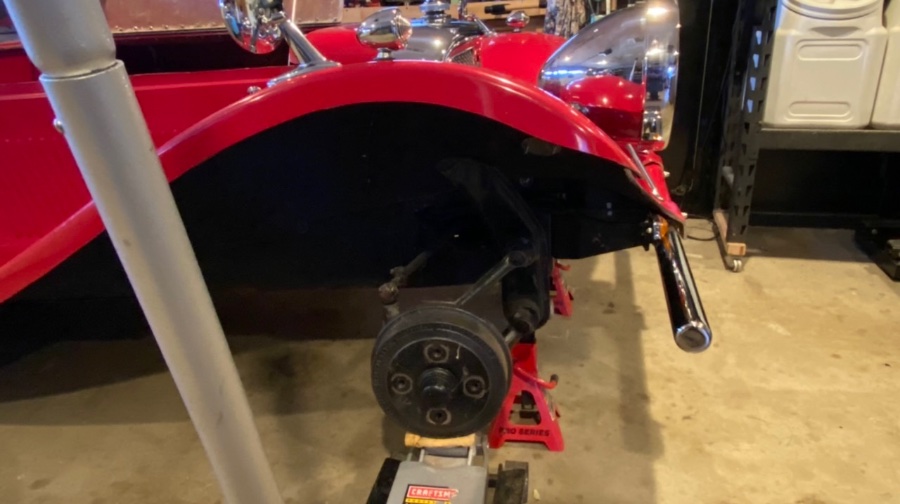
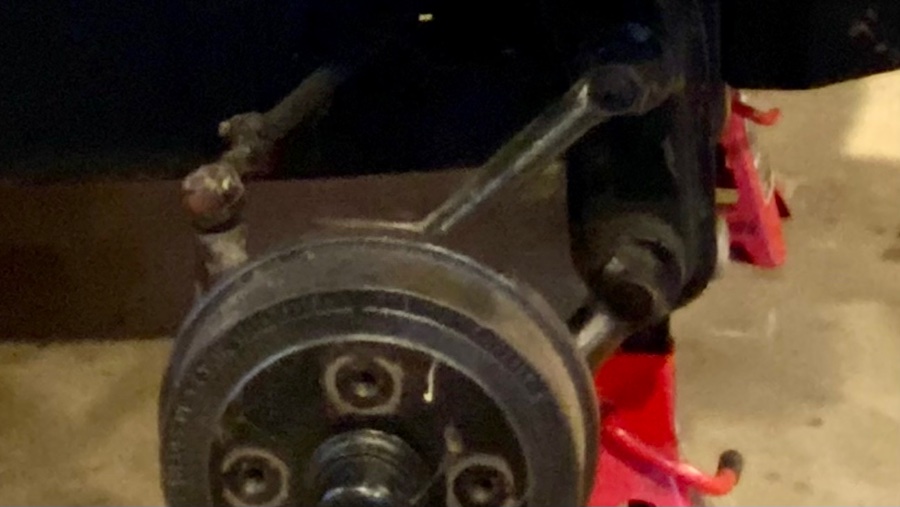
I took out the long fuel hose I had used for testing purposes, and connected the metal line, and a fuel filter as well. I had to drain the tank, which was a smelly PITA. I don't have a working voltage regulator yet though so I didn't drive. I tightened up she front beam bolts, which had loosened slightly. I also took off the front tires and shocks, and started to take out the lower spring (torsion bar.) While removing the shocks I discovered that they were under tension, and taking up 1/2" of my front sag. I was topped out and then some! If I remove the shocks the bumper rises over 3/4" and it is already 3" too high! I am going to reduce the lower leaf pack as much as possible, and if the suspension is too light I will add coilovers to tune it up. The current lowering philosophy is to replace the torsion bars with pivoting rods, and just run coilovers. I think that puts too much stress on the lower shock stud and lower ball joint. It puts the lower ball in full tension (!) unless you get the "Thing" type axle. I'm not removing the top spring. I am just going to weaken the bottom one. Anyhow, I put it all back together. To lower it more than 1" I would need to get the bushings to invert the tie rods.
-
Well I started by giving them about $1500! And I filled out all the paperwork and did everything they told me to do. I also got a sympathetic lady at the DMV who liked my car. I don’t know if that helps or not but the first lady I talked to had a kind of a chip on her shoulder. Maybe she doesn’t like my looks. She only gave me a one-day permit. LOL
-
I dress warm in winter. Don’t matter if Minnesota or Arizona. I like the desert best. 100F is no problem. Cold sometimes is a problem. I crawled around on a concrete floor for many hours bolting the prototype kit kar chassis reinforcements together, and it was so cold my arthritis went on full alert mode yesterday, and is still there. So of course my wife wanted to go Christmas shopping today and bring home a tree & I am too God dang faithful. So to console myself, I brought home $100 in chrome carriage bolts to dress up the replikar. Also a fuel filter and some rubber gasket material for the various hardware bedding.
-
Paul, I am pretty sure the torsion bars on the front of your buggy have been modified already or else it would sit too high in the front.
-
Yes, it does have Transverse torsion bars in the front and rear, and a torsion bar is certainly a spring. It has two packs of flat leaves up front, anchored at the centers, and to all the swing arms. It is quite possible to remove leaves from this pack by careful grinding, removing all but the center and end 2” which clamp to the beams and arms, in square pockets with big set screws. (The torsion bars in the back are much different.) Since this is a sports car there is no way on God’s earth I am adding weight to it. If anything, I’m going to start chopping off chunks of steel and replacing them with aluminum. There is some conventional wisdom (and it is explained in the assembly manual) that we should keep the weight distribution the same on the front and rear as the original car, if the brakes are to be properly proportioned. This however does not take into account the enormous traction of modern radial tires, & the car benefits fits from them entirely. Now if I decide to put disc brakes on the front it may become an issue. But the brakes feel perfectly normal, and at no point did they grab or pull or feel on the verge of locking up, or of giving abnormal pressure to the front. I was able to lock them up in a panic stop but the rear brakes locked as well. Hundreds of pounds of car are gone, so the brakes are more powerful than on a bug. When I first bought the car I thought yeah I should put some disc brakes on it; but while driving it, not once did I think to myself, “ Gee this car needs disc brakes.” And it won’t for the kind of driving I intend to do with it. Right now it needs a voltage regulator that works and a sealed fuel system with vapor recovery.
-
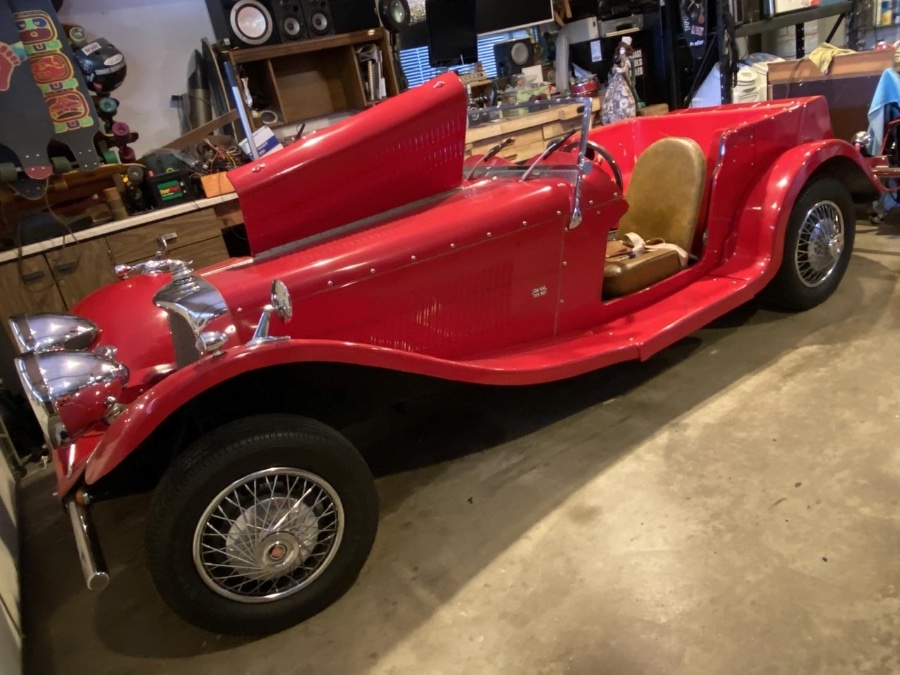
The SS drives today! In line at the DMV! Good news and bad news today. I put some clean gas in the SS, and it starts and runs pretty well. Unfortunately the regulator is goofy. Maybe I can tune it up. I drove it anyway, and put it on the charger after. I got a 30 day permit from the DMV, and they recorded the numbers. But I don’t have a federal safety certificate, & they want me to have it inspected by the Highway Patrol. I will make an appointment tomorrow. I took Judy out for her first ride in the car. She was suitably excited. The front suspension is so stiff the car is rough as hell. I plan to mod the front springs tomorrow.
-
I got the seats straightened out and will secured and the doors are installed but they don’t fit well. OK more correctly, one fits poorly and the other one doesn’t fit at all and will not close completely. This has been so since the car arrived and clearly it is because all of the hinge holes in the doors were mislocated. This is going to be a messy business to fix without ruining the gelcoat finish on the door. I’m not sure what I’m going to do about this yet.
-
It was 1AM when my wife stumbled out to the garage and told me to stop drilling. I was on the last seat bolt: #8. The seats are still not in the right position. They both need to move closer to the tunnel. They interfere with the doors. This car will have a lot of extra holes to plug in the floor.;(
-
This car doesn't have a conventional frame. The subframe reinforces the floor, and the seat and belts both bolt thru the floor and subframe. Honestly, the safety of this car is minimal even when every system is tip-top. I have to think about it like this: This is a death-trap compared to any modern car (and most antiques too...) but it is so much safer than my motorcycle, that I am not concerned.
-
Instrument and switch wiring is done. The seatbelts we’re mounted to the sliding seat tracks, which is really hokey. I remounted them to the subframe, and tried to install the seats. The seats were mounted crooked as hell, and the driver’s seat is tilting into the door, so more adjustments to come. I knew this would be an issue when I first removed them. The brackets are all wrong.
-
This is true in California for “special construction” vehicles. BUT, I didn’t buy a kit. I bought a complete, running, titled car from South Carolina. I gave the DMV the receipt and they were fine with that. They just have to see the car assembled to give me a title. Or so they say. We’ll see what happens when I go to the DMV again. Today I have to mount my new switch panel, tidy up the wiring a little more under the dash, and get some rear body mounts on this thing. I’ve got a large selection of rubber bushings to play with, but I think I might just mold these from scratch out of polyurethane.
-
Yippie! Today it started and ran, but I did not drive it. I just poured some gas in the carburetor and ran it a little bit in the garage. It revved up and it idled down ok. Nice! All the wiring is complete but there are 3 terminals I did not solder yet. Just crimped. Also there is no switch panel and I have four switches just hanging loose under the dash. I only have one seat in the car and there's no doors yet. But it’s coming together fast now.
-
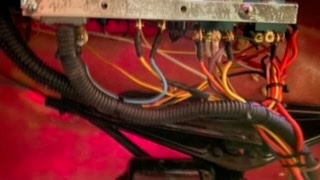
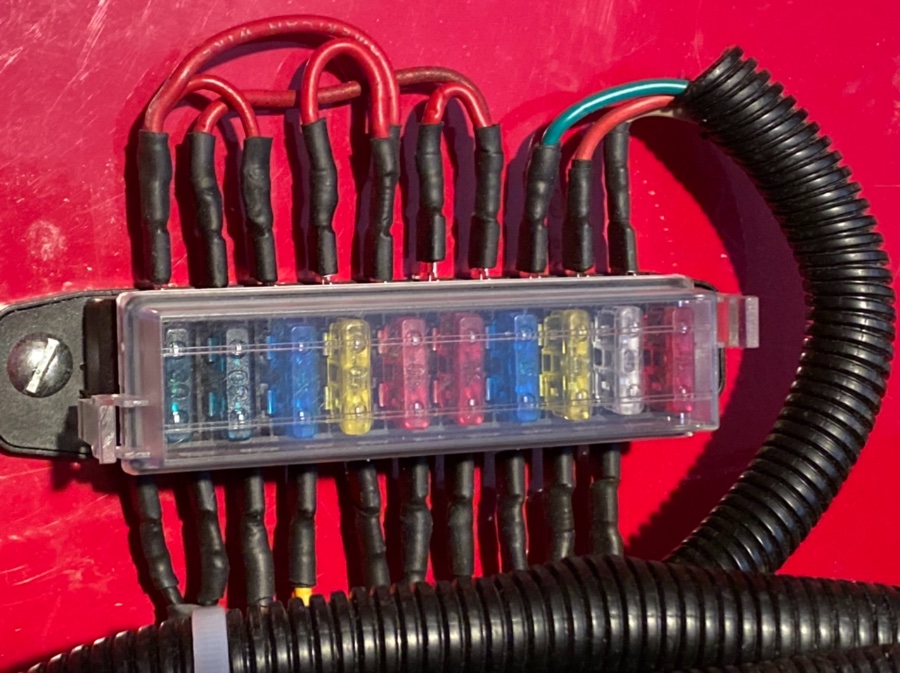
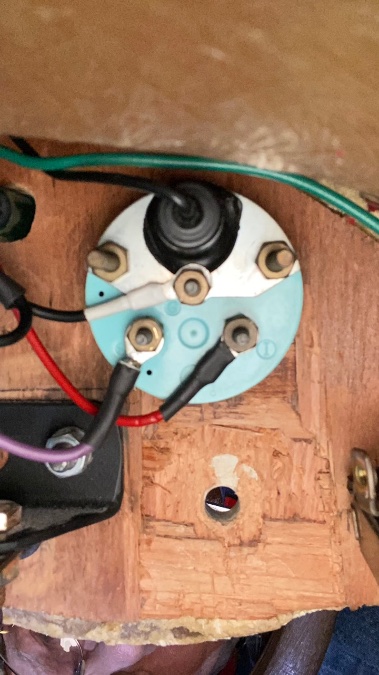
Fenders and running boards are all mounted solidly. It could all be a little straighter, and the final trimming is still not done. Still no rear body mounts. All the wiring is complete except wiper switch, horn button, and ignition switch. Blinkers look strong. All lights look great. Annoying euro-horn must go some day. Gauges are still unsecured though. Just plugged thru holes in the body. There were never any brackets installed so I need to make some. Fuel gauge was tested and works OK. Panel wires aren’t loomed yet. Backside of the panel looks pretty ragged, with wood chiseled haphazardly to mount the original wiper switch. (Hole still unfilled by the new switch.) I used black heat shrink, but I used white heat shrink on all the black ground wires, to make them easier to spot. Every termination and splice on the car is tinned and soldered. Back of fuel gauge shown: I used all ring terminals. Some day this car will get repainted and get a wood panel overlay and some upholstery around the instrument panel. Then I will make the brackets to fit.
-
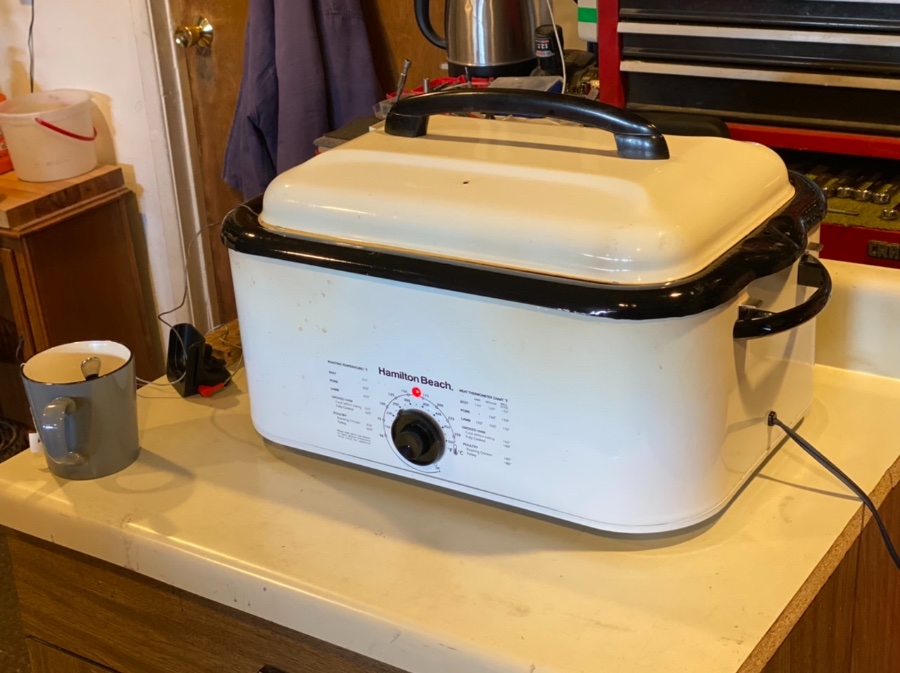
Thanks Plymouthy. We had the whole family over and I did a fresh turkey and smoked ham.It wasn’t enough room in the kitchen for everybody so I cooked the turkey in the garage. That’s my mom’s old 1960s style Hamilton Beach turkey roaster, and it’s still cooking. I have a big rolling cabinet in front of my toolbox to cook on. Normally it holds tools too. Hmm… needs another hour here…
-
At first I thought it was a smart idea to use hot dip galvanized bolts on my boat trailer but these things have terrible slop too. If you’re expecting a 2B fit you should probably expect 4D. It was supposed to go through a bracket that holds the roller at the mid-front of my boat trailer. When I put it one way the bolt hits the bracket. When I turned the bolt 180 it went right in. I disliked this so much that it prompted me to crawl my ancient ass out from under the boat, go find a good bolt, and rant about it here for two pages.
-
I have not lived in a house where I burned wood in wood stoves for 40 years. We did have a decorative fireplace in our old house but I only used it a few times. I have never used the fireplace in the new house, and in fact I ripped it down and ripped out the chimney and replaced it with a bunch of aquariums. Every house that I’ve lived in since 1981 has had natural gas heating. Before that we had propane, and I did burn wood because the propane was so expensive. Also we lived in the country and there was lots of wood available. But I don’t miss the mess of dealing with ashes and chimneys and wood ticks.
-
Thank you Merle! I have a copy of that somewhere in my shelf of engineering books that I don’t read anymore. Unfortunately, in a bag of 50 fence bolts, this was the only one that had the correct offset head.


