-
Posts
2,482 -
Joined
-
Last visited
-
Days Won
12
Content Type
Links Directory
Profiles
Articles
Forums
Downloads
Store
Gallery
Blogs
Events
Everything posted by Ulu
-
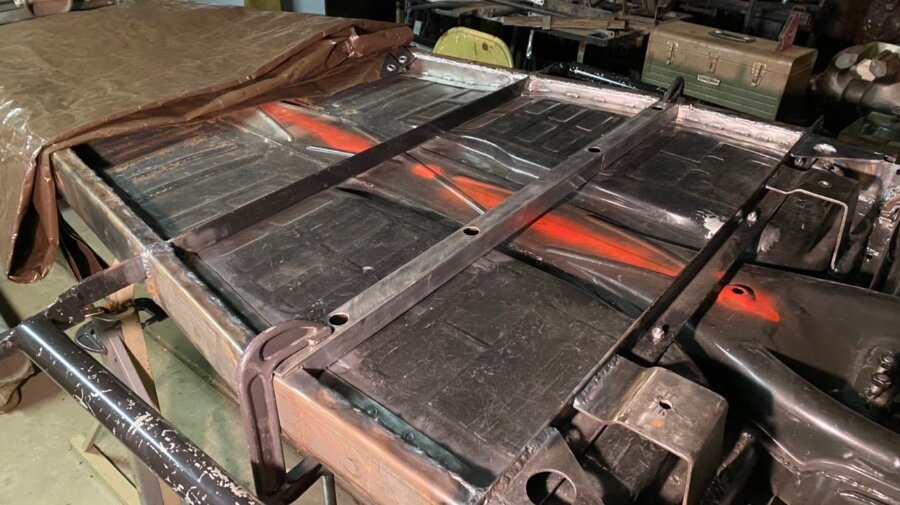
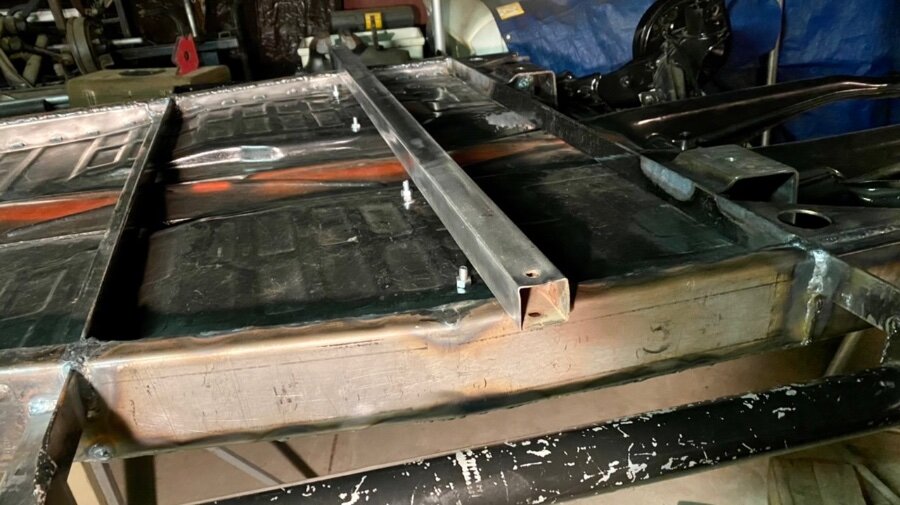
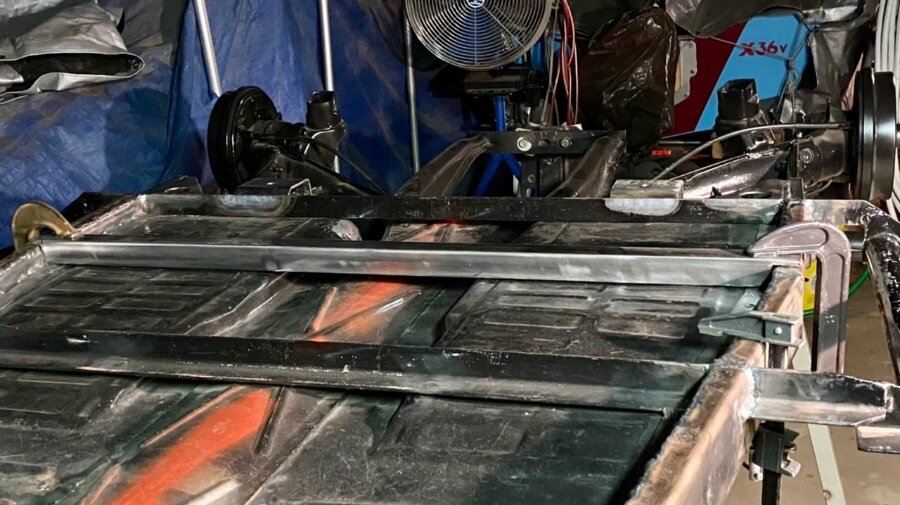
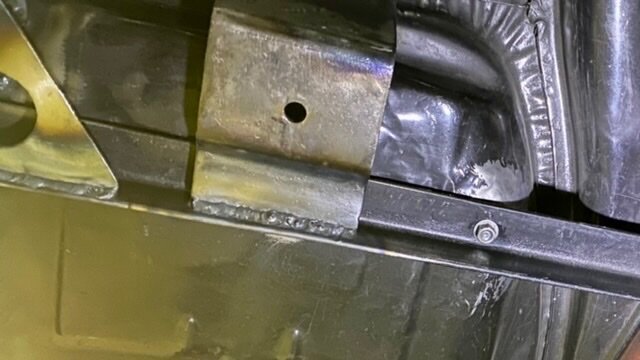
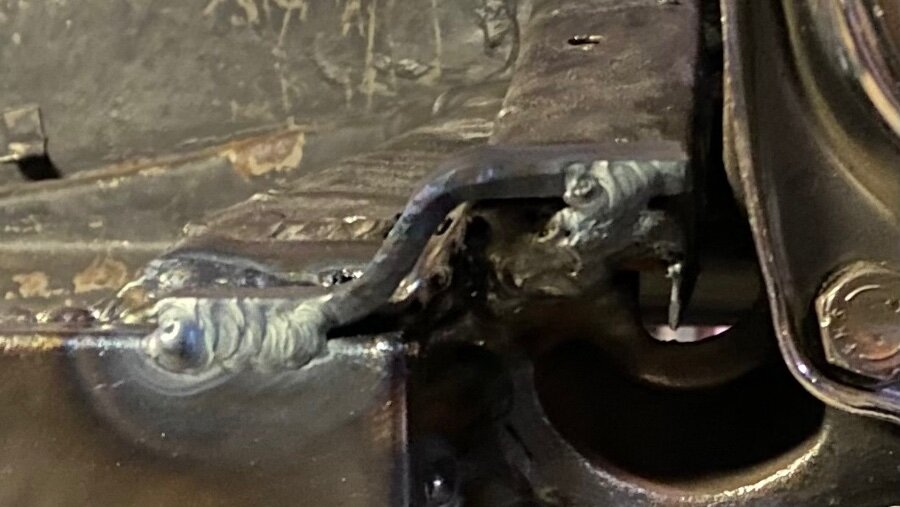
Well today was a challenge. I tried to weld that crossmember in, and started masking a real mess. When TIG welding steel you see the blue-white plasma flame of the electric arc, and you see the glowing puddle of hot liquid metal. When you TIG weld over dirty or painted steel you will also see miniature fireworks. Tiny little orange sparks fly from the puddle. This is carbon atoms as they burn up and die. But my metal was clean. Burnished and acid dipped, then sanded. I had a new electrode. What the devil? You will also see those sparks when you are welding and run out of argon. But I had a fresh bottle. I had just turned it on. I checked the flow, and gas was flowing normally. I even added more gas. The sparks actually increased a bit. My weld looked like porous crap. I did a test weld on different steel. Same issue… Finally, you will see those little sparks when someone has put MIG welding gas in an argon bottle: 75% argon and 25% CO2. The carbon sparks come from the CO2. So after I figured this out, I had to take the gas back to the welding shop and exchange it. This whole exercise blew most of my energy today and I didn’t get as much done as I expected. I did however get 24 little welds tying that crossmember to the floor pan, and the whole car just got much quieter and stiffer.
-
I got all the rust and dirt out of that tube and coped it a bit more. Then I drilled the holes and the access holes. It needs a bit more trimming but it is almost ready to weld.
-
I weld outdoors. I want extra argon because of air motion. Also I do lots of tiny welds, so that takes extra too. A larger bottle will cost the same, as I pay for cuft used. Not the bottle itself. l bought lifetime 126 cuft bottle exchange rights for $300. If I want a bigger bottle it would be like $500**, but nothing bigger than a 156 sits on my cart. So it’s not worth the cost to enlarge **unless I found a used tank cheaper. That rarely happens with argon, but is how I got my oxy/acetylene tanks.
-
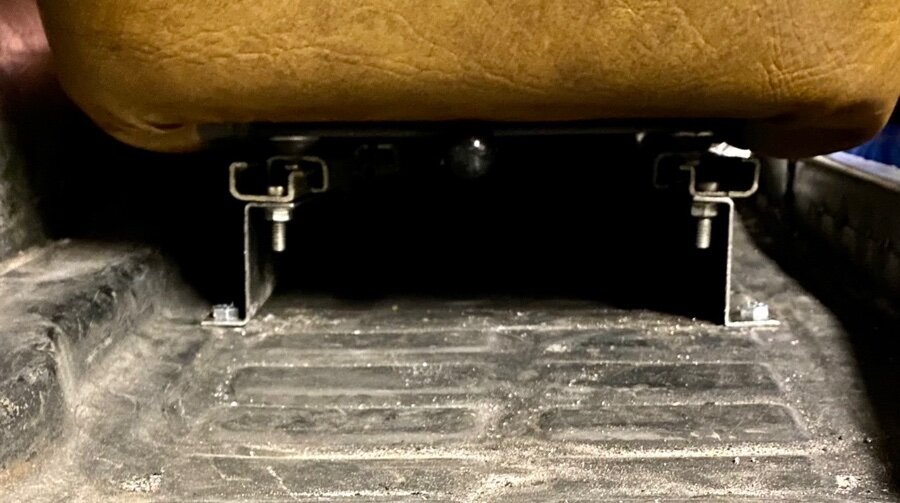
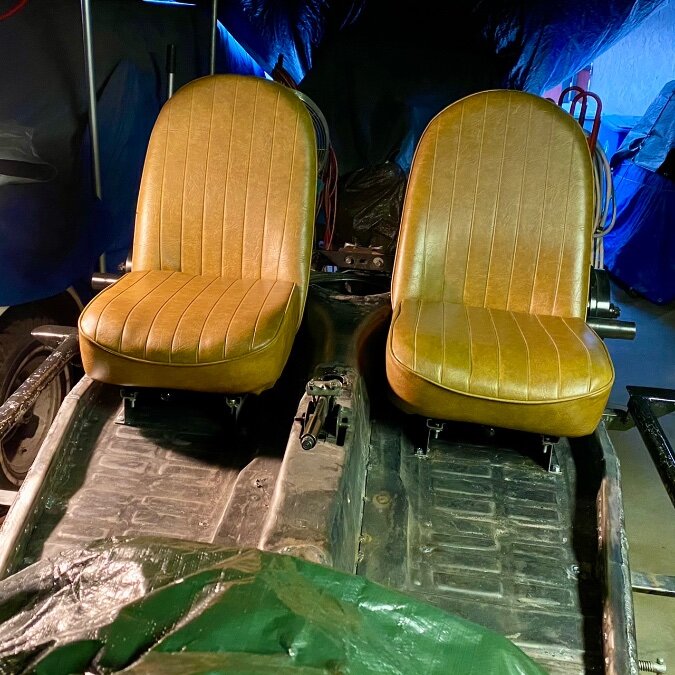
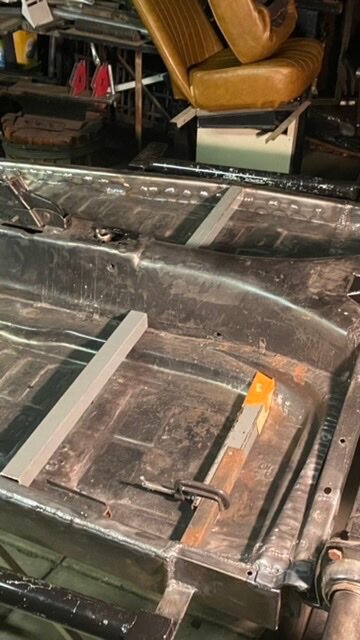
I got the seat risers installed and the seats fitted. Then the seats came back off during welding & paint. The back of the seats bolt through the steel crossmember, but the fronts just bolt to the pan. This was flimsy & always needed its own crossmember. This new crossmember tube is only 16ga so just enough to stiffen the floor. Tomorrow I will get this tube and the risers welded down.
-
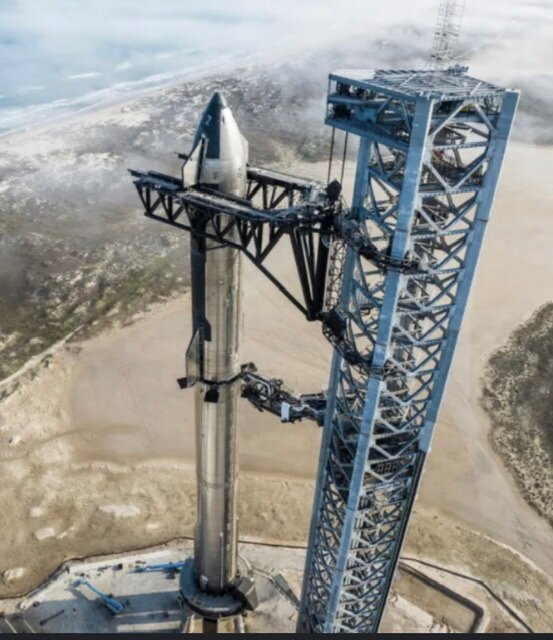
Unofficially, they called it the crash basement.
-
I don’t know how any of this will work out in the end, but I really do think that human beings will land on Mars; and possibly within my lifetime if I am careful about my diet.
-
Perhaps we could just transport all the really annoying people to Mars, and leave them there? I am absolutely certain that they will need lawyers and politicians.
-
If you can dream it, men can build it. But it might be a looong dream.. Things will go off-track. But men will keep dreaming…. And some day, maybe 10,000 years later, the unbelievable happens! I used to think that living on Mars would be unthinkable. Impossible. Never in a thousand years….. Now, my faith is reinforced. People who believe are really trying. Occupy Mars, the moon, and any rock worth the money and big enough to claim.
-
-
- 1
-

-
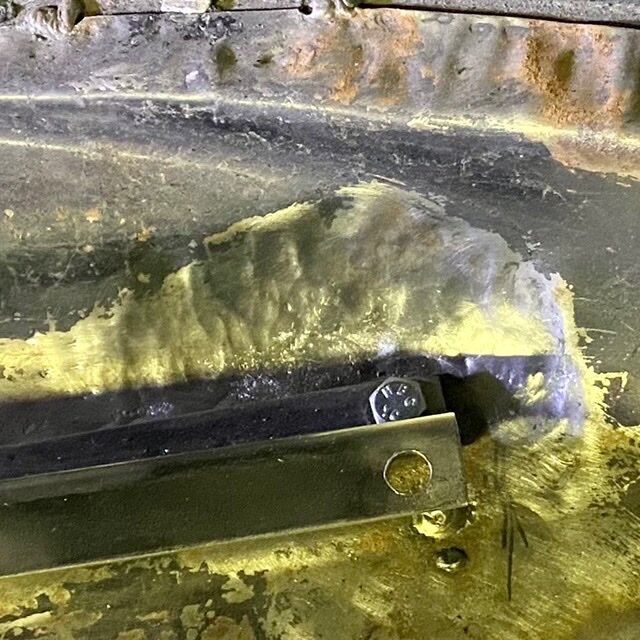
I was thinking, “I must modify two of the rails as necessary to fit the floor.” That was me trying to think too far out of the box again. What I needed to do was simply reshape the floor pan a little bit with a ball peen hammer. One side is done and the seat rail now sits down quite nicely. The original builder just ignored this and mislocated the seats all crooked. Anyhow you can see where I hammered by the missing paint. Also you can see one of the seat bolts attached through the crossmember with the temporary bolt.
-
Well I wasn't quite done....I did some more work on the seats, getting them set up to weld in the seat bases. There is an issue with fitment, as the floor pan rises at the rear inner corner of the seats. I must modify two of the rails as necessary to fit the floor. Today it's the dreaded Tule Fog. Highway visibility is naught. It might be damp all day. There may be some welding but no sanding or painting. Everything is going to rust fast. According to the forecast, Thursday should be the day to paint.
-
My wife had me weld her Bissel sweeper today. The modern ones have a segmented handle that (almost) screws together. That thin tubing needed about 18 amps, and is probably the thinnest thing I have ever welded successfully. I had parts to clean but ran out of sandpaper, and my big wire wheel on the Baldor was shot. So I quit cleaning parts, and I got my seats about half-way set up, then I ran out of argon & couldn’t weld. My wife decided she needed me to buy her a dowel for some decoration. Then my garage door opener crapped out again. It usually works, but randomly it has a seizure. So today was spent shopping for argon, hardware, dowel, wire wheel, etc, and a new opener. I bought a 1 hp Craftsman belt drive with wi-fi and backup battery. I chose that one partly because I have installed a pre-wi-fi version. I inspected all the parts and read the manual. By then I was done for today.
-
My anxious wife would not wait quietly one single day. I was up in the attic Nov 30.
-
There, I am a traditionalist. YMMV
-
November 30 December 1 Christmas came down from the attic. Clearly, we are more anxious than ever this year. Little Lennie simply cannot wait!
-
Right now, my plan is to flip the chassis over and finish welding those panels on the bottom side because they are only welded on top. I suspect that the oil canning will change when I weld on the bottom, but it may get worse or it may go away. In the worst case, I will put some dimples or ribs in it, or I will weld a stiffner to the panel. But before I do that, my plan is to get the paint off of my new seat risers, and set up all four of them on some kind of a plate or board that will let me normalize the alignment. I will jig that off of the frame rails because the floor is not really stable enough to locate these things without that step. Meanwhile I am still recovering from a case of excessive Thanksgiving goodies. I’ll be back on the case tomorrow.
-
That’s what we get now. A big DMV bill once a year, per vehicle. BTW, Our governor already plans to raise the gas tax again. We will pay mileage plus gas tax plus increases. He plans to continue paying expiring federal subsidies to new EV buyers, by raising the gas\diesel taxes.
-
I barbecued some nice ribeye steaks this year instead of cooking a turkey for Thanksgiving. They were pretty awesome. The girls whipped up some roast vegetables and mashed potatoes. My sister made some fancy pie covered with whip cream and caramelized nuts. We watched Macy’s parade, listened to Vivaldi during dinner instead of talking about politics and the wars, and we watched the big dog show. My dog always barks at the show dogs on the TV. He enjoys the dog show just as much as I do.
-
My wife drives about the same or a bit more so I expect to pay another $1000 a year. Nothing was said about removing the gas tax either. Just adding mileage charges.
-
One of my flat panels only has one flange. It oil-canned. I will add a stiffener or maybe stamp it to add a modest crease or bead. Now, air hammer or sledge hammer? Hmmmmm….
-
(This is NOT a political discussion, though it might only affect people in my state at first. It’s a technology issue. Please take care what names you drop.) I’m paying DMV fees etc on 7 vehicles. One (my boat) is electric. Only 2 are new enough to have OBD2, so four are theoretically unaffected. Also I am long retired from business, & I don’t drive even 5000 miles a year, but I’m still coughing up all the taxes & fees. Now “they” want all car owners (not drivers, per se) to pay a mileage tax as well. So there is a plan to bug everyone’s OBD with a new GPS device to report mileage to the DMV, as you drive. Isn’t this silly? Every modern IC car gets scanned by the state, every two years, thru OBD2. It reports the mileage to the DMV already so far as I can tell. Also the tech writes the mileage down on the paperwork, so they can check for odometer tampering. If you change the computer, it sees the new hardware “address”. The system will know. It’s pretty hard to cheat. This whole Idea is promoted to recover lost gas tax revenue due to electric car drivers, by putting OBD devices on (perhaps just) IC cars. Teslas (and some of the comparatively teeny tiny population of other electrics) don’t have any OBD2. I am struggling with the idea of how they will be taxed. Do not Teslas report to the state already? By wi-fi or Starlink? The whole business seems odd on the face of it.
-
I clamped those 4 risers up in pairs to match drill them, which I did, but I didn’t get them set up for welding, as I was short 3 bolts. Thus I didn’t weld them down while the boatyard was 99% dry, and now it’s 107% wet again. Must have blown in from Siberia. We’ve had 8+ hours of rain, & it stops sometime today. Theoretically. Then Tule Fog on Wednesday. Partly sunny predicted for Thanksgiving. Then it should dry up again, and get continually warmer until it (supposedly) hits 63°F in 8 days. I should be able to shoot some paint then, or thereabouts. Meanwhile, things are mainly on hold.
-
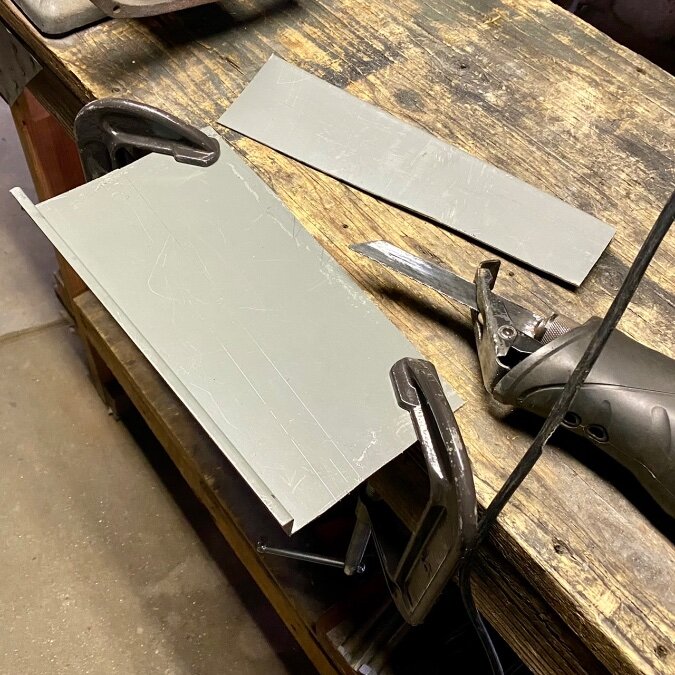
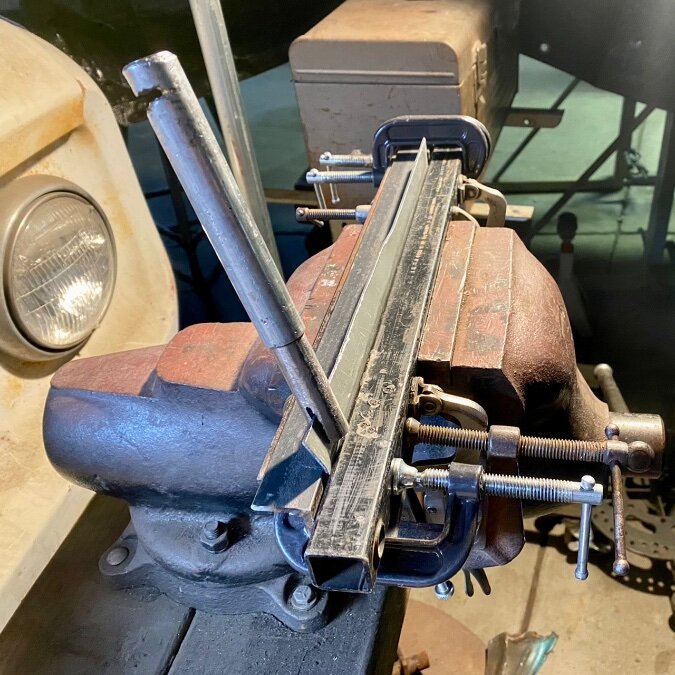
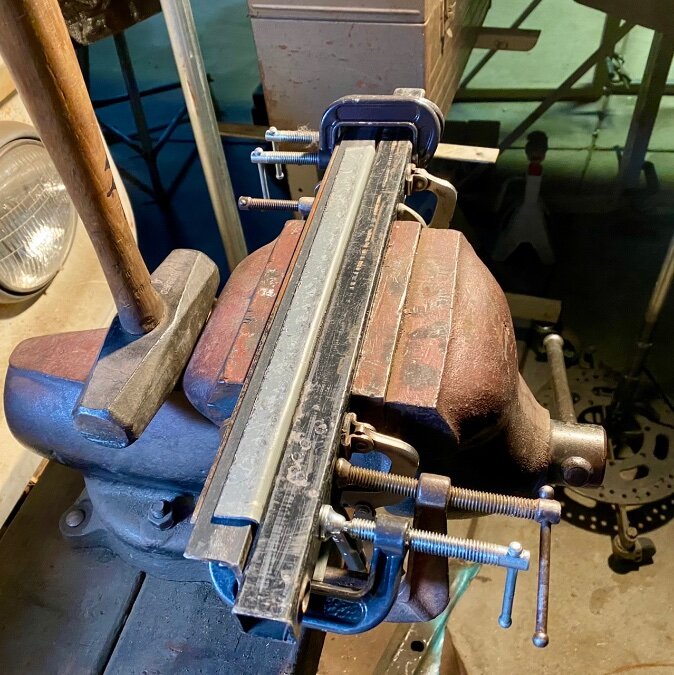
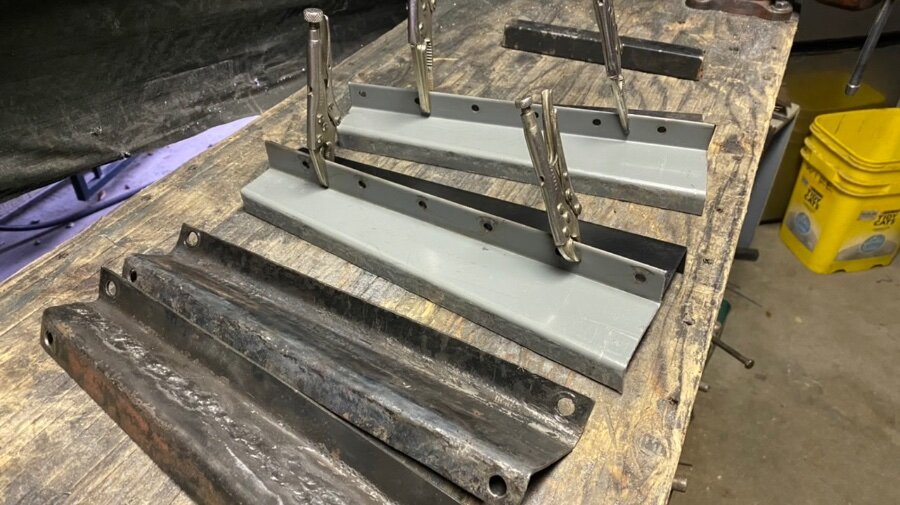
I believe it was Lord Admiral Nelson, who said to forget about tactics and just go straight at the enemy with everything you can muster. In direct opposition to this theory I am always trying to think outside the box. But sometimes I should just go directly at a problem and solve in the most obvious way. I wanted to reinforce this chassis a little bit and build some new and improved seat risers at the same time. When I originally got this car the seats were kind of off location, because somehow the original kit had included four right seat risers and no lefts. They just buggered up the hole locations and made it work (sort of.) In order to correct the seat locations (in a hurry) I had to “reverse” two of the seat risers. I reversed them with a large hammer, over my homemade anvil. The first one turned out so ugly that I decided to do the second one by cutting it with a saw and welding it back together the opposite way. I did this with an oxy/ acetylene torch. It looks pretty crude, because it was one of the first things I torch welded in many years. I put those in the photographs for comparison. Anyhow, here you can see me hammer new seat risers from some nice old 14 gauge steel. I spent some time making them as accurately as I could, considering that I don’t have a press, and had to use angle irons and a vice, and a bunch of clamps. So now I have two proper pairs, but I don’t have the bolts to mount them yet. Off to the hardware store again…
-
I got the boatyard 99% dried up. It was over 65°F today. I did Not do any welding, but I did start to cut and fit the new seat frame supports.
-
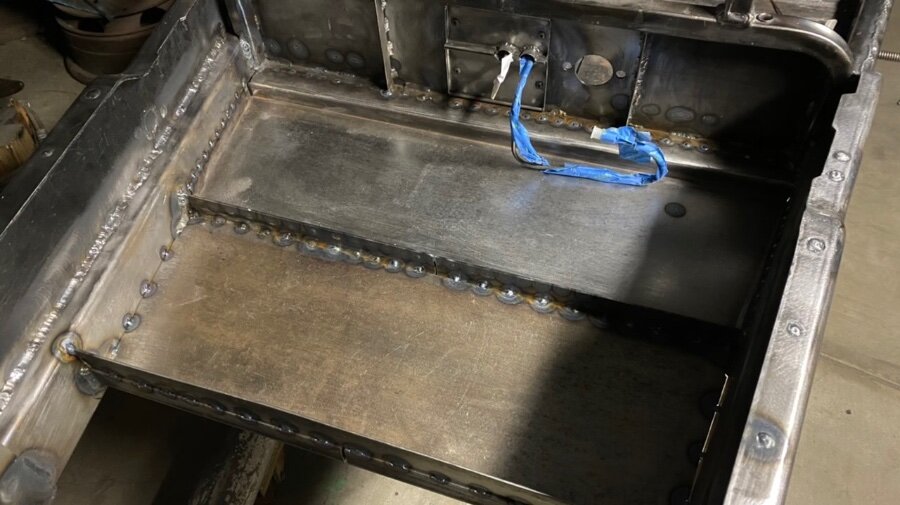
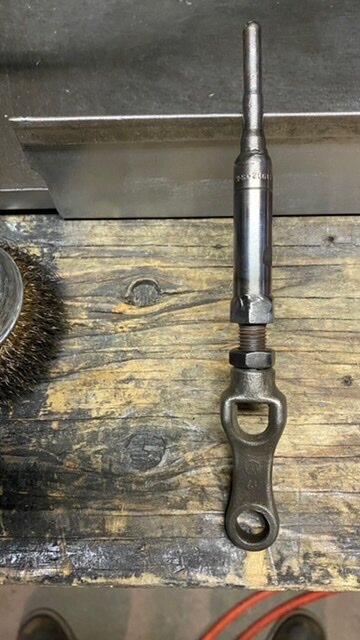
Today I managed to get the floor panels tacked in. The truth is that each one got about 50 small TIG welds. Now I need to flip it over and weld them on the other side. I also welded in the pedal stop which I didn’t photograph, & I fixed the brake cylinder pushrod. This is a stock pushrod that I extended by cutting it and welding it into a long 3/8”chrome vanadium socket from SK Wayne. This Just Happened to be exactly the size I needed, and some contractor had left it laying in my yard, so it didn’t match any of my tools. I also welded in these little corner brackets which help tie together the rear of the frame. Anyhow it turns out I made 136 welds today, but over half of my time was actually spent cleaning the things that I needed to weld.


