central52
-
Posts
478 -
Joined
-
Last visited
Content Type
Links Directory
Profiles
Articles
Forums
Downloads
Store
Gallery
Blogs
Events
Everything posted by central52
-
Thanks, Shel, that info on the other thread confirmed that I needed a gasket. I guess I'll just make one like those guys did. Seems simple enough. Ed
-
On my 47 Dodge, the oil bath unit seems to fit loose on the carburetor top. I tightened the botton of it, but it rattles loose. Is there supposed to be a washer of some sort? I remembered a previous thread about this, and it was mentioned. Ed
-
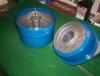
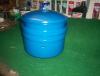
Yes, Napa 730-2409 fits perfectly. No need for relief cut. Here's a pic. Ed
-

Exactly how does a carburetor oil bath filter work?
central52 replied to central52's topic in P15-D24 Forum
OK, Oil bath filter seems the best way to go. And, yes, Sally's., Pepe's, and others, like Modern Appizza, are great. Ed -
Exactly how does a carburetor oil bath filter work?
central52 replied to central52's topic in P15-D24 Forum
great information, guys. thanks. My manual says to use 50 weight oil. In cold weather, would a lighter weight oil be better? All those Dodge trucks in WW2 must have used this oil bath system, so it must be pretty good. Ed -
Took the old oil bath carberator filter off, cleaned it, painted. Looks nice. But, I'm curious as to how the thing works. As I see it, the oil fumes rise up to the top horsehair mesh? Ed
-
Thanks for the correction. My napa store has it, and, again, it's for my car, not truck, does it make a difference? Ed
-
Very interesting, but I forgot to mention that this is for a car, not truck. Will that make a difference? Ed
-
My mechanic is doing my brakes, and he says he needs the front axle wheel bearing dust cover cup. Simple thing. But there's no place that sells a mundane piece like this anymore for vintage cars, at least I couldn't find a place. Any ideas? Ed
-
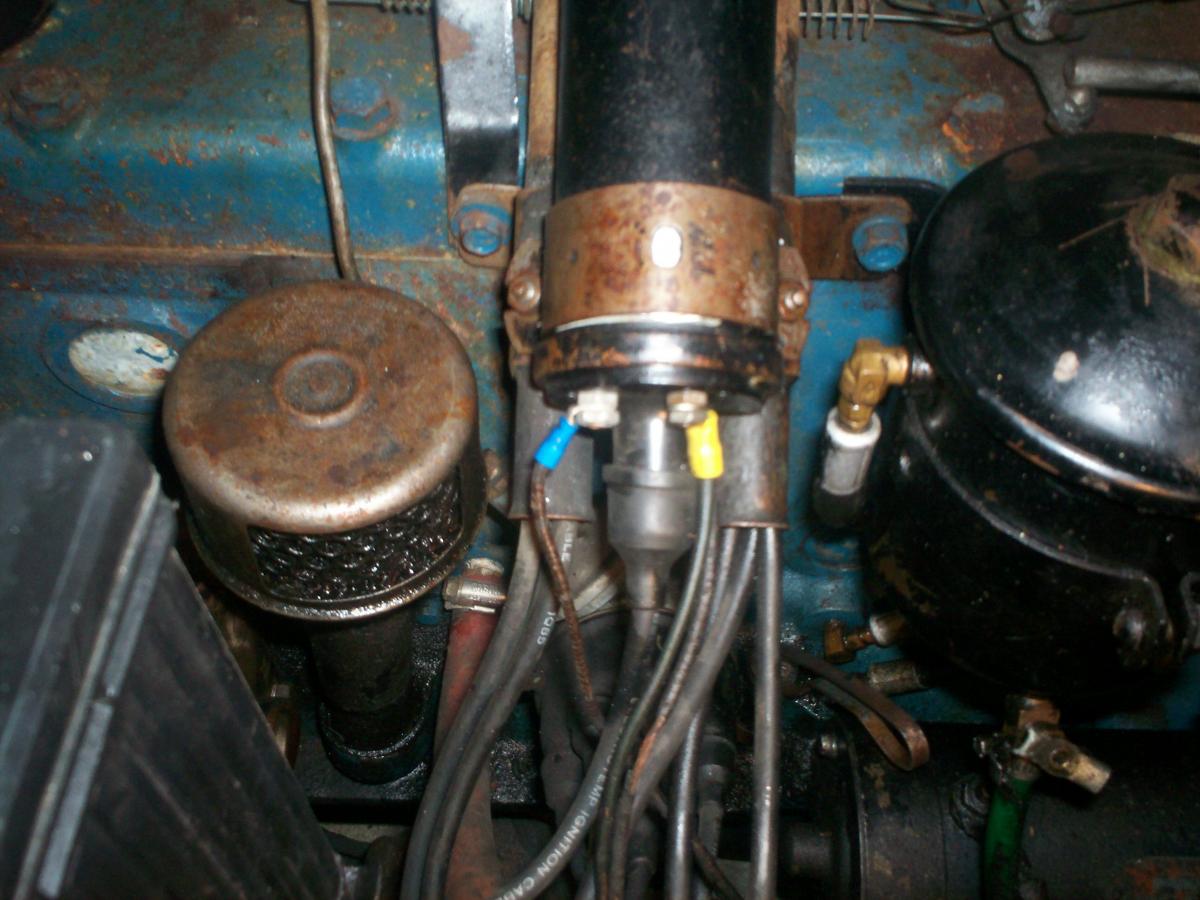
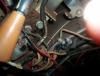
Checked the coil markings. The yellow tabbbed one is on the positive side, the blue on the negative. Right now, that yellow tabbed postive wire is going to the starter switch. Which means, according to Niel, that's it's a negative ground system. Am I right? So, everything is at it should be? Ed
-
well, I tried to do that pencil test, but I couldn't get the spark plug wire close to the spark plug to make a spark. The wire was enclosed in a thick outer L shaped cover. Not open like in those pics on the other site. But here's a pic of the coil wire connections. The blue tabbed one wire goes to the distributor, the yellow to the starter switch. So, am I good to go? Ed
-
Wow, the things you learn on this site. Will check that spark test, and coil terminal wire to ignition switch. Ed
-
Well,l guess it's o.k. I've had the car a few months. Took it for rides once in a while. Amp gauge always shows positive. I don't know if the previous owner did any rewiring, but it appears that it's charging and nothing bad has happened so far. I dread going in there changing a lot of wires, if I don't have to. Ed
-
The amp gauge shows positive reading. Ed
-
On my 47 Dodge, the battery is connected with the neg post to the engine block, and positive post to the starter unit. Is this right? I thought all mopars are positive ground. But, all electrical systems work O.K. lights, horn, heater, clock, car starts and runs. Hmm? Ed

-
OK, when you say "push down on the throttle", do you mean to pull the knob all the way out? And push it back? Ed
-
I've also had difficulty starting my just purchased 47 Dodge. Reading the previous comments on the "Sissions" choke is new to me. I didn't know my Dodge has it. I was wondering why there was no choke knob on the dash, only a throttle knob, like there was on my previous car, a 47 Plymouth. So, if it's not too much to ask, exactly, again, how do you go about starting the car in cold weather? Ed
-
Yep, it was my test lite. Didn't ground it good enough. Works ok, now. Tested the clock wire where it's connected to the lite switch, and it glowed. Didn't realize how important it is to have a good tight ground. Now, I'm going to put the clock back in, and I'm in business. So, thanks again, everybody for the help and advice. The journey is finally over. Ed
-
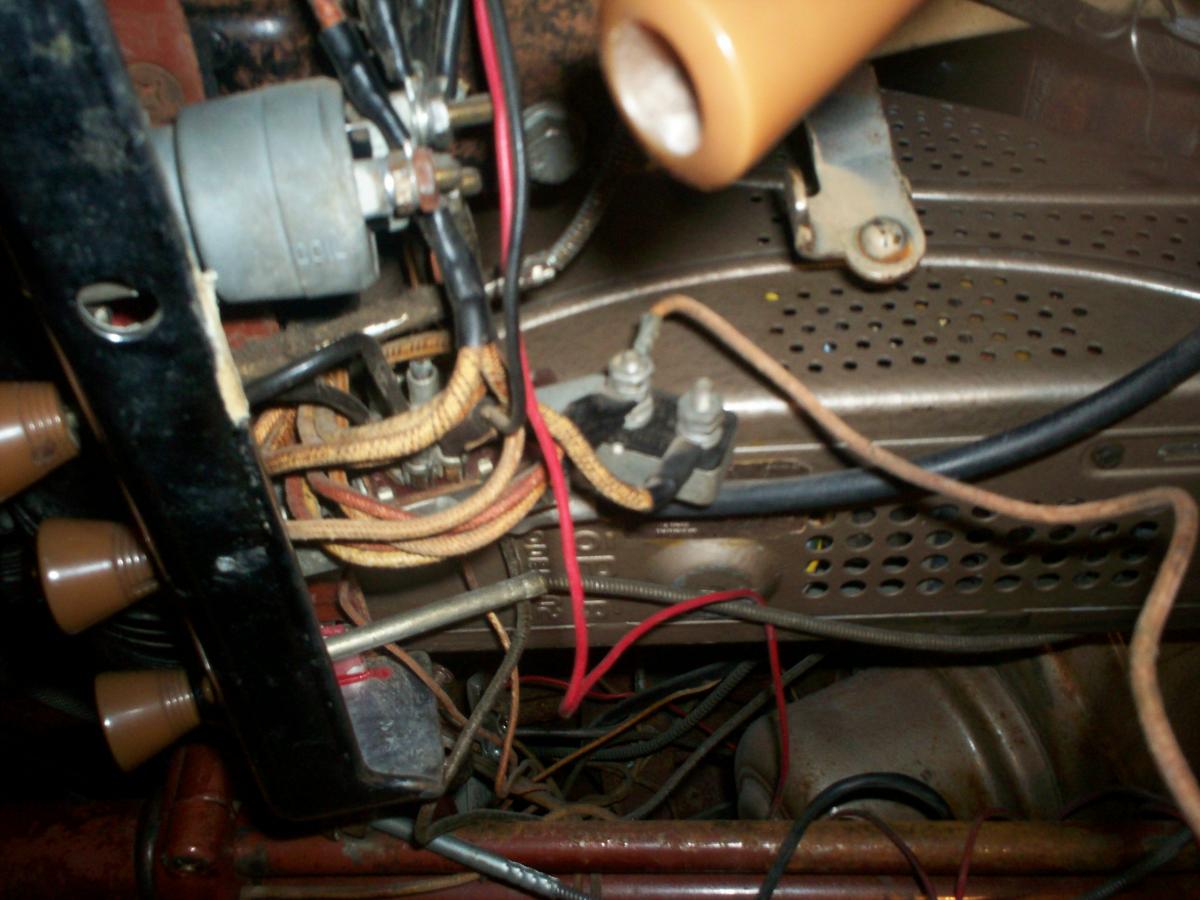
O.K. I took some pics underneath dash. Clock wire seems to be connected to the light switch. That yellow wire looped down is my clock wire. Now, if I put the test lite on it, it should register hot. On left is the ignition switch connections. One of those wires has to be hot. No? When I probe them with my test lite, it doesn't register. Maybe my test lite is defective? Ed

-
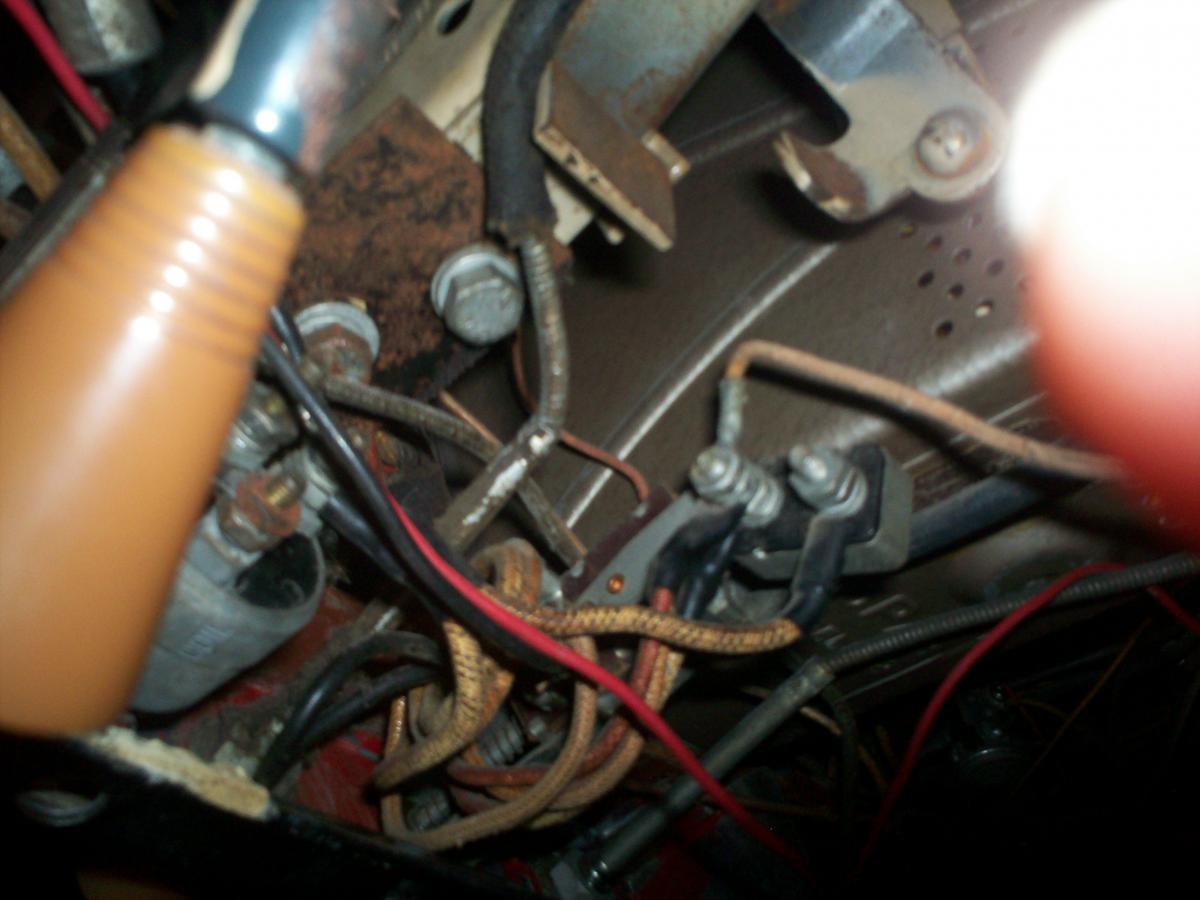
Back again, now the problem is the hot wire in the glove compartment that's to be connected to the clock. It's not hot. No juice. Traced wire back under dash to a connection box with other wires coming out. Put tracer wire device on it, no juice. So, hard to look to see where all those wires go. Got to go to the ammeter, right? Is that right after the ignition key? Put a tracer on that, no juice. Where else to look? Ed
-
Thank you, Plymouthy Adams, I thought I had cleaned the points, but I went over them, this time, with a heavy duty cleaner, and then used fine sandpaper on them. That did the trick. I let the clock run down, connected the battery wire, and, voila, they opened. No sparking and buzzing sound. Thanks, again, Ed
-
Back again with my 47 Dodge clock. Took it apart, cleaned it, oiled. Hooked up 6 volt battery, and it works. I see where the points connect and reset the mechanical part to drive it. Interesting. The points then open, and then goes thru the rewinding process again. So far, so good. Now, since I have to disconnect it from the 6volt battery, to put back in the car, the clock runs down, and the points connect and stay connected. To see if it will restart, I reconnected the 6volt battery, but this time, the points stay closed with a buzzing sound. It won't open. And if I leave it buzzing, it eventurally runs down and stops. There's got to be a trick here to make it right? Ed
-
Interesting. Thanks Robert. Went to that site. I didn't realize a heat gun can do that. Ed
-
Looking for the rubber mat. Thanks for looking at your car. Ed
-
Does anyone have a picture of what a 47 Dodge sedan trunk mat looks like? I'd like to go original for my sedan. Probably impossible to find one, but is there a place that reproduces it? Ed