

motoMark
-
Posts
98 -
Joined
-
Last visited
-
Days Won
3
Everything posted by motoMark
-
One of my winter projects is tackling some of the old girl's oil leaks. The pan gasket is definitely leaking so I will replace that and while I'm in there I thought I'd replace the lower half of the rear main oil seal (rope). As far as what I've been able to find, AB is the only source for this seal. Are there any other parts suppliers that sell this? I'm also looking for a fuel pump gasket and have found none so far. Any help would be appreciated.
-
A+ on Brake and Equipment. They did a great job sleeving my master cylinder and would certainly do business with them again if needed.
-
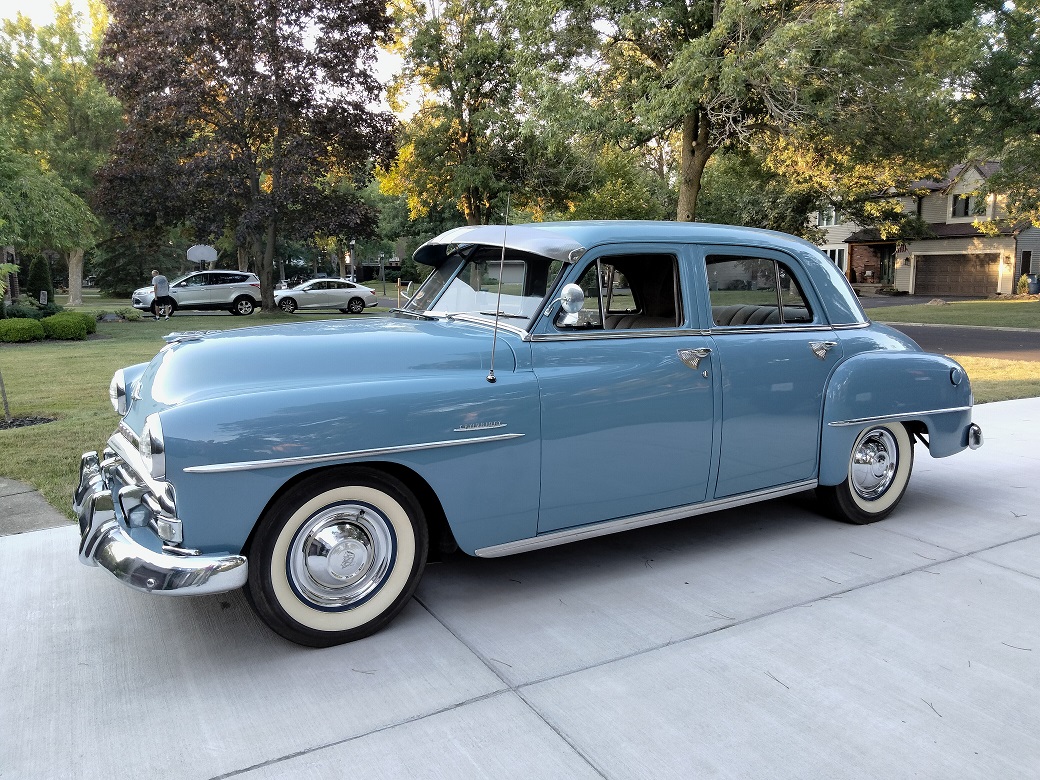
The more I thought about putting the filter in the engine compartment, or above the exhaust manifold, the more I didn't like the idea. Too much risk for my taste. So I went the safer route and mounted a NAPA metal canister filter along the frame rail. This way if it ever leaks, I won't have to worry about a fire. Thanks for all your input.
-
Thanks Rich. Appreciate the photos.
-
Thanks for all the input. Rich - would you mind sharing a photo of your setup? That's kind of what I had in mind.
-
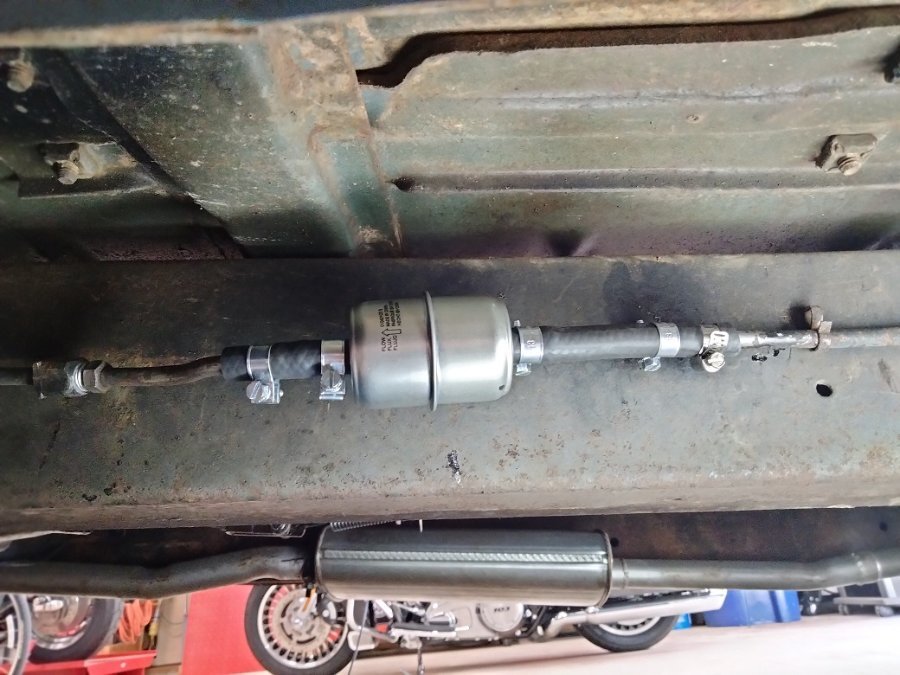
After having a few (what I assumed were) fuel related issues, I decided to pop the top of the carb and take a look. Glad I did! That's probably the most sediment I've ever seen in a carburetor in all the years I've been working on cars. I'm actually surprised the old gal ran as good as she did. I ended up taking it off the manifold and doing a good-enough-for-now cleaning job with carb cleaner and compressed air. And I also adjusted the float level as it was too low. So far she runs nice with no issues. So it's probably a good idea to put a fuel filter somewhere in the system but I can't decide where I want to put it. The easy way would be to get one of those metal canister types and spice it into the fuel line somewhere under the car. But I kind of like the idea of getting one of those glass bowl filters and put it somewhere under the hood, maybe even next to the carb. I'd like to hear any of your thoughts or suggestions, even photos of what you've done. Thanks
-
Looks great!
-
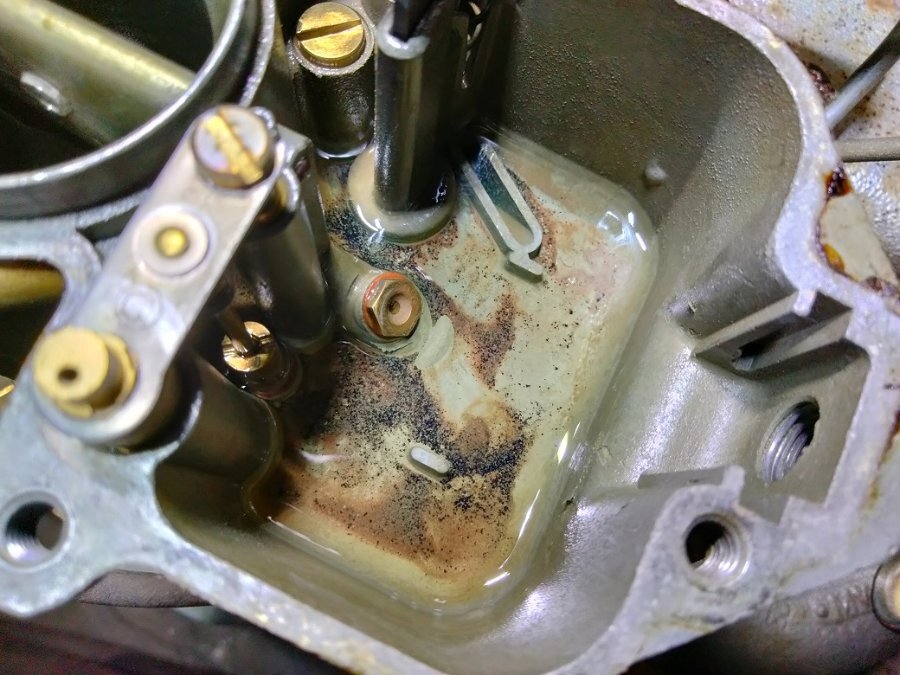
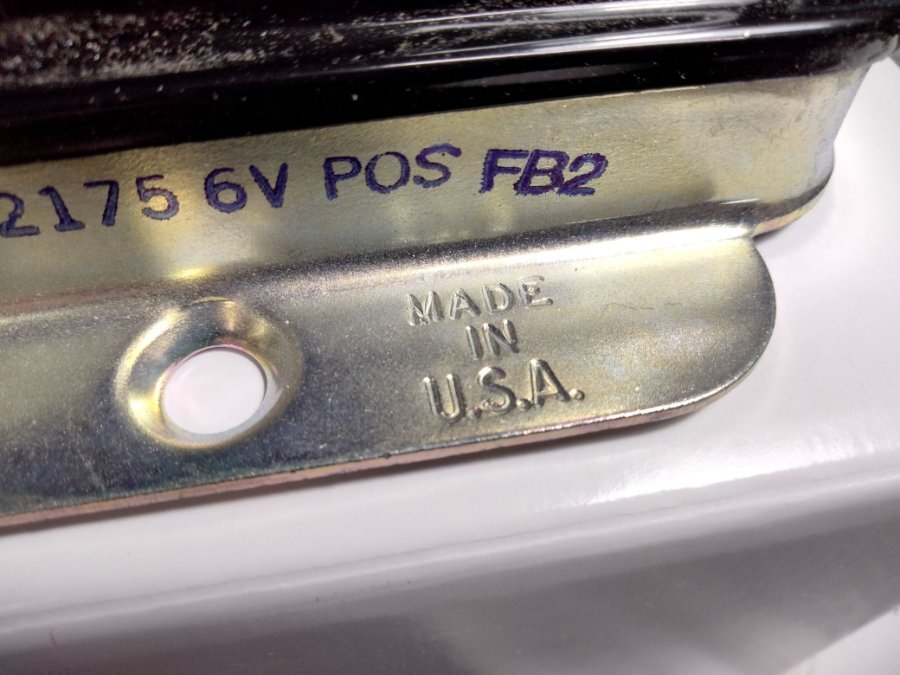
Sure do! Part # ECH VR27
-
My new NAPA voltage regulator arrived yesterday, and I was pleasantly surprised to see this stamped on the housing. Oh, and it fixed charging issue too.
-
Looks to me like the pan bolts were over-tightened and deformed the pan. The gasket surface should be flat. I would flatten those bumps.
-
I thought about fixing it but the break was in a very tight spot and would be difficult to get mt soldering iron in. I still might give a try though....
-
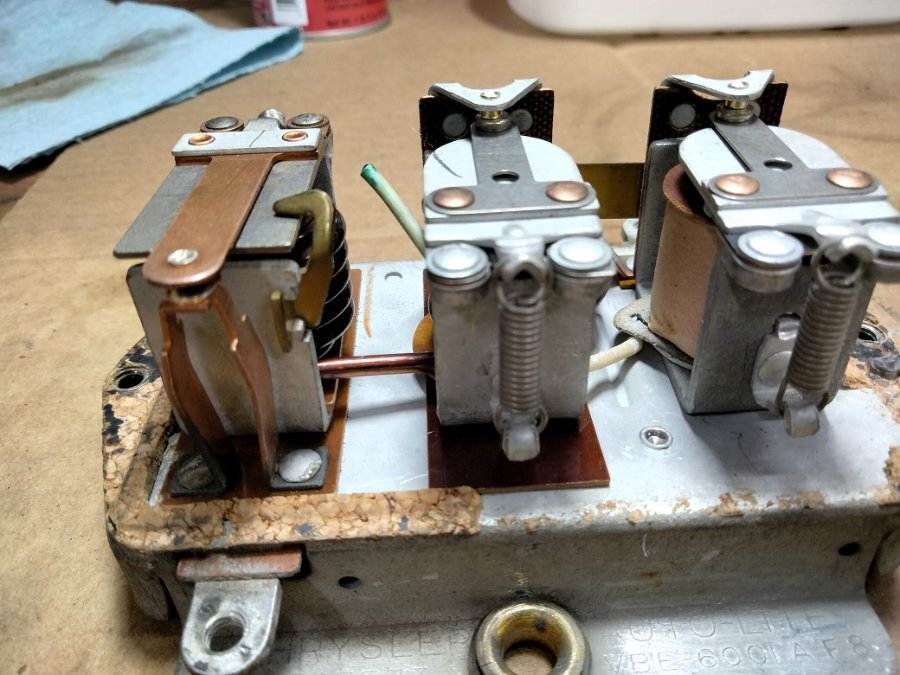
I've noticed for a while some water seeping out of the fill caps of my battery, so I decided to check the charging voltage. Wow, 9.3V on fast idle! Not good. So I went through the voltage regulator adjustment process per the shop manual, setting the contact points gaps, adjusting the armature spring tensions, and nothing seemed to work. Then I started looking more closely at the regulator wiring, and low and behold I found this. A broken wire that goes from the circuit breaker to the voltage regulator. Now I'm just waiting for my NAPA regulator to be delivered. Hopefully that will fix my problem.
-
I'm glad I haven't yet had the opportunity to do so, but will a properly functioning and adjusted 4 wheel drum car lock up it's brakes? There have been a few times I've had to make a hard stop due to traffic conditions, but not hard enough to lock em up. Just wondering.
-
It's time to replace the upper radiator hose on my 51 Cambridge and NAPA is showing both a formed hose and a flex hose. The hose I have on there now is a flex hose, and have no idea how long it's been on the car. Does anyone know what type of hose these cars originally came with?
-
I was able to use my 36" long 3/8" extension to drive the plug in from inside the wheel well. There is a bit of a gap between the top of the frame and the bottom lip of the inner fender, and I was able to sneak the extension in through that gap to the plug. It was at a bit of an angle to the plug, but it worked out just fine. A couple of good hammer hits and the plug was seated.
-
Sure is! The car does have an oil filter, I just took it off to get at the plug.
-
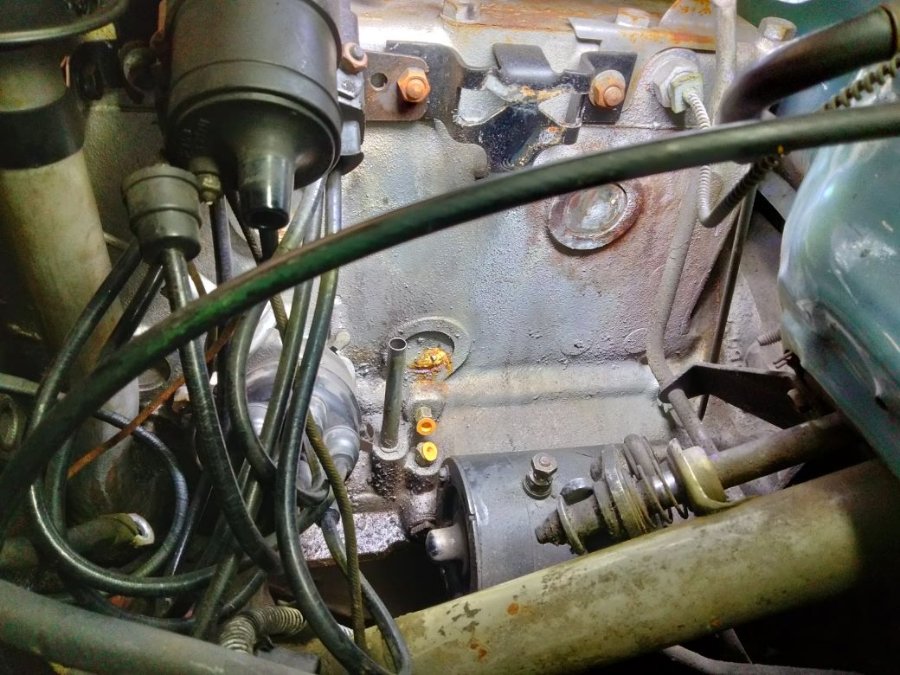
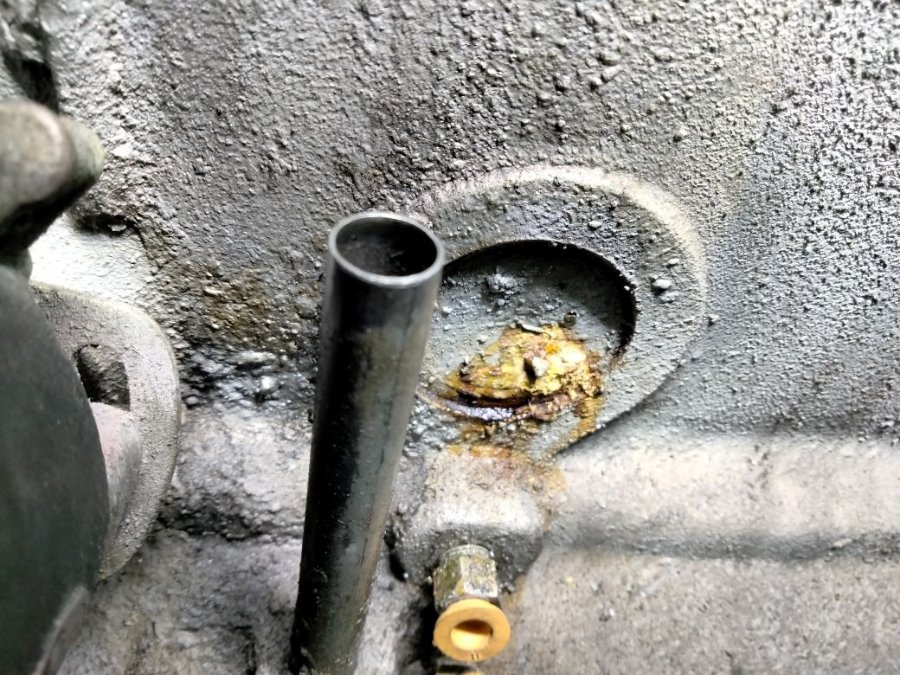
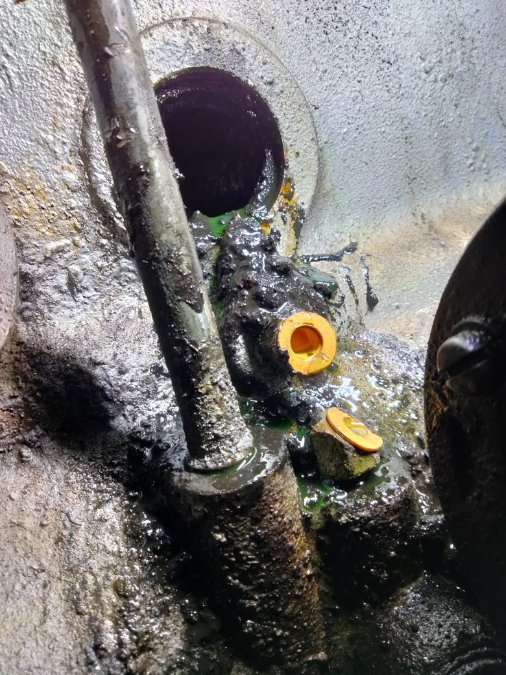
I'm doing the ole freeze plug by the starter and boy did I find a lot of junk in the block. In fact when I drilled a hole in the plug for the screw, not much came out besides a trickle of black goop. Coolant finally came out once I whacked the screw with my little slide hammer. No doubt I need to flush the block in that area as best I can, so would I just stick a garden hose in the hole and blast water in there for a while till it runs clear? Not interested in pulling any other freeze plugs since they all look good with no signs of corrosion like the one I'm replacing. Any tips? Thanks, Mark

-
Looks great! I plan to redo my seats eventually and I hope they come out as good as yours.
-
Interesting discovery while shimming king pins
motoMark replied to motoMark's topic in P15-D24 Forum
I'll take a look at the bearings to see if there are any markings on it that can lead me to a load rating. But if I don't find anything I'm just going to run them. Besides the height, the appear to be dimensionally the same as the old ones and fit the new king pins just fine. I don't have a problem shimming them for correct fit. Maybe I'm being too trusting, but since I bought the kit from Andy Bernbaum's, I'm inclined to think the bearings are appropriate for their intended application. Thanks for the advice on pre-packing the bearings. Never thought about that. -
As I progress with the new king pin project on my 51 Cambridge, last night I discovered I need to buy more shims. While I was doing a dry fit to make sure everything was looking ok, I was surprised at the amount of clearance between the bearing and the knuckle. When I originally took everything apart, there was 1 shim (0.011") on both the driver's side and passenger side. Even with the 2 additional shims from the king pin service kit, it wasn't enough to take up the play. So I measured the height of the new bearing and the old bearing to see if there was a difference. I was surprised to discover the new bearing was 0.025" shorter than the old bearing, meaning I need to add another 0.025" in shims to each side. Using my feeler gauges, my driver's side needs a total of 0.045" in shims and the passenger side needs 0.035". I ordered a set of 10 (0.005") shims from Speedway Motors and that should get me where I need to be. Has anyone ever run into this issue before?
-
After the knuckle is installed with the new kings, which way do the welch plugs go in? With the convex (dome) side facing towards the king pin or away. I think it's away but want to make sure. Also, how snug should I shim the knuckle to the support (at the trust bearing)? A little play? No play? Thanks,
-
Welcome to the forum. Beautiful car!
-
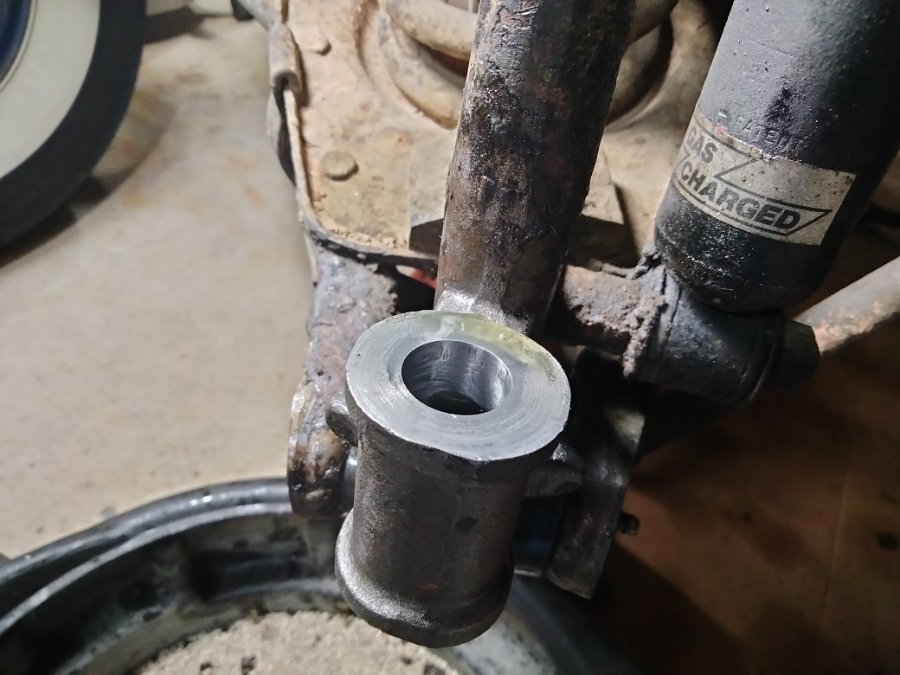
The hole in the support that I'm enlarging (as seen in the photo above) does not have a bushing. Only the knuckle contains pressed in bushings that need to be reamed when replaced. The king pin does not rotate in the support, it is pinned, so no need for a bushing.
-
Since my new bushings were reamed to fit the new king pins, I figured my best option was to resize the supports. So I'm using my 2-stone brake cylinder hone to increase the hole size to fit the pin. It's a slow go, but I'm making progress. Just about done with the driver's side, still have to take a little more off the bottom to get the pin to slide all the way through. Kind of feel like MacGyver a little bit, but it'll get the job done.
-
Yeah, I guess I should have taken the uprights (supports) off the car and brought them along with the spindles. Didn't think about that, and yes, lesson learned. I'm going to call the guy who did my machining and see what he recommends. He specializes in antique and classic car restoration, so I'm sure he'll have the right answer.

