-
Posts
6,850 -
Joined
-
Last visited
-
Days Won
67
Content Type
Links Directory
Profiles
Articles
Forums
Downloads
Store
Gallery
Blogs
Events
Posts posted by JBNeal
-
-
My samesung has android op.sys, and I can go to the picture gallery, tap on a picture to view, hit the pencil icon to edit the picture, and there's a 3dot menu at the upper right that pops up that when tapped, gives me the option to resize... once I choose a lower resolution, I can save as a copy any changes...if I want to undo these changes, the edit function can be tapped and the option to revert to original is available if I accidentally save the edited picture instead of saving the changes as a copy. Once I figured this out, I could post pics directly from my phone or tablet without having to transfer to my laptop for editing and posting...this is a nice time-saving feature when my laptop is several counties away
-
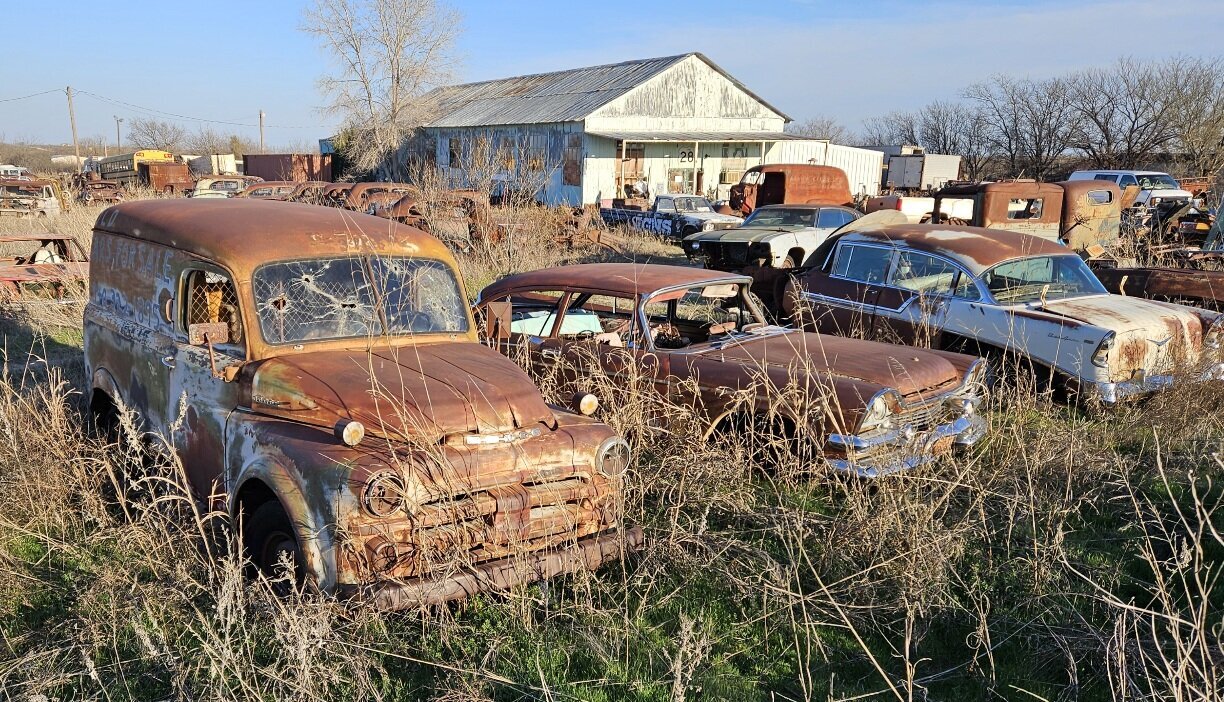
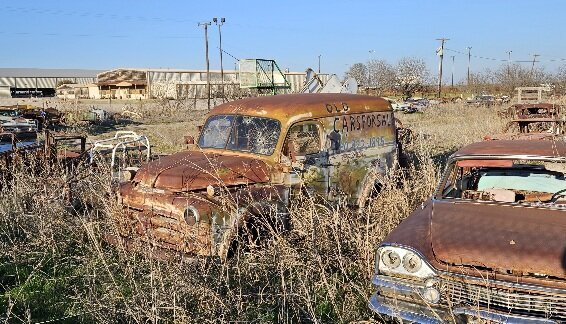
VINTAGEPIC:
spotted this B-series Panel on the FB
-
14 hours ago, bkahler said:
...
It would be nice to see a video of someone removing and re-installing the splash panels...
additional information - inner fender removal
From the factory photos that I've seen in Bunn's books and my experience with OEM assembly work, more than likely the assembly line had alignment jigs on the ready at each stage of assembly. We just have to get our single projects done and not truck after truck after truck like they did on the line...so the best approach is to kinda sit the big pieces in place on a best guess, then adjust as needed until we feel it's close enough, then start torquing everything down and hope for the best while checking sheet metal fit.
I should clarify that my suggestion is to set the inner fenders in place and maybe start 2 or 3 bolts on the fender ends. If the inner fenders are blocking access to something, they can propped up out of the way without complete removal from the engine compartment.
-
I vote for getting them inner fender parts in place before tightening everything since you've got a li'l wiggle room now. When them fenders are bolted down, reinstalling them big panels requires some finagling, some scraping, and some colorful phraseology 💥
- 1
- 1
-
3 hours ago, 888 said:
...
Are you thinking that the spare wheel currently mounted is incorrect or the presence of a spare wheel at all on this truck in that location is incorrect?
I've read a few places that the early 1954 model run had a different (100 hp) 6 cylinder engine than the remainder (110 hp) as well? Are parts harder to come by for the earlier engine? I've seen someone on here has a cross reference between VIN and engine number so if I can get the VIN, the engine can be determined? The engine is s a flat head from the photos...
Any idea about the color?...
I found the FB listing in question and this picture has some details worth expanding upon. Original color probably is that white hue on the firewall...if the back of the glovebox door is the same color, then more than likely that was the original paint.
The heater core appears to be aftermarket and the hacked appearance of installation and disuse is not a good thing...it's not a deal breaker as it's peripheral to the engine and can be addressed. That carburetor looks cleaner than anything in the engine compartment, so maybe that's recent. The head bolts have been changed to studs with chrome cap acorn nuts, maybe the engine has been gone through, maybe not. The missing rad.cap bothers me, that's easy enough to replace but that chore has been neglected. That plastic fuel filter dangling in proximity to the exhaust manifold really bothers me, kinda tells me the engine has been re-fired after years of being dormant and the owner has lost interest and needs to pay bills before January...who knows what jive he's pushing to unload this beast.
The engine number is stamped on the block, and casting dates can be found on the block and head, directly above and below the distributor. A build card would need to be procured to determine if the engine was original to the truck...a shortcut might be that if the truck title number and flathead engine number are the same, then maybe that flathead is original. Modern VINs didn't appear until nearly two decades after this truck was manufactured, so the engine number was used on many titling documents...which can be a problem as back in the day there was a legitimate business in engine rebuilding and replacement to maintain vehicles longer rather than buying new vehicles.
These flathead engines from 1951 onwards were basically the same, with changes in compression achieved by head machining. Parts availability should not be an issue though more expensive than blue oval or gm of that era as Dodge accounted for something like 10% of the truck market back then, so Dodges are rare compared to them.
The side-mounted spare was not a factory option until 1957 or so, definitely not on a C-1, but there were aftermarket kits available as well as many homemade versions found in the wild. That spare was originally underslung of the bed, out of the way.
This truck looks to be a good candidate for restoration, but missing pieces, quick (sloppy) mods and its deteriorated condition are not causing me to drool over it. If there's no title available right now, I would be even less interested. If'n ya showed up with a trailer and 3k in unmarked bills in a paper bag, maybe that could close a deal, but more than 5k price tag is a deal that I'd pass on...these guys want top dollar from somebody who is running on emotion and don't like to haggle with someone armed with knowledge. I like to save a relic from the past from an unfortunate fate, but I don't wanna end up in the poor house reviving a basketcase
- 2
-
On 11/13/2024 at 5:35 PM, VinceM said:
Any help and advice is greatly appreciated...
I took apart the steering gearbox in my '49, cleaned and inspected the parts before reassembly, did the correct adjustments, replaced the output shaft seal, then filled the steering gearbox with John Deere corn head grease...that took out the slop and ain't leaked at all since.
- 1
-
My '49 was sidelined for awhile due to a non-start issue...I followed the circuits, and figured out that the original wire that ran from the coil to distributor had corroded so badly inside the rotten cotton-braided insulation that not enough current was flowing to the distributor...after I replaced that few inches of wire, it started right up. 🏆
-
11 hours ago, 888 said:
...is the bolt pattern on these fairly "modern"? As in 15" steel wheels and Mopar dog dish hubcaps being possible? ...
Looking up info on the C-1, it appears that they aren't as popular with collectors as the B and D? ...
How is the steering and braking on these? About what you would expect from a 1954 but manageable? I found a link to a kit to discs but it only is guaranteed to work through 1952. Were there some changes after 1952?
I recall the C-1-B rims should have the 5 x 4.5 bolt pattern...fwiw, that side mounted spare rim is not original either, kinda looks like the spare rim I had on the 92 Dakota.
The big problem with the C-series was its limited run: C-1 debuted for 1954, with a brief run into 1955; then C-3 debuted in mid-'55 with many running changes, the most notable being the cab + doors going with a more forward look, and ran into 1956. By 1957, the sheet metal forward of the cab completely changed. So the grille + front fenders for the C-1 and C-3 are interchangeable, but the cabs and doors are not. The C-3 cab was used in small trucks until the end of 1960, and in large trucks until the end of 1975. So in some regards, the C-1 was a one-year only production run...that can make parts scarce and repairs expensive.
As for steering and braking, the B-series and C-series were very similar. I do not have a factory parts manual to verify all part numbers, but there were quite a few items from the B-4 that carried over to the C-1, as well as C-1 items carrying over to the C-3 and beyond in compatibility, most notably powertrain and suspension parts. The big change for C-1 steering was moving the gearbox outside the frame rails, as the frame was made more narrow at the front axle to decrease turning radius. From a cursory review, this changed the B-4 steering gearbox casting, but the internals were unchanged or slightly modified.
- 2
-
-
I do not see the extra switch dangling in that picture, but I see a glass fuse that I know was not factory installed, so who knows what's going on back there...sounds like ya need to trace some wires to confirm functionality.
-
the skeptical crowd observing a helicopter engine being shoved up into a Tucker
-
VINTAGEPIC:
spotted this W-series tanker and B-1or2 runner at the firehouse on the FB
-
6 hours ago, dsapern said:
I do have power and when I touch the two wires together the brake lights both work. Also, when I use a center punch and simulate hydraulic fluid and press the plunger in the brake switch it works then too. I just think that I don't have enough brake fluid pressure at the switch port to press in that plunger to complete the circuit.
Sounds like you have located where to tap in with the pressure gauge...if switch is good and brakes work then MC has a problem; if switch is good and brakes do not work, then brake lights are the least of your problems.
-
How'bout posting a picture of the parts that you are describing so that knowledgeable gearheads can wrap their brains around what you're a-lookin at, for some context 🤔
-
VINTAGEPIC:
spotted this Power Wagon wrecker on the FB
-
1 hour ago, ktb said:
I’m still struggling to get the engine to turn over by hand. Trying to turn the FD coupler ring gear with a prybar bent the prybar. Turning the hand crank starter nut with a 1-3/4” socket, 1/2” ratchet and extensions, and a 5-ft cheater pipe turned the crank nut slightly but finally broke one of the extensions...JEEBUS at this point I recommend changing your strategy, cuz that engine has an internal problem that has been touched on by others with too much crud binding up the mechanism. I have rebuilt 2 flatheads without removing the engines, including replacing valve guides. One truck I managed to do this without removing the dog house, just the hood and inner fenders. As it was pointed out to me by old timer mechanics who have been long gone, local service stations could rebuild engines without removal as most vehicles built into the early 60s could be worked on without a lift or engine hoist. These buggies had not been parked for decades, so all they typically needed were a ring job, valves ground and new guides, and a seal kit.
If ya cannot turn the ring gear, then surgery is required to determine what's binding before doing some damage. Pulling the head and valve covers for sure, even the oil pan needs to come out cuz if that crank is crusty, it ain't gonna matter what's soaking the piston rings loose.
One of those flatheads that I rebuilt, drove that thing for 15yrs and then it started having what I think was a partially spun bearing due to a worn crankshaft that needed attention. At the same time, I was flooded with work and chores and helping out the elderly neighbors with increasing mobility issues; 5yrs went by, I went to turn that ring gear on the engine that ran when parked, and it was a no-go...even sitting closed up with oil on every surface needed, it jammed up. So it's on the overhaul list again, hopefully it'll just need crankshaft service and oversized bearings to rectify its problem, as it ran well and never smoked or leaked.
-
I've had this discussion with quite a few gearheads about being thrifty...there are some things where the premium price is paid for peace of mind; otherwise, every time that machine is operated is a roll of the dice as to when failure will occur...choose wisely
-
-
@Merle Coggins from what I can tell, there were 2 starters for B-1s divided by engine #, and 2 starters for B-2s divided by engine #...all of those starters have been superceded by the starter listed as those previous starter assemblies were no longer available when that parts manual was printed in 1954. Individual parts, such as the different yokes, were still available, listed on the next page...whether they were on eternal backorder or also superceded is academic I reckon.
-
-
If your goal is to remove the engine and you have the radiator removed, the transmission input shaft can be partially retracted, then lift the engine off its motor mounts, move it forward and tilt the front of the engine a bit. The transmission input shaft should be able to be finagled out with this gravity assist once the powertrain is angled back.
-
counting neckties on the Tucker assembly line
- 1
-
The 4th bolt is accessible with the parking brake drum removed.
-
On Fluid Drive B-2s, that nearby crossmember can be unbolted for easier transmission removal.
Another New Project 1950 Plymouth
in P15-D24 Forum
Posted
When I rewired the barn in 2019, I opted to go with 75W equiv. LED floodlamps as the price for GEs had dropped to about 5 bucks apiece. Before I got too carried away, I hung one in the middle of one of the bays and disconnected the existing lights and did a test one night to determine its pattern. The next day, I hung another so there was some overlap and verified the results that night to see how hard it was to read the label on the LED box...made an adjustment the next day, tested it that night, then a second adjustment was verified the night after that. From there, I figured the light spacing required to fill the whole barn and not have shadows in the corners nor have too much light overlap and waste $$$ on hardware. The best part is heading out to the barn in pitch black night and hitting the lights and it not feel like a flashbulb just went off in my face. Several of the neighbors have this problem as the electricians they hired to do their barns were of the mindset that if some is good, more must be better, so they put in lights that are too big and too close together and too many of them and charged too much for their work...it's like standing on a snow-covered field on a sunny day in there, almost migraine inducing