Fernando Mendes
-
Posts
2,203 -
Joined
-
Last visited
-
Days Won
3
Content Type
Links Directory
Profiles
Articles
Forums
Downloads
Store
Gallery
Blogs
Events
Everything posted by Fernando Mendes
-

Differential backlash tooth contact.
Fernando Mendes replied to Fernando Mendes's topic in Technical Archives
Not DPCD parts.They were manufactured here. -
Differential backlash tooth contact.
Fernando Mendes replied to Fernando Mendes's topic in Technical Archives
Yes,new gear and pinion set,gears and pinions. -
Differential backlash tooth contact.
Fernando Mendes replied to Fernando Mendes's topic in Technical Archives
Do you have the correct procedure to follow in the event of an unsatisfactory tooth contact? -
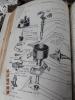
My remanufactured differential parts arrived yesterday.I began today my B3-B differential parts assembly with my mechanic.I would like to know about backlash,heel,toe,how to move gear toward pinion,how to move gear away from pinion,how to move pinion out,how to move pinion in,how to see the correct setting,how to see the compromise setting.
-
Water pump to thermostat valve cover.No radiator.
-
217 not starting (only backfires through carb)
Fernando Mendes replied to humboldtcorrado's topic in Technical Archives
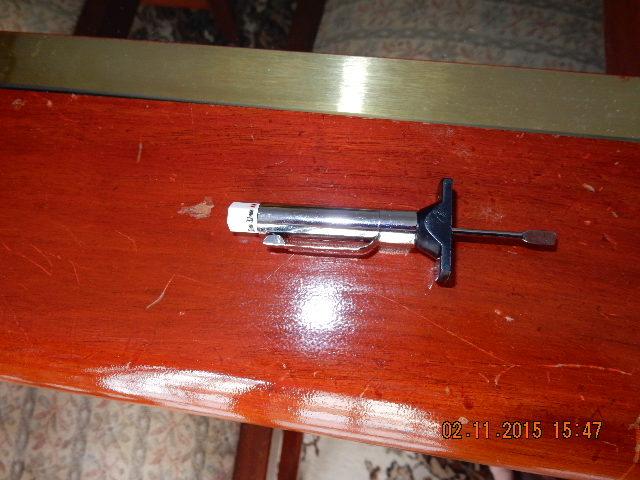
I use this instrument to know when the #6 intake valve is beginning to open.At this moment the #1 piston is at TDC.My rotor is pointing to distributor #1 plug wire tower(2 o'clock).
-
...through the #6 cylinder plug hole I can watch: the exhaust valve or the intake valve?
-

-
Hank,why are you wanting to see pic of the rotors bottom?
-
I shotted another pic now with more resolution(16M-4608x3456) and only can see IAT-40??,can be the rest 11 or 12,because mine is a B3-B.But this pic I can not send to this forum,only to e-mails.
-
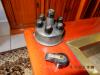
Put the white ribbon in the shaft,rotor not loose now,put the rotor,put the cap,withdrew the six plugs,turned the pulley with hand.Did not listen knocking of rotor damaging my inside contacts cap.Withdrew the cap and look if rotor damaged the contacts.No.
-
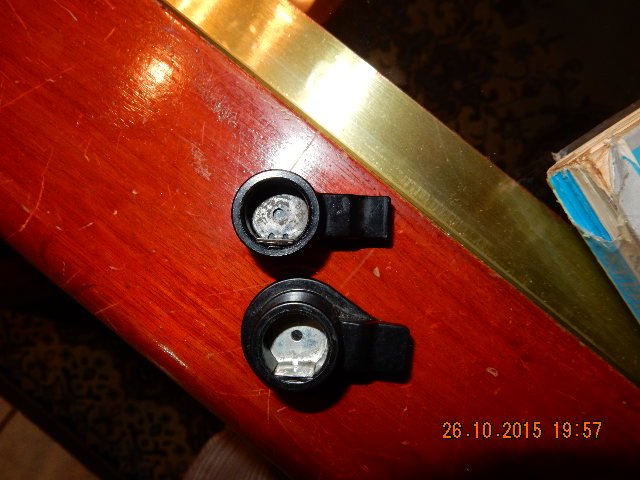
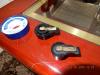
This rotor down the pic is that I was using since 1987(does not have number part).The rotor up the pic was I found here to use now after put that white ribbon.
-
-
I will try a good pic showing the letter code.
-
I have a WWII GMC 1944 too.I was thinking both rotors are the same but I saw the keys inside are differents.
-
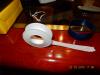
Yesterday I tried thin foil and gave up.Tried thin sand-paper and gave up.Today tried this kind of ribbon(pic) and gave me a hope.
-
Thanks Jeff.It was my first thinking.Tomorrow I will try if GMC fits too.
-
"Who does not have dog hunt with cat"

-
Pic 1 is the old rotor I use since 1987.It is loose. Pic 3 is the new rotor I bought now(not PH original).It is loose too. Rotor pic 1=rotor pic 3.Same measures.I was thinking to put a thin material to tight it in the shaft.

-
I changed my rotor and cap distributor.Who had a prior experience with loose rotor?What is a good idea to tight it.What can I have to do?Thanks in advance.Fernando.
-
engine problem at high speed
Fernando Mendes replied to finmad's topic in Mopar Flathead Truck Forum
"The cap should not move. There is a "key" as pictured that fits into a slot in the distributor preventing the cap from moving. If the cap moves this will alter the timing." Bend two spring cap too,giving them more tension. -
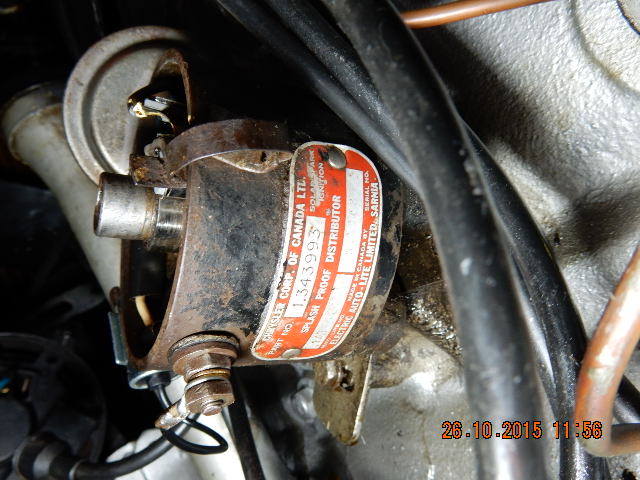
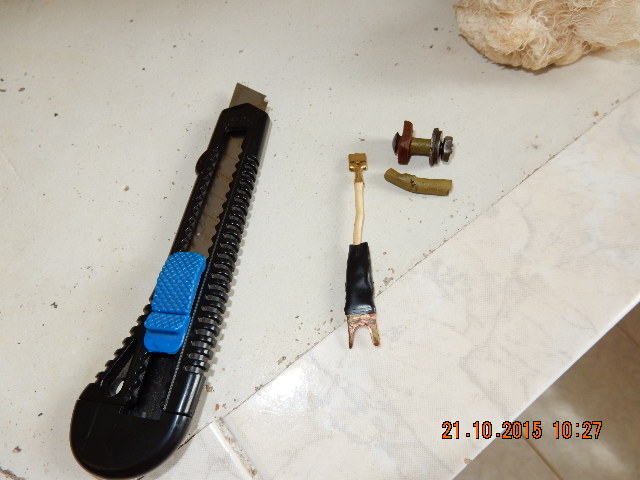
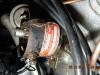
My entrance wire distributor screw was not insulated from the distributor body hole.The threads screw are touching internaly the side of the hole.With this the current was not going to the breaker arm. *What I did to remedy:Put a piece of flexible hose between the two insulators.See the pic.Now it is all ok.

-
- 1
-

-
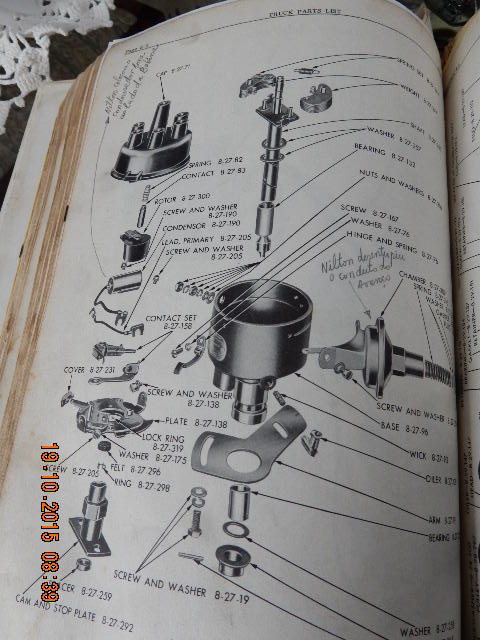
Why do we have a carbon inside the center tower of the distributor cap?
-
engine problem at high speed
Fernando Mendes replied to finmad's topic in Mopar Flathead Truck Forum
Mine cap was loosened because the rotor was too high shaving the inside contacts cap and one of the spring clip cap was too loosen.