

Ed McDermott
-
Posts
82 -
Joined
-
Last visited
Content Type
Links Directory
Profiles
Articles
Forums
Downloads
Store
Gallery
Blogs
Events
Everything posted by Ed McDermott
-
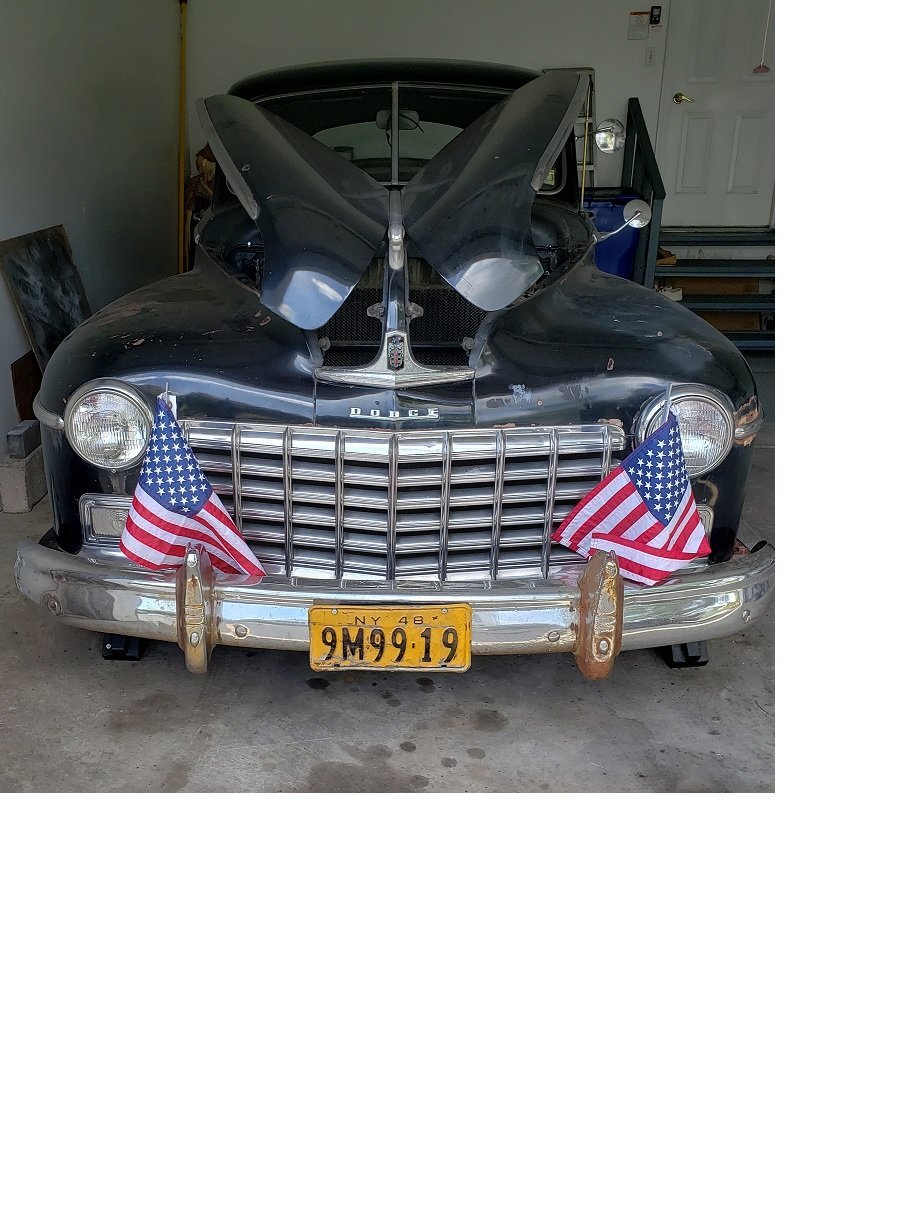
 I have a 48 dodge custom with negative battery ground which I believe was modified from positive ground before I got the car. Reoccurring Problem; After charging the battery the engine will start and run fine in the garage and with throttle open some to enhance charging. After charging for 10 min the ammeter reads about < 5 amps charging. Turned the car off and worked on the car for 2 hrs rewiring brake lights and park lights turning them on and off during the process but never for long. Tried to restart the car and just heard clicking sounds. With a heavy jumper cable jumped the battery post to the starter terminal no noise at all? Put the charger(15Amp charging capability) on for 10 minutes and then started the car with the charger on (still connected)__ started right up. Shut down for 10 min with the charger removed and car restarted right up. This has happened a number of times before and seems like the battery does not have enough capacity (550 cold cranking amps and 750 cranking amps @ 32 deg) or there is a high resistance path in the starting circuit. The battery is 1 year old. The starter relay/solenoid is mounted to the inside of the fender next to the battery. Have cleaned all connections from the battery to the starter and return path. All cables are relatively short with no evidence of corrosion. Having the battery checked tomorrow. I know you need to run the engine at higher rpms to adequately charge the batter after starting. One thing I have not checked is the starter bolts to see if they are tight as they provide the ground return path, however when the battery has been charged it seems to start fine but if the battery voltage reads 6.2-6.4 volts it seem its too low to start. Baffled. Any one experience similar or have any suggestions. Thanks Ed
 -
As others have mentioned and having experiencing the same trying to get under the dash. It is difficult. So eventually I awaited until I was going to remove the front seat frame to do some upholstery work. Laid some foam padding on the floor and access to lights was much easier. I replaced some of the bulbs in their metal sockets and did a bunch of rewiring in the same effort. From under the dash you can see some light leaking from an illuminated bulb. However they are not very bright and have a warm yellow glow. For external lighting (brake and park lights) I recently found 6 v compatible LED bulbs which are much brighter. Claim to work on +6 or -6 volt systems Ed
-
Thank You that's very helpful. I had an idea that's the way to remove and tried to spin the the cover but no luck. Is that a tool that's available or something you need to make up? Ed
-
Hi I am trying to remove the light switch from behind the dash to access the instrument panel dimmer switch which is not operational. The manual's directions are to remove the throttle control with a special tool but does not discuss the light switch removal. This instruction does not seem to reflect my 48 Dodge custom. I have included three photos: Right and left side of the light switch from behind the dash and front of the light switch shaft on the front of the dash . There appears to be a square nut like device holding the back side of the light switch to the dash but hard to access. Any body familiar with this switch Thanks in advance. ED


-
Thanks for the info Ed
-
Please do Thanks Ed
-
Your description is right but on the rear pumper is embossed "Fluid Drive" and the manual refers to Fluid Drive
-
This maybe helpful as I have a black round (maybe a switch) with a fuse in it mounted to the base (bottom) of the dash but does not seem to work. I will check it out. Thanks Ed
-
i have the fluid drive transmission. Did not see anything around the transmission that seemed to be a possible location but will look again. thanks Ed
-
My 48 Dodge has a small light bulb on the bottom left side of the dash. It is supposed to light when the hand brake is engaged but does not. The bulb is good. I can see a wire leading from the light socket to the upper end of the hand brake mechanism. But he wire disappears from view and I can't see any switch or mechanical contact. Does any body know if there is a switch attached to the hand brake. Also is the removal of the hand brake easy so to access the switch if its there and are there bolt the feed thru the firewall to anchor the hand brake mechanism. Thanks Ed
-
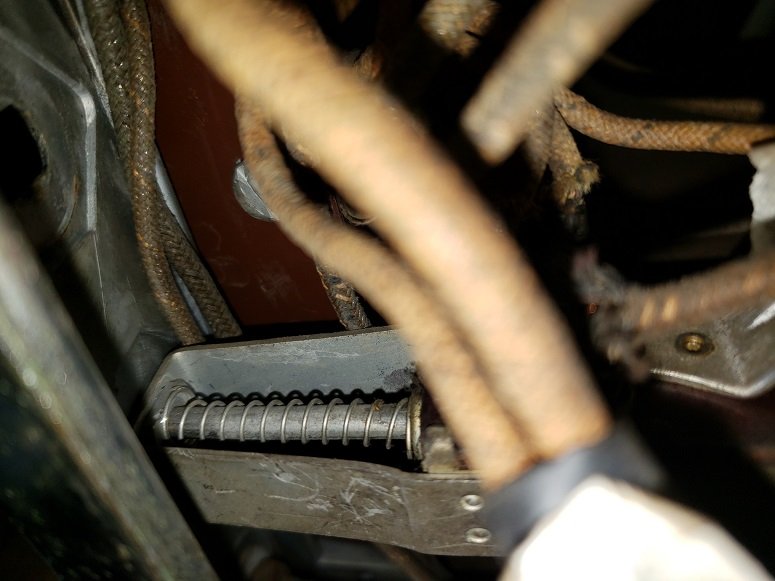
Looking for the back up light switch? A dealer installed option at the time. I have replaced the light bulb and wiring from under the dash to the back-up light. If I touch the + 6 volts (negative ground) the the back up light, it works works fine , but I cannot find a wire or switch to energize the light when in reverse. I have attached a photo of the gear selection mechanism under the hood. I have a suspicion that a switch was or should be mounted there or on the transmission (fluid drive) but cannot find anything. Any suggestions? Thanks in advance Ed
-
Looking for the back up light switch? A dealer installed option at the time. I have replaced the light bulb and wiring from under the dash to the back-up light. If I touch the + 6 volts (negative ground) the the back up light, it works works fine , but I cannot find a wire or switch to energize the light when in reverse. I have attached a photo of the gear selection mechanism under the hood. I have a suspicion that a switch was or should be mounted there or on the transmission (fluid drive) but cannot find anything. Any suggestions? Thanks in advance Ed

-
The fuel sender is a low current circuit (approx .060 amps max), and a 18-22 gauge wire should be fine.
-
My 48 dodge had the original hand brake and it was out of adjustment. Tried to use it to stop my car on a steep driveway when I had no brakes and it tore the lining up. I bought the suggested replacement from Andy Bernbaum, but turned out to be the wrong one. After many hours of trying to put it on they provided me the correct one and with feeler gauges got it adjusted properly and it now holds the car fine on the driveway, but it was a lot of work and tough working under the car without a lift.
-
Thanks All Pounding it out with a drift pin was not working so I tried a 3/8 socket extension bar and caught the outside edge with a upward tap and it raised a little and then was able to get under it and pry it out. There was considerable rust/corrosion on the sides and bottom. Dressed it all up and now it sides in and out easily but tight enough.
-
Thanks I have tried tapping it out with a drift punch. It does not budge. I don't know if there is rust in the slot or the keyway has been worked over time. Also, do you have an idea on the torque requirement?
-
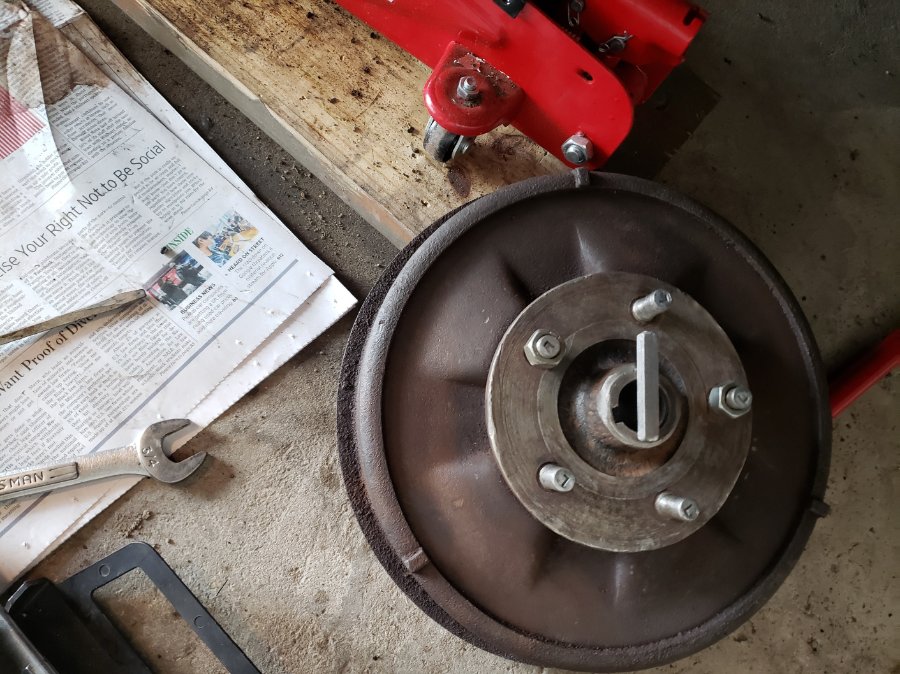
I have a question on the rear axel keyway. After great difficulty I got the rear drum off with a wheel puller and the key came off with the drum and firmly attached to the drum. I replaced the brake shoes, brake cylinder, and brake lines as planned. I could not release the key from the drum, tried rust buster, penetrating oil and a few taps with a punch and hammer. No luck. Decided to test fit and put the drum back on but key would not easily line up with keyway and drum would only go on a short bit. When and how does the key get installed? Before the drum is put on or after. Or does it make a difference? Also how can you remove the key from the drum? I seen a few videos which seem to indicate drilling. And suggestions? Thanks. Ed
-
Thanks for the info. Was not aware of swedged studs so its off to the repair shop for removal Ed
-
Hi Finally got the real wheel hub off and want to replace the studs that the lugs attach to. I assume they are pounded out, but wanted to be sure before I damaged anything. A first try and they did not budge. Letting the rust buster soak in. Any suggestions ED
-
Thanks for all the advice. Success with a big bang. Persistence is the key. Laid off for a week and worked on the gas tank. returned to the wheel, put the puller on a wacks and a bang and it was off. Best loud auto bang I have heard. It is possible that the temperature in the garage is al lot colder and may have helped. Ed
-
I did back off the minor and major adjustments. the drum seemed free as I alternatively tightened all adjusters and loosened them to very the brake linings were free. I did try to remove the major adjustment nuts but they were frozen and moved with the bolt. I have been putting rust buster on them and maybe I will give them another try as initially I thought that I could push the bolts back and help get the hub off. Thanks. will try tomorrow Ed
-
Thanks for the comments. I have been trying most of them except driving with a loose axel nut which I will do tomorrow. I have attached a image of the wheel puller installed as requested. Ed

-
Still trying to remove driver side rear wheel hub. looking for any suggestions to remove hub. I have a heavy duty wheel puller attached and a 4 pound hammer and rust buster. First it took some effort to get the castle nut off as it and the washer were rusted. Have been working with the puller and the hammer and applying rust buster where possible but the hub will not move. Currently out of ideas and open to any ideas. Ed
-
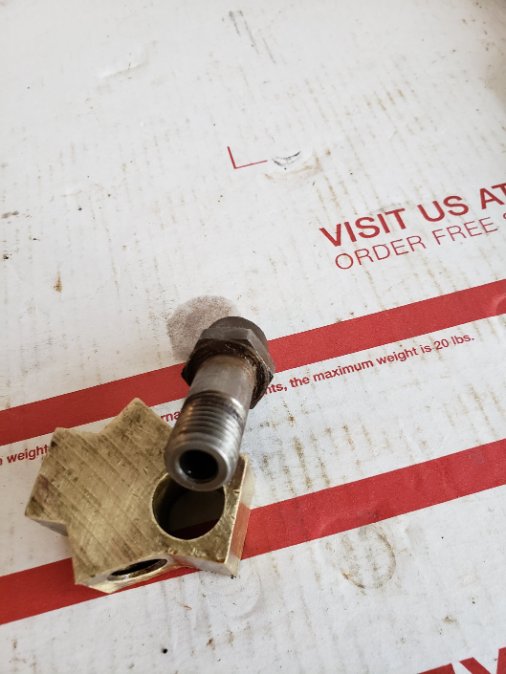
I am renewing the rear drums on my 1948 Dodge Custom. When i removed the brake line junction box attached to the rear axle, I noticed that the thru bolt was hollow. After removal I noticed that the hole looked like an access port to the rear axel. I have looked in the manual for information, but did not find any. Does anybody recognize this hole in the axel and its purpose. I have attached photos for reference. Thanks Ed


-
Thanks everyone for the information. i now understand the difference between a claw type and a lug type hub puller and have a lug puller on order. Ed
