


lostviking
-
Posts
790 -
Joined
-
Last visited
-
Days Won
7
Content Type
Links Directory
Profiles
Articles
Forums
Downloads
Store
Gallery
Blogs
Events
Everything posted by lostviking
-
I was wrong, it's 1000lbs.
-
Harbor Freight has a 750lb 1000lb four wheel engine stand for $67. Crates are fine for storing an engine, my spare is on one. But I'm starting to disassemble it so I'm going to buy one of the HF ones. You need to spin the engine and I'm not into laying it on a bench and flopping it around. I think the engine stands are pretty low cost.
-
Just remember to sand anything you want smooth before you treat it. The result will eat even the best emery cloth.
-

Is it possible to get a build sheet?
lostviking replied to lostviking's topic in Mopar Flathead Truck Forum
Thank you. I'll send off a request. I see from the one posted in the next posting that the motor number is included, so that is exactly what I'm looking for. Thanks again. -
Put the lock in without any drama. Doors lock fine now Nice looking dash!
-
I'm wondering if it is possible to get a build sheet for a 46 WD15. I picked up the "original engine" today, but when I looked at the numbers it's a T112, not T114. The build code when I decipher my VIN shows T114, but I don't know if that for sure means it had a T114 serial number engine. I can see that the T112 did come in WD15's and was made in 218 versions. But I don't know for sure that this is the original motor now. I've got a 58 230cid motor in the truck that runs fine. I don't know for sure the condition of the T112, I'm still taking it apart. I have all the head bolts loose, one did break off so that's fun for the future. I should have let the WD40 sit until next weekend and kept reapplying...but I didn't. All the rest came out, but I was too tired to pull the head off. I've got the whole thing strapped down over the head to a custom cart I got from the guy who sold me the truck. I'll have to undo that before I can remove the head. I do intend to pull the head and the manifolds still. I pulled the bell housing and clutch/flywheel already.
-
I don't know why anyone would go to a "12V Switch". The 6V switch should already be able to handle more current than will be drawn after going to 12V I'd think. I could be wrong, but 6V at any number of watts takes more current that 12V.
-
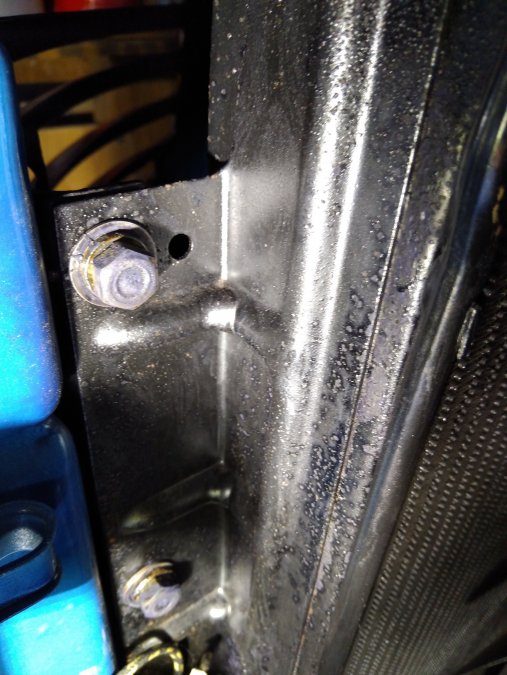
I had one of the machinists at work make me a small cylinder, .25 dia x .48 long with a 4-40 through down the center (304 SST). I might not have taken a picture :). I roughed it up on the outer surface with some 80 grit sand paper to give the epoxy a bit more to grab onto. I cleaned everything with brake cleaner to prep the surfaces, then epoxied it in place using JD Weld Steel Reinforced Epoxy. It has a 3127 PSI yield. It's in the door curing right now, I'll snap a picture tomorrow. I used the quick set so it should be go to go in 4-6 hours, but I'm not in a hurry. After it's cured, I'll remove the tape I used to protect the lock area and the end of the insert, place the lock and run the set screw into the lock body. I haven't decided yet, but I might remove the lock and drill maybe .030 into the body where the set screw makes contact. I'll see how it feels tomorrow. Added some pictures: First shows the insert from the hole in the rear edge of the door. I did nick the paint around the edges, so I"ll have to touch up the bare metal. You can just see the edge of the original tube that was threaded for a large set screw. Second show the end of the insert from the hole in the door. Just a bit of the tape I used to ensure no epoxy got into the threads. Tomorrow I'll put the lock back in and tighten the set screw. I'll see then if that's a done deal, or I want to put a small dimple for the set screw. Either way the insert is a bit longer than the original tube was.


-
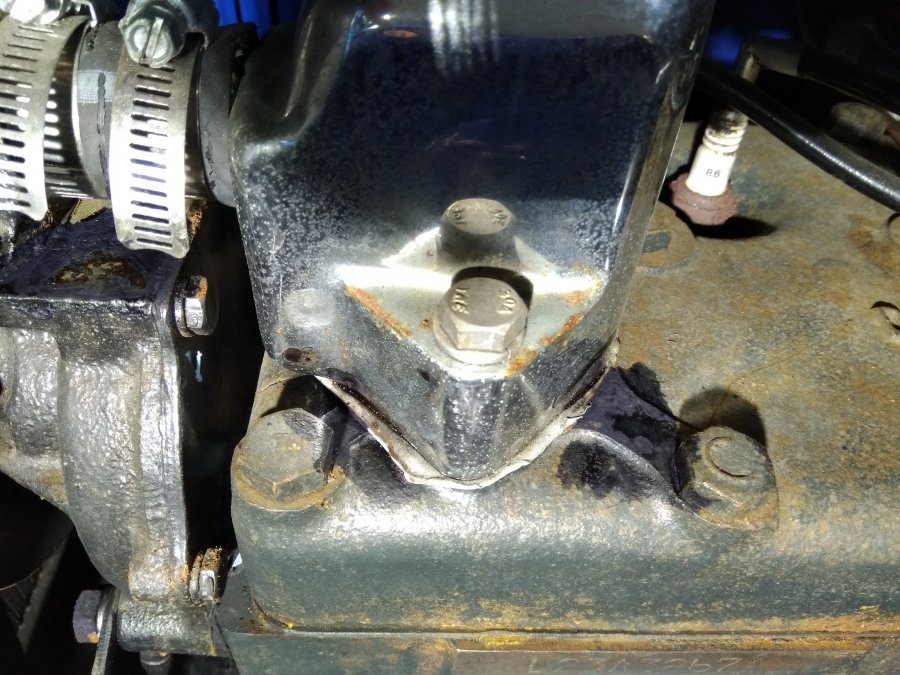
Here is what the radiator support bolts looked like before I treated them. Even touched up a spot or two on the head and top of the water pump.
-
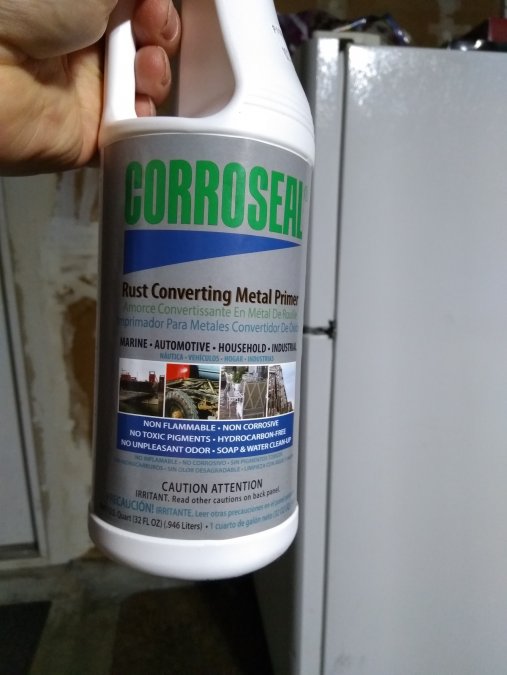
Like many, my truck has some surface rust where there is unprotected metal. Even just steel nuts for instance. I would never have put it back together with any bare metal...but then. So I purchased a highly rated rust conversion treatment, gave it a try on some easy to reach items as a test. Short story, I will be going over the entire truck and treating everything I can reach that needs it. Here are some pictures of untreated, treated and the convertor product for reference.
-
Did you go with the Vic's kits? And if you did are the panels just cardboard? Keeping my truck original is one thing, but even if bare cardboard was the stock setup I don't like it. If the Vic's kits are just the same as I've got, I'm going to make my own.
-
I did see that. But I'm going to epoxy my solution into the tube that still remains. It just doesn't have threads. I made a .48 long .25 dia cylinder, with a 4-40 thread down the center. After I epoxy it into the remaining tube it will be almost like the stock installation. Don't see any reason that won't work just fine.
-
New lock set arrived yesterday, wasn't even due until Monday. Bought it off ebay. I cut the shaft to length with a hacksaw, and deburred the end just like the instructions show. I need to manufacture a tube for a set screw to repair the damage I did getting the old one out. Not a big deal I think. About .5 inches long and I"ll use a 4.40 set screw. I'm going to ask the machine shop at work to make it for me, or I'll just do it on my brakes. We have a lathe in engineering, so that's an option. After I get it done, I'm going to use some Armstrong A12 epoxy to hold it in place. That stuff is crazy strong and should be overkill. Then I'll swap the keyed insert on the ignition and be done with it.
-
I knew the engine was not (currently) the original, that one needs a rebuild. So I decoded the engine number. Seems it is a 230ci engine, 1958 from a D100. Cool! When I rebuild the original one, I plan on using this crank and rods to keep the displacement Some days are better than others.
-
- 4
-

-
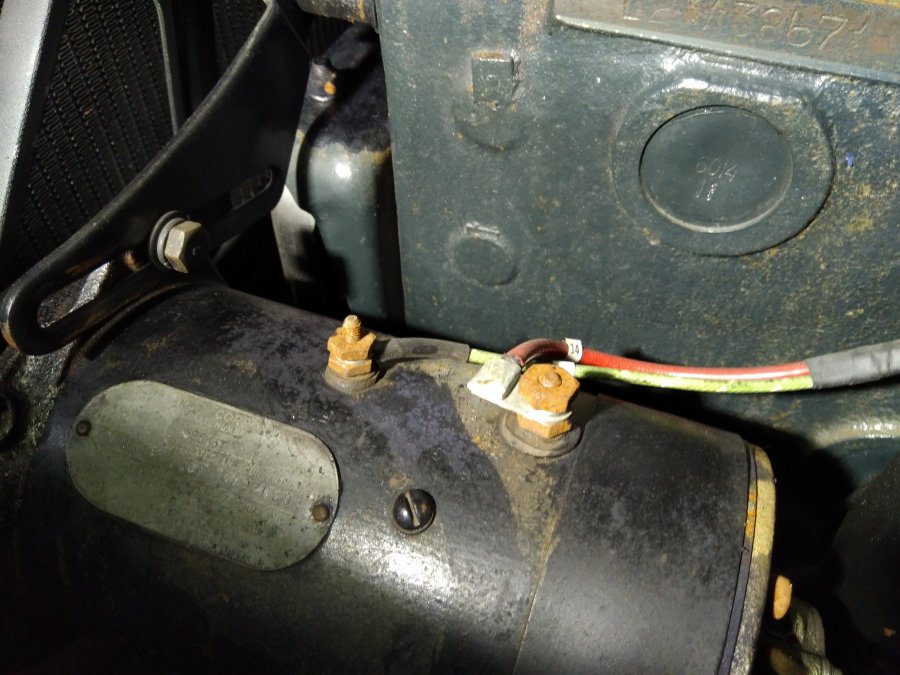
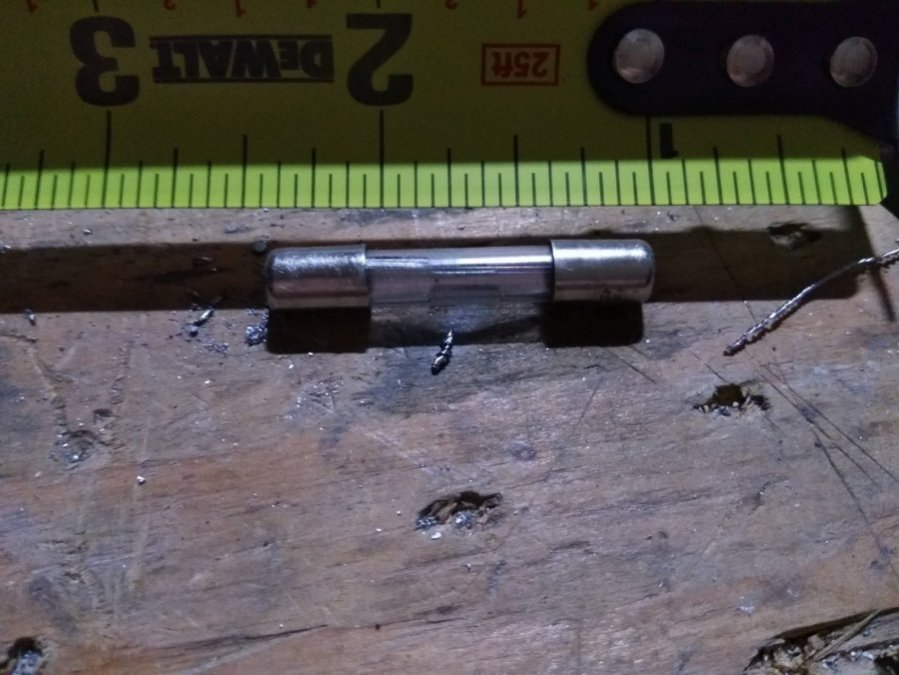
Opened the switch today and the insides look fairly pristine. Very minor scratching on the surface of the contacts, but NO corrosion at all. I lubed the plate with the contacts lightly with some silicone grease and put it back together. Now I'll just clean up the outside surfaces, maybe use a baking soda blaster to not damage the metal and it will be ready to reuse. Very happy. I took a picture of the fuse in case anyone needed one. It goes into the "tube" on the end of the switch. You can see the bayonet end cap on the fuse in the first picture.


-
The door panels in my truck are kind of crappy. It is a cardboard with dark surface and no covering of any kind. Does anyone have a picture they can post of the locations and appearance of the stock screws and clips? I want to make sure when it goes back together it is done as was originally done. A picture would help greatly. Edit: Been scouring the web for pictures and I've found a number with pretty good detail. I see there are just a couple screws at the top of the hinge side, and one at the top of the open side. There are two clip pins at the bottom of the hinge side, and another four along the bottom edge. Other than that it is just retained by the "lip" on the door you slide the top and rear under. I'm going to get some thin foam and a vinyl covering probably and redo mine. I'll take some pictures along the way. Another option that looks attractive is the go to Vic's Garage and get a full interior kit. The rest of my interior is done with the same type of kit, and the quality stinks. I'm going to ask for some details on Vic's kits, which are $300 for the whole cab, top sides and rear. If they are nice I think that's a bargain. Kit's include the fasteners and detailed instructions.
-
Took a lot of work, but I've gotten the lock out of the door. I do have two sets of key BTW. Anyhow, I had to buy some cobalt drills and drill the set screw, which was hopelessly frozen in place, to get the lock out. I've got an NOS set due to arrive Monday. There is nothing wrong with the ignition key, so I'll have that to offer if someone needs one. Since I had to drill, the threads where the original set screw went are most likely damaged. I'm waiting on the lock to get here to a trial fit and eye balling before I make final plans. That may include making a thin insert to go into the original tube (epoxy in place with some Armstrong A12) and a set screw of currently undetermined size. I've got #6 through #10 available, so it really depends on the hole in the lock. I ended up drilling too deep on mine, so that hole is now the size of my drill More later.
-
Dodge part number to screw/bolt standard reference
lostviking replied to lostviking's topic in Mopar Flathead Truck Forum
Not sure how I missed this, but the blue parts list book does in fact show the full description of the fasteners. -
How do you measure the frame to see if it is square
lostviking replied to Dodgefran's topic in Mopar Flathead Truck Forum
The Frame section of my Repair manual shows all the dimensions of the frame. Mine is for 1941-1947 though. Probably should get one for your truck. I got mine at Rock Auto. -
I did an edit above. Should have look a bit before asking. They should be the same key for a 1946. There are NOS sets to be had still too.
-
Has anyone come across a cross reference between the Dodge part numbers in the book, and industry standard screw/bolt descriptions? Something like 1/4-20X2 Hex Head Grade 8.
-
OK, been working on the lock and now I don't think the ignition key is supposed to fit it. Does anyone with working locks care to confirm that? I see some NOS lock sets on ebay that include ignition and two door locks. The seller is claiming they fit all Mopar/Desoto from 1941 to 1946. If that is true I can just use the one door lock and have a new set. I'm not seeing the lock shown in the repair or parts manual out of the door. Do they have a long rod coming out of them, or just a hole (square I imagine)? Thanks. Edit: Kept working on it with some WD40 and I can get the ignition key almost all the way in now. I'm having to free up frozen pins. I still have little faith the current ignition key will open it, but I'll keep trying until the key goes in and out easily. I see I can just replace both with NOS parts, so that may be the end result. Bit short on cash right now. On a lighter note, I found the original headlamp switch in the boxes of stuff I got with the truck. It was frozen, but a bit of WD40 and some effort and it move nicely now and I can feel the detents. Nice. That was the only non-original switch and now they will all look the same. I just need to fully recondition it. I've been in electronics either on the bench of designing since 1978, so this is easy work for me. As long as the mechanicals inside aren't just FUBAR.
-
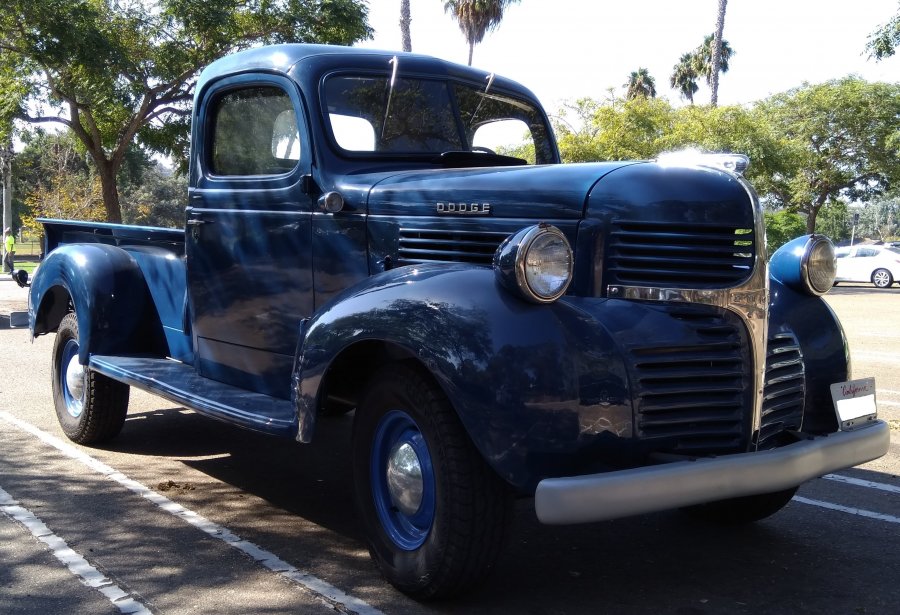
1946 WD15
-
One last pic
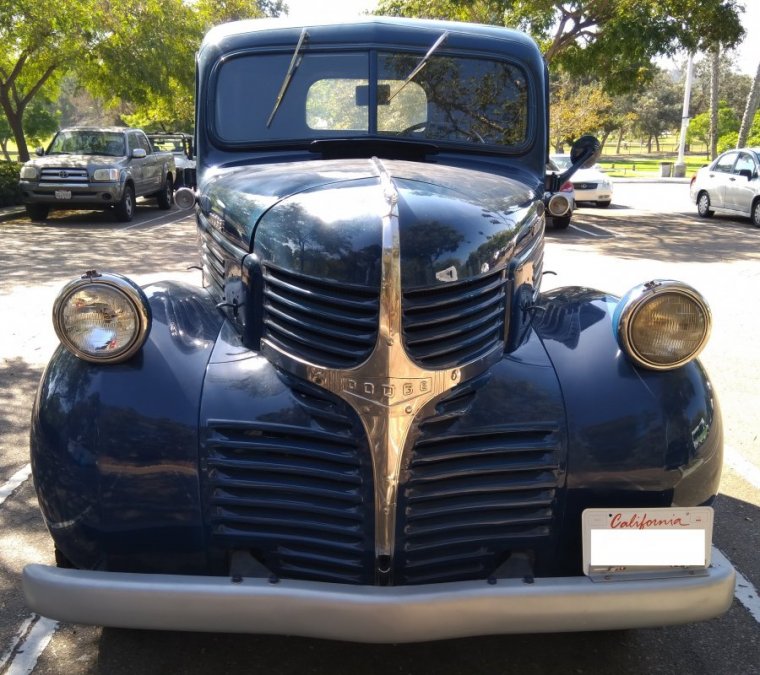
-
pic 2


