Ken_B
-
Posts
25 -
Joined
-
Last visited
Everything posted by Ken_B
-
We aren't a "brandist" household here haha, lots of old junk to work on. Ok maayybe it took 15 minutes to put together
-
Little tool I put together today while doing some work on my brakes. The plug on the top of the master cylinder just would not budge and it was already a little rounded from the previous owner using a hex socket on it. Its just a 3/4 inch (hence the mark on the side to remind me) nut welded on top of two pieces of 1 inch angle shaved down to fit on the square head of the plug on top of the master cylinder. Works like a charm and only cost me about 10 minutes of time and a little scrap metal I had laying around.


-
Its up to the discretion of the poster of the challenge, so in this case it would have been Don Coatney's call. But olddoge41 got it so it doesnt really matter.
-
olddodge41 just beat me too it! Nice looking car!

-
Cool project! I recently replaced my 6 volt harness with a new 6 volt kit from a company called Ron Francis Wiring, they do 12 volt as well. I was very happy with the quality of the kit for how reasonably priced it was! It takes time and patience but a total rewire is not out of the realm of somebody with a decent level of mechanical knowledge. The one nice thing about using a kit is each wire is marked every 6 inches or so with what it goes to so running the wires is really pretty easy. This harness sounds about like what you are looking for. https://www.ronfrancis.com/prodinfo.asp?number=WR-95
-
Very nice cars! Yep Tod sets the next challenge, a steam engine you say? Hmm.. That's a good one!
-
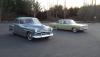
The Picture Game I've played versions of this on other forums before, It can be a lot of fun. Since the weather is warming up and its prime driving season, I though it would be a good idea to throw this idea out there to see if anybody else wants to play along. The game is played like this: a picture challenge is made, such as "your car at a beach". The first person to post a picture of their car at a beach wins and picks the next challenge. Nothing too hard and only new pictures please. The idea is to get out, go for a drive, and have some fun! I will start it off with a picture and a challenge. Lets see you car next to a body of water, ocean, lake, river, creek, etc..!

-
Been a little while since I was able to post here, I ended up just going with a new universal 6 volt harness. I have been very happy with it, its nice to have all my lights backup and working and be able to drive my car! Thank you everyone for all the help, tips, and tricks!
-
Update Replaced the headlamp switch and still no lights, I am starting to think the wiring in this thing is just to far gone to make work so it look like I am going to just have to rewire it. Tried supplying power to just the brake pressure switch and still no brake lights. Does anybody have a good source for a wiring diagram? Think I am going to need one. And it looks like I will be ordering a wiring kit here soon too.
-
Thats a beauty!
-
There is power to the headlamp switch, so its looking like the switch itself is bad. I cleaned and made sure all the connections were good, still no lights. Looks like I need to find a headlamp switch, I have found a couple on ebay any other good sources for one?
-
So as far as functionality it sounds like I need to test the headlamp switch and make sure that's not the problem first and go from there. I do like the idea of a kit like the one RI has, but it sure is spendy. I will have to look into a wiring diagram and see if I feel like I'm at the skill level to do one wire a time myself. Is the headlamp switch something that is still available, or am I going to have to try to fix the one I have if it turns out to be faulty? Thanks for the help!
-
I did a search on here and was coming up dry for an answer to my question, if I missed it please excuse my terrible computer skills. I am thinking it is time for to re-wire my 1951 Cranbrook for several reasons, one the lights dont work, only the turn signals work, no headlamps,tail lamps, brake lamps etc.., two the wiring itself is not in great shape with some previous "backyard" repairs, and three the insulation is getting pretty iffy looking being very old and cracked. My questions are; Who has done this to their car? Do you have any tips or tricks? I want to stay 6 volt positive ground, what is out there in the way of wiring kits, stock replacement and universal? Thanks for the help!
-
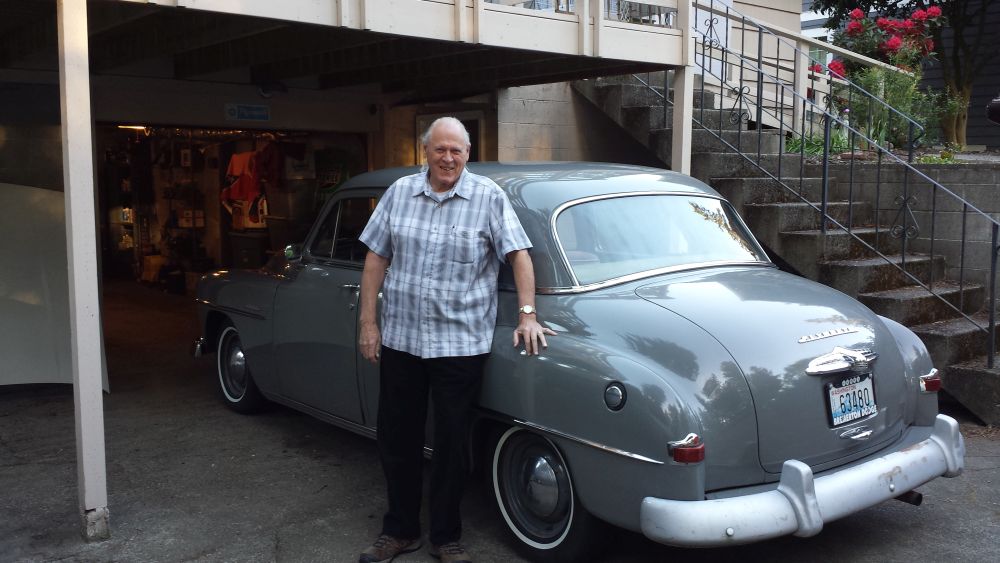
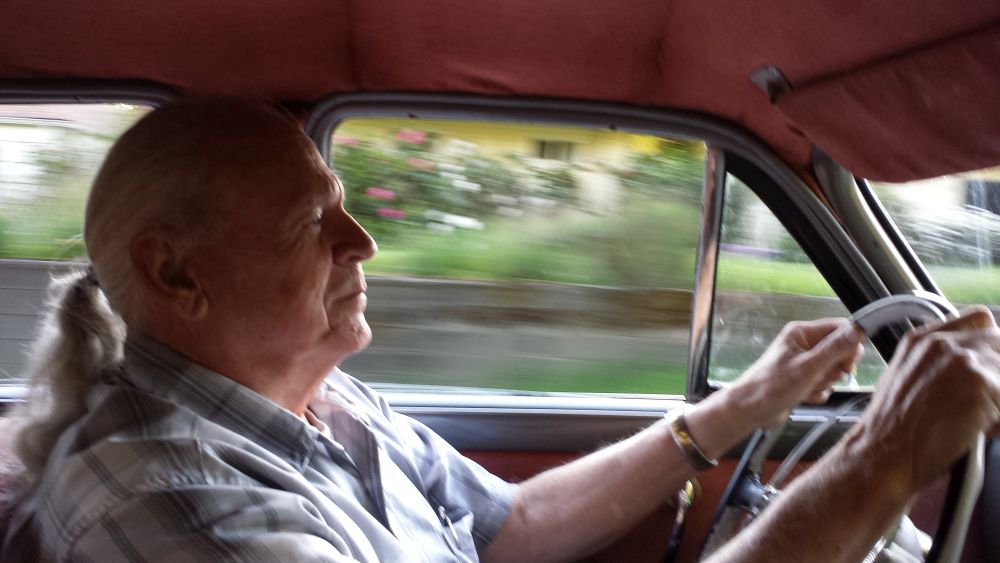
Time for a little update. I have really been enjoying driving this car and tinkering with it! In my spare time lately I built a new mount for the alternator so it actually fits well and has proper adjustment, I dialed in the carburetor and adjusted the timing, adjusted the clutch, installed new universal joints(thanks for the info about what type to get!), and have been putting more miles on it! My Grandfather was in town yesterday so he finally got a chance to see the car and take it out for a drive. He was all smiles and really enjoyed the car. It really took him back to his younger days, he felt right at home in it and I have to say was more smooth than I am behind the wheel. I had to grab a couple pictures of that so here they are. Please ignore my messy garage in the background haha.


-
That things a beauty! I have always liked that color!
-
Cars looking great! Love that picture!
-
Beautiful car!
-
Put some more miles on it yesterday, seems to drive better every time I take it out! Definitely just need to be driven and used, it did a lot of sitting with the previous owner and what fun it that? Plus it got the seal of approval from the old lady, she likes it much better than my old Valiant. Also, very sharp looking car there dpollo!
-
What a great looking old car! I love to see 4 doors getting saved! I will definitely be following this one!
-
Ill have to do some looking into that color info, I know the car was repainted at some point, but I plan on redoing it better. I sure do love driving this thing!
-
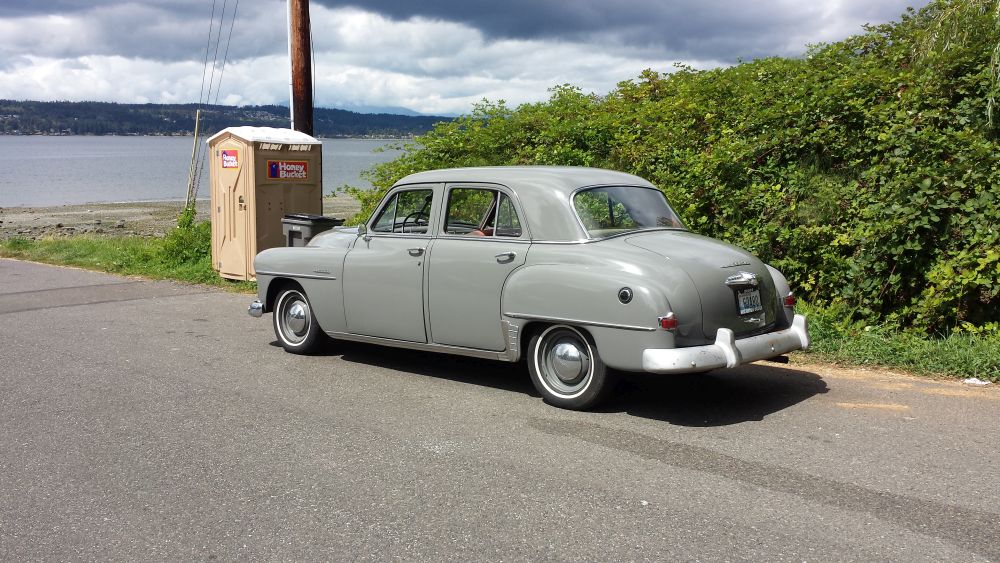
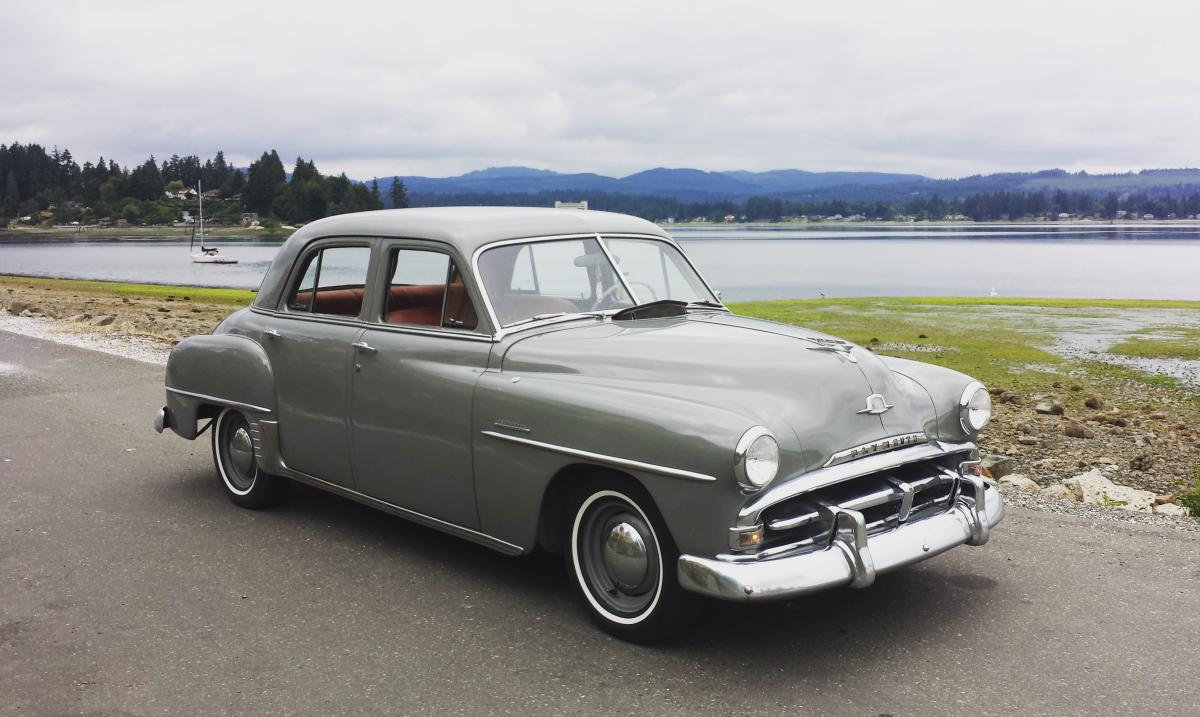
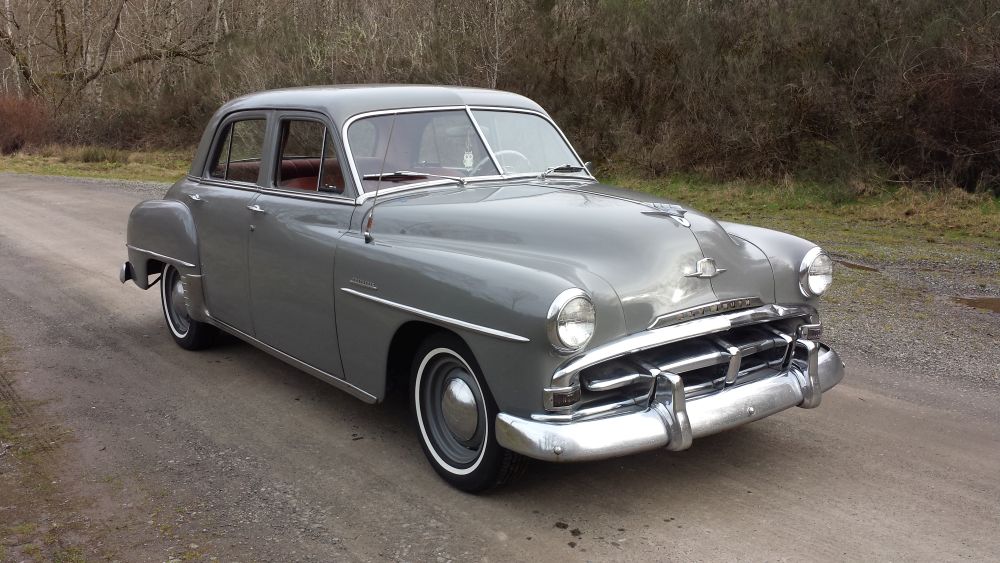
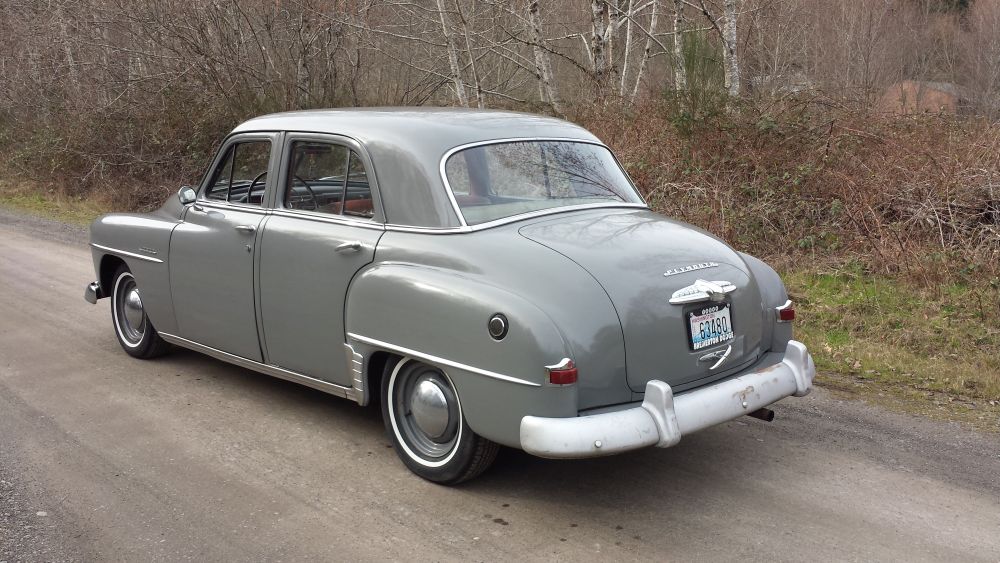
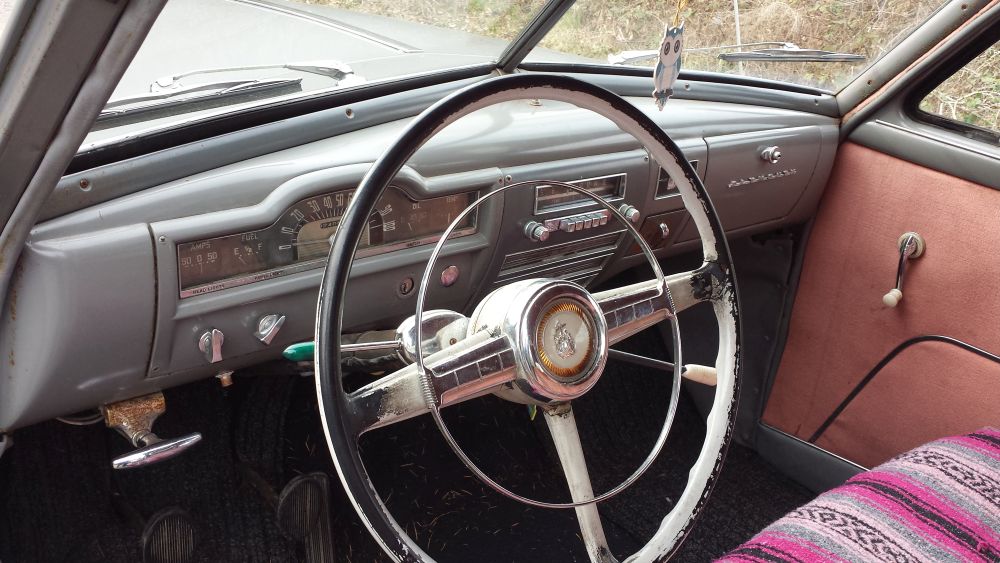
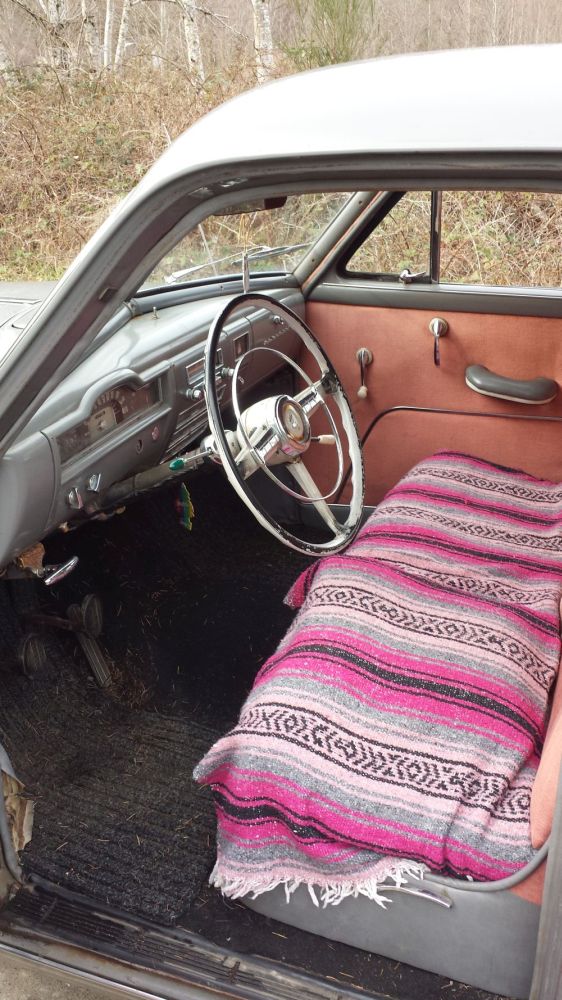
The weather was great today, I was able to get the car out and all washed and waxed up. She cleans up well! I definitely still need to do a good cleaning on the interior but every time I look at this car I am more and more happy with it! Anyways as promised here are some pictures.


-
Thanks for the info on Neil Riddle and finding some parts! The number stamped on the side of the block does start with P23, so it looks like we have a 218. I will have to clean off the drivers rear frame rail and see if the number is a match. I found a box of gaskets and rings going through a box of spares that was included in the trunk. I'm going to have to do some digging and see what I can find with those old parts numbers. At this point I am hoping it has been bored to 251, that's a pretty good jump in displacement. Looks like the weather is going to cooperate today for me to clean it up and get some pictures too!
-
rb1949 Yes the tire are radials mounted on stock wheels with tubes inside. That is the one thing the previous owner did have some knowledge about the car. He told me had them mounted at a Les Schwab and they removed the small metal tab from inside the tire and patched it allowing tubes to be used safely. Thank you for all the great information dpollo!! This will definitely be very helpful in the future! I had no idea there were so many differences between the US market and Canadian market cars. I will definitely be checking out The Plymouth Owners Club. How would I go about contacting Neil Riddle if I needed something, is he a member here? If anyone would like to see more of the car, I plan on giving it a good wash and wax this weekend if the weather lets me. I will try to get some more pictures up here to show it off.
-
Thanks dpollo, looks like it is in fact a Canadian car by the info, body number does start with a 9. I guess my next things I need to figure out are how to be sure it is a 218 ci and not a larger displacement variant of the 25"(previous owner claimed it had been re-ringed and had new bearings in the last few years, said it was a nightmare getting the correct piston rings for it.). And what parts numbers and availability of the Spicer u joints as they are on my to do list. Thanks, I am very happy with it! I would have to agree they are very nice driving cars!
-
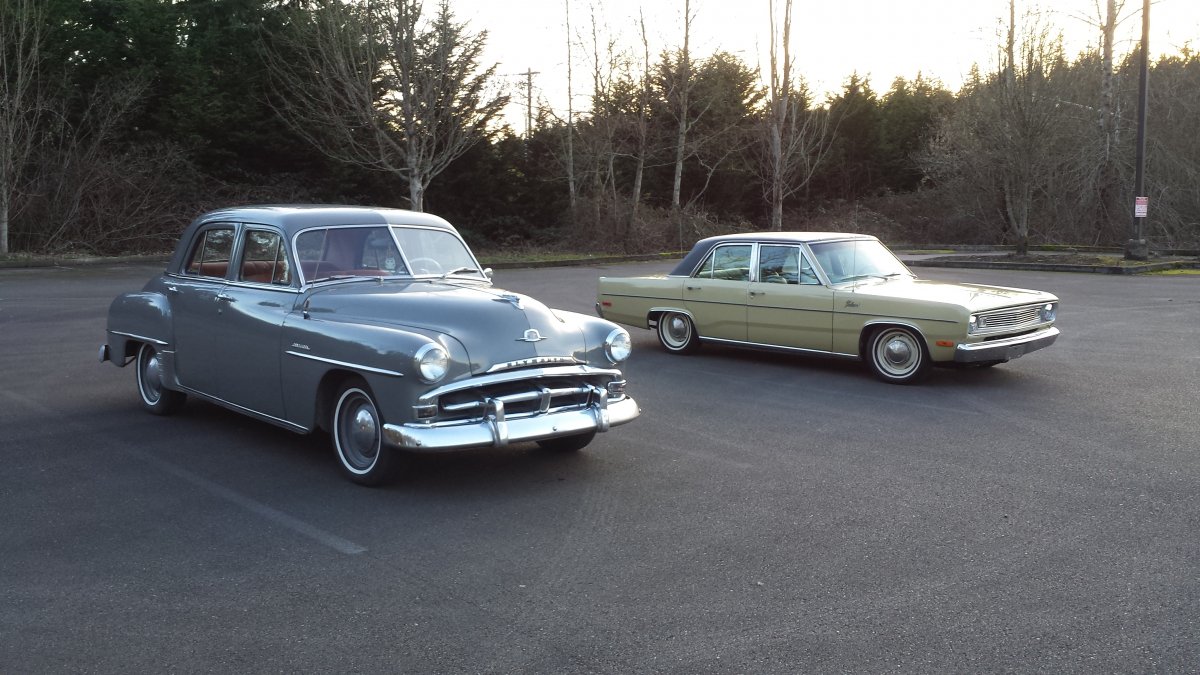
I just stumbled across this forum doing some research about my new to me 1951 Plymouth Cranbrook. About me, I used to work in autobody/restorations, now I'm a Shipfitter. My long time dream car that I finally found is a 1951 Plymouth Cranbrook sedan, the same kind of car as my Grandfather's first car but with 2 extra doors. He had a couple 4 doors that I rode around in as a kid with him, they really made a big impression on me. My plans for the car for now are to clean the car up, it's about a 20 year old resto that's seen some daily driver duty. Do the necessary repairs it needs to keep it reliable. And then start to personalize it, a little bit of paint work, etc... The previous owner was unsure of the engine size, or any history of the car for that matter. He thought it might be a Canadian car, but I'm not completely sure, I'm gonna need some help from you guys on that one figuring out what to look for to say weather or not it actually is. If it is in fact a Canadian it should have a 218 ci Flathead 6 rather than the US market 217 ci, correct? The head does measure out at 25" so I'm leaning towards 218 ci, but wasn't there a couple different displacement sizes of 23" and 25" Flatheads? And couldn't somebody have just dropped a different engine in the car at some point? anyway thanks for the help! I'm glad to have stumbled across this site! The two pictures are; My Cranbrook the day I got it next to my old Valiant I traded for it. And a picture of my Grandfather with his Cranbrook around 1961 or so.