E.L Lane's 48
-
Posts
50 -
Joined
-
Last visited
Everything posted by E.L Lane's 48
-
even more pics!


-
more pics.


-
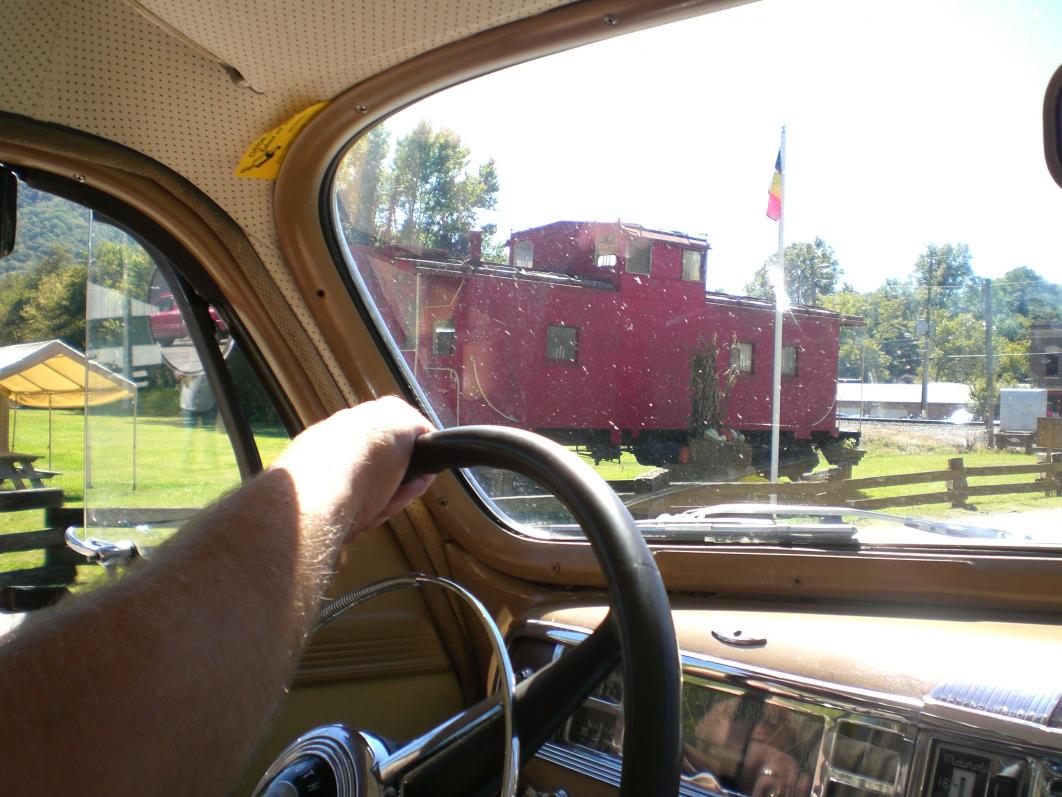
Took the wife to Hot Springs for our Anniversary. Just thought I would share some of the pics from the trip.


-
Hi all, this may have already been covered, but I thought I would share my findings on a good gas tank replacement that (WILL) work with the stock 2 wire sending unit. It is an EBAY item. (Btw this went in my 48 plymouth sedan) http://cgi.ebay.com/ebaymotors/Universal-Alloy-Steel-Truck-Gas-Fuel-Tank-street-rod-/330452278634?pt=Motors_Car_Truck_Parts_Accessories If you need a replacement tank then this is the one. Notice if you scroll down in the ad there is a part number U4-60. This is for a 60 degree filler hose which worked perfect. All I had to do was buy a 4 inch piece of aluminized pipe and 4 hose clamps to connect from the supplied filler tube to the existing tube and cap. It also came with universal straps and 1/2" pickup. They also have part number U4-45 Which is for the tank and 45 degree hose, so be carefull when ordering to get the U4-60. I also ordered a sending unit from link below. http://cgi.ebay.com/ebaymotors/ws/eBayISAPI.dll?ViewItem&_trksid=p4340.m748&item=230513567213&viewitem=&_trkparms=clkid%3D6122946687688087967 I now have it all hooked up and it all works,and let me tell you it beats the heck out of a 5 gallon fuel cell and always wondering how much gas you have!
-
That is pretty cool, If I am not mistaken that guy lives about 7 miles from me in the kenelworth community of Asheville N.C. I see him in the plymouth as well as the jeepster time to time.
-
I have a 48 plymouth with a 2 wire sending unit. The fuel tank has been removed from the car and the sending unit removed from tank. I did some research using the search function, and have the basic idea of how the sender works. I also read the schematic and the list of things to look for if the guage read incorrectly. I grounded my Sending unit using a small bolt and nut attaching a wire to the outer mounting ring and to the pos gnd of battery post. I then connected the wires from the guage to the sending unit. When testing unit I found that when the float was all the way down it showed full, and when all the way up it would go to empty. So using logic I simply swapped the wires at the sending unit comming from the guage, and now I am not getting anything at the guage no matter what position the float is in.So therin lies my question. Is my sending unit bad or am I missing something? Thanks, Chris:confused:
-
That happened to me when I removed my transmission (stock 3 speed). I found the culprit to be a vent hole in the top right corner (as you are looking at the front of the transmission) I was just careful not to tip it again!
-
aero3113,and Adam The old codger is whitaker. His favorite things to do are eat,sleep, and ride. Not necessarily in that order! Btw the bee costume rocks! I have always liked Danes but I wuold definatly need a bigger fence.
-
Here are my buddies. Whitaker and Sara June

-
I am in Asheville, about 30 minutes from Hendersonville. Good luck with your project.
-
 Will you post some pics of the rear airbag setup?
 -
Telephone tech,installer,programmer (Avaya,Toshiba,Samsung,NEC,and more) 8 years now.
-
Hey,watch this!
-
Cool pics, I live in asheville, N.C and i am pretty sure I know that body shop. It is still being used as a body shop! Chris
-
Is it possible to change out the ring and pinion in the stock diff to get a better ratio? I have a 48' plymouth sp deluxe, 218, 3 speed no over drive. Thanks, Chris
-
Thanks for the help guys. Was at the pawn shop and stumbled across a 1 and 13/16 socket for $4 bucks so I bought it. Brought it home, and what do you know? It fit! I am happy just for the fact I didn't drop the $21 bucks that SEARS wanted for one. Thanks again, Chris
-
Thanks for the replies. I am actually trying to work the engine loose, as it has been sitting for 20+ years and is locked up. Chris
-
I know this probably has been posted before, but I could not locate a thread discussng the size of the crank pully bolt on a 1948 plym 218. Any help would be appreciated. Thanks, Chris
-
Sign at parental planning/birth control clinic. "Use rear entrance"
-
Thanks for the info on the front drums. I had heard the horror stories about rear drum removal,and what a pain it was. To my suprise they came off relatively easy considering the car had been sitting for 20 plus years! By the way,I just wanted to say that there is alot of helpfull advice floating around at this forum and I appreciate it as I am restoring my grandfathers first car(1948 plymouth SD) Thanks again, Chris:)
-
While on the subject of drum removal, I was wondering if you remove the front drum the same way as you remove the rear.(with a puller). Also, when reinstalling the front drum how do you reseat it properly. (I know... another dum drum question...LOL) Thanks, Chris
-
Hi all, Just thought I would share a link to what looks to be a good source for replacement body panels.(http://www.plymouthdoctor.com/automobile.html If anyone has used this site please let me know the good/bad feed back. Thanks, Chris
-
Thanks for the help guys. That's at least a start.
-
Does anyone know what the size of the nut in the center of the harmonic balancer is? I am trying to persuade a sort of locked 218 into becoming one with movable parts. (Without a rebuild!) thanks, Chris.