OnlyMopar
Members-
Posts
99 -
Joined
-
Last visited
-
Days Won
4
Everything posted by OnlyMopar
-
If you Google 1948 Plymouth body mount diagram, you can find a pic of the ones used and the configuration for each section,hope this helps,good luck
-
Just sent thru this on my 47 Dodge Custom. I removed both instrument clusters as I had to totally rewire everything. I used new wire thru out and established my own color coding using cheap finger nail polish ( all colors were widely different from each other to avoid color/shade confusion). The only wiring I had behind the headliner was the wires to the dome light and two center pillar mounted on the center pillars, and all the rear clip light wiring, tail lights, turn signals,tag light,trunk light. All the rear clip light wiring had several splits or bifurcations for the driver and passenger sides. I had my headliner out already, actually was rotted away. The bend over tabs I mentioned earlier were very tight against the wires and would not allow them to move at all. I am placing all the front yo rear wiring on the floor.
-
Looks great, good " thinking outside the box'
-
On .y 47 Custom , the throttle cable goes there
-
Thanks for the info,very helpful and greatly appreciated.
-
Was able to find Dodge specific info, again thank you. Not going to mark as Resolved yet, in case I find or some else points me to the other article, again thanks a lot.
-
Thanks for responding, if you have the pages for Dodges specifically, would be greatly I think. Looks similar to the one posted on our site,that one showed a lot of information for the serial number ranges. If you have a page for the 1947 Dodge Custom models, or can tell me how to access it would be great. I will continue combing thru the archive post. Thanks again for your help
-
Would appreciate any help in locating an article , once posted here, showing the production plant, the model produced, the total produced by serial number range. I have searched the archives but can not relocate it. Unfortunately,I lost the download I did when my laptop crashed. Any help will be appreciated,thanks.
-
Interior pics needed, 1947 Dodge Custom D 24
OnlyMopar replied to OnlyMopar's topic in P15-D24 Forum
Thanks for the different pic, that's what mine looks like,except the extra seats actually fold up. The armrests are the same,guess just a matter of finding what and how to make the different contours to go around the top of the armrest and then, then flatten out to fit under the rear quarter window frame, -
Interior pics needed, 1947 Dodge Custom D 24
OnlyMopar replied to OnlyMopar's topic in P15-D24 Forum
lol, don't stop, any help , suggestions are appreciated, just another challenge,right -
Interior pics needed, 1947 Dodge Custom D 24
OnlyMopar replied to OnlyMopar's topic in P15-D24 Forum
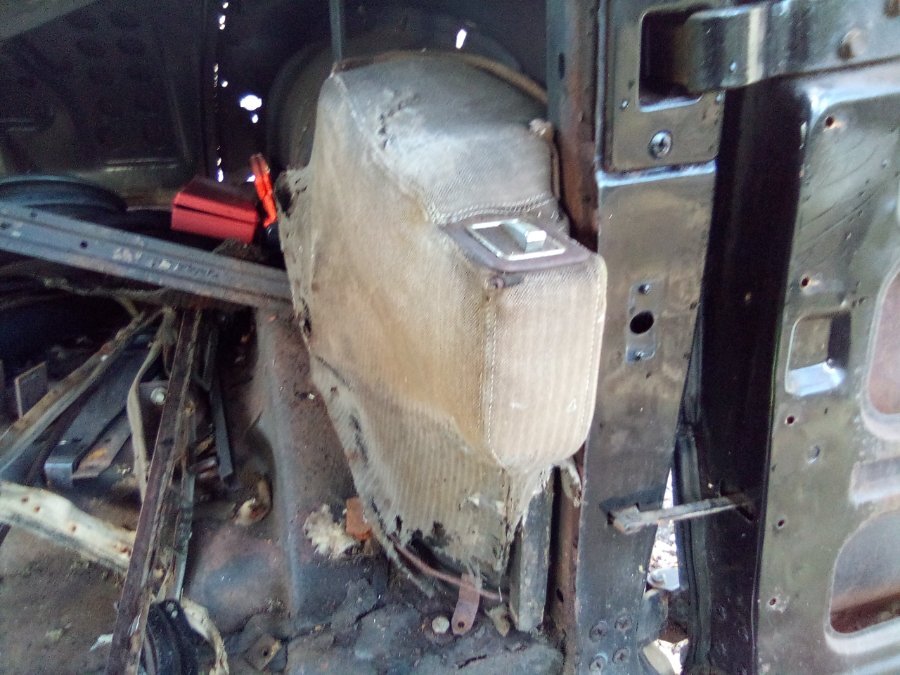
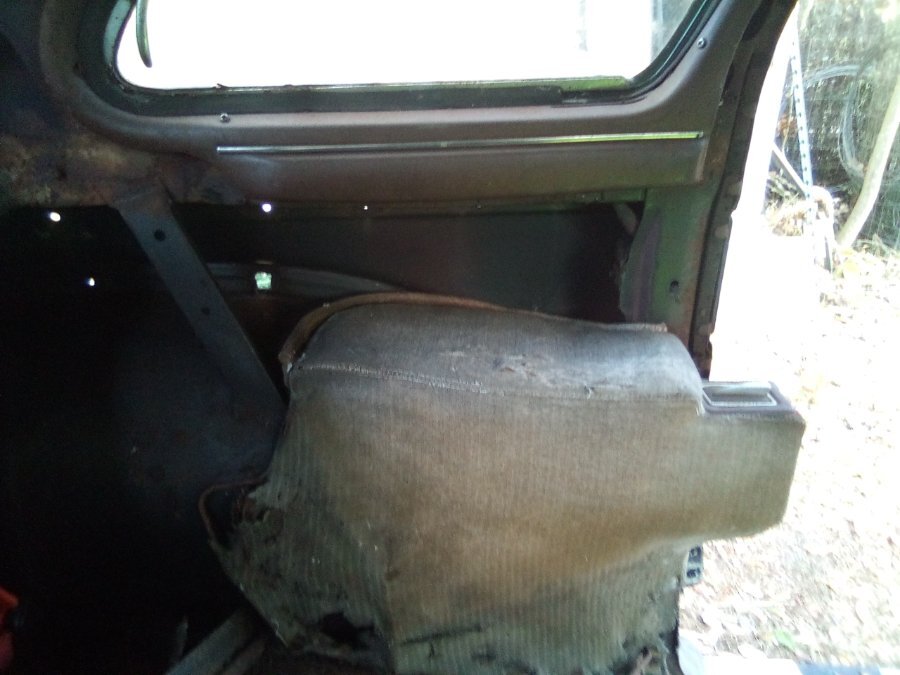
Thanks for the link, and your efforts. Attached a few pics of my armrest. The area above the armrest and the bottom of the rear quarter window is my problem area. You can see from the pics, the panel not only is contoured but also has to have a flat surface to fit under the quarter window trim, as you can see the extended armrest with the ashtray actually extends a few inches into the actual door opening, -
Interior pics needed, 1947 Dodge Custom D 24
OnlyMopar replied to OnlyMopar's topic in P15-D24 Forum
Thanks, does help some. My arm rest appear much bulkier, are curved and have ashtrays, but the pic does help, again thanks -
If anyone has any pictures of the interior of a 1947 Dodge Custom D 24 four door, specifically the rear passenger area. Slowly beginning the restoration of the interior. The panel,upholstery between the top of the armrests and the bottom of the rear quarter window is totally gone. Any pics of that area would be greatly appreciated,thanks
-
Well gentleman I did it and she's home 1934 Plymouth PE business coupe
OnlyMopar replied to Solly's topic in P15-D24 Forum
Congratulations,she is beautiful,enjoy -
All of my door windows were broke or cracked. I am replacing all of them. The front and rear windshields are good except the fogging. Haven't decided yet about replacement. For me,I feel no shame at all with HER showing a little wear and tear, lordy I do, LOL
-
I had to actually remove the screws to allow removal of the track and window and bottom rail.
-
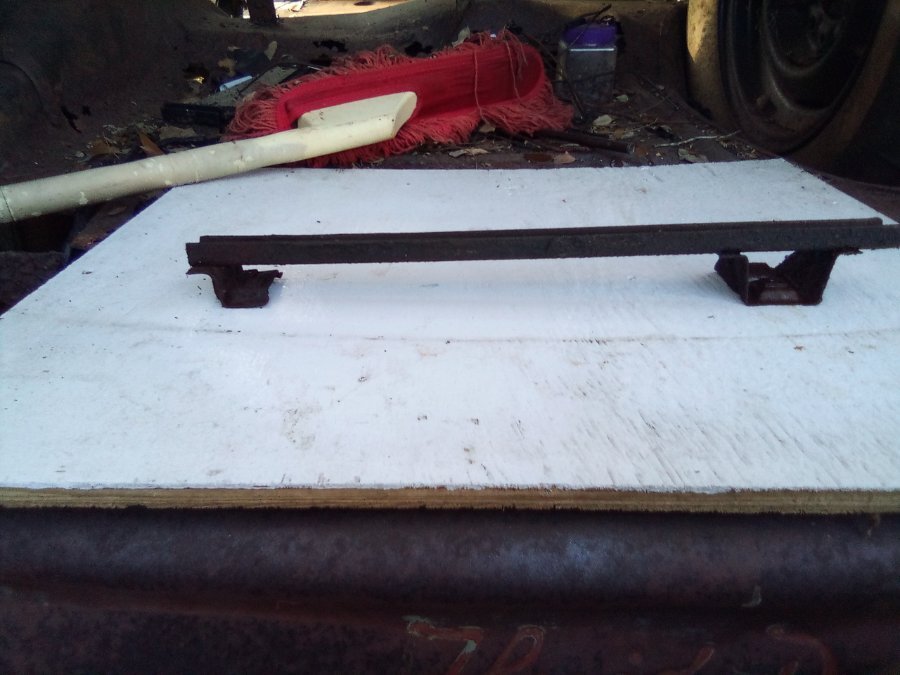
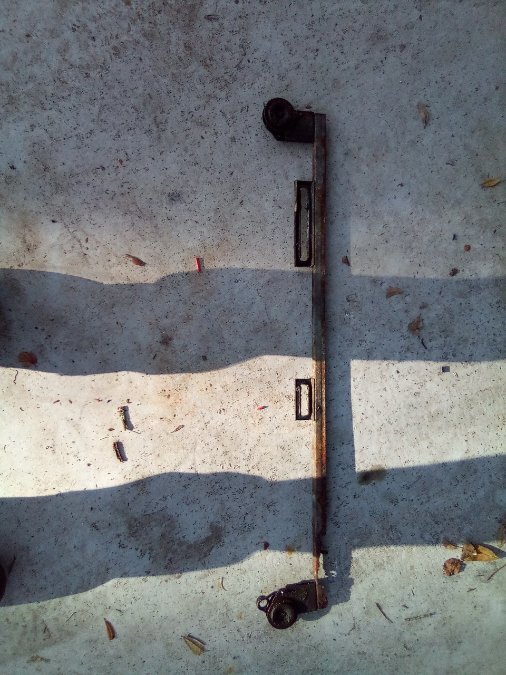
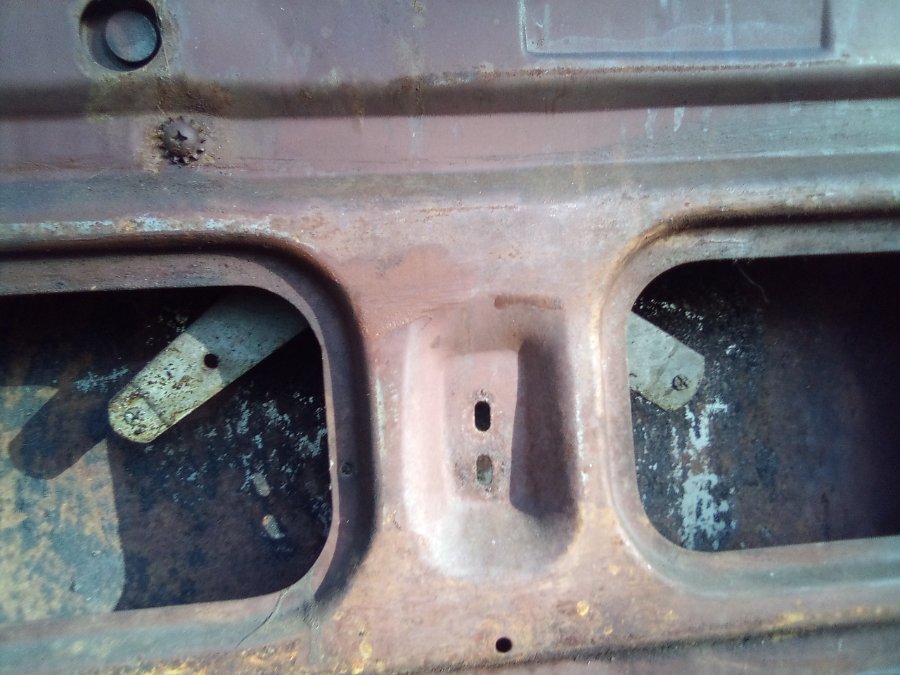
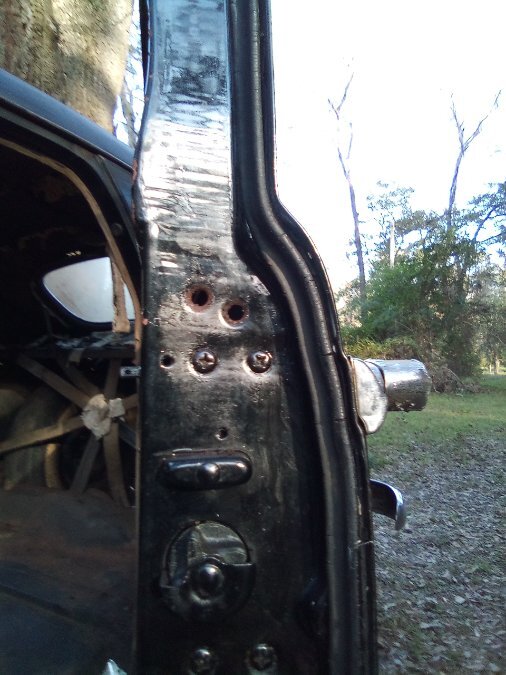
Removable side rail, again should be on the non hinge side. The 4 screws hold it in place. The other pic is of the bottom rail, that the window bottom edge is actually glued/taped into. The slots on the bottom rail is where the stubs on the scissor action mechanism of the actual window crank go, that is where the clips are. Mine slide sideways to be removed. The other pic is just the scissor mechanism,The clips on mine are located on the back side of the scissor action mechanism. Hope this helps
-
I don't know if you have suicide doors or regular, mine are suicide ,so the pics and explanations may not apply. Upper and lower screws holding the removal side rail in place. Should be located on the non hinge side of the door
-
Sorry I meant to state they are on the posts/tips of the actual regulator/ window crank up/down mechanism that stick thru the slots on the glass bottom rail. They are on the back side, facing outward toward the exterior of the door skin. Am sure you have already located the 4 screws that have to be removed to remove the front side track,the rear one is not removable,hope this helps
-
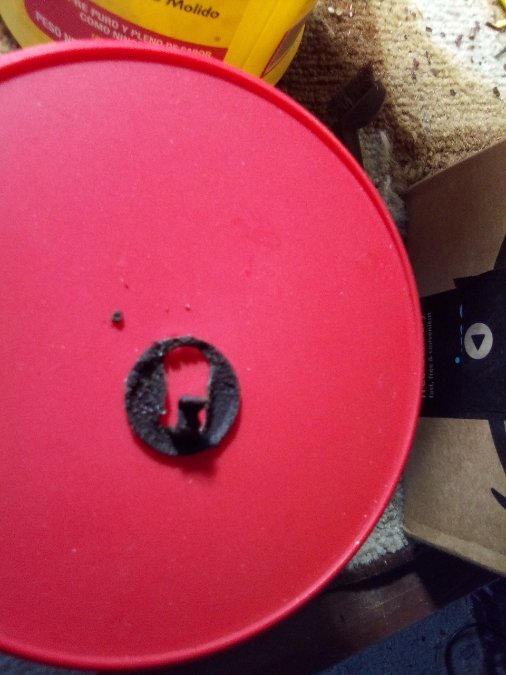
This was my first time removing my windows also. Attached a picture of the clip that holds the glass bottom run/rail. It just snaps off, by pulling it left or right, you should be able to see a round/circular edge, a small flat screw driver worked well for me. Hope this helps.
-
I just finished getting the rear door window and fuzzy tracks out. Not near as bad as was anticipating. With the suicide rear doors, I noticed the channel to the door rear, the hinge side the lower track,looks like it takes a totally different size fuzzy, hopefully can locate something. Am I correct in assuming the window glass has to be installed first,then the removable channel,then slip the fuzzy into place, or can the window glass be tilted/cantered enough to slide in place with the side track with the fuzzy installed, doesn't seem likely to me,thanks
-
Thanks for the information,helpful
-
Thanks for the info,good to know they work with us. Preparing to pull the old windows out. I know the bottom glass track ,that actually raises and lowers the glass, is connected to the arms with a clip of some sort, to not re-invent the wheel, can you give some ideas of what kind of clip I will be looking for with the aid of a mirror and good lighting, also to I undo the clips for the lift track first and then side track/channel ,or the other way round,again thanks.
-
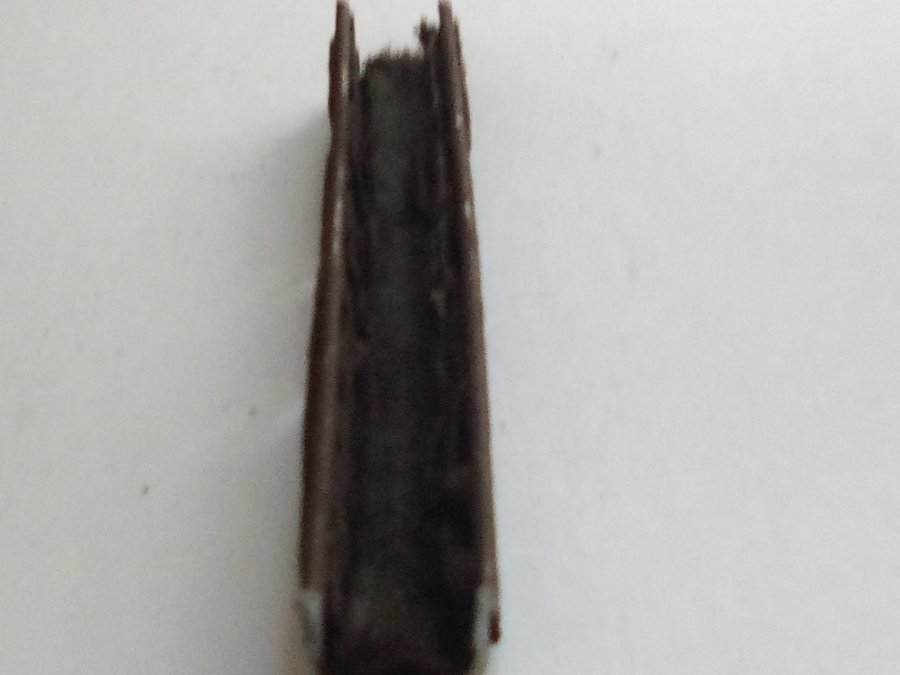
Here is a few pics of what I need to replace. As best I can measure it is 1/2 " wide and 1/2 " tall (outside to outside). The metal portion is slit/needed to allow it to be bent to allow for curves.
-
I hear you, am already troubled about the lower - forward section can see it is a different animal. As far as the other channel sections, the original fuzzies appear to be a felt like material,no " cat whishers".


