Bobacuda
-
Posts
717 -
Joined
-
Last visited
-
Days Won
17
2 Followers

-

New B-3-B owner with some basic questions
Bobacuda replied to ktb's topic in Mopar Flathead Truck Forum
It’s been warm and dry… any updates? -
New B-3-B owner with some basic questions
Bobacuda replied to ktb's topic in Mopar Flathead Truck Forum
Trans comes out fairly easy. Remove shift linkages, the driveshaft, disconnect/remove e-brake (taking it off gives you more room to work). 4 bolts hold the trans to the bell housing. NOTE - the trans is heavy. Have another healthy & strong person under there with you and don’t put any crushable or critical body parts between the trans and Mother Earth. A transmission Jack strapped to the trans can kee it from killing you. Since the doghouse is off you can pull it out the front, but the bell housing overhangs the crankshaft. You might have to pull the bell housing (and the pedals ) as one unit. If I remember right, 4 bolts hold the engine to the bell housing. Out of the truck, you should have the room to unbolt the bell housing, separate it from the engine and lift it off. Good time to install new , rear motor mounts. Ii it was mine, I would my damndest to unbolt the fluid drive in the truck. It is also heavy as hell and the ring gear will eat you up, so be careful. When you get it out and put it on the engine stand, be aware that engine stands aren’t designed for the flathead 6 - the engine will be top heavy and flip a stand in a heartbeat. And it is move than capable of punishing you, any helper, or random engine parts. One last observation I’m sure you are learning - you will do damn little to your truck that costs less than $500. It costs as much to rebuild the flathead as it costs to rebuild a small block Chevy… And you haven’t started making your wiring harnesses yet 🙂. Good time to make them and get them installed. Make the behind the dash wires about 12” longer so you have more room to pull instruments and the few dash lights. Note where each wire goes to the wiper switch, then from the switch to the motor. Take LOTS of photos and notes. -
New B-3-B owner with some basic questions
Bobacuda replied to ktb's topic in Mopar Flathead Truck Forum
Any updates on your truck? -
Facebook Marketplace truck for sale
Bobacuda replied to Tony_Urwin's topic in Ebay, Craigslist and External Site Referrals
Wish it was in Texas. -
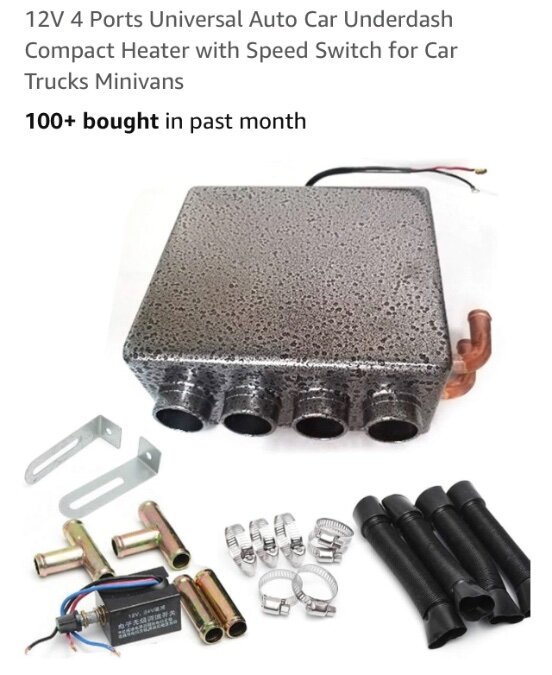
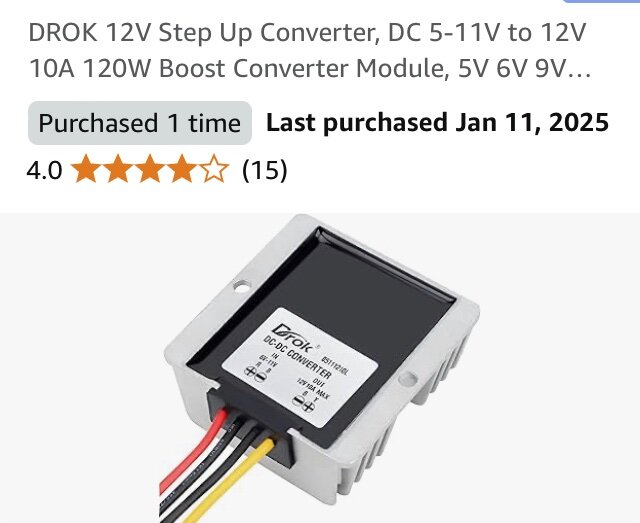
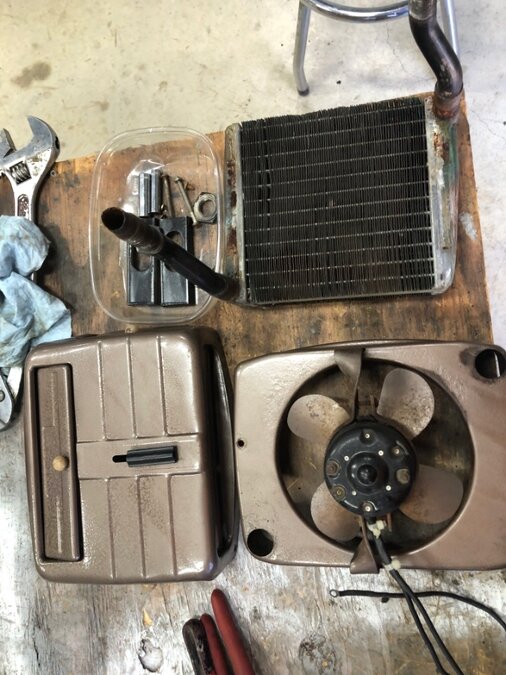
Update on my heater woes. After having no luck finding or fixing my truck’s leaky heater, I ordered an inexpensive (12v fan) from Amazon. It will spin on 6v, but not very fast. And if wired as positive ground, the electric motor turns the squirrel cages backwards. I also bought a 6v to 12v step up transformer. When I tested the heater after the step-up, it spun great. Construction issues - the heater was missing the 4 screws that hold the fan in place. The core was only anchored on one side - the other screw missed its spot. I corrected all of that. Now I have to figure out a good mounting brace under the dash, figure out the plumbing and wire it. The plan is to run 10 gauge wires from the battery (+and -), through the converter to the unit. The + wire will be an on/off toggle and a 10 amp fuse prior to the converter. That way, it only gets voltage to the heater with the switch on, then it runs wide open. So far, I’m in about $60.
- 1 reply
-
- 1
-

-
Small aftermarket heaters are available (and reasonable) through Amazon. However, they are all 12V negative ground. 6 to 12V step up converters are available, as well. Is anyone using a step up converter? And if so, how has the positive ground affected it?
-
Lingle - thanks for the heater motor offer, but mine is good. It’s the core that’s bad - leaks everywhere.
-
I can find new heaters for 12v systems. Will those motors run on 6v? Negative effects?
-
The shop just called me. My heater core is totally shot. A new core would be a custom build by the core supplier, then the radiator shop has to put it together, and that would cost $500. I will freeze first.
-
Don’t know about your aftermarket heater, but this one is held to firewall by the inlet and output pipes. The pipes need to be on opposite sides of the tank, and both the pipes and the tank have to be sturdy enough to support the heater.
-
Wanted to take my ‘53 for a drive, but the 71 yr old heater core decided to leak inside the cab. It’s some brand of dealer installed heater (no brand badging). Not difficult to remove from the truck, but disassembly was a pain. Removing, without breaking, stuff that had been in place for so long is a challenge. Now on to the radiator shop and hope he can rejuvenate it.
-
New B-3-B owner with some basic questions
Bobacuda replied to ktb's topic in Mopar Flathead Truck Forum
So, I just had a messy thought that might help you. Take an old oil pump and grind off the gear that the cam turns. Prime and reinstall the oil pump. Cut the shaft off a straight slot screwdriver and put that in your drill. Now you can use your drill to reach through the hole the distributer mounts in and spin the oil pump (priming the system). This will allow you to lube the crank and cam bearings. Once the oil circulates, it will make a mess, unless the drainpan is on. The pan doesn’t need new gaskets or all of its bolts at this time. If it was mine, I would consider This. Bolt the drainpan back on, put 4 qts of the ATF&acetone “penetrating oil” and circulate that through the system. With the top off the oil filter canister, you can watch for flow. When you are convinced it’s flowed everywhere, let it sit a few hours to eat crud out of oul passages. Repeat. This should break down the old crud in the engine. Now see if you can get the engine to rotate. I’ve never done this, but what do you have to lose? -
New B-3-B owner with some basic questions
Bobacuda replied to ktb's topic in Mopar Flathead Truck Forum
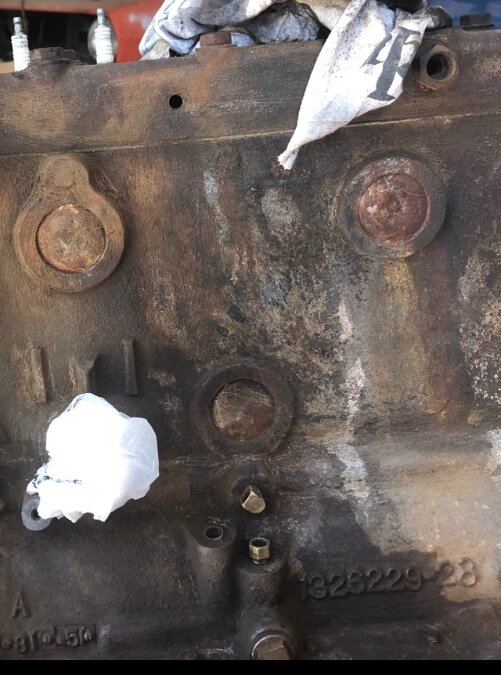
While you are cleaning oil stuff, make sure you clean the lines too, and from the oil filter. Also, remove the bypass oil pressure valve, clean that area all out, and don’t stretch the spring. If that valve sticks, the oil pressure will destroy your gauge and make an oily mess in your cab. Don’t ask me how I know… The first attached photo is a generic description of the system. The second photo is the driver’s side of the engine. The bypass spring and valve are behind that square-head plug at the bottom of the photo.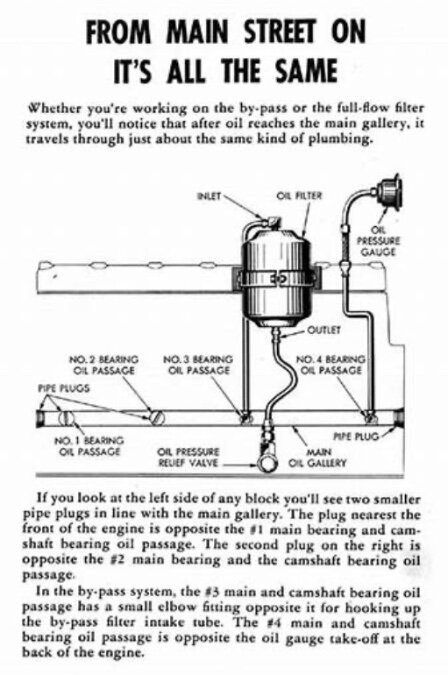
-
New B-3-B owner with some basic questions
Bobacuda replied to ktb's topic in Mopar Flathead Truck Forum
Shine a bright light into each of the openings for manifolds. If I remember right, you will be able to see the valve stems entering the valve guides. You can also feel it with your finger. Put the extension tube on your blaster and soak the valve stem and the top of the valve guide. Break down and take the head off. You must know what’s going on inside of there. You can lightly apply taps to the top-center of valves, etc. Ignorance is not bliss… -
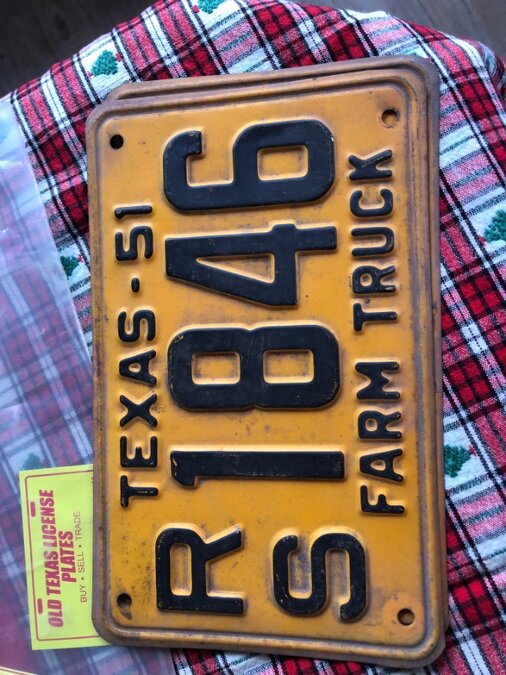
Went to a local swap meet, in mid 40 degree mist and rain. Normally lots of buyers and sellers, but the weather really thinned it out this year. Stopped by the license plate man, did some horse-trading on a nice set of ‘54 car plates and about 7 pairs of nice, newer plates. Bargained my way into a really nice set of ‘51 farm truck plates. Now, all I have to do is get the truck to look and run at least as good as the plates look.