PT Moe
-
Posts
35 -
Joined
-
Last visited
Content Type
Links Directory
Profiles
Articles
Forums
Downloads
Store
Gallery
Blogs
Events
Everything posted by PT Moe
-
There is some room for adjustment in the hinges. If the tops not tight also should be able to bring it in some.
-
I really appreciate all the information I been getting from this forum. Took my '41 apart many years ago when I was young and stupid and lost a lot of the notes I wrote down. Retired now and trying to get the project finished. Fallowing this thread I finally realized where the 2 little bolts with the springs on them go. They would have been in the "Ain't got a clue where they came from box" forever.
-
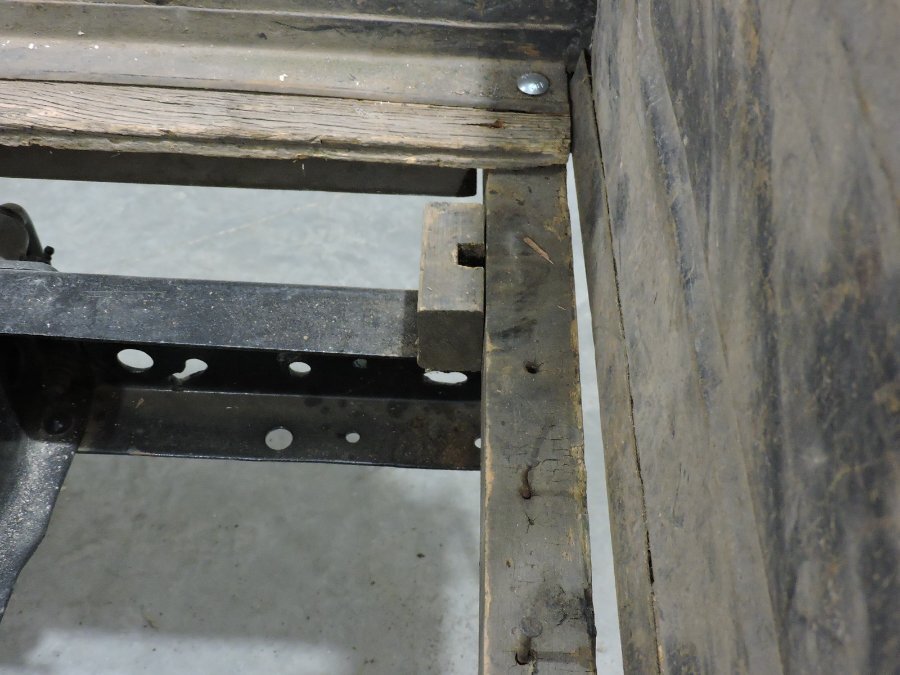
Here's a few more pics. The lower bolt for the tailgate hinge goes through the cross member and stake pocket. Upper hinge bolt goes into a factory set nut inside the stake pocket which is rusted out on mine. Another bolt goes from under the cross member vertically up into a factory set nut in the bottom of the stake pocket. that's rusted out on mine also. Picture with bed side panel lifted up shows rear cross member cut at slight angle or curve to fit the contour of the outside of the stake pocket. This trucks been apart for many years and I saved everything. It's time to finish it now so I fitted everything together so my body guy can see what he's working with before I take it back apart and give him all the pieces. I certainly don't claim to be an expert on this stuff but have been able to figure out how it all goes together pretty good with what I have. Also, just got my engine back this week from the rebuilder and he had it running in his shop before I picked it up so I'm pretty pumped up about getting this project done.


-
I have the remains of mine from my '41 1/2 ton. I'm pretty sure my back one is original but not sure about the others. They all measure 2 in. tall x 1 3/4in wide x 48in long. The back one is about 52 1/2 in +- to extend into the bed panel stake pockets. The back one also extends off the frame ends about 1in. My back one is a solid board but but the others are made up of 2 boards fastened together. Not sure how they came from the factory. Looks like they sat on some kind of reinforced rubber pad 1/8in - 1/4in thick. DCM sells them as a set. Working in construction pressure treated lumber and metal did not work well together. Always used a membrane between them to prevent corrosion. I would not use it myself.


-
The color chips I got are much too small according the them.
-
Thanks, I've did come across that site. I was hoping to be able to get a sample locally without buying a full can online not knowing exactly what it would look like.
-
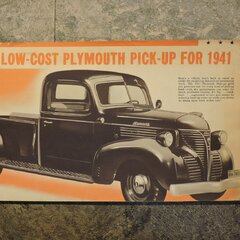
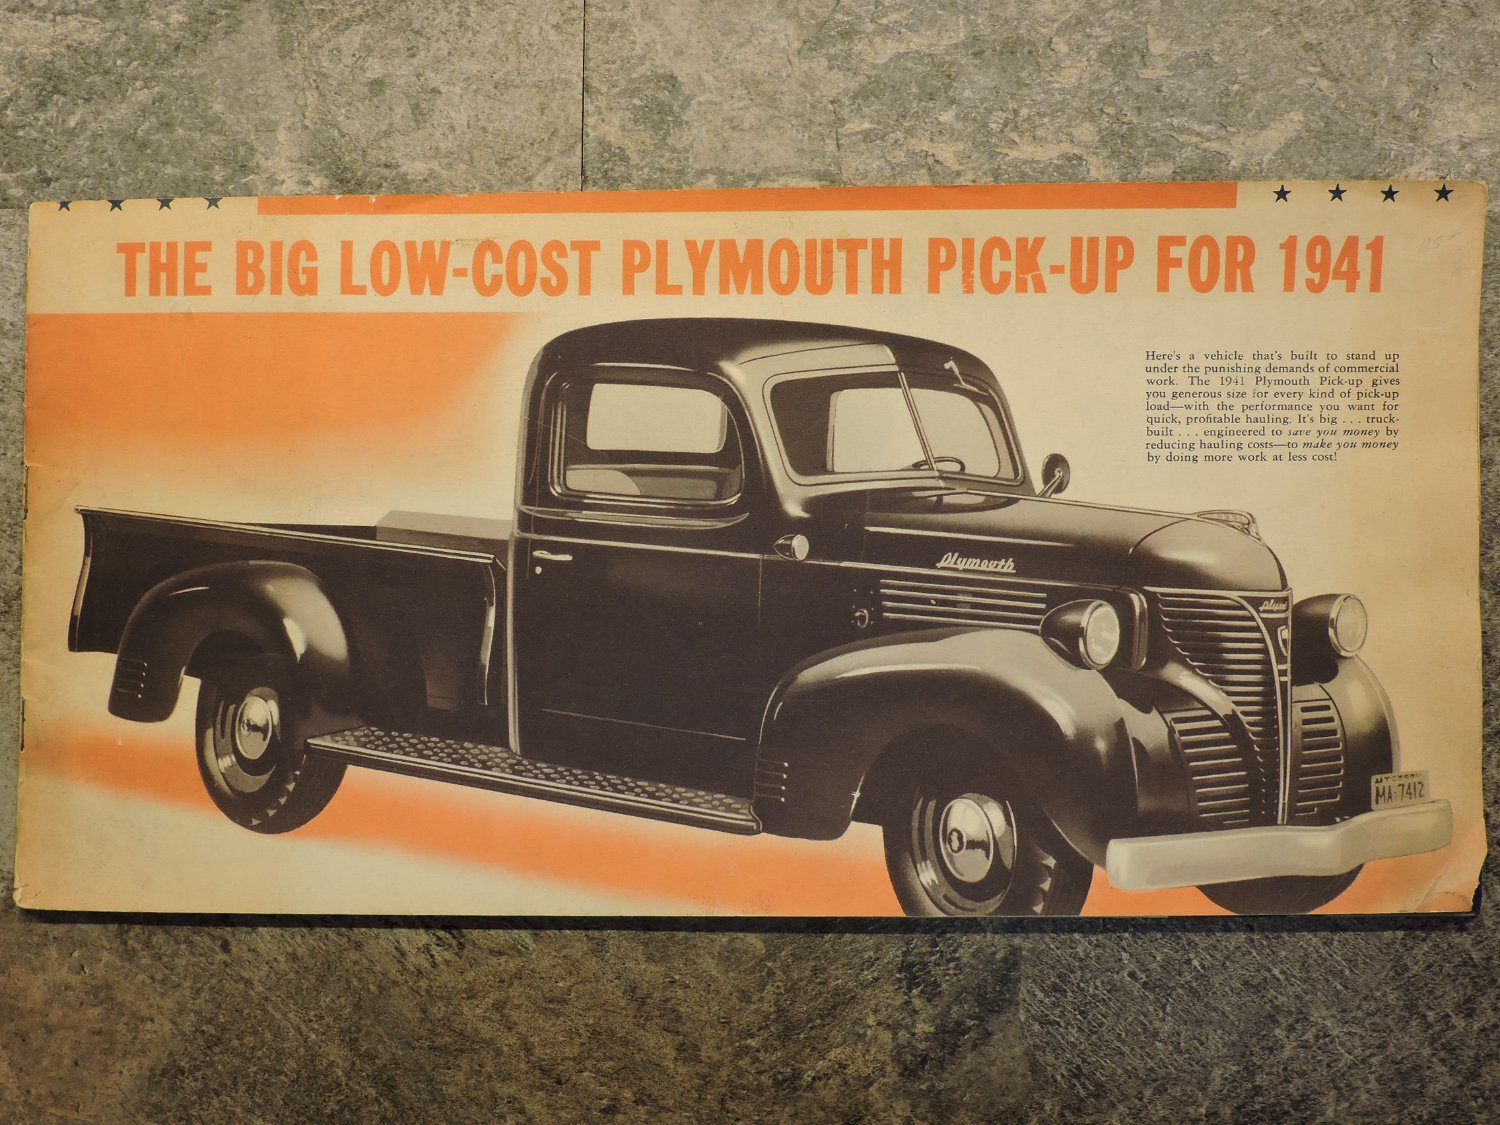
I'm thinking of painting my '41 pickup a Plymouth color from the late '30's - early '40's era. Don't want to limit myself to the commercial/truck line of colors. I have a paint chip page for Plymouth colors from the '40's and between that and codes I found online I went to Napa hoping they could mix a sample spray can but none of the old code numbers worked in their system. Anyone know up to date paint codes for some of them old colors? Aviator Blue Poly and Marine Blue are two I would be interested in seeing. Any ideas or suggestions would be greatly appreciated.
-
I have a '41 Plymouth 1/2 ton. I can't verify 100 % that it's the same for 1940 but written information I received years ago from the Plymouth Club tech adviser was that the front sits on 3- 3/4 inch thick blocks plus 1/4 inch thick rubber and the rear sits on just the 1/4" rubber. I am currently putting everything back together on my truck to get all the gaps and clearances right for the front nose, hood, fenders and running boards before it all comes apart again for the painter and that thickness of blocks is working out good. That puts the flat part of the cab floor where the wood panel sets just off the frame rail a little bit.
-
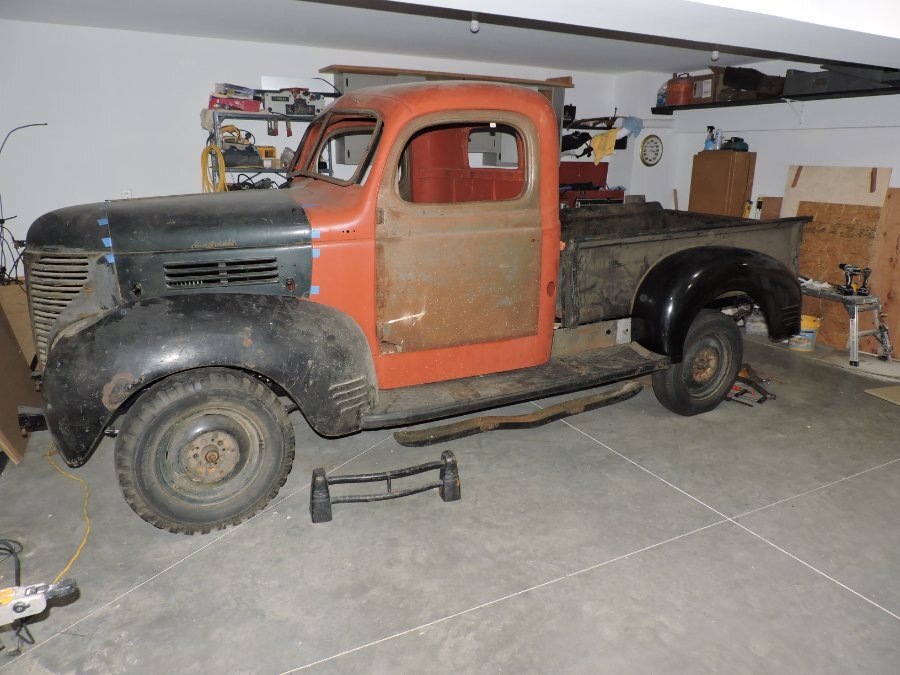
This is my '41 Plymouth that I've had since about 1969. My father got it in a trade for a mid '50's Chevy truck on it's way to the junk yard. It yard drove at the time but was nowhere near road worthy. I started working on it in the mid '70's but with kids coming along and work (construction) it kept getting pushed a little deeper into the "I'll get around to it" file. Retired now and moved into our new home it's time to get this project moving again. Bodywork guy's coming so I put the sheet metal together for fit and to give him an idea how it all goes together. Thanks for looking and being a carpenter by trade I'm gaining a lot of knowledge and information from this forum. Jeff