Search the Community
Showing results for tags 'Build'.
-
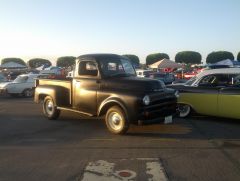
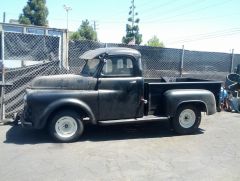
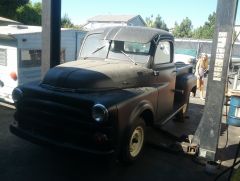
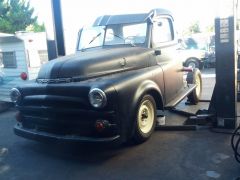
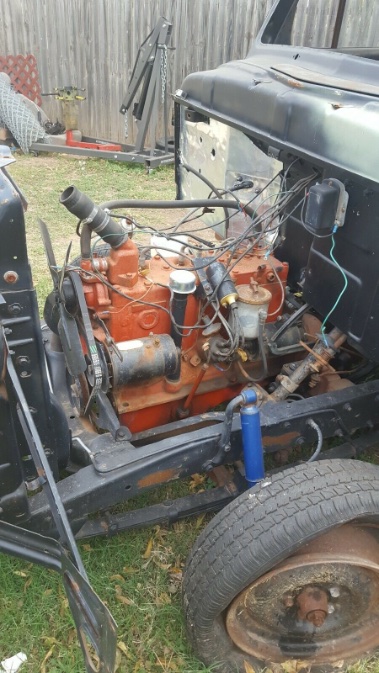
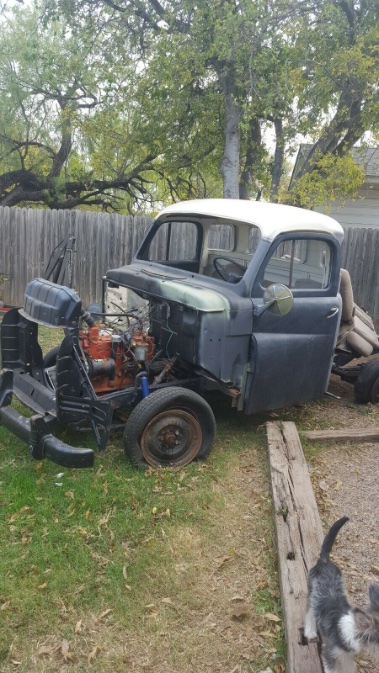
I am the proud owner of a "new" 1951 Dodge 1/2 ton pickup....with a few missing pieces like the bed, and the hood, and the front clip. I have a line on a 48-50 short bed, and also a 1950 hood. I like the 48-50 front end look (with lots of chrome bars). I checked out http://...
-
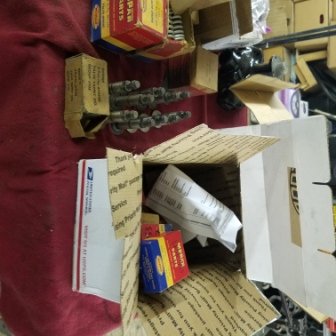
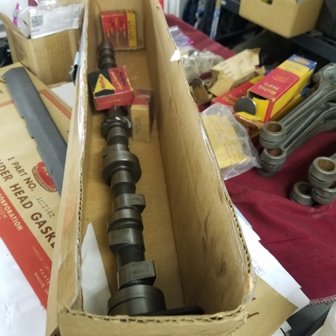
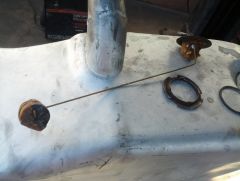
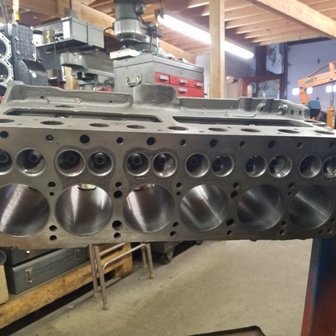
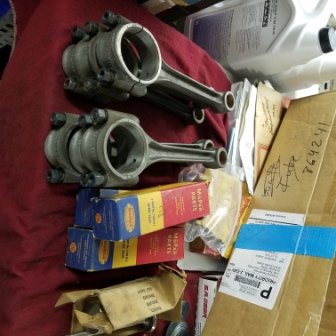
After much delay my D-24 230 has begun assembly. Years of scrounged ( and new ) parts are laid out for inventory. Good thing , I was short 4 correct exhaust valves. They arrived today. Cam cleaned up nicely, and the crank I saved from a 1948 cracked block measured within St...
-
-
-
-
From the album: Frame Build
© Mprutz 2014
-
The truck finally came back from the frame shop. Parked right next to me was this. I swear he was just taunting me! LOL <-- not my truck! But back to important matters. Not only did they line up the two halves and splice it together but they also took out a 1/4" diamond shape noticed in the new...
-
From the album: Frame Build
New springs in the front, sitting on the ground. Think maybe I'll keep those 15" rims in the front after all.© MPrutz 2014
-
From the album: Frame Build
New springs in the front, sitting on the ground. Looks like a truck!© MPrutz 2014
-
-
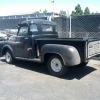
On the ground - why it needs front springs - front
TrampSteer posted a gallery image in Individual Member Photo Albums
From the album: Frame Build
No it's not falling off the rack. It really is fully on the ground.© MPrutz (c) 2014
-

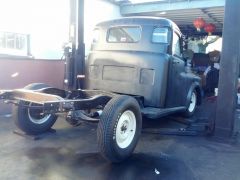
On the ground - why it needs front springs - Back
TrampSteer posted a gallery image in Individual Member Photo Albums
From the album: Frame Build
Like a jacked up Gran Torino at the high-school dance. I'd love to run it this way but there is no room for suspension travel at all so on go the new springs.© MPrutz (c) 2014
-
From the album: Frame Build
The more I work on this, the more it goes back to stock.© MPrutz (c) 2014
-
From the album: Frame Build
Had to have 1" cut off to have it fit properly. Seems the previous owner really had the wrong drive shaft. I went through all my trigonometry and thought that the bad fitment was because of the botched lowering job done previously. But after all the corrections it still fit so tight it was going to...© MPrutz (c) 2014
-
From the album: Frame Build
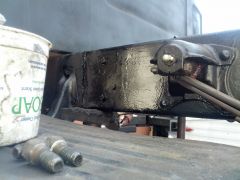
You really can't tell unless you know to look for it. This is the frame splice on the driver's side. You can see the extra grade eight bolts that are attached to the inside plate. There is also an outer plate on the flanges to insure they are still doing their job.© MPrutz (c) 2014
-
From the album: Frame Build
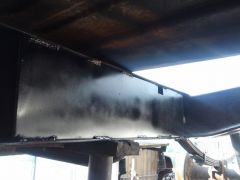
This is where we boxed the inside frame join. The actual splice is about midway of this new plate. The length is the recommended 1 1/2 * width on either side. This should still allow for the normal flex that the truck was engineered for without me sliding down the road later in life. There is also...© MPrutz (c) 2014
-
From the album: Frame Build
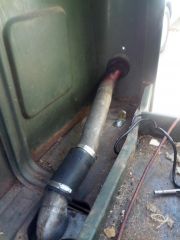
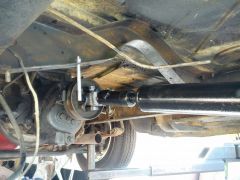
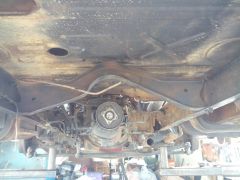
This is under the mid section of the cab. It actually rubs on the top center there. Where this came from will forever remain a mystery. I find it hard to believe it is from this truck. The previous owner talked about putting a T5 so thi s is probably something he did in prep of that. Something for l...© MPrutz (c) 2014
-

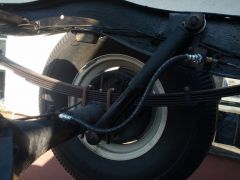
A good reason to get new springs
TrampSteer posted a gallery image in Individual Member Photo Albums
From the album: Frame Build
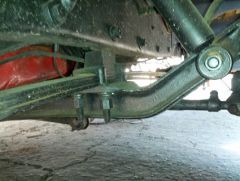
Currently on the truck as purchased. This is part of the lowering plan. There are three leafs in there and about 1/2" of clearance to the bump stop.© MPrutz (c) 2014
-
... what's around the corner. Well we were supposed to have the frame spliced by now but we ran into a little delay. My buddie who is doing the heavy lifting at his garage had the 12x20 foot garage door fall off its hinge and land on him. No broken bones but more than one doctor visit, crutches, a...
-
From the album: Frame Build
First attempt. Pretty dirty business getting it cleaned up. This after Rustoleum chemicals applied and reassembled.© Mprutz 2014
-
From the album: Frame Build
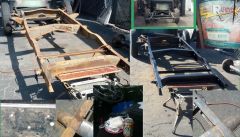
Couple of the pictures taken while cleaning up and prepping the frame.© MPrutz 2014
-
From the album: Frame Build
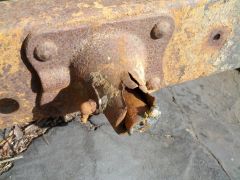
Don't let your regular grease inspections go by unattended!© MPrutz 2014
-
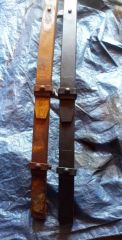
Now we are finally ready for the long haul. All the parts are here to rectify the framing problems thanks to pFlaming and 48Dodger. It also has given me a chance to compare the two parts to understand what when wrong with the previous work. Remember the old - "One of these things is not like the...
-
My daughter and I were able to spend some time together this week to work on the bed - recently removed from the frame. Honestly, we were only going to stain the bottom. Guess we both got carried away. Should be back together this weekend.




.jpg.c4717335d9e3e83479133a8b38f3983c.jpg)
