

46Chris
-
Posts
67 -
Joined
-
Last visited
-
Days Won
3
Content Type
Links Directory
Profiles
Articles
Forums
Downloads
Store
Gallery
Blogs
Events
Everything posted by 46Chris
-
High Quality H4 Headlights for 12v Cars (Cheap!!)
46Chris replied to Sam Buchanan's topic in P15-D24 Forum
Thanks @Sam Buchanan for this install note. I ordered a set for our '48 12v Buick Sedanet. I also plan to give the company a call tomorrow to confirm that I'm correctly ordering a couple lap & shoulder belts with retractors for our 2017 Highlander, the two that our dog chewed through when he was still an anxious rescue pup. Been on my to-do list for awhile, and the assemblies they advertise are $70 less than the price from the local Toyota dealer. And thanks in general for all your help with the LED flasher issue, and for this hot headlight tip. -
LED running lights and halogen headlights for my '47 Super De Luxe
46Chris replied to 46Chris's topic in P15-D24 Forum
Correctly connected power to X, but regardless of which way I hook up P and L still nothing. I'm grounded to a nutted bolt through the metal dash. Think I'll order another flasher in case my errant connecting may have blown it up. -
LED running lights and halogen headlights for my '47 Super De Luxe
46Chris replied to 46Chris's topic in P15-D24 Forum
Love the schooling I'm getting. @Plymouthy Adams I hadn't thought to go back to the listing - there was the schematic! The prongs are not labeled on the flasher, but now I know what P, X, and L are. @Sam Buchanan Though I can't tell which wire is P and which is L, I'll either get it right the first time or the second time. Thanks to you both! -
LED running lights and halogen headlights for my '47 Super De Luxe
46Chris replied to 46Chris's topic in P15-D24 Forum
Thanks @Plymouthy Adams actually glad to hear I'm doing it wrong. Means there's still hope. @Sam Buchanan it did not come with a schematic, and none of the three pins are labeled in any way. Since I had to add crimp push-on connectors for these pins, would I run the risk of blowing up the flasher if I just tried the other connection combinations until I find the one that works? -
LED running lights and halogen headlights for my '47 Super De Luxe
46Chris replied to 46Chris's topic in P15-D24 Forum
@Sam Buchanan My Amazon 6v 3 prong flasher arrived yesterday, I hooked it up, and nada. Checked ground, made sure the fuse was not blown, confirmed all wires were solidly connected. A head scratcher. I connected the fused input wire to the horizontal terminal and the other two wires to the vertical terminals just as they were oriented on the original flasher. Guess I'll try the one you got from ledlight.com. And just to confirm, my turnsignals were working prior to the switchover, and the light would flash as expected.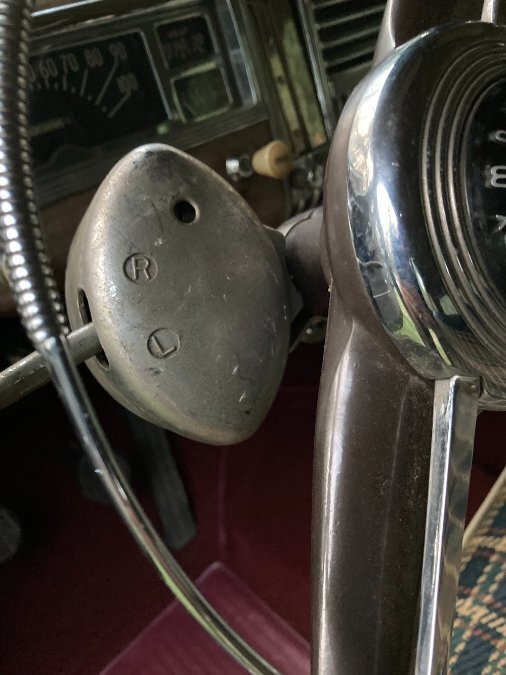
-
LED running lights and halogen headlights for my '47 Super De Luxe
46Chris replied to 46Chris's topic in P15-D24 Forum
@Sam Buchanan question for you: reading the instructions in the above link, it appears this is a 2 prong. I'm guessing you have not yet received the flasher. I found a 3 prong 6v LED flasher on Amazon. Your thoughts? https://www.amazon.com/ZUNG-SUNG-0-1A-20A-Electronic-Flasher/dp/B0CR3X9T3D/ref=sr_1_2?crid=2Z3LV28PZLO1J&dib=eyJ2IjoiMSJ9.QUkCmacn5I4C7xYKvOVQPiUZKKToG-YWOpEiXa70QNmuMi79rBwn7QOZEGtKzxORZlPyKbJaGxkrpD7-m1GMfSciCKHOR9R5RYpQenUAm3ux0zT3Fzdk84Jxo-PR6ZDQXJ9JH_VasAYY9_Aa5ANm4ZGUhnnDX-sCgct3NFPcYXQ06tzWMRbaPj_8T1iXIXn8mjBL5sJCiWJuo0lpQfXO-Xro6HIQwKT3XvIgrRGppX4.T6kTnIuk4DOkJgGuGpbvMPVDfGY7Yd07AqplGLHedvg&dib_tag=se&keywords=6+Volt+LED+Flasher+Negative+Ground&qid=1722024586&sprefix=6+volt+led+flasher+negative+ground%2Caps%2C193&sr=8-2 -
LED running lights and halogen headlights for my '47 Super De Luxe
46Chris replied to 46Chris's topic in P15-D24 Forum
Referenced also in later posts, but these are all 6v LEDs. Note, however, @Sam Buchanan's guidance on obtaining an LED flasher relay if you make the conversion. I'll have to order one, as the standard relay does not recognize the LEDs. Here's the link Sam provided: https://www.ledlight.com/flasher-cf13-6-volt-dc-led-compatible-3-terminal-150-watt.aspx -
LED running lights and halogen headlights for my '47 Super De Luxe
46Chris replied to 46Chris's topic in P15-D24 Forum
Sam, appreciate this info as I noticed the turn signals stopped working as soon as I installed the LED running lights. Many thanks! -
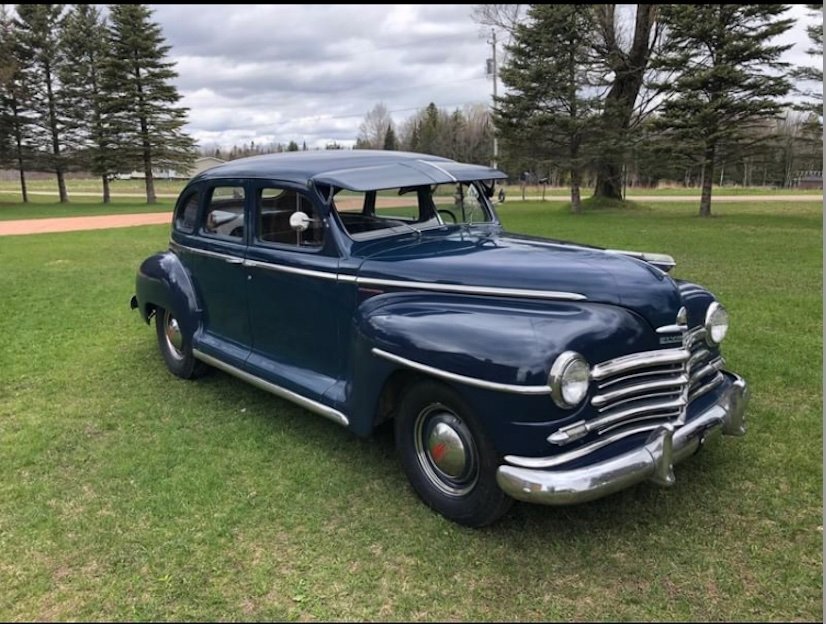
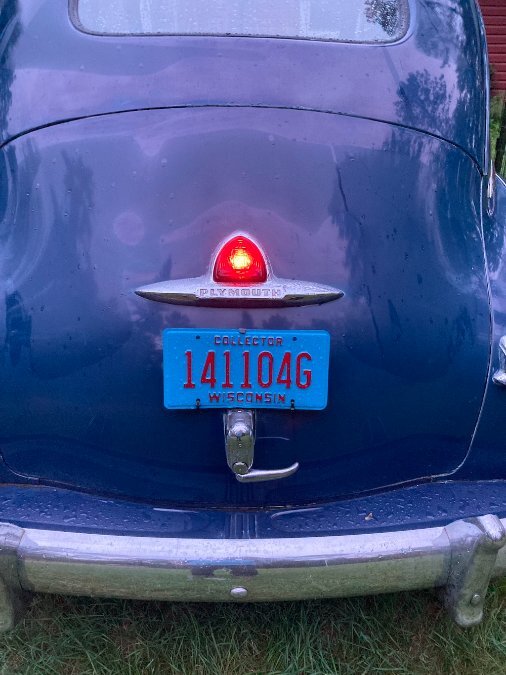
Very happy with the increased illumination. Replaced the tail/turn signal 1158's and the brake & license plate G-E 68's with LEDs from ledlight.com, and the headlights with Philips Halogen H6006 C1's. Here are the links to the LEDs: 1158's https://www.ledlight.com/ba15d-1158-6-volt-60-smd-5730-dual-filament-reduced-profile.aspx 68's https://www.ledlight.com/ba15s-led-miniature-bulb-8-volt-15-smd-3030.aspx Plug 'n play. I especially like how bright the brake light is in daylight.
-
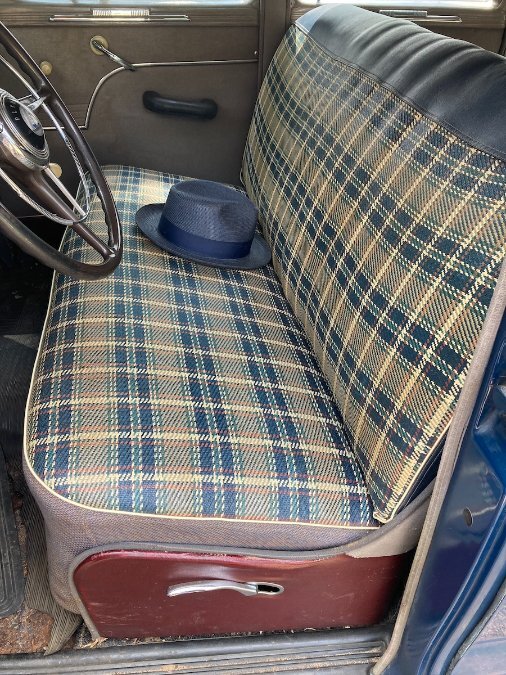
Appreciate your idea, since I wasn't even thinking they could have been installed for protection. I did find an old notebook in the glove box with some very early service entries, which might indicate a conscientious first owner. When I take out the front and rear seat bottoms to install the sound deadening panels and the new carpet, I'll pull off the front seat leading edge hog rings holding the covers in place and take a look at the original fabric. Stay tuned.
-
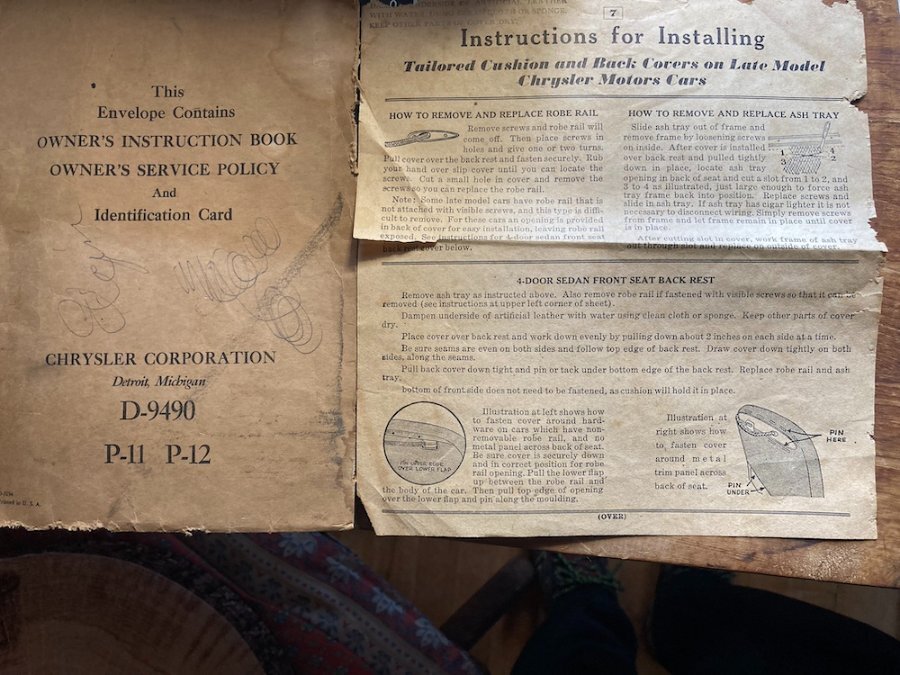
No scanner. Photos are the best I can do, attached.

-
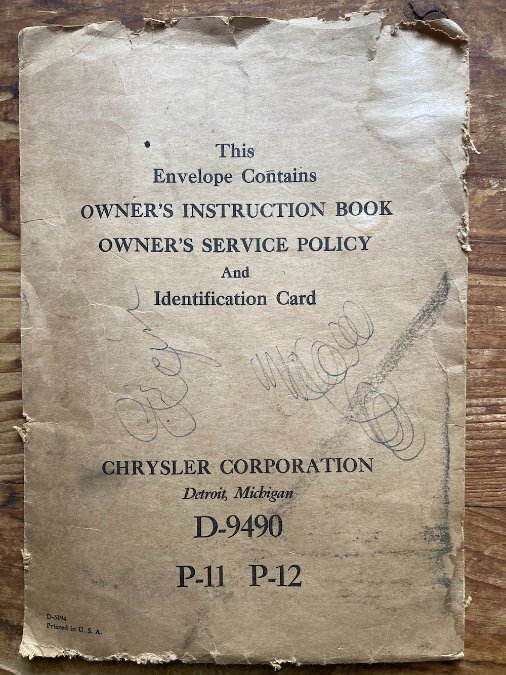
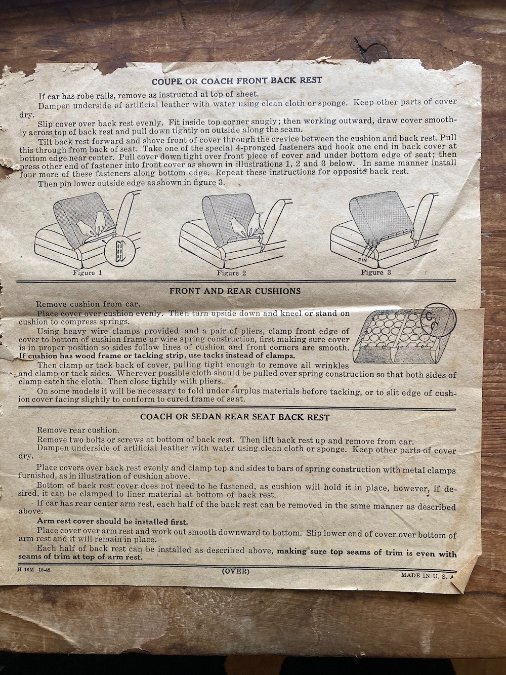
Not sure what the woven pattern material is, definitely not cloth fabric. Very festive looking. I had found an old brown Chrysler Corp envelope in the trunk that held the seat cover install instructions. I had previously incorrectly stated "dealer installed" when I should have noticed they were just manufactured by Chrysler Corp and could have been installed by anyone.
-
All this information has been a great help, and I really appreciate this community. My mechanic confirmed that the shoes were replaced at the same time as the wheel cylinders and brake lines, and said they looked brand new. He had adjusted them so that each shoe was lightly scraping the drum (and the drums are smooth). While there is still some pull to the left on hard braking, I will do some experimenting with repeated hard braking as another member had done, to see if that clears it up. I know I can replace the shoes, which I'll consider after taking care of a few other items. The car drives so well that I've decided to keep it, and instead sell our '48 Buick Sedanet. I had bought the Sedanet at auction (a long-time bucket list car) this spring, but have come to realize that I like the Plymouth better for a number of reasons. It's in amazing overall condition with zero rust or rust repair. As soon as I got the car I had 4 blackwall radials mounted after painting over the rim rivets. Runs smooth with no smoke, good clutch, reasonably tight steering, still has some original paint. It came with documentation on what appears to be a dealer-installed reupholstering job that looks really nice. Over the weekend I bought sound deadening panels and a maroon carpet kit, along with a paint restorer and a set of new pads for my buffer. Also bought an underdash universal temp gauge that included a selection of glandnuts. The needle had somehow detached from the dash gauge. I may eventually tackle that job, but seeing temp gauges in the $300+ range plus the R&R challenge convinced me to go the easy route for now. Will test in hot water before installing.
-
Joe, that's a good thought. I visited the mechanic this morning to drop off the tech post and additional contributions from the community. He had bled from longest to shortest, made sure the rod going into the master had the right travel, and had adjusted all shoes so that each shoe barely scraped the drum. it's entirely possible that the prior owner (long deceased) had not replaced shoes when he worked on the brakes, even though we can see clean wheel cylinders and new lines. He had not replaced the master and one flex line was collapsed, so it's possible he did not replace what may have looked like good shoes even if a wheel cylinder had been leaking and replaced.
-
Well taken, I'm older, and unfortunately have lost the desire to be an expert. It's why I've realized I need to sell the old cars I have, much as I love them.
-
Yes, in the tech article Sam B initially shared I saw the bleed sequence. I did provide my mechanic with the manual, but printing out the tech article and some of the additional responses from the group here, will help him a great deal. Very smart, younger man who runs a very busy 2 man shop up here in the northwoods of WI. And I'll check out Andy's shoe adjustment tool, thanks for that.
-
I watched Keith's two videos - the tool was fabricated for him, and I wasn't able to find out where to get one. Possible I could rent yours?
-
I'm grateful to this community for sharing key information that will help my mechanic to understand and fix the problem.
-
Thanks Sam, I'm going to print out the tech article for my mechanic. Will make sure there isn't a wheel cylinder leaking. As to his statement about non-adjustable (since I was copying from his text to me, into the post) I believe sharing the tech article will offer some additional perspective. There are a few Ammco 1750 brake gauges on ebay, starting at $400. Is a major adjustment accomplished by this tool a factor here, providing a leaky wheel cylinder isn't the culprit? If so, I could buy one to use and then re-sell it.
-
Getting my '47 Special Deluxe sedan ready to advertise, and my extremely capable mechanic has run into a head scratcher with the brakes so I offered to post the question here. For some history and context, he replaced the rubber hoses (one was collapsed) and put in a new master cylinder. He has adjusted the brakes in the rear and bled the fronts over and over again. Shoes and hardware look great. Front brakes are non adjustable. The front left is grabbing more than the right. He reports that it’s manageable gradually braking but if you stomp on the pedal in a panic brake situation it will throw you right into the oncoming lane. Would love for this mystery to be solved, rather than tell a new owner to avoid any hard braking at their peril.
-
Thanks @JerseyHarold love that idea! Going to run an extension cord out there now. Best i can do is a hair dryer with a nozzle.
-
Thanks @Sniper for the correction. I did cast a wide search net, found a couple other sources for more $ but looked to be the same part.
-
Worked with the dry graphite for quite awhile this yesterday, even inverted the switch and tapped on it to get the graphite up in the tumblers. No joy. Ordered the entire switch from MoParCo, expedited delivery. Working in the driveway in 22° weather and snow is a motivator - need to be able to drive Blue over to the storage facility before the snow and cold really hit. Of course, the key will probably turn in the cylinder as soon as the new switch arrives, but so it goes. Appreciate all the help, just decided to take the easy way out. And I will label every wire
-
@Sniper Going to get some dry graphite at Ace tomorrow morning. The hole for the cylinder release is directly in line with the key in its 12 o'clock locked position. It would appear I could just insert a nail in the hole, press down, and pull out the cylinder (?). I've ordered a US12L, it'll arrive on Thursday. Was hoping to get the '47 to the storage facility today, before the snow starts to fly. The car obviously had other plans...
-
Thanks @9 foot box Two keys came with the car - trunk and ignition/door. Both repros. Since the ignition key won’t operate the door locks, I could have a key cut issue as well. Going to focus on the dry lube - as you say, it did work a few times. If for whatever reason that’s unsuccessful and I do have to drill to release the cylinder and replace with later model keys for now, I’d feel better knowing the key will work.

