-
Posts
68 -
Joined
-
Last visited
-
Days Won
1
clarkede last won the day on September 10
clarkede had the most liked content!
Reputation
15 GoodProfile Information
-
Gender
Male
-
Location
Virginia
-
My Project Cars
1948 Plymouth Special Deluxe
Converted
-
Location
Fairfax, VA
-
Interests
Computers, Electronics, Boating, & my Kids.
Contact Methods
-
Occupation
Computer Specialist
Recent Profile Visitors
The recent visitors block is disabled and is not being shown to other users.
-
Ah, those help a lot!!! Thanks!! Now I think I go enough to tackle it and clean everything up in there. I definitely want to clean everything up and re-grease. I am now wondering if I should replace the glass or just re-seat it using the window tape I bought. The video post by The Rusted Nut (earlier in this thread) made me think that keeping the original glass gives it some character and has got me thinking that new is not always better (that's an understatement ). So what if the old glass has a little fogging in the corners or a little lamination separation. Any thoughts or opinions on this?
-
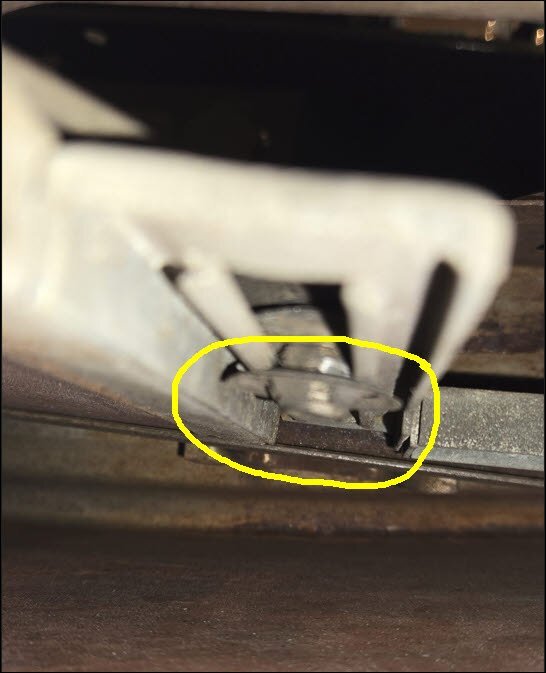
Yes, I have suicide doors as well and those pictures make sense. I now remember loosening up all the screws on the door when I was refinishing them to see what loosened up and those did affect the window track. Do those side screws need to be removed/loosened to actually get the window out and back in or just for window channel maintenance? Oh and a few more pictures of the second door I looked at. These show a different "clip" design to hold the window frame in. There is no tab on these and they look to be some sort of push on clip. I guess I can just pry them off??? I don't know if they will survive for re-use or not?? These are what I felt on the other doors and just gave up trying to find a removable clip. It seems like only one of my doors has the clips like yours. Actually, I have to confirm the other doors still, but I swear I thought I checked them all.
-
I think I found them. I feel stupid because I searched and searched for them before repainting the exteriors, but I couldn't feel anything that felt like a clip. I took ton's of pictures - all of which were making the clips elusive. Everything I felt, just felt round and smooth like a roller wheel. Ok. Now to attempt to get them out. Looks like I just need to pry them downwards slightly and then push toward the top of the door. When I say downward, I have the door laying face down on the painted side. As for the four screws, I'm guessing they are not the regulator mechanism bolts. I'll look for them and attempt to get one apart tonight.
-
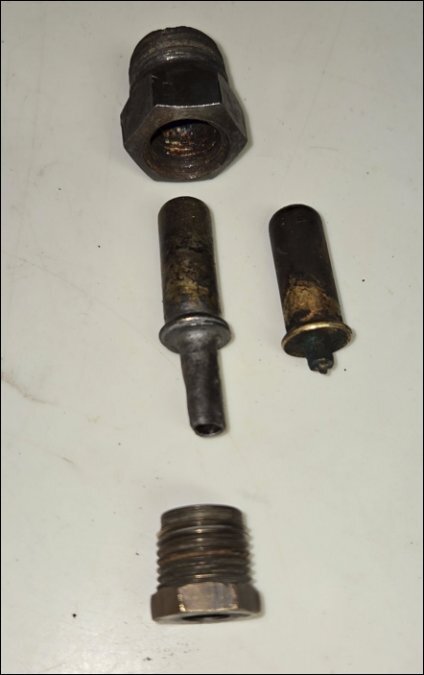
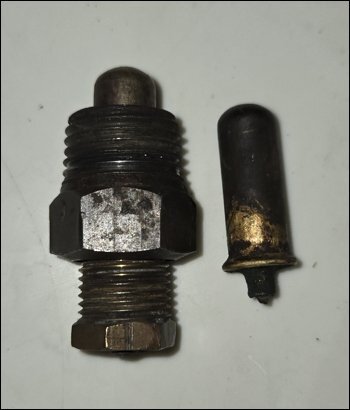
I learned the hard way about the bulb getting stuck and man-handled it a little too much and broke the capillary tube. I forget why I have two broken capillary bulbs. Perhaps one is from when my father worked on it years earlier. I was able to find a relatively inexpensive replacement online in excellent condition for about $90. I kept the old nuts and gauge to remind me how it all fits together if/when I need to take it out again.
-
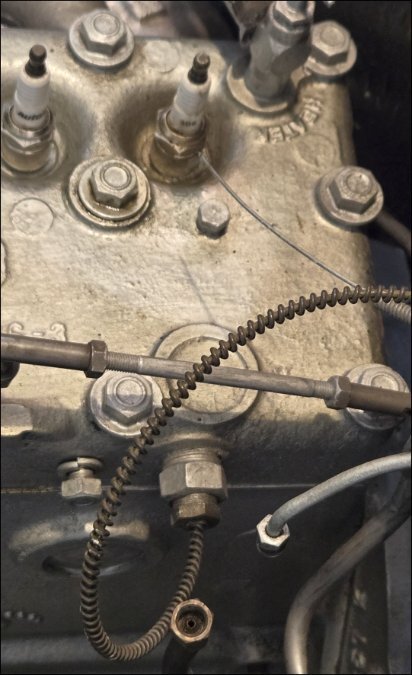
Sniper - Just including a picture I happen to have that shows the plug you're referring to on the top and the temperature probe fitting on the side.
-
Thanks so much. I will look for it tonight and see if it was staring me in the face. For the life of me I could just not find any clips.
-
Plymouthy, I am very interested in what exact clips you used to affix the anti-rattle strip. I don't mind some slight drilling to make way for an easier clip than the original. I only have a few of the original clips that I was able to remove in one piece and I've been looking for another simple solution. Thanks!
-
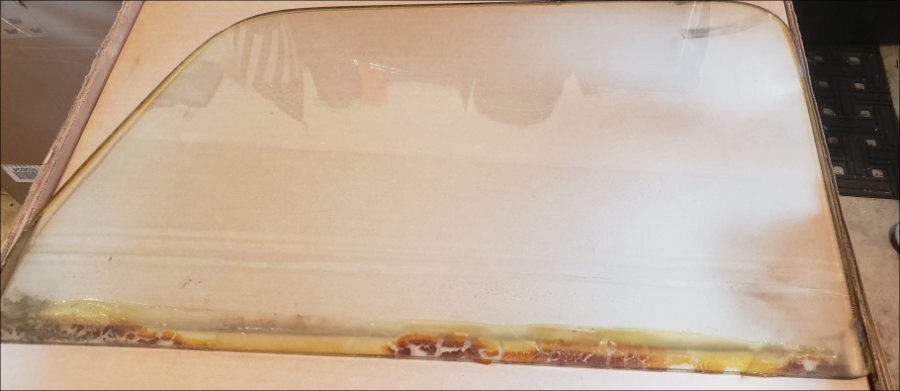
I'm also trying to remove the glass from all four doors on a 48 Plymouth Sedan. I don't see any "clips" to unfasten the window frame. Does anyone have a picture of what they look like or a little more detail to finding the clip. Do I pry something off or squeeze something together with needle nose plyers??? Maybe someone has a picture of the clips on a removed window frame? After I get the glass removed, I plan to have a local glass shop use my existing window glass as a template for the new glass (and cross my fingers they get it right). I've already purchased the "window tape" that is needed to hold the glass in place, but I just need to get the old glass out first and properly clean out the frame to accept the new glass. The glass in one of my doors was loose and I just pulled it out of the frame. You can see in the attached the picture that the glass lamination on the bottom is all messed up. The other window glass looks similar in the remaining three doors. I'm just going to replace all four to ensure they look the same and I might even have them redo the vent window glass if there is a slightly different tint.
-
As a quick test, I've always turned on the headlights and then try and start the car. If the headlights don't come on or "dim considerably", then it's a sign that the battery connections are poor or a dead battery.
-
While were on the topic of key locks.... I've always been missing the tumbler on the driver's side. This means that I have to reach over from the passenger side and lock the door from the inside and then lock the passenger door with the key. Does anyone know where I can get a replacement for this? Attached is a picture of my two locks showing what's missing on one of them.
-
I'm in the middle of painting my car and have the weatherstripping off. Here's a picture of the hole's location that is normally covered by the weatherstripping for the set screw (big hole on the left).
-
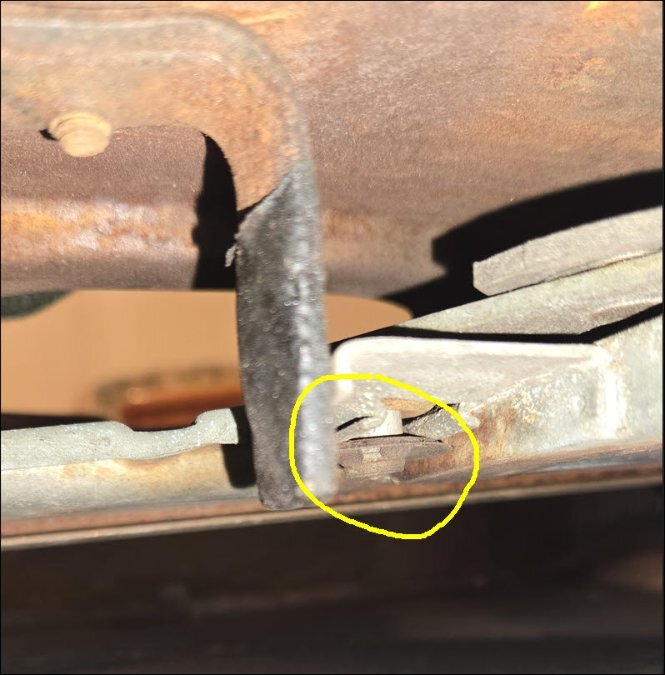
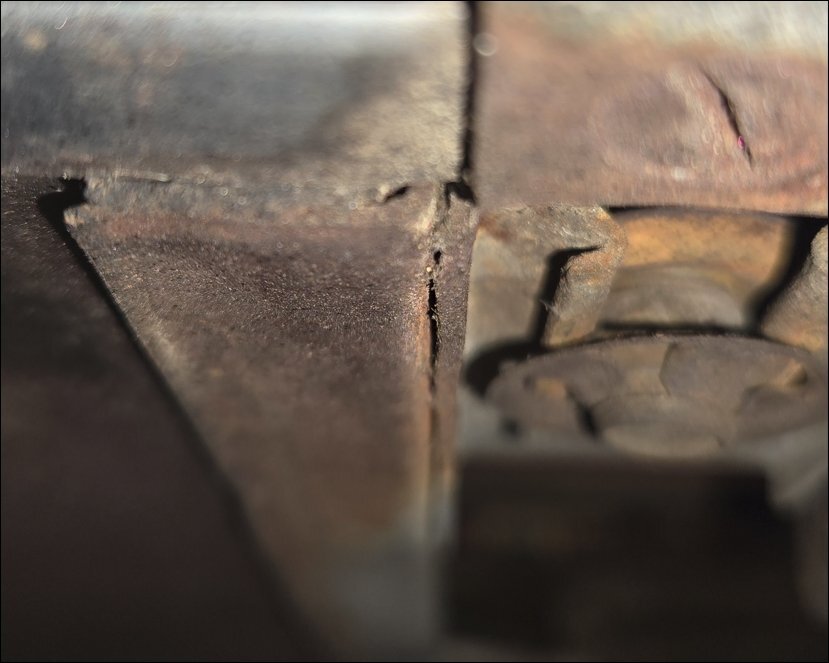
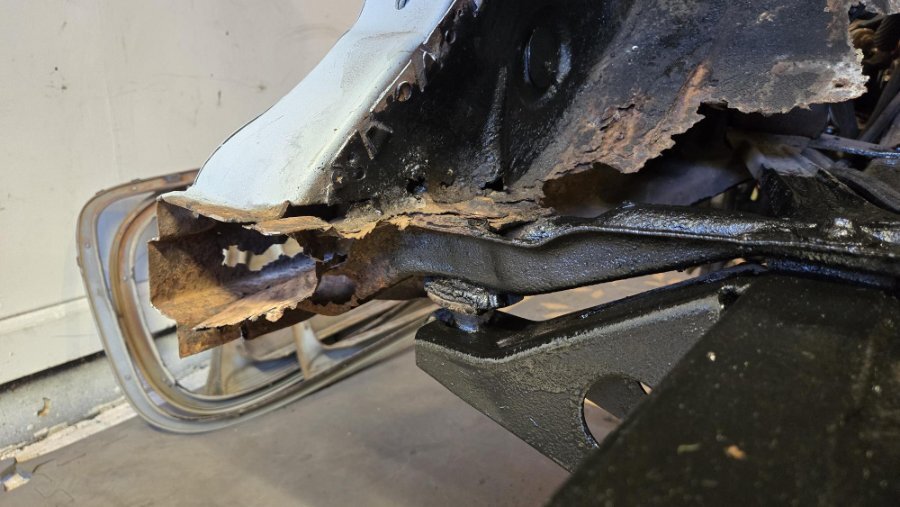
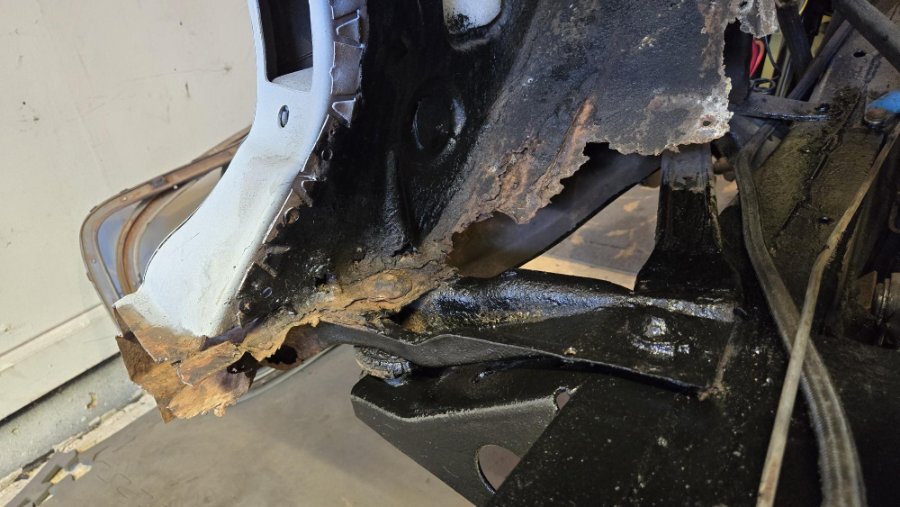
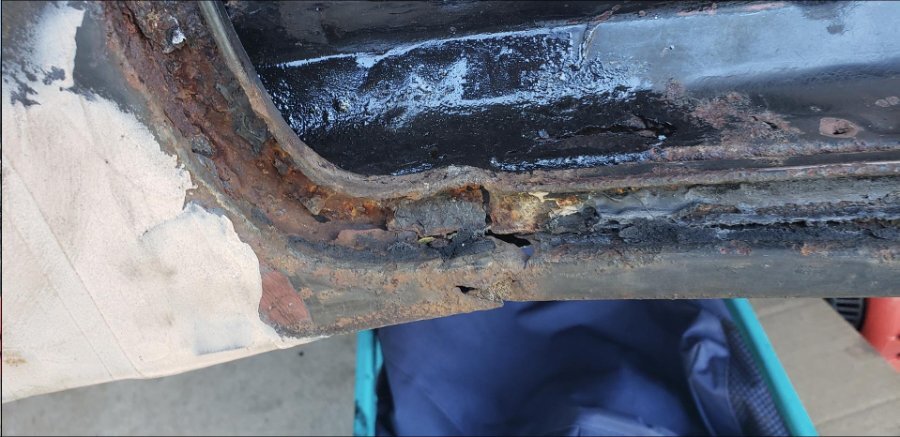
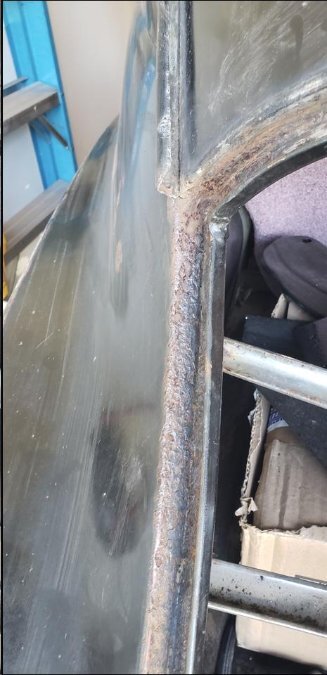
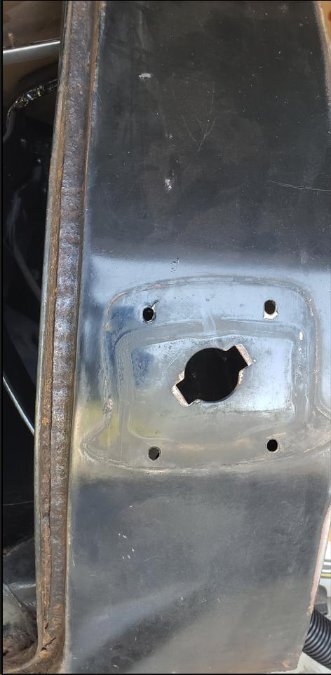
Question: Does anyone know if the body mounts that are just inside the front doors of a P15 can be removed without causing the body to lose support? There is another major body mount (to frame) 8/10 inches inches forward of this mount where the firewall comes down to the frame. I want to replace these metal supports and fabricate new ones that will sit on the rubber mounts and then weld in to new rocker panels that I will be installing. Here is a picture of the drivers side front door frame with the support that I want to replace. You can see that the rubber mounts are gone and it has two rusty and degraded bolts that are holding things together. They are actually pretty firm and would probably last another 70 years (LOL), but while I'm doing the rest I might as well fix these. Thoughts??
-
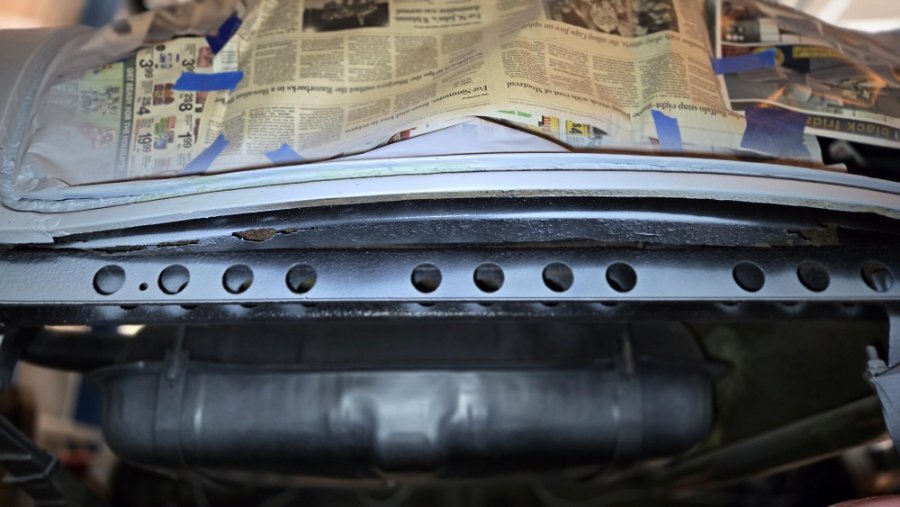
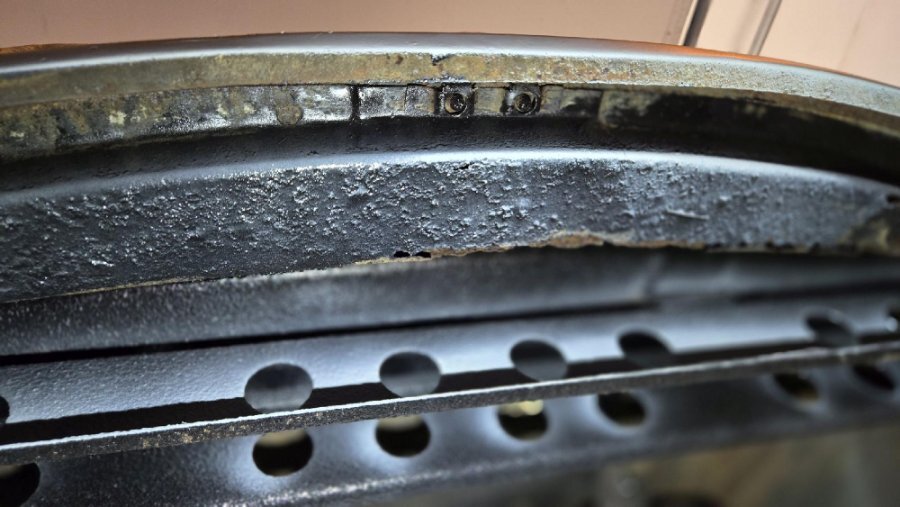
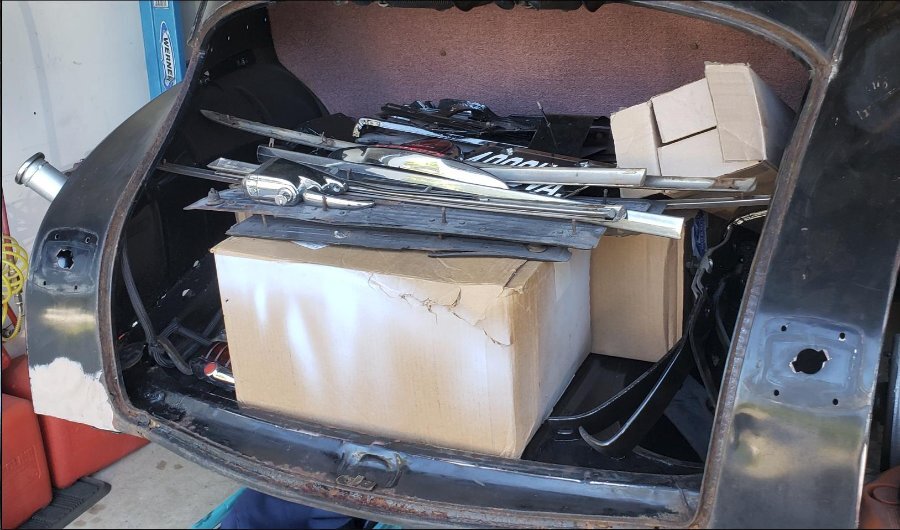
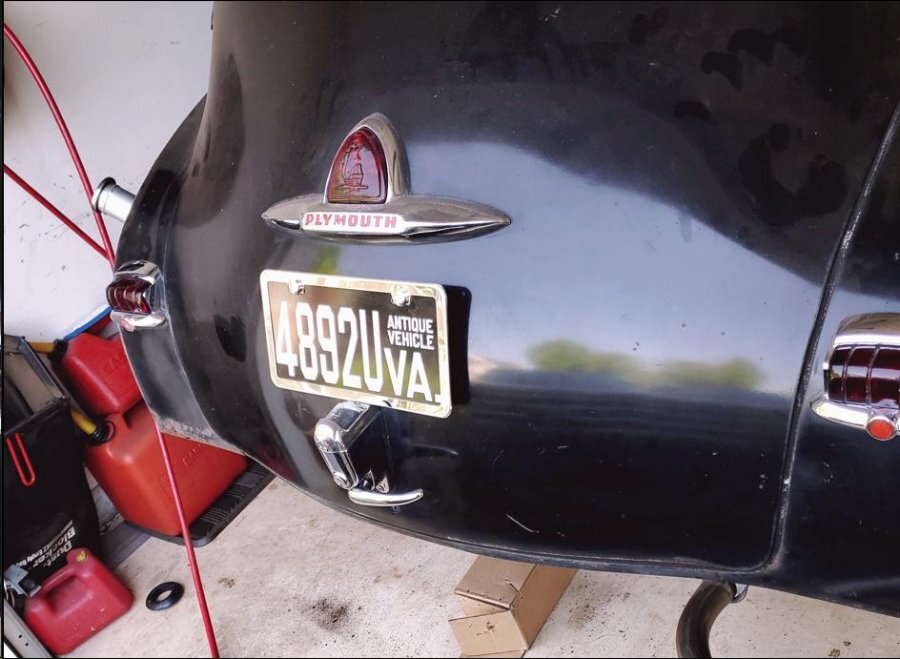
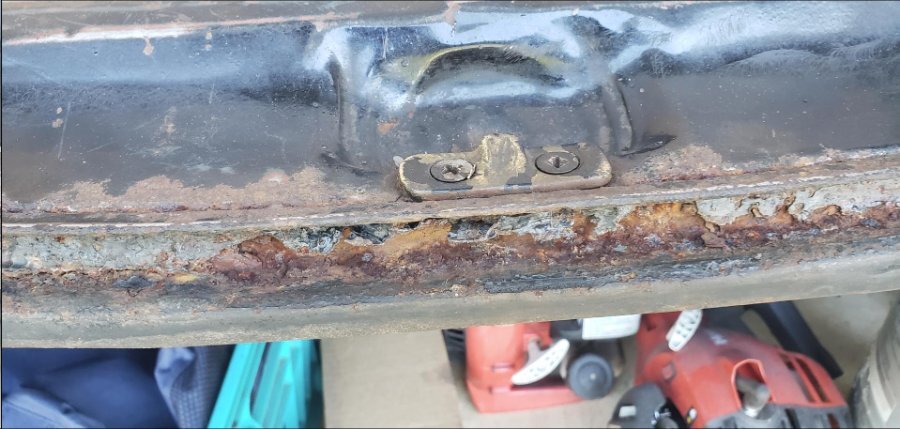
Here's a few more pictures that I just took that might help. A few different angles including one that is straight up showing the trunk latch screws from the bottom. Let me know if you need any measurements or a ruler in the picture for scale. Best of luck.
-
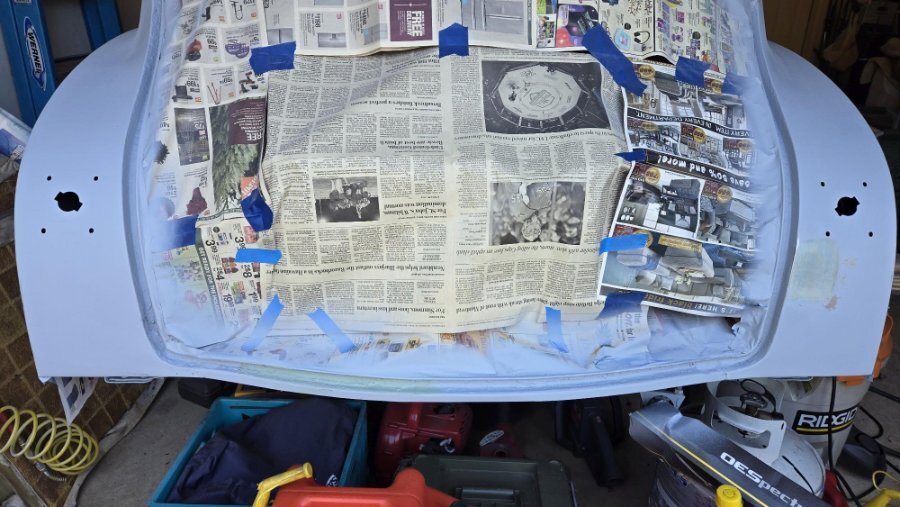
I found a few older pictures that show a groove that the trunk weatherstrip molding goes in which goes all the way around - including the bottom lip area where the trunk latch is. Downward pictures of the lower trunk lip may not show this weatherstripping groove. You asked if I have done any repairs to this area - Well, I definitely have some serious rust inside the trunk (like you do) which will be my next project to repair. Ahead of this, I am still working on replacing the interior passenger compartment floor pan and rocker panels, followed up by painting the exterior of the vehicle. I kinda want to get all the fenders, hood, doors, etc. back on the car before winter so my wife can use the other garage bay for the cold Winter months (she's been very patient so far, but I don't want to push it ) As you can see to the bottom left of the of the trunk lip that I've already done some body filler. These pictures are before I did some quick "JB-Weld Steel Stick" mends to the bottom lip that had some rust holes. I first wire-brushed the area to remove loose rust and paint to clean up the area, then kneaded the two part putty and re-formed the lip groove. I'm having issues uploading the next few pictures... gonna reboot and upload them after dinner.


