f_armer
-
Posts
91 -
Joined
-
Last visited
-
Days Won
4
Content Type
Links Directory
Profiles
Articles
Forums
Downloads
Store
Gallery
Blogs
Events
Everything posted by f_armer
-

512 cid C series on Dakota chassis- build thread
f_armer replied to Radarsonwheels's topic in Mopar Flathead Truck Forum
Maybe i misunderstand what your saying, but wouldnt that bolt that is in the top of the drivers side axle tube near the center section go through that splitter and you wont have to weld on your rear end at all? -
1951 Fargo 400cid on Dakota chassis
f_armer replied to f_armer's topic in Mopar Flathead Truck Forum
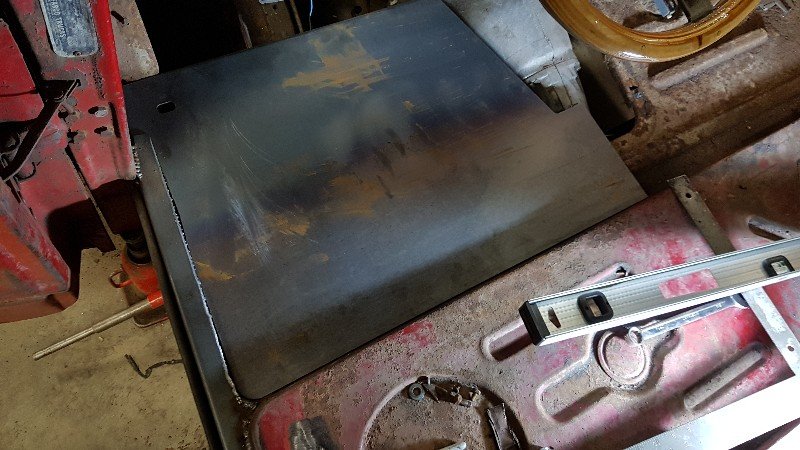
Ok ill do my best here. As you can see the rise in the floor where the seat mounts is straight and square, so i cut the old floor out on that straight line. I think the secret is to start out square, its like building a house, if your first wall starts off out of square, the whole house ends up crooked. So all my measurements were from that cut line, there was a lot of measuring, so i drew my panels in cad and cut them on my plasma table. There is an advantage to that because if its drawn square its cut square. What it came down to was if i measured right and drew it right, it fit right. And, by luck mostly, everything fit really well. I did do some trimming with a cutoff disc, but really not much. Welding 16 and 14 ga is really forgiving, i just did series of spots, keep in one spot until puddle forms and both edges melt together well, and stop,let cool for a sec move ahead repeat, a thousand times. The rear hump, i rolled in my homebuilt roller, then squished the back end flat in the brake, thats it thats all, it took about 5-10 min. Luck mostly. The toe angle is roughly stock angle, mainly to keep it simple, and also there could be clearance issues with front tire, when turning left, if i pushed it too far ahead. My brake pedal is the dakota master cylinder and pedal. The pedal sticks out more than id like, but would be drivable, right now i can push pedal full stroke and not hit floor, with room to spare, so i might have some room to play with pedal arm and get pedal a bit farther forward. As far as the cowl part of the firewall, there is a factory recess that angles in towards the cab, i went straight down from that, but wider. The firewall basically is in same location, but boxed out wider in the center. If you want I'll post some better pics of that area. I'll also post a pic of my roller and brake if you want. Nothing fancy, really simple. This is the time I've ever attempted anything like this, and there are days when ive thought id bitten off way more than i should've, it seems easy in my head, but in actuality , its a very difficult puzzle, with some pieces missing!! Oh and the vintage race on the beach......give me more time, i need a bigger cam and a better intake for starters -
512 cid C series on Dakota chassis- build thread
f_armer replied to Radarsonwheels's topic in Mopar Flathead Truck Forum
I think id try and get the bracket closer to the rear, so the splitter could be mounted on the axle tube. Rather than mount it near the pinion. It looks like there is room beside your airbag where the old vent, or splitter bolt is? Could you run a brace between the upper shock crossmember and the one in front of it, mount it front to rear, as a place for the hose bracket to mount to? Just to get that hose bracket closer to axle tube. Hard to tell from here -
1951 Fargo 400cid on Dakota chassis
f_armer replied to f_armer's topic in Mopar Flathead Truck Forum
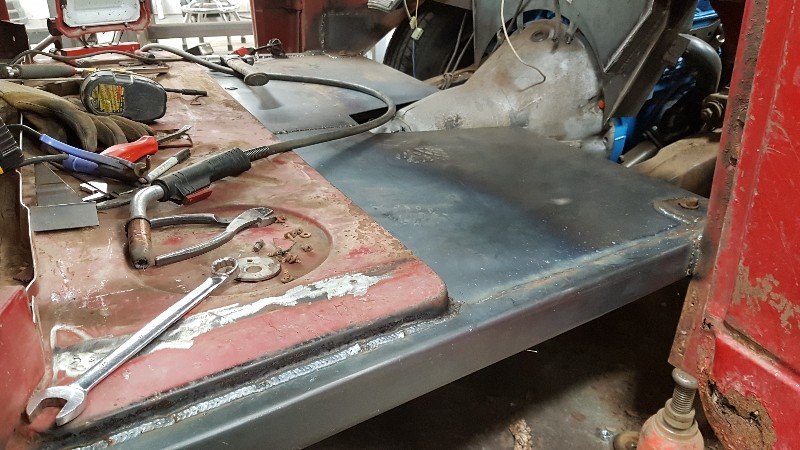
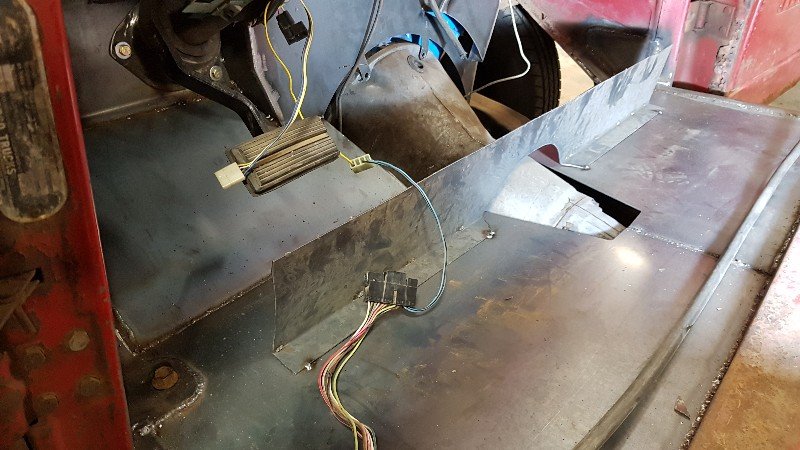
The door sills I cut a flat piece of 16ga and bent it into a c channel that slipped over the old sill. I notched the front to go around the door pillar. That was the one fix that I covered up some rust. The floor pans I used 14ga and broke the front edge of them for stiffness. The angle pieces in front of the flat floor pan is 14ga cut to fit and welded, same as the hump. The firewall is 16ga. I used 10ga to make the front cab support brackets. Its plenty solid I had to make a bump out in the firewall for the passenger side head, I forgot it was farther back than the other when I was ciphering out the firewall. I fitted the front part of hump today also.
-
1951 Fargo 400cid on Dakota chassis
f_armer replied to f_armer's topic in Mopar Flathead Truck Forum
I'm happy with the way its turning out, it looks simple and clean, but definitely not simple haha!. Was alot of measuring! -
1951 Fargo 400cid on Dakota chassis
f_armer replied to f_armer's topic in Mopar Flathead Truck Forum
Made a little more progress on firewall/floorboards. The sides by the doors were a bit rusty as well as the front cab mounts. So I sort of rebuilt the cab mounts I cut all the rust I could out, but went over top of some. I know its not right but whatever.


-
1951 Fargo 400cid on Dakota chassis
f_armer replied to f_armer's topic in Mopar Flathead Truck Forum
Oh. And the tabs bolted to bellhousing will be cut off after I have everything welded up. -
1951 Fargo 400cid on Dakota chassis
f_armer replied to f_armer's topic in Mopar Flathead Truck Forum
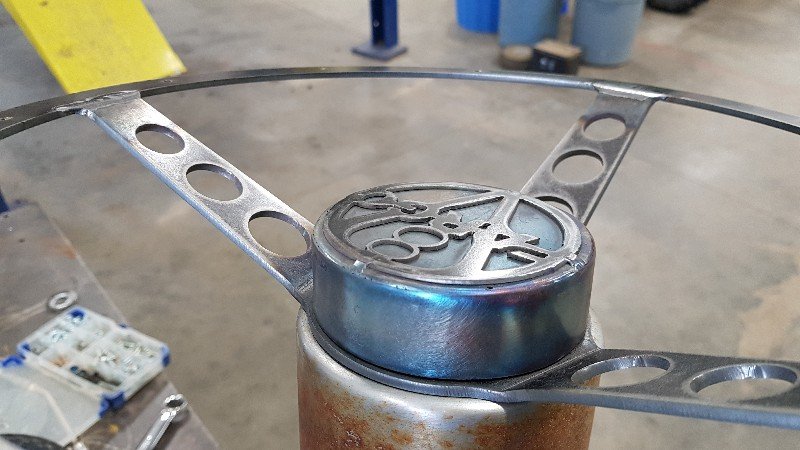
Steering wheel finished. I'll clear coat it yet with automotive clear. Started on firewall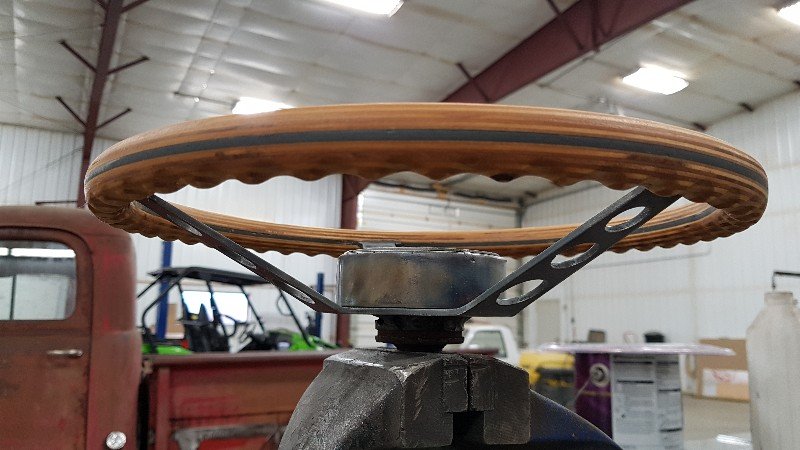


-
1951 Fargo 400cid on Dakota chassis
f_armer replied to f_armer's topic in Mopar Flathead Truck Forum
I also cut my rear fenders apart again and widened them some more They are 14.5" wide now


-
1951 Fargo 400cid on Dakota chassis
f_armer replied to f_armer's topic in Mopar Flathead Truck Forum
Lots of other work to be done, but I decided I'd make my own steering wheel I'm using a tilt telescopic column so I kinda needed a custom wheel My brother has a cnc router so I'm getting him to cut me wood rings. I'm thinking Baltic birch plywood to give it a laminate look.... we will see. I kinda like the unfinished look Might just give it a clear coat


-
1951 Fargo 400cid on Dakota chassis
f_armer replied to f_armer's topic in Mopar Flathead Truck Forum
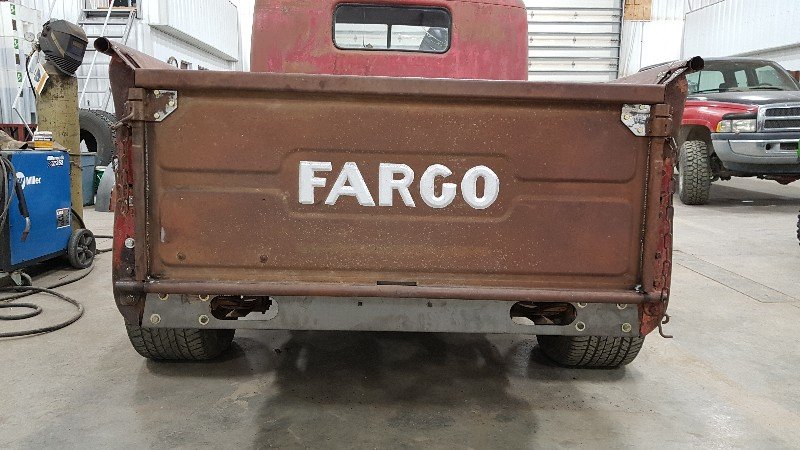
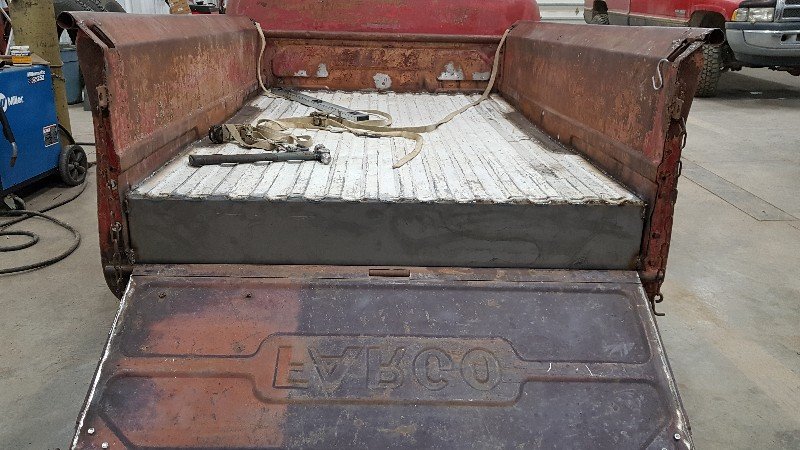
Got the box floor all welded in. I made a new rear panel, the old one was really bent up. Decided to make room for taillights and license plate. I'm not planning on a rear bumper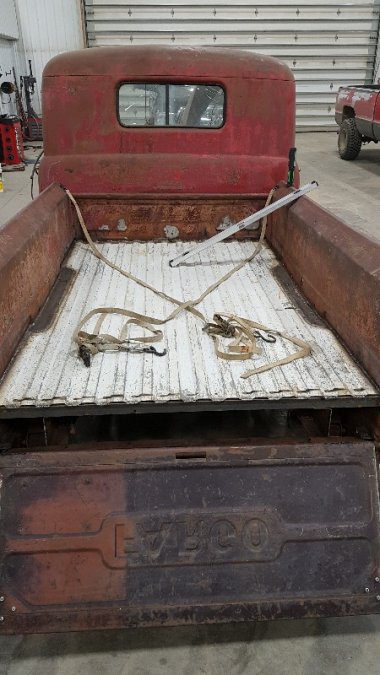


-
1951 Fargo 400cid on Dakota chassis
f_armer replied to f_armer's topic in Mopar Flathead Truck Forum
It has 295/50r15 on the rear Im going to go with the torq thrust d with black centers, https://www.americanracing.com/wheel/6393/vn105d-torq-thrust-d 15x10 with 3.77" backspace Front will be 15x6 with 3.66" backspace (basically oem spec on front) I like the look also, it looks much better proportionally in my mind. When you look down the side of the truck the rear fenders are not sticking out really it just evened everything up. I just wish my rear fenders were a bit better to start with. I had to remake the curved angle iron where it meets the box, Theres alot of work to do on them yet obviously -
1951 Fargo 400cid on Dakota chassis
f_armer replied to f_armer's topic in Mopar Flathead Truck Forum
Been busy with other stuff but still picking away at the fargo. Barely got the floor in and it's already full of junk Haha


-
http://www.wwwsuperiorradiator.com I think this is the proper link.
-
1951 Fargo 400cid on Dakota chassis
f_armer replied to f_armer's topic in Mopar Flathead Truck Forum
Cool, thanks! -
1951 Fargo 400cid on Dakota chassis
f_armer replied to f_armer's topic in Mopar Flathead Truck Forum
Just guessing it looks like id have room for a mechanical fan. I'll do electric if i dont have room. Im not sure what rad ill use just yet, i have looked at champion rads, im hoping to fit one in the u channel, just havent found one with an offset filler neck. Although i could move it to the side, id have to practice my aluminum tig welding skills on something else first. What rad is that you have pictured? -
1951 Fargo 400cid on Dakota chassis
f_armer replied to f_armer's topic in Mopar Flathead Truck Forum
Bolted the thermoquad on to check air cleaner fit. Fits great!


-
1951 Fargo 400cid on Dakota chassis
f_armer replied to f_armer's topic in Mopar Flathead Truck Forum
I did 1 1/8 offset, I may have to do something similar as you with the steering shaft but I haven't got that far yet. -
512 cid C series on Dakota chassis- build thread
f_armer replied to Radarsonwheels's topic in Mopar Flathead Truck Forum
Looks good and the best part not spending money. You won't be starving the engine with that beast! What did you use to plug the original dipstick hole in the block? I was thinking of using a short chunk of aluminum rod? -
1951 Fargo 400cid on Dakota chassis
f_armer replied to f_armer's topic in Mopar Flathead Truck Forum
Was thinking I could change the angle of the rack I cut some 22.5° spacers. It looks like it would work except the captive nuts would have to be tweaked or removed and another shim put in behind the nut
-
1951 Fargo 400cid on Dakota chassis
f_armer replied to f_armer's topic in Mopar Flathead Truck Forum
Well i got the last 600ac of harvest off. Finally got some beautiful weather for this time of year. My headers had arrived earlier in the week so today I did some test fitting. Fits pretty good except for steering shaft


-
1951 Fargo 400cid on Dakota chassis
f_armer replied to f_armer's topic in Mopar Flathead Truck Forum
Funny thing, i ordered from tdotperformance.ca they were $9 more than summitracing but i thought I'd support a canadian company. I get an email the next day, saying, before they can process my order i must specify year make model and engine size of vehicle, to ensure a proper fit. I emailed them back basically telling them to just hurry up and ship them. Just thought it was odd, do they double check every order people make to be sure they know what they are doing? -
1951 Fargo 400cid on Dakota chassis
f_armer replied to f_armer's topic in Mopar Flathead Truck Forum
I ordered some 78070 hedmans I have no idea if they will fit.

-
1951 Fargo 400cid on Dakota chassis
f_armer replied to f_armer's topic in Mopar Flathead Truck Forum
Or maybe these instead of running boards
-
1951 Fargo 400cid on Dakota chassis
f_armer replied to f_armer's topic in Mopar Flathead Truck Forum
I moved the engine over 1 1/8" so everything is parallel and driveshaft clears tank. I'm planning on using a fuel regulator and using factory fuel pump. Also it looks like i can plumb the fuel filler pipe into back of cab and use the stock 1951 location for filling. Rough fit the box yesterday. I like the look of the box sitting slightly lower than original. I know the running boards won't line up, but I may shorten them to cab length or not have running boards at all.