

Gregarious13
-
Posts
199 -
Joined
-
Last visited
-
Days Won
1
Content Type
Links Directory
Profiles
Articles
Forums
Downloads
Store
Gallery
Blogs
Events
Everything posted by Gregarious13
-
Old Mopar Junk yard near Sacramento, ca
Gregarious13 replied to austinsailor's topic in P15-D24 Forum
Thats not being brash! Your stating a fact, these parts and cars are not easy to find and aren't getting cheaper. I've never had trouble paying for something I needed or wanted. It's all part of the hobby. The thrill is that there are places I can go get these parts! Greg -
Old Mopar Junk yard near Sacramento, ca
Gregarious13 replied to austinsailor's topic in P15-D24 Forum
Wow! Apparently I don't get out enough. I have some traveling to do. Greg -
Old Mopar Junk yard near Sacramento, ca
Gregarious13 replied to austinsailor's topic in P15-D24 Forum
Thanks! I have to go check it out now. I'm only an hour and a half from there. Greg -
Old Mopar Junk yard near Sacramento, ca
Gregarious13 replied to austinsailor's topic in P15-D24 Forum
I live in the silicon valley in California and would love to know about said junk yard. I would love to visit such a place. Greg -
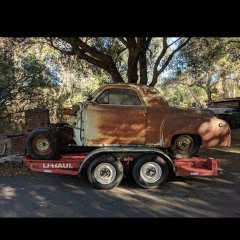
That's a good looking car! That's the kind of car I would clean up, replace the interior and then drive. With a car that original, I'd have a hard time making too many modifications. I enjoy making things a little better while not overly modifying anything, especially cosmetically. Greg
-
Those look very nice! Greg
-
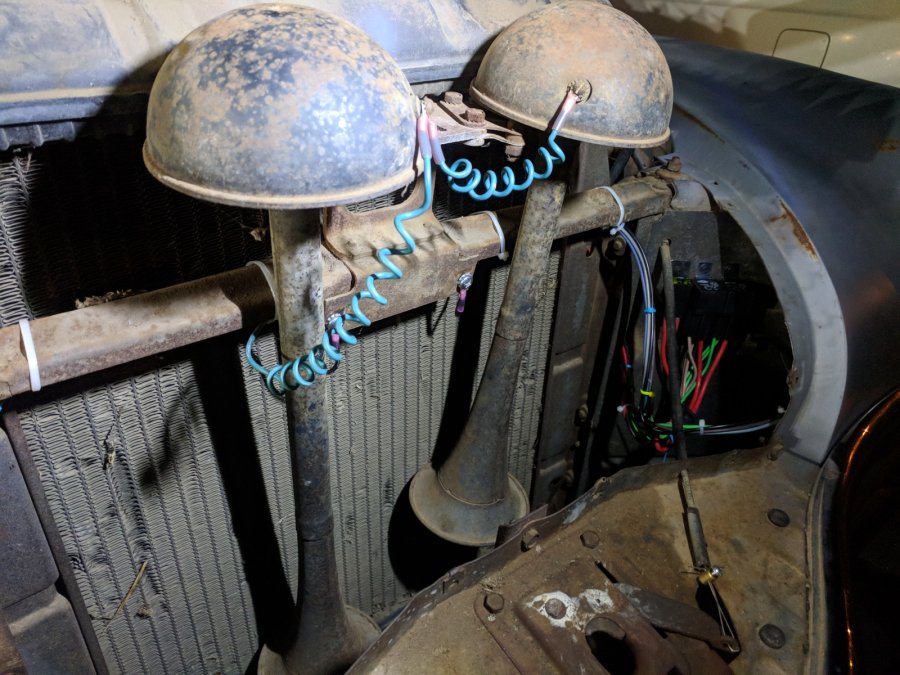
99% of the wiring is now complete. The remaining items are the heater and defroster blowers. This is the first time I have heard those horns and boy are they loud! We took the car out for another test drive today after the wiring was complete. The Gyro-Matic now shifts automatically like it's supposed to and we have turn indicators. I have a feeling my DC converter for the wipers is no good as the wipers aren't working. I'll do a little troubleshooting tomorrow evening. Greg


-
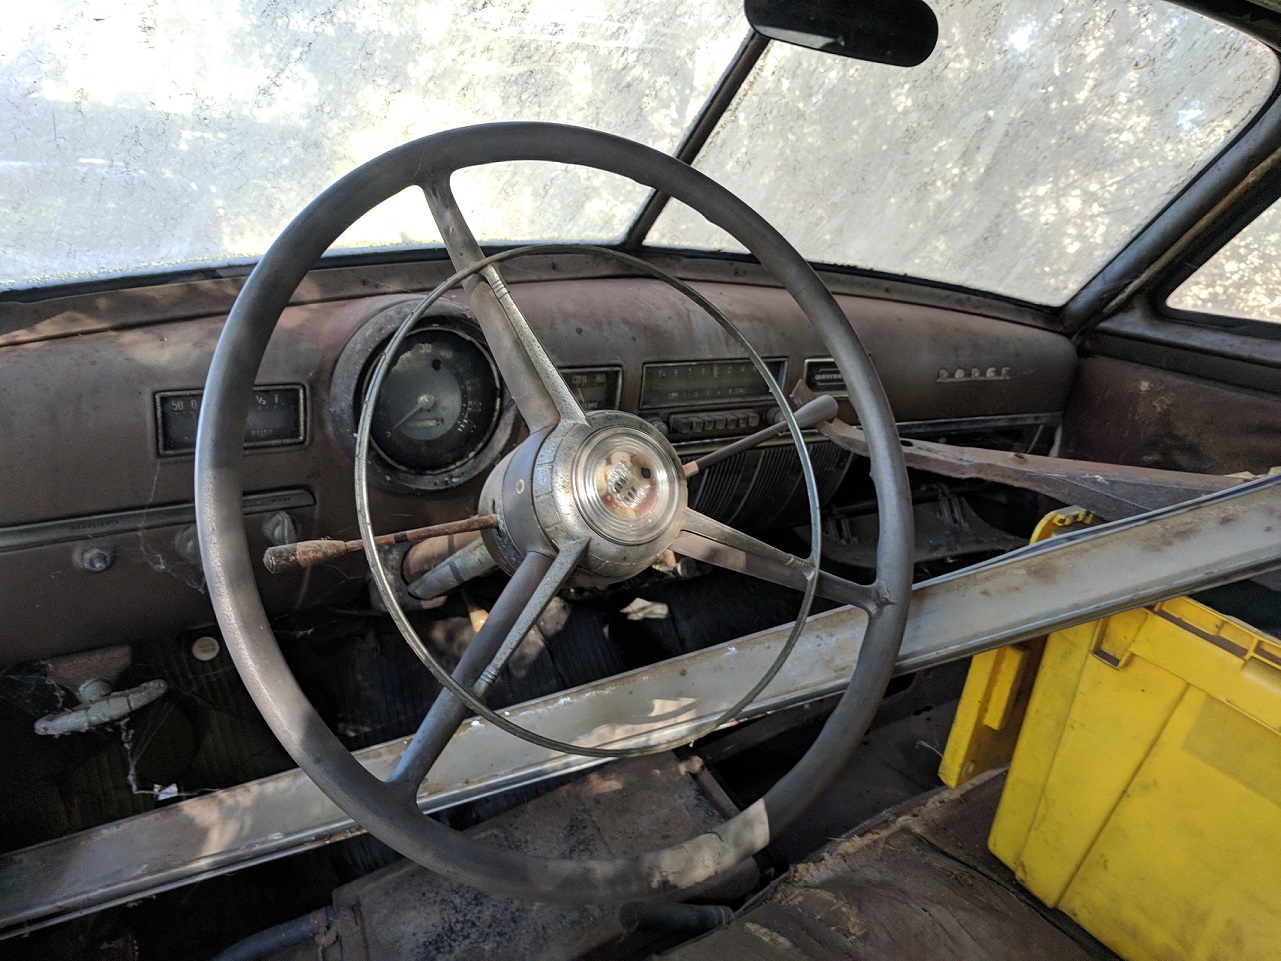
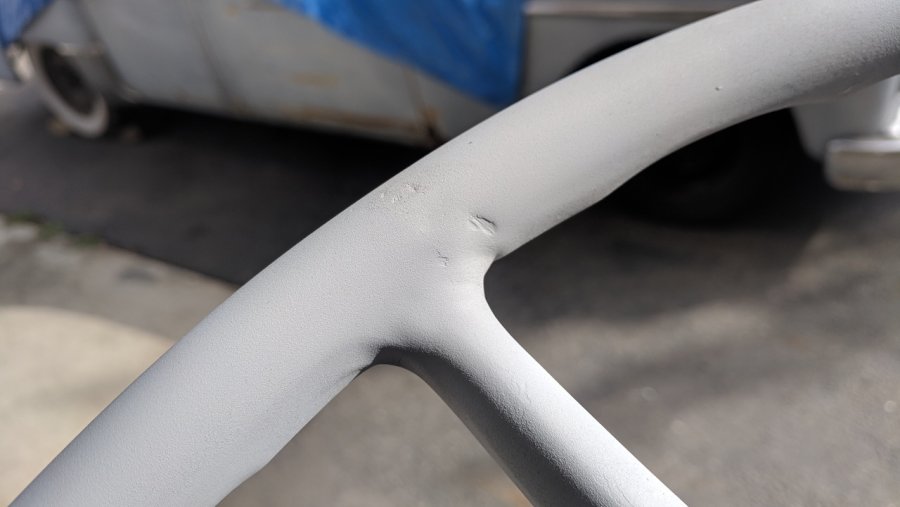
Here is the next step of the steering wheel, a coat of high build primed and a little sanding. Needs some small pits filled in then more sanding.

-
I suggested the white paint on the underside of the dash but my friend didn't like the idea, so I didn't do it.
-
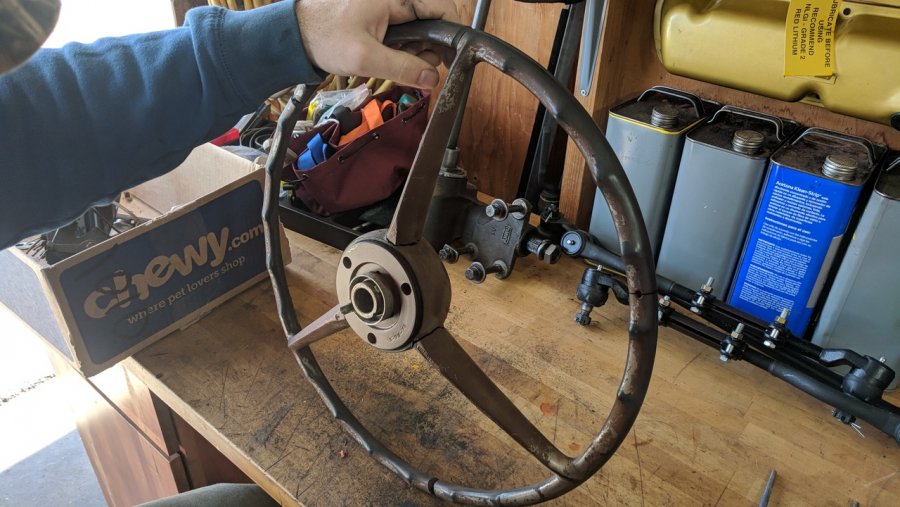
While the steering wheel was out we decided to fix the cracks and paint it. It's nice to have a good looking steering wheel and it feels good on the hands. The first step is to file all the cracks nice and wide so the filler has a place to go. Also the cracks are tapered a bit. The the wheel was cleaned with Acetone then we applied some body filler and let that cure. Next the sanding then primer then more sanding and more filler then more sanding then more primer then more sanding then maybe the paint. Greg


-
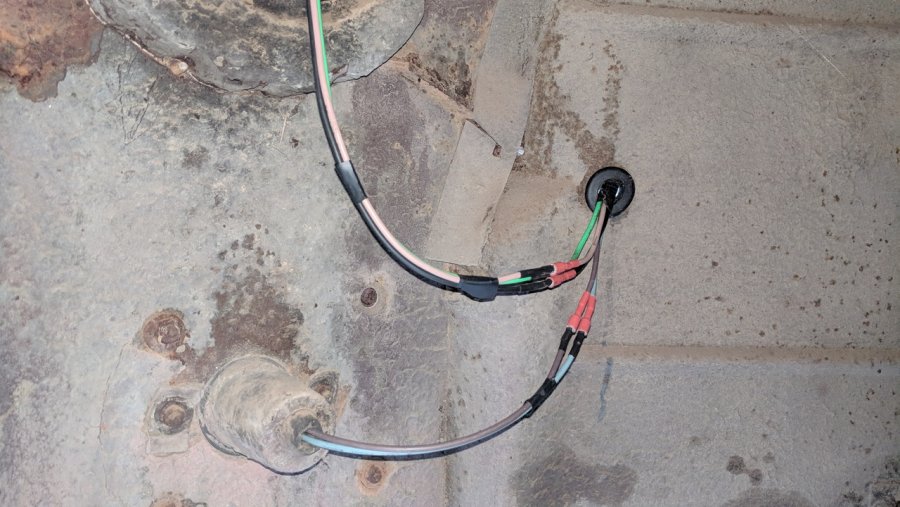
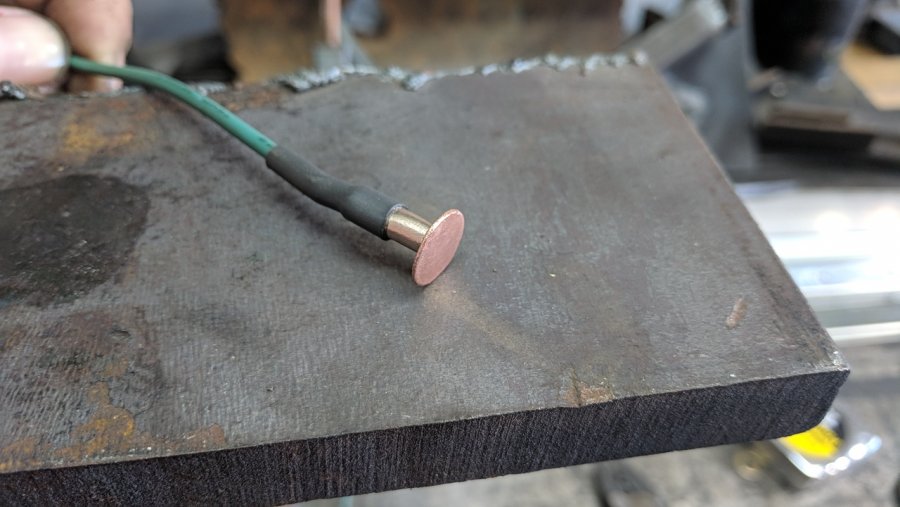
Well, we finally got the dash back in the car. That's a good feeling to have that part done. The remaining wiring is the easy part. I needed to make a horn cable for the steering column. I used a short piece of copper nickel brake line and a little circle of copper sheet for the contact at the steering wheel end. I just soldered the two pieces together and crimped it to a piece of wire. I used a push on retainer to hold the contact tight to the ring that screws to the steering wheel. The whole assembly plugs into the horn cable with a bullet connector. Sorry I didn't get pictures of that part. Greg


-
I don't believe the sills offer any sealing function of the door, rather more of a windlace function. I see no adverse effects from installing a thinner metal version. I think an aluminun or stainless panel would be very nice.
-
These rubber sill mats? These are from a 52 Dodge thought. Yes, reproduction is all I have see too. Luckily mine are in good shape. My friend and I have talked about trying to make a mold from these and attempting to cast new ones. It would probably fail miserably though. Another thought is to fine a ribbed rubber mat and screw it to the sills Greg

-
-
This is not the "best" way but a way none the less. I have had success with this procedure. If the old king pin isn't to knackered up you can make a home brew reamer out of it. I did this on an Austin Healy I had. You grind a groove along the length of the king pin making your own flute. Once the Grove is ground down the middle, clearance one side so there is only one "cutting edge" Just measure the diameter of the old pin and make sure it's not too far from the diameter of the new pins If the king pin is too worn out this won't work as the pin will already be undersized. I'll draw something up and post a picture when I get home. If your reusing the old pins, then nevermind. Greg

-
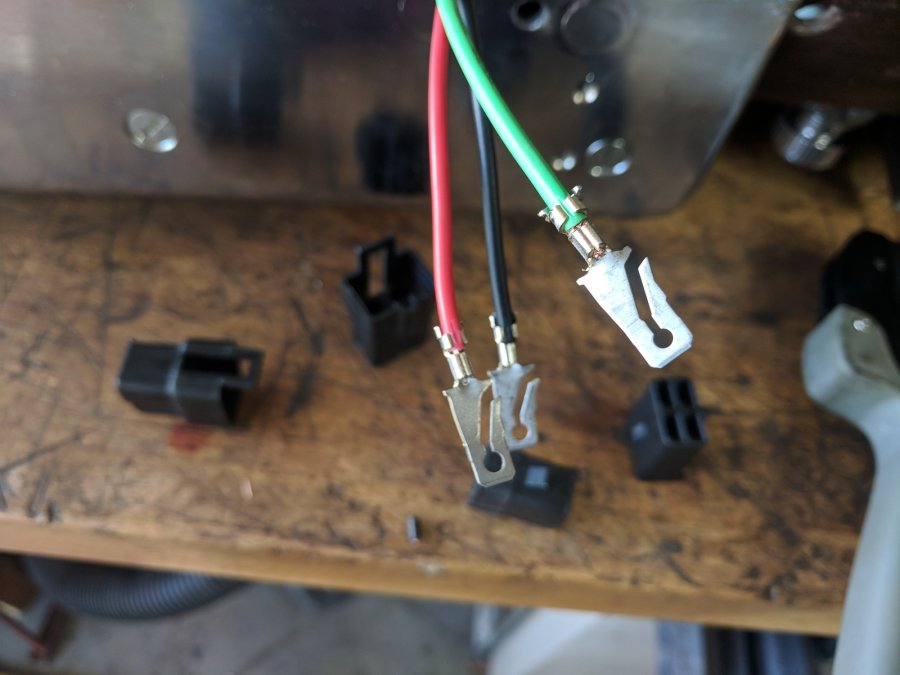
Before reinstalling the dash I thought it would be wise to fix the crispy wires for the wiper motor. I pulled apart the motor and removed the wires from the motor and auto park mechanism. I cleans the auto park contacts and I also cleaned and lubricated the motor brushes. Then I soldered on fresh wire and heat shrinked. Now I just need to install the connector and back in it goes. That should be all for the dash. I should get it installed this weekend, assuming the rain holds out. Greg


-
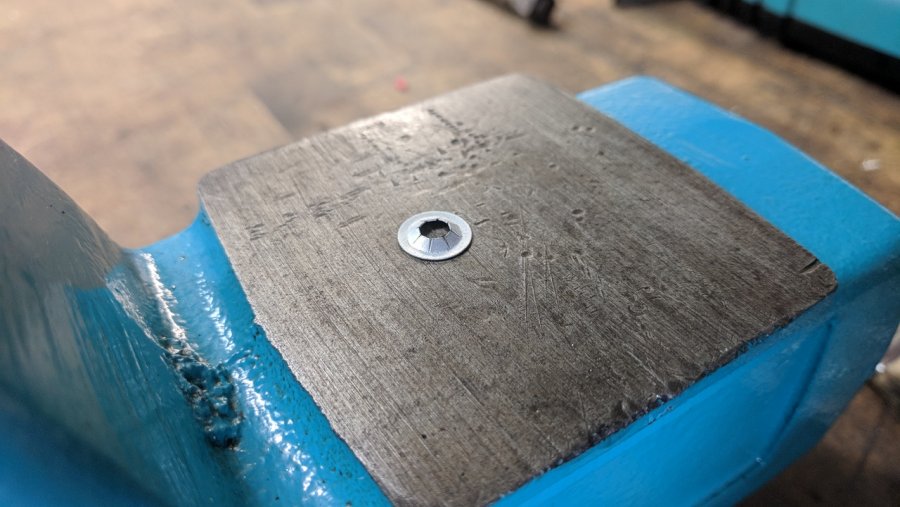
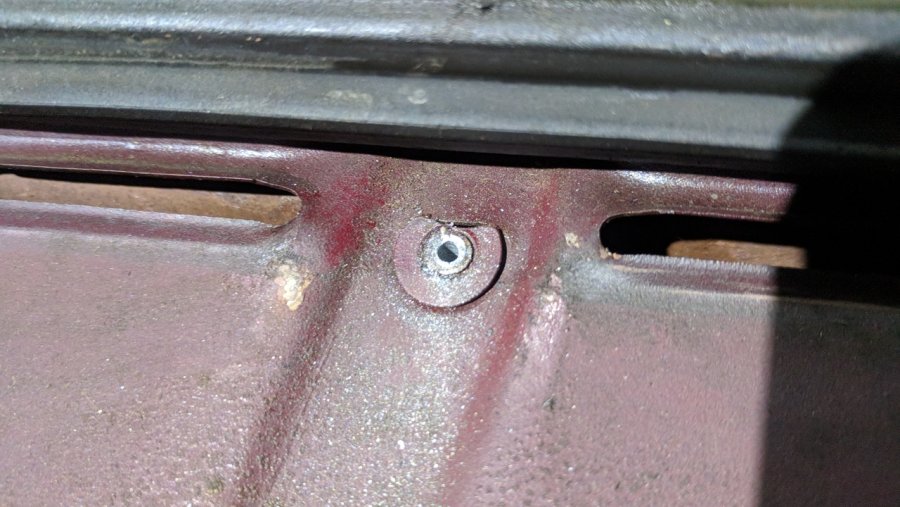
I had a couple of the screws that hold the dash break when I initially removed the dash. I center punched thed slowly drilled untill I had a thin she'll left in the nut. I then used a tap to clean out the remaining threads. I got lucky on both the broken screws, they came out fine.


-
I see now, after looking at my repair manual that the steering gear is not of the recirculating ball type. So my suggestion for bearings will not work. The shims are just for setting up the worm bearing preload. I think you can make them out of any thin stock. I would listen to Andydodge personally. Greg
-
I have used steel bearing balls from McMaster Carr. Assuming they are a standard size they should have them. Can you make the shims and gaskets? Greg
-
I'm not familiar with that axle but if it's a third member, and has no rear pan or drain plug then you may have to remove the third member to drain the fluid. This is how it was on some Ford 8" rear ends. Another option is to drill the bottom of the housing and then thread for a pipe plug. I had to do this on an 8" rear but had it apart for rebuild so it wasn't messy like this will be. Greg
-
Thank you very much for the compliments. I appreciate it very much!
-
Yes, you can definitely add a USB port for phone charging and such. There are converters for 6-12v Neil and Ethan asked about this a few posts back. Maybe that info will answer your questions. Also the converter would be a good fit for something like this amplifier or a phone charger that doesn't draw a whole lot of current. Greg
-
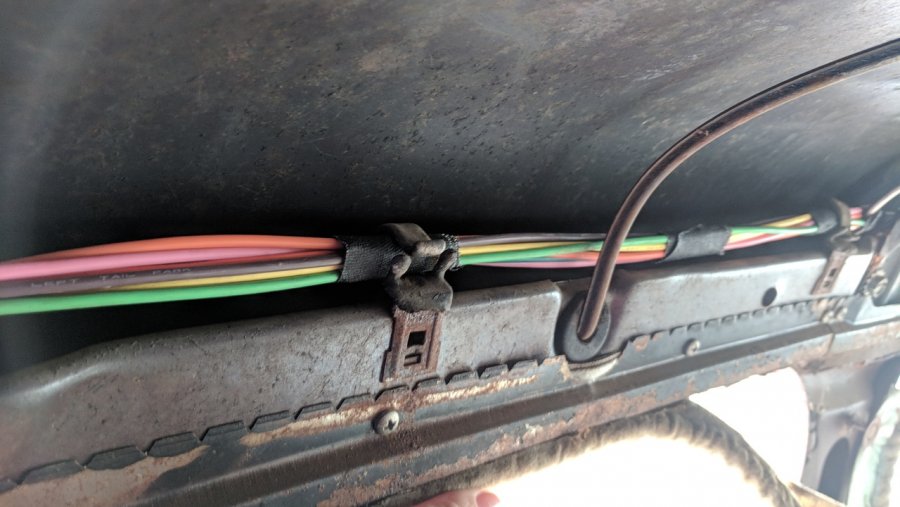
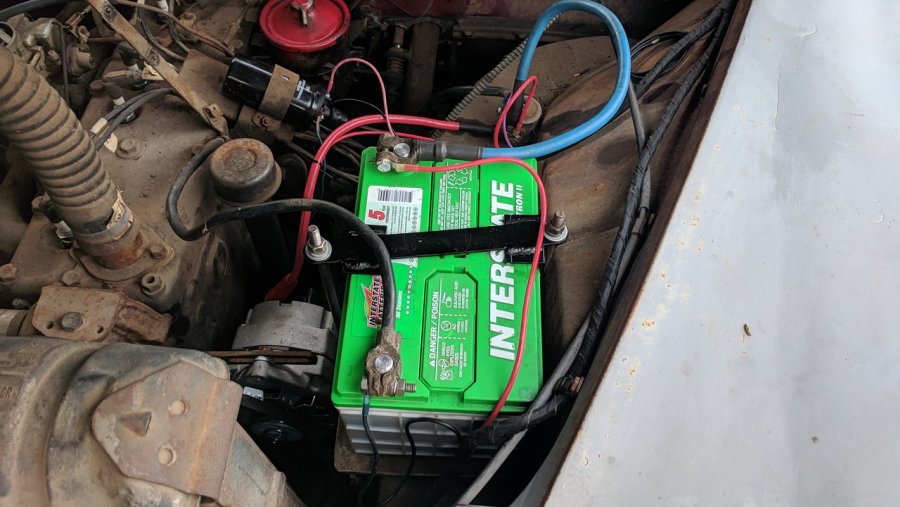
The 12v-6v DC-DC converter showed up and I got that installed. I fabricated a simple aluminum plate that bolts on using the radio grill screws. I used a little foam tape on the rear in case it vibrates against the dash and for wire rub through protection. The converter is mounted with rivet nuts. I left the extra aluminum for future addition of the stereo components. In the past I have used a small amplifier chip that will power two speakers and has a headphone jack input. You can also have a Bluetooth input too. The chips use various input voltages so watch out for that when choosing one. All that will show on the dash will be a small 3.5mm headphone jack. Click here for an example. All the Packard connectors are installed for the dash and under dash wiring. I have one for the ignition switch, one for the wipers and one for the lighting switch. i also took apart the turn signal switch and cleaned the contacts and replaced all the wires. I used a 6 gang Packard connector for that too.


-
The front lights and horn are wired.


-
Started the teardown, and now the build up.
Gregarious13 replied to casper50's topic in P15-D24 Forum
That's cool!

