Search the Community
Showing results for tags 'Frame'.
-
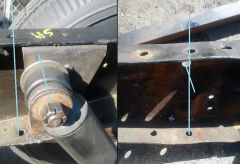
Does anyone sell the frame tabs for mounting the body, met a guy who bought some parts from me and I am going to help him with his build unfortunately his frame tabs are in pretty rough shape, I could make some but in the interest of saving time I'd just like to replace the originals
- 3 replies
-
- body mount
- frame
-
(and 1 more)
Tagged with:
-
From the album: 49 P15C update
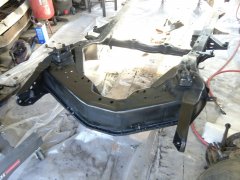
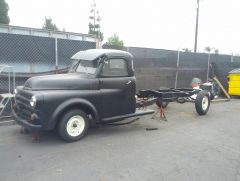
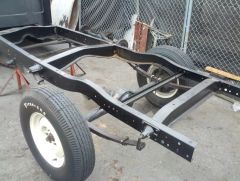
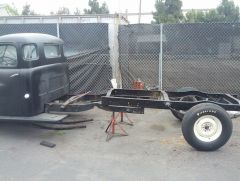
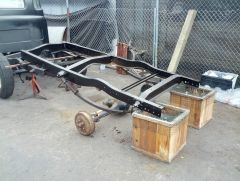
Used POR15 topcoat chassis paint. -
From the album: 49 P15C update
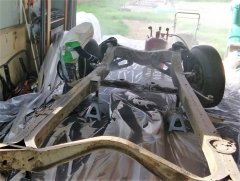
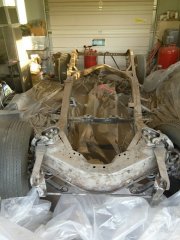
cheap sand blaster. With some help from a five year old nephew. -
From the album: 49 P15C update
using acetone and a cheap sand blaster. With some help from a five year old nephew. -
Well it has been a long time since I have posted on here. Its hard to think that I bought my Plymouth 3 years ago and I am just now getting to it. Guess that's what happens when you knock out a Bachelors and Masters in 4 years. Now that I have time for the car I have been going over it more and more. My rearend is an Exploder 8.8 (3.73, Posi, discs). Motivation is 383/727 combo. Now here is where the fun begins. I have spent the last few days going back an forth on the front end. First thought was Fatman but $2500 isn't possible. Then it was rebuild what's there, add discs, add R&P, and go from there. I am still well over $1k and using R&P on something not designed with that in mind. Now I am considering a Dakota frame stub. It would make the engine fitment a bit easier. Parts are more readily available. Steering setup would make me a bit more comfortable with putting the family in the car and it would be a cost savings now and later. I know there are those who are against the frame stub. Trust me I have searched every post about this and anything close to this and I know I shooting for a small group to answer. I know the pros and cons of all the options. Is there anyone who can tell me what it would take to do the Dakota frame stub? What year first gen Dakota do I need for discs? Not looking to do a complete frame swap either.
-
I'm about to get started on restoring my D14 and would like to sandblast the frame and paint it as it's been probably 70 years it's been exposed to the elements. But I have no lift to separate the body from the frame and don't want to warp the body by doing it incorrectly. So is there a way to do it without a 2 or 4 post lift, and how can I avoid warping the body once it is lifted off? edit** I should note that the floorboards have been rusted through completely as well as in the trunk. I so I wouldn't count on too much structural support from the floor.
-
-
From the album: Frame Build
© Mprutz 2014
-
From the album: Frame Build
New springs in the front, sitting on the ground. Think maybe I'll keep those 15" rims in the front after all.© MPrutz 2014
-
From the album: Frame Build
New springs in the front, sitting on the ground. Looks like a truck!© MPrutz 2014
-
-
On the ground - why it needs front springs - front
TrampSteer posted a gallery image in Individual Member Photo Albums
From the album: Frame Build
No it's not falling off the rack. It really is fully on the ground.© MPrutz (c) 2014
-

On the ground - why it needs front springs - Back
TrampSteer posted a gallery image in Individual Member Photo Albums
From the album: Frame Build
Like a jacked up Gran Torino at the high-school dance. I'd love to run it this way but there is no room for suspension travel at all so on go the new springs.© MPrutz (c) 2014
-
From the album: Frame Build
The more I work on this, the more it goes back to stock.© MPrutz (c) 2014
-
From the album: Frame Build
Had to have 1" cut off to have it fit properly. Seems the previous owner really had the wrong drive shaft. I went through all my trigonometry and thought that the bad fitment was because of the botched lowering job done previously. But after all the corrections it still fit so tight it was going to damage either the rear end or the transmission. I didn't need that $300 bucks anyway.© MPrutz (c) 2014
-
From the album: Frame Build
You really can't tell unless you know to look for it. This is the frame splice on the driver's side. You can see the extra grade eight bolts that are attached to the inside plate. There is also an outer plate on the flanges to insure they are still doing their job.© MPrutz (c) 2014
-
From the album: Frame Build
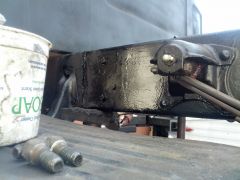
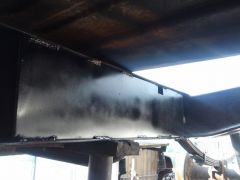
This is where we boxed the inside frame join. The actual splice is about midway of this new plate. The length is the recommended 1 1/2 * width on either side. This should still allow for the normal flex that the truck was engineered for without me sliding down the road later in life. There is also an inside plate on the rail that you can't see.© MPrutz (c) 2014
-
From the album: Frame Build
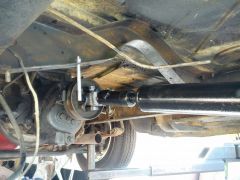
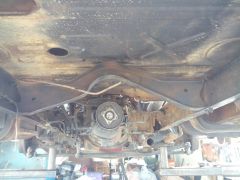
This is under the mid section of the cab. It actually rubs on the top center there. Where this came from will forever remain a mystery. I find it hard to believe it is from this truck. The previous owner talked about putting a T5 so thi s is probably something he did in prep of that. Something for later I suppose.© MPrutz (c) 2014
-

A good reason to get new springs
TrampSteer posted a gallery image in Individual Member Photo Albums
From the album: Frame Build
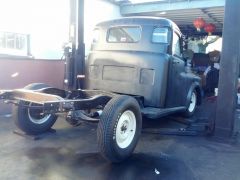
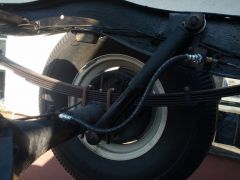
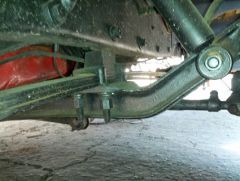
Currently on the truck as purchased. This is part of the lowering plan. There are three leafs in there and about 1/2" of clearance to the bump stop.© MPrutz (c) 2014
-
From the album: Frame Build
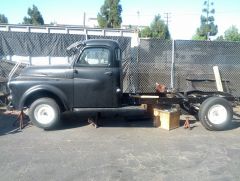
Poor man's lift kit: Getting the cab to the right height so we can start the splice. As shown, it's about two feet too long. We'll use the factory frame holes to align the parts for the final cut.© MPrutz 2014
-
From the album: Frame Build
Restored rear to normal height. Hmmmm, better do the front too.© MPrutz 2014
-
-
From the album: Frame Build
Yikes! Restored rear to normal height. Better do the front too.© MPrutz 2014
-
-
From the album: Frame Build
Not all frames are created equal. The shock mount bracket is not interchangeable. One of them from the original '53 I have has mounting that is basically in a straight line. Top hole, bottom hole and the shock itself that runs into the frame. The other, well, the mounting hole on the side of the donor frame is NOT inline. We elected to man-handle the bracket instead of drilling new holes in the frame.© MPrutz 2014

.thumb.jpg.2939a062256d4ab25842bb553f7111d0.jpg)
