Search the Community
Showing results for tags 'B4B'.
-
From the album: Sundry items
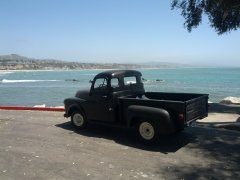
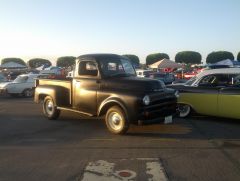
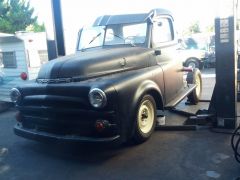
Finally got to take her for a drive after over a year ... Good day out. -
-
- license to cruise
- dodge
-
(and 2 more)
Tagged with:
-
-
- license to cruise
- 1953
-
(and 2 more)
Tagged with:
-
-
- license to cruise
- dodge
-
(and 2 more)
Tagged with:
-
-
- license to cruise
- 1953
-
(and 2 more)
Tagged with:
-
-
- license to cruise
- 1953
- (and 6 more)
-
-
- 1
-

-
- license to cruise
- dodge
-
(and 2 more)
Tagged with:
-
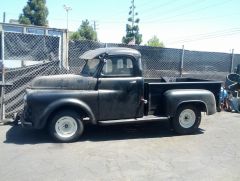
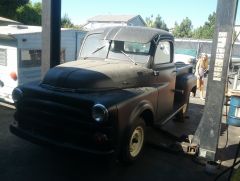
Hello all, New to the forum. I'm about to start restoring a 1953 B4B pickup that used to be mine but is now my dad's. It's been sitting for about 10yrs. I'm starting with the brakes. While I can find most parts except for the drums, I'm wondering if it would be worthwhile (and safer) to just update the front and rear-ends to something newer. Has anyone done that or does anyone know what will fit with minimal modifications? Forgive me if this has already been discussed. Thank you
-
-
From the album: Sundry items
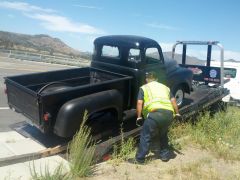
This is my tow truck driver Santed. He is from Iraq and living in southern california now with his wife and son, near his brother and family and away from those crazy people who kill each other for no reason. America is still great.© MPrutz 2015
-
Both of my '53 1/2 ton front wheel brake cylinders are holding fluid mostly because of the rubber boots. Looks like some severe pitting. I plan on just replacing the cylinder instead of trying to use emery cloth. I've been going through the online manuals and find a reference 5-64-1 for the part. I am using DPETCA information on-line. The details for part numbering look like they changed a lot per model and the closest I can figure is that the B4B of my serial number (853xxxxx) needs two 1393-269 parts. I think I'm reading it right but these things are new to me. I have concluded that any reference to the left or right on the front is probably a reference to previous year models. I'm having trouble converting this data (that I hope I have right) into a part store number. Robert's shows a T-31 assembly with no reference to left or right or front. Hagen's shows 10588 for either side, but also lists 10580 through 10584 for front lower and upper Left and right. In general, they don't specify "truck" so I don't know what to think the part is for. Napa gives a single 17789 for the front but also lists a Left and right for the front as 3595, 3596 and they all have the same picture and NAPA doesn't know which one I should order. The web chat guy basically guessed I should get a left and a right. I'm leaning tow the Napa 17789 but was wondering if anyone could confirm? Thanks in advance Mike
-
-
-
From the album: Frame Build
© Mprutz 2014
-
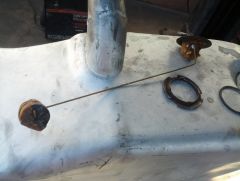
The truck finally came back from the frame shop. Parked right next to me was this. I swear he was just taunting me! LOL <-- not my truck! But back to important matters. Not only did they line up the two halves and splice it together but they also took out a 1/4" diamond shape noticed in the new section. Nothing left to that part but the worrying. Now that we have a real frame, things started falling in place faster. New brake lines could be run, bled and completed Rear wiring back to the tail end re-established Drive line completed Gas tank mounted and ready Well, it wasn't that easy. Turns out the driveshaft was STILL an inch too long. I did all the math and thought it was because the lowering shortened the hypotenuse between transmission and rear end. Although it helped, it wasn't enough. The only thing we can figure is that this is not the original drive shaft. So we sent it out to get shortened and rebalanced. THEN we completed the drive line. And ... the gas tank isn't really on anymore. We hadn't actually had it inspected so that has to happen first. Plus I never bought that gas tank sending unit. But we did weld in some mounting points so we know it fits where it needs to go. Couple of screws and "bob's your uncle" we have a running vehicle that also stops. And .. I am going to replace the front springs with the set I got from TIm so it doesn't look like a 70's street racer. And ... well, there is always more. The important thing at this point is that the list of things yet to do is approachable. I appreciate everyone's advice and help with this. It makes all the difference. Mike Gallery for the frame build ... UPDATE: Springs on! Did a mock with the bed up on the frame loosely.
-
From the album: Frame Build
New springs in the front, sitting on the ground. Think maybe I'll keep those 15" rims in the front after all.© MPrutz 2014
-
From the album: Frame Build
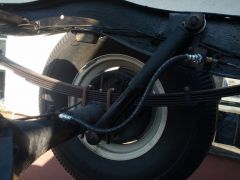
New springs in the front, sitting on the ground. Looks like a truck!© MPrutz 2014
-
-
On the ground - why it needs front springs - front
TrampSteer posted a gallery image in Individual Member Photo Albums
From the album: Frame Build
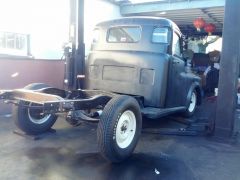
No it's not falling off the rack. It really is fully on the ground.© MPrutz (c) 2014
-

On the ground - why it needs front springs - Back
TrampSteer posted a gallery image in Individual Member Photo Albums
From the album: Frame Build
Like a jacked up Gran Torino at the high-school dance. I'd love to run it this way but there is no room for suspension travel at all so on go the new springs.© MPrutz (c) 2014
-
From the album: Frame Build
The more I work on this, the more it goes back to stock.© MPrutz (c) 2014
-
From the album: Frame Build
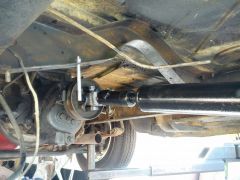
Had to have 1" cut off to have it fit properly. Seems the previous owner really had the wrong drive shaft. I went through all my trigonometry and thought that the bad fitment was because of the botched lowering job done previously. But after all the corrections it still fit so tight it was going to damage either the rear end or the transmission. I didn't need that $300 bucks anyway.© MPrutz (c) 2014
-
From the album: Frame Build
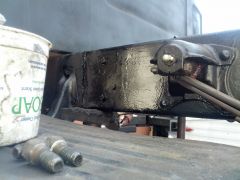
You really can't tell unless you know to look for it. This is the frame splice on the driver's side. You can see the extra grade eight bolts that are attached to the inside plate. There is also an outer plate on the flanges to insure they are still doing their job.© MPrutz (c) 2014
-
From the album: Frame Build
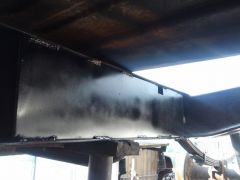
This is where we boxed the inside frame join. The actual splice is about midway of this new plate. The length is the recommended 1 1/2 * width on either side. This should still allow for the normal flex that the truck was engineered for without me sliding down the road later in life. There is also an inside plate on the rail that you can't see.© MPrutz (c) 2014
-
From the album: Frame Build
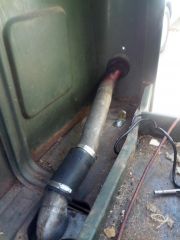
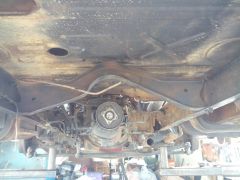
This is under the mid section of the cab. It actually rubs on the top center there. Where this came from will forever remain a mystery. I find it hard to believe it is from this truck. The previous owner talked about putting a T5 so thi s is probably something he did in prep of that. Something for later I suppose.© MPrutz (c) 2014

