3046moparcoupe
-
Posts
262 -
Joined
-
Last visited
-
Days Won
1
Content Type
Links Directory
Profiles
Articles
Forums
Downloads
Store
Gallery
Blogs
Events
Everything posted by 3046moparcoupe
-
CHAMPION CC4749 Aluminum Radiator in P15 Coupe ??
3046moparcoupe replied to 3046moparcoupe's topic in P15-D24 Forum
Don and Rick, thank you both for your reply's. Don I SURE APPRECIATE the link to your previous endeavors associated with this same radiator...I enjoyed viewing all 6 pages ofthe topic...this is my 1st time to be around a flathead engine, and now that I think of it, I believe you said you had a Desoto flathead in your Plymouth, anyway - maybe thats the reason for the difference,..I kept seeing pics of a thermostat housing that extended straight upwards. My thermostat housing extends upwards towards the radiator at a fairly steep angle...say 30-40 degrees or so...I'm gonna try attaching a picture, looks like the system is gonna let me attach the pic,. well see ..anyway - even with the angle, If I cut the upper outlet port as Don did - I would expect I could find a hose that would work. I'm good with my local Oreilley's Auto Parts, they'll let me look through their inventory, and most are hanging in the open in the storeroom. Sure like the looks of the clean, new aluminum radiators,..really was wanting the lifetime warranty as well, I'm sure cutting the neck off probably eliminates the warranty ?? Don, by chance did you happen to cross that bridge with Champion when you were speaking with them ? will they still warranty a radiator that's had the output port cut down/off ? (even though it shouldn't affect the working integrity of the radiator, but typically any modification results in a loss of warranty )...thanks again Guys....Steve. -
Champion Radiators seems to be building one of (if not the best value), in Aluminum Radiators on the market. Lifetime Warranty/billet fittings/brass petcock valve/etc...their CC4749 radiator looks like a duplicate to my original radiator in this 47 P15 2 door Coupe, except from what I can tell in eyeballing pictures, one detail.....the upper 1 3/4 inch port, located in the center of the top tank, appears to extend outward at a straight 90 degree angle and then downward at another 90 degree angle ? The original radiators have this same port extending from the center of the top tank down towards the thermostat housing at about a 30 degree angle. This distance between the radiator outlet and the thermostat housing is short (as far as most radiator hoses go), maybe 5-6 inches....so doesn't look to me like there would be any way to use an oem radiator hose,...one would have to try and either use a flexible universal or dig through the stock and the parts store looking for something that might work....maybe no big deal, and certainly part of the fun and pride in building these old rides is oversoming the challenges, but I thought I might just send this post out, and maybe someone has dealt with this already...yesterday I sent Champion some pics and a drwg with angle measurements of my oem radiator - as their customer service rep said they might be able to make me one with the angles I'm seeing on my orginal radiator..no reply back yet...as without knowing the actual dimensions of their radiator at key locations (the exact angle of the vertical side radiator to core support brkts, the clocking angle of the upper tank, which I would expect on their unit is a straight 90 degree angle - but on this oem rafiator is off 90 by about 10-15 degrees),..things that all in turn, together effect the angle of that top outlet once the radiator is in place....as you all know that upper hose is thick and stiff, and it's not gonna flex much if any...certainly there's gonna be room to be off a little, but things need to be close.....any help would be appreciated. Steve
-
Replacing Beltline Molding on 46 P15 Special deluxe
3046moparcoupe replied to 3046moparcoupe's topic in P15-D24 Forum
Chet, I called Restoration Specialties today and spoke with Jeff at #814-467-9842 - and he did have the exact NOS Plymouth push in wire type P15 hood side molding clips like I was looking for, exactly as you thought he might...many many thanks my friend. I purchased 16ea of the clips so I'd have a complete new set plus a couple of spares. Jeff said that regarding his NOS inventory items, which do not get listed in their catalogue,...one must check with him direct,....and for anyone else out there whom might be needing some of these type clips - he said he had enough left for about 2 cars, then he'd be out and there would be no more....so many thanks Chet, you hit a homerun on this for sure I appreciate it. Steve'g....the clip part # is B1108, it is a wire push in type clip, the slightly curved section of the clip is a rectangle that measures 1 1/4" x 1", with the push in section of the clip being slightly off center by about 1/16th-1/8th ", the push in portion of the clip meaures 1" deep, and slightly over 1/2" wide.....Jeff's price for these is $1.25 ea. -
Replacing Beltline Molding on 46 P15 Special deluxe
3046moparcoupe replied to 3046moparcoupe's topic in P15-D24 Forum
Chet, I couldn't find anything that matched up with my hood clips at restoration specialties looking through their on line inventory, I have not tried to call them yet....I'll try giving them a call tomorrow and see if that produces something.....sorta figured if they had it, I would have found it in their ordering info,...anyway - a call is quick and easy enough..if you do stumble across that receipt, send the part # this way...many thanks..S. -
Replacing Beltline Molding on 46 P15 Special deluxe
3046moparcoupe replied to 3046moparcoupe's topic in P15-D24 Forum
Awesome Chet, tahnk-you - I'll check with Restoration Specialties.....I was aware of a half dozen or so internet providers to obtain old Mopar items, but I had not yet found these guys....many thanks. Steve. -
You guys are the best.... I really appreciate it. I'll try not to bury folks with too many questions..but this is amazing to get the real deal correct answer to questions (small or large) about these cars...THANK YOU ALL SO MUCH. hopefully one day I'll be able to contribute as well... I'm really glad I joined this forum..Steve.
-
Had a matching 5th mopar 15" x 4 1/2" (inside lip to lip) wheel arrive here at the house via UPS from Wildcat Wrecking in Oregon. Already have the four ea existing wheels powder coated and on the car with new P2157515 tires...all my wheels have the hub cap clips in place and straight. I've been watching ebay for a deal on a set of clean hub caps, (messed up about a month back and let an auction get by me where 5ea hub caps went for $36.50 - at least i thought it was a loss on my part, they were straight and so clean - because they were aluminum !!, the listing said they were an aftermarket hub cap made back in the day, man were they clean inside and out - even had the original installation instructions still glued to the inside of each hub cap,..they had the logo pressed into the cap that resembles the hood ornament on a 46-47 P15 as seen from the side. don't know if anyone out there is familiar with this type aluminum hub cap? haven't seen another hub cap like that advertised/listed anywhere else...seems like the aluminum would be easy to dent, but it's not gonna rust,....I've found the new reproductions hub caps, with the red plymouth logo listed a few places on the internet for around three hundred + dollars or so for a set of 4ea....still just watching and waiting for another possible bargain to come along. wanted to ask - I see where they are listed as being 9", 9 1/2", and even 10"...on ebay, and I'm wondering if some folks just read a ruler differently, etc..is there more to it regarding these different listed dimensions, anyone in the know regarding these dog dish hub caps, willing to share their knowledge this way, would be greatly appreciated.
-
Replacing Beltline Molding on 46 P15 Special deluxe
3046moparcoupe replied to 3046moparcoupe's topic in P15-D24 Forum
Many thanks Chet....I appreciate the info,...beautiful car you have there, I like that deep corsair blue paint....my hood side trim clips are the wire type, and the old ones are still in pretty descent shape,...I soaked them in evaporust to clean them up - and there not pitted to badly, still since I think t's a total of 10 ea to do the hood, I've been looking for new ones. I've found them on a few different web sites, but the dimesnions are never correct. mine are a larger rectangular shape than all the ones I've found listed so far...my old hodd side clips are basically a 1 1/4" x 1" rectangular curved wire shape, then the diamond shaped ends of the wire (that protude through the hood hole also measures at 1 ". Does this description sound like the same hood side trim clips you have found available somewhere ? -
Replacing Beltline Molding on 46 P15 Special deluxe
3046moparcoupe replied to 3046moparcoupe's topic in P15-D24 Forum
Thxs guys for the info, and sorry about the name change Young Ed, I hadn't had my coffee yet that morning and wasn't firing on all 8 cylinders yet...S. -
Replacing Beltline Molding on 46 P15 Special deluxe
3046moparcoupe replied to 3046moparcoupe's topic in P15-D24 Forum
Hello Don, Hurst is in the Dallas Ft Worth Texas Metroplex mid cities area....on the north east edge of Ft Worth...thanks for the reply, I've seen the type clips you were good enough to share the pic of - on ebay and have also purchased some items from seaplym (small world huh the oem type clips (like what I purchased) are appealing in that you don't have to remove your interior to secure the trim nut, they just insert into the hole from the outside - but then the idea of snapping/pressing the molding on to a metal clip sure sounds like an easy way to scratch things up, and if a scratch is just deep enough to get down to metal, what a mess/waste....that would be....I'm wondering if laying down some masking tape against the body, running horizontally along the top and bottom edge of the molding, to act as a protective cushion,....that could be peeled off and away from under the edge of the moulding once it's attached to all the clips...would be possible..??...Yesterday via this forum's chat, a member called Young Joe, told me you just start at one end, by pressing in and up, on the middle of the molding,.. I'm not a purist at heart, so it's not like I've got to use the oem type clips, (and even tough I did pay a lot for them - cutting through the paint even once, just isn't acceptable - talk about shooting yourself in the foot),.. even though I'm quite a ways away from re-installing the molding, my head keeps going back to this,...and hopefully it's as simple as Young Joe described,.. maybe some more folks with experience in this area will have some helpful info to share...thanks again for your reply...S. -
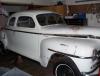
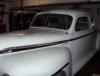
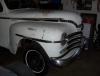
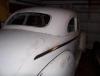
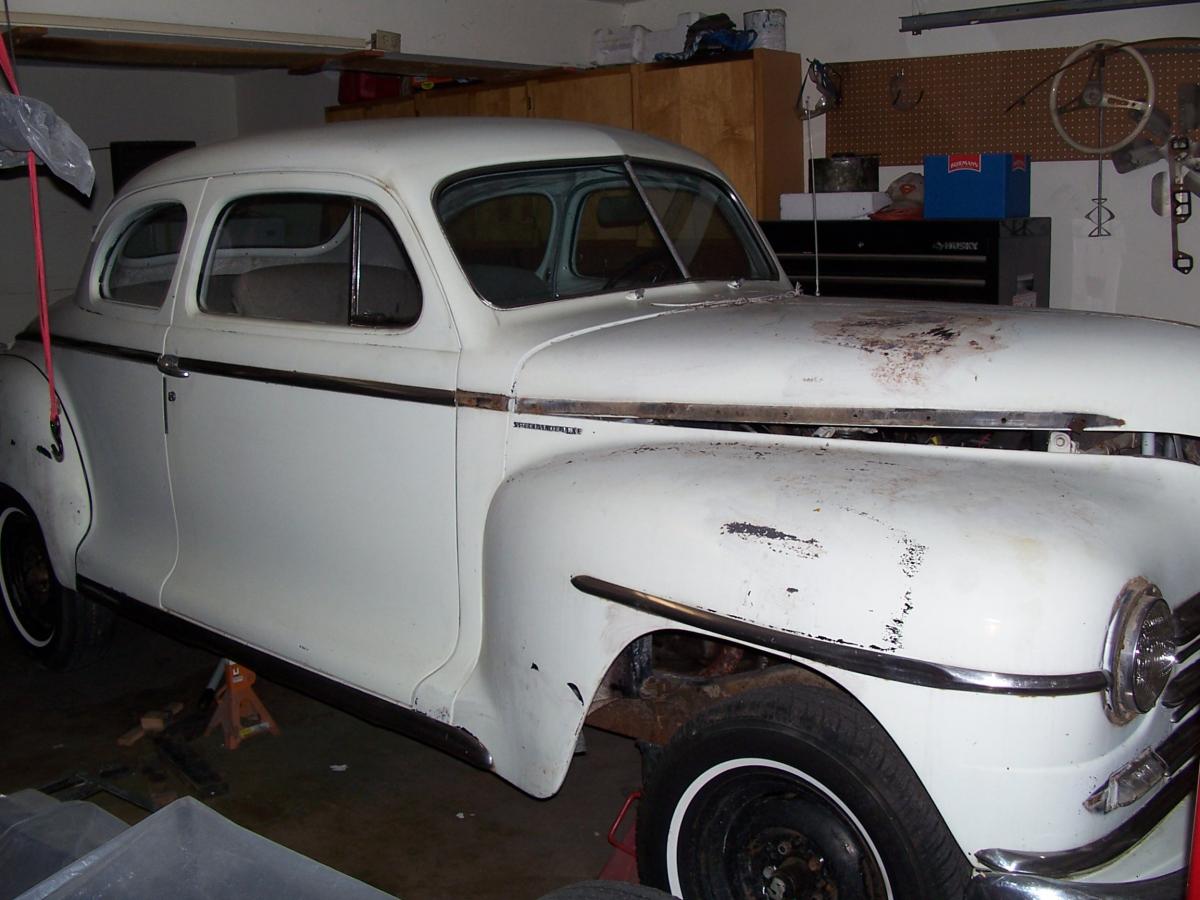
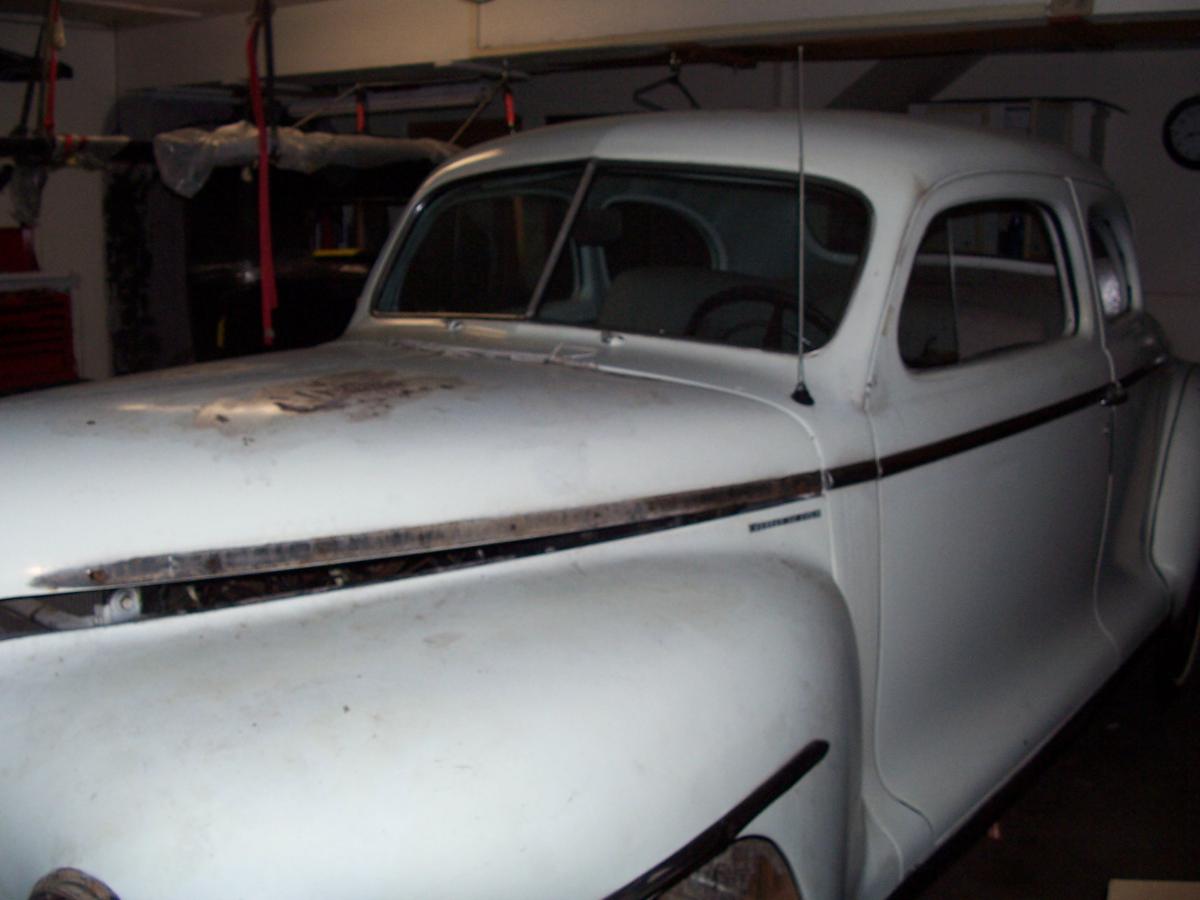
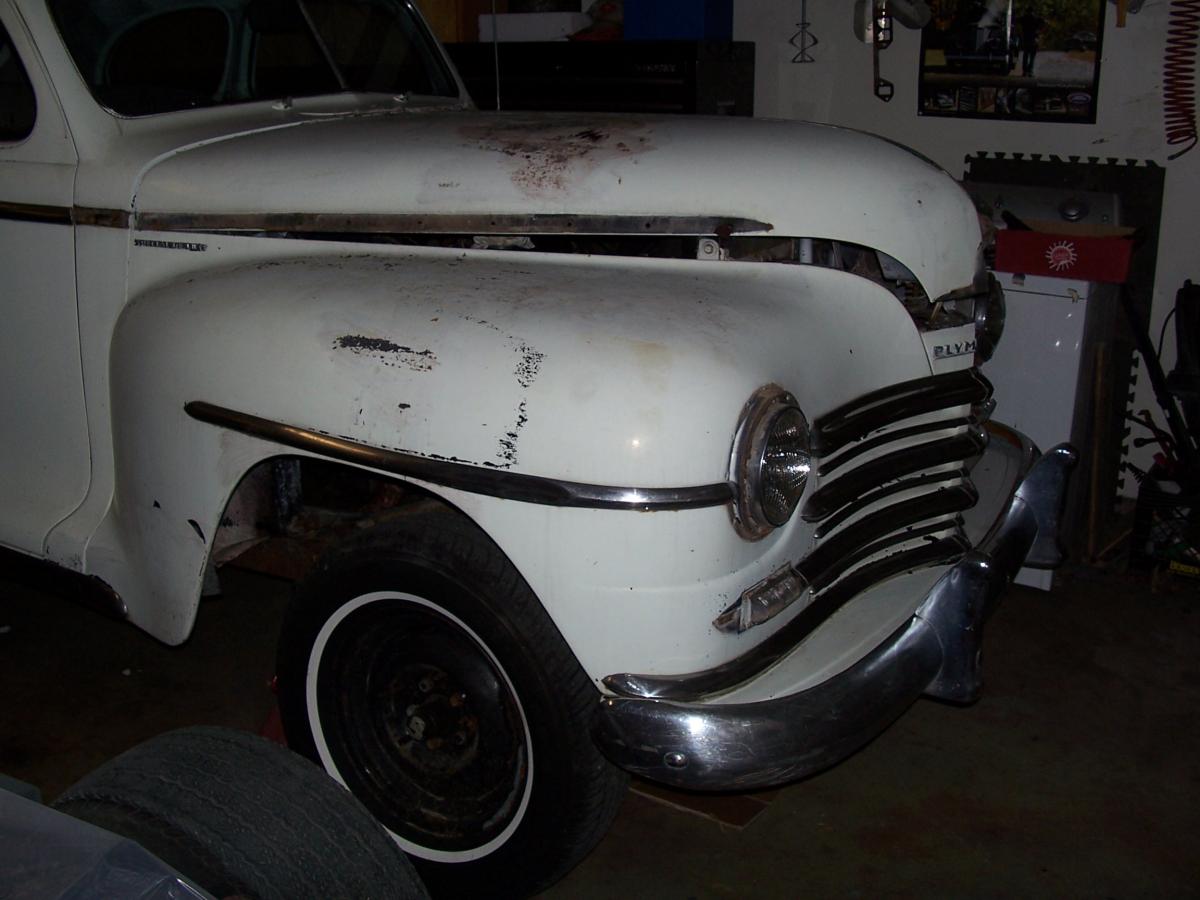
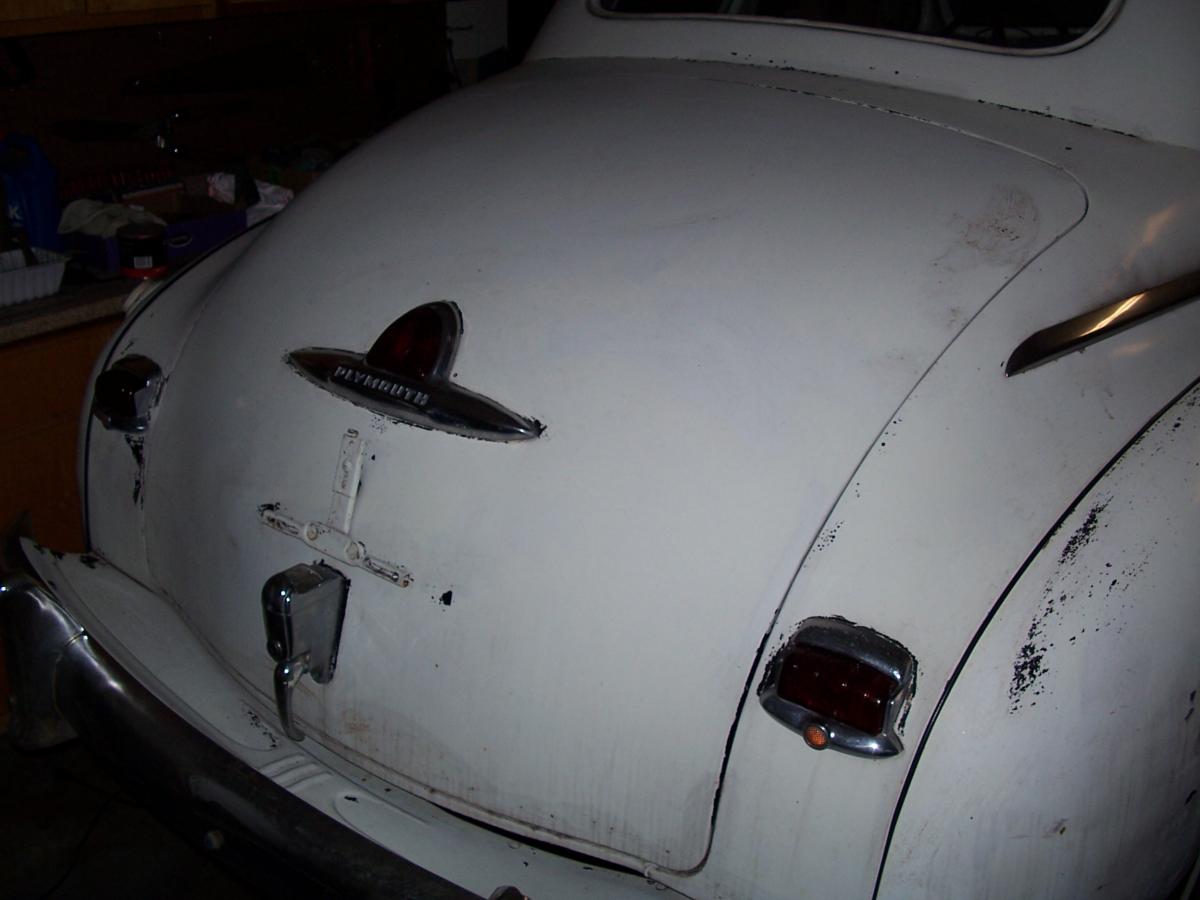
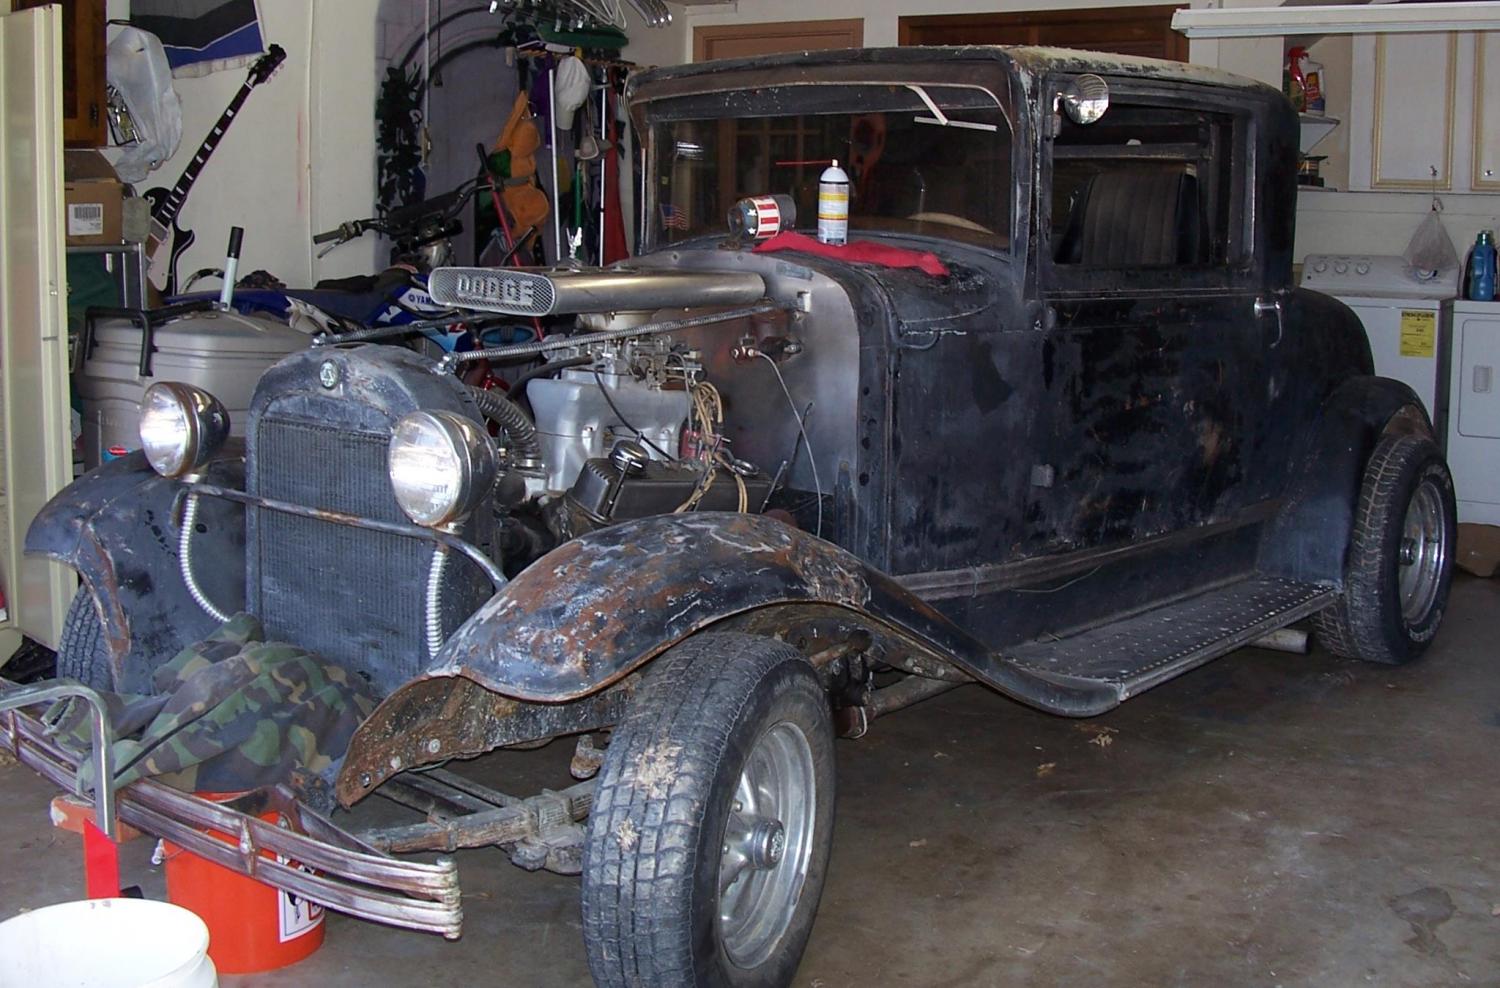
Thanks in advance to all whom might take the time to share their insight regarding the restoration of these awesome PLymouth Cars. I've just started dis-assembly of a 1946 special deluxe coupe. Have the front end off the car, and have been killing rust, welding where needed, priming in urethane, then wrapping in bubble wrap, boxing it up in a labeled box,...piece by piece.... trying to kill as much rust as I can before the cold weather sets in on me (woking out of my attached 2 car garage) and my above 50 degree window for shooting urethane primer goes away until next spring. 1st items to come off the car was the stainless molding, (fenders, doors hood, grill, etc),...and when not phyisically working on the car at night, I have been able to locate new replacement OEM type trim clips. Mostly off of ebay, and some pretty pricey !! Obviously I'm not there yet, but wanted to ask about the side body beltline clips that hold the long molding sections down the side of the car...my new clips are replicas of the original oem clips that push into the molding hole. This metal clip is held in place by (2)ea short lips that when looked at from the side, resemble an open ducks bill,...when I was removing the molding, it was a first for me, so I just worked slowly at it, and the molding popped right off leaving the clips attached to the body of the car...then a pair of pliers was all it took to grap the clip from their centers, and with a slight rocking motion they came free from the car...it would seem that common sense would dictate that for re-installing the molding, the clips would have to be 1st attached to the car, then the molding attached to the clip....and it looks as though when the new clip is inserted into the hole, you are to use a bit of plier pressure to expand those duck bill shaped lips inside the hole to secure the clip to the car,....then the molding is attached to the clips..popping the molding off, with old paint, and old rusted clips was one thing,....but getting the new molding on without doing lots of paint damage (at this point) seems like it could really be tricky....any tips or help would be greatly appreciated....I'm thinking was ahead of myself here - but this is one of those things I lay in bed and think of at night....I did note which direction the clips were oriented/clocked vertically when installed, before I removed them, thinking that would be imporant in re-assembly...also - the clips I am talking about make up the bulk of the clips that hold this molding on,,,the extreme end and front sections of this molding (1st and last hole down each side of the car) used a different clip that had a threaded post secured with a nut on the inside...