lwebb
Members-
Posts
51 -
Joined
-
Last visited
Content Type
Links Directory
Profiles
Articles
Forums
Downloads
Store
Gallery
Blogs
Events
Everything posted by lwebb
-
OH, forgot the post but clear coating. I used the ceramic treatment instead. It w't get enough exposure to really worry about. I don't drive it if it's raining and park it in my garage.
-
Well the won't work then. I thought the had stopped using Acetone.
-
Nail polish remover might work? I didn’t think of that. Paint thinner didn’t work for me. Lacquer thinner works but be careful. It can damage the plastic if left on too long. Put a little on the front first and let it sit for a few minutes. Acetone will eat it up. If it etches the finish you can easily wet sand and buff it off if need be. An abrasive tooth paste or polishing compound and a stiff toothbrush helps. Lot of work but relatively gentle.
-
Thanks for the kudos. I was REALLY pleased how it came out. I used soap for an automatic dishwasher. Soaked it over night then a stiff tooth brush and the same soap. It took a while. Had to use folded wet and dry on some areas as well. Used front and the back side of an exacto blade in the cracks where the paint just wouldn't come out. Finally used 100 grit wet and dry on the gold part and same process after putting in the silver paint in the man and boarder by dipping a tooth pick in the paint I'd sprayed in a cup. If you go this rout be REALLY careful not to touch the edge of the blue or red grooves as it will suck in the silver and you can't get good cover with the blue and red paint later. Just a note about the blue and red paint, my final coat was spraying the entire back over the red and blue and gold so the ship would get a good coat of silver. It made the blue and red enamel paint orange peel but that does not show on the front. I can't guarantee all this will work for you. It works for me but go slow and test when you can. I don't think I could do there anyway that would be cost effective. I could possibly make the clear emblems with no paint but they wouldn't be cheap either. Just too time consuming.
-
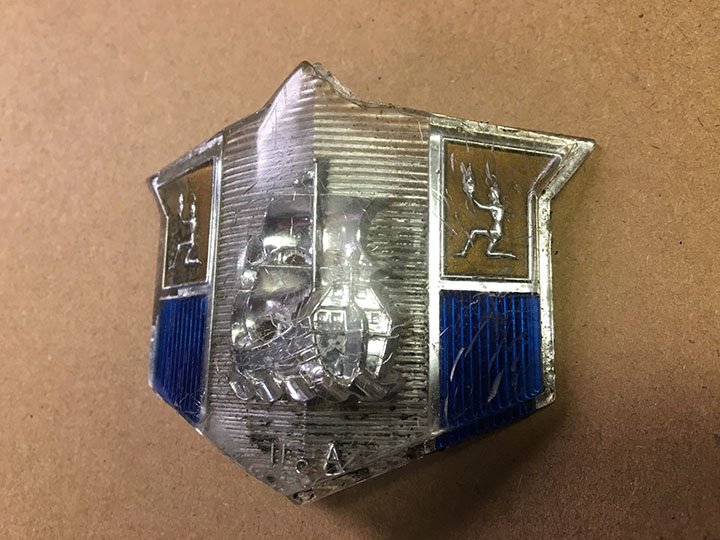
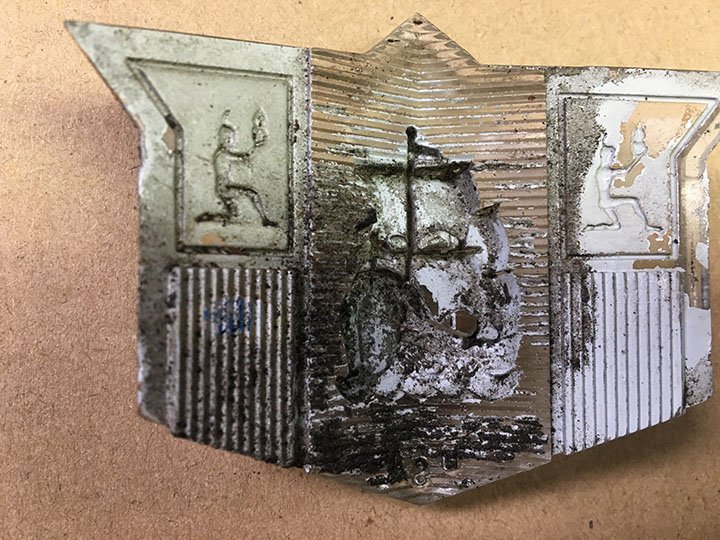
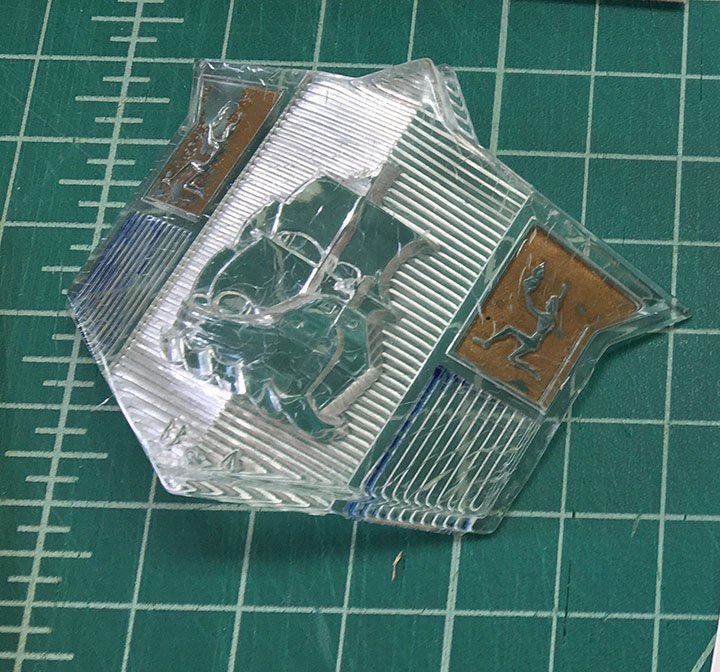
Refurbishing the hood crest on 49 P18 I recently tackled refurbishing the faded and cracked hood crest off my 49 P 18. I polished and recast my crest to get a solid new clear crest to paint BUT this will work on the original as well. You will still have the small interior cracks but the colors will shine through. Beats the almost $400 for the NOS crest on eBay. I used Testors metal flake model paint for the blue and red, a gold spray paint and Krylon “Looking Glass” silver. The Krylon is specific as most spray paints are shiny on the top. I needed shiny on the bottom next to the plastic so it would look mirrored on the front of the crest. The gold is a little yellow but I can live with that. It’s teadeous but easily doable. The final polish on the front will be with with Blue Magic Headlight lens polish and a wet buffing wheel. It turned out much better than I expected it to so I thought I'd pass it along.
-
Excellent. This looks like you used rivets? Or are they nutserts? How is it attached?
-
TJ what a beauty. I'm just starting the paint on my p18 and recently bought a Fulton visor. I'm really nervous about the install. Can you post picts of how the brackets go on? Man thanks Lanny
-
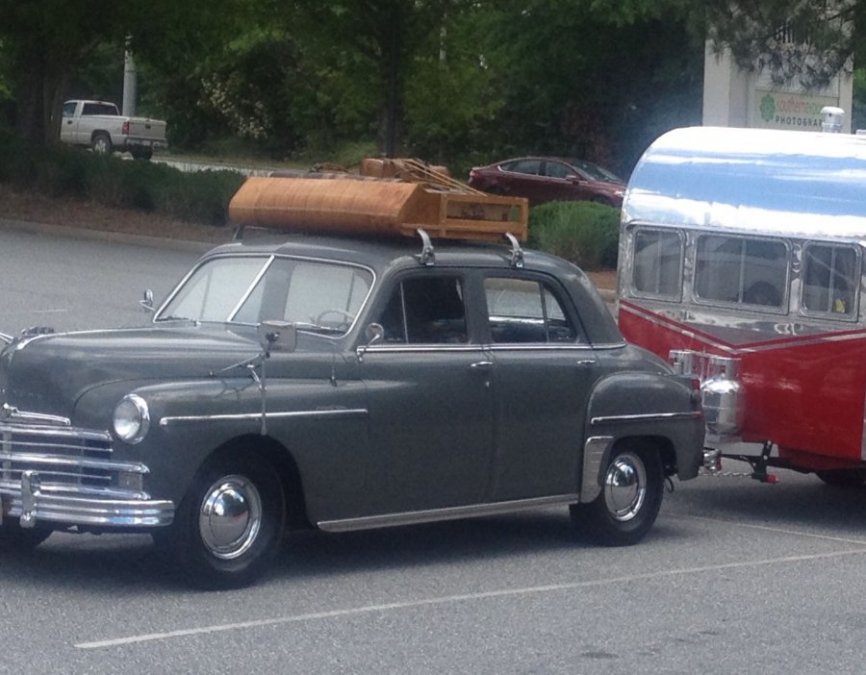
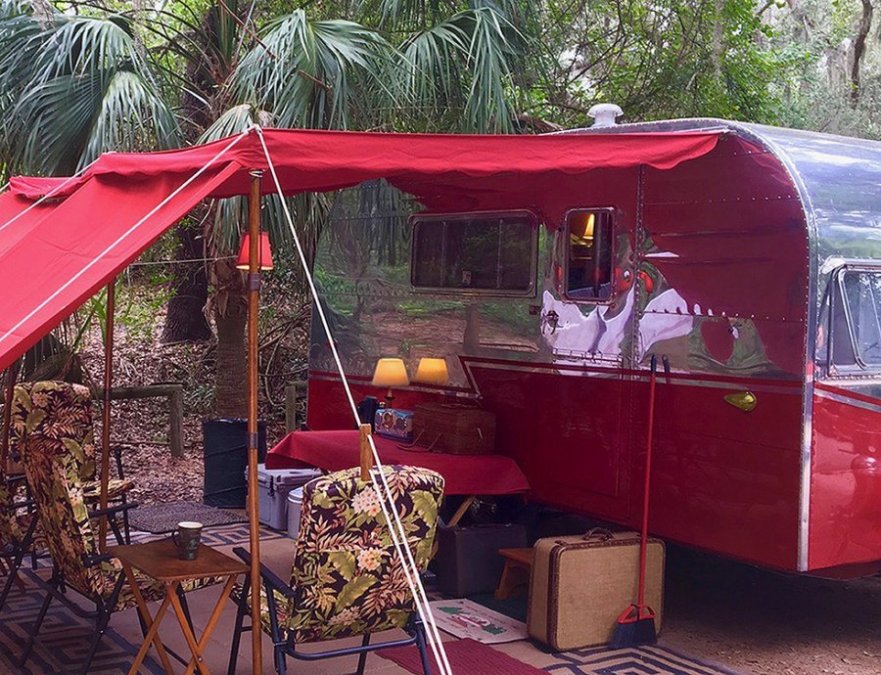
Sorry, I've been out of pocket with Vertigo. The trailer is a Wally Byam Holiday. It was a prototype made by airstream for about 6 months 1954-55. They never put it in production but used the same floor plan for the Airstream Bubble later in 55 which had the same airplane shape as other Airstream models. The Plymouth has a 5.7 Hemi Magnum with Mustang rear and front and rear sway bars.
-
Man that's impressive. and timely! I was just starting the exact same process. Any advice would be greatly appreciated. What paint did you use?
-
Wow, these are great. I've made copies of your photos for future reference. Where did you get the colors? I tried enlarging the picture but I can't read the company's name? Did they make the spray paint as well? Thanks for these they are amazing documentation of your process.
-
Thanks Rich, I've seen the process and it looks simple. Tedious but doable.Ive done faux wood grain before on other things but the grain pattern didn't have to look like anything specific. I wasn't trying to match any particular wood pattern. MY wood grain is in perfect shape except for the bottom of the front two windows. I just cant justify spending a lot of money on equipment for just those two relatively small areas. I have a wonderful auto paint store here that can shoot the inside of the glove box for a color match and put it in a rattle can. I'll play with a few wood stains on that and go for it. I'll post pictures if I get anything decent. Thanks for the advice. I have another relatively simple paint question and don't need a long discussion. Do you mindu a PM?
-
Thanks Rich, yeah, I know the grain-it company. A good bit out of my price range. I wonder if they just sell the paint?
-
Unfortunately, My trunk was repainted before it became mine. Creative idea though, thanks! Lanny
-
Sorry, I know I've seen this here before. I even thought I'd bookmarked the post but after a couple of days searching I sure can't find it. My recollection is someone posted the original colors used in the woodgrain on the 49 p18. I can likely scan the base coat but does anybody know what color or colors were used on the graining? My dash is in great shape but the window trim is shot from years of sweaty arms so I'm trying to get as close as possible to the dash. I'm determined to do this myself, not use the dip or other methods. Any help would be greatly appreciated.
-
Hey Thom. I think I still have the original I took off my 49 p18 when I added vintage air. Would you be interested in that. As I recall it's in great shape. If so let me know and I'll see if I can find it and take picts. I don't check this site often so send me a PM if you are.
-
No, Not Pos camber, Pos caster.The power steering is fantastic in a parking lot but jumpy at highway speed. You move the steering wheel half an inch and the wheels turn. Its’s not much but noticeable and when pulling a trailer, It’s nerve racking. I think it needs about 6º of caster to make it handle better. I just have no idea how to do that and in the past when I posted on this site, a number of folks chimed in to give suggestions. Most of what I did I got from advice taken from posts here or at http://www.hotrodders.com. and http://www.jalopyjournal.com HAMB forum. Between the posts and a really good hot rod mechanic. it got done. Here a re a few of the links I saved for reference: http://p15-d24.com/topic/39618-f1-shock-relo-rough-ride/?hl=shocks http://www.jalopyjournal.com/forum/threads/fatmans-power-rack-and-pinion-conversion.140107/ http://www.fatmanfab.com/wp-content/uploads/2015/11/WholeCat_web.pdf on the FatMans, you need to call and talk to them and tell them exactly what you have. http://p15-d24.com/topic/8507-power-steering-solutions/ http://p15-d24.com/topic/19810-cavalier-rack-installation-question/ http://www.hotrodders.com/forum/power-steering-49-plymouth-207053.html http://p15-d24.com/topic/15931-power-rack-and-pinion-experience/ I can’t find the posts on the Jeep Sway Bar but search just that here and the other sites and you will get a lot of info
-
Morning, I need to see if anyone has a work around for adding positive caster to the steering on a 1949 Plymouth Special Deluxe. To start, I’m not able to do the work and I am having it done. Good mechanic and he can solve the problem but quicker and cheaper to see if anyone has already done it and just to follow their lead as to the easiest way to get there. It has a 03 dodge 5.7 semi with automatic transmission. The RustyHope disk brakes kit and a front end Jeep sway bar and the shock mounts moved to the frame. Cheaper would have been a clip but hindsight doesn’t help me much. Recently the cavalier power steering conversion using the Fat Mans kit and that’s where he’s unhappy with the caster setting. What would be he best way to approach adding more positive caster the the default on the P18? Lanny
-
Hey Junkers, thanks for the reply. My shaft was turned on a lathe so the ujoint would fit, then welded. It's almost a straight shot to the Rack.
-
I’m doing a Cavalier rack conversion on my P18 using the original steering shaft. With the universal joint now needed on the end of the shaft, I’m stumped how, if even possible, I can still use the original horn ring on the steering wheel. The wire can no longer come out the end of the shaft. Options?
-
My local Auto Quest parts store mixed paint for me. It's not dead on but close enough if you aren't trying to blend it, just painting a part or in this case the fire wall, it should be good. Worked for me on two different projects, one a metallic blue. I took the car, or cars in, and they have a scanner like the ones they use in the paint dept at lowes but it's portable they and scaned the car. Cost +- $17
-
Hey rb49 I still have the mold but they are one of the biggest I've done and are dicey, Doable but harder than most.
- 42 replies
-
- 1
-

-
- 49 chrysler
- tail light
-
(and 1 more)
Tagged with:
-
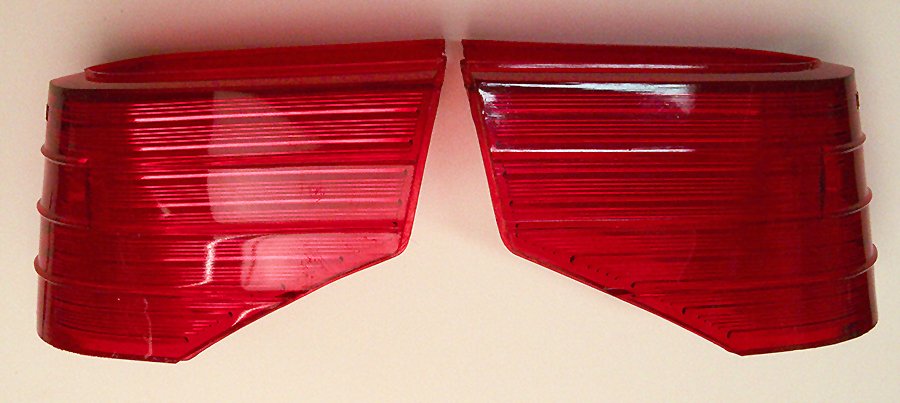
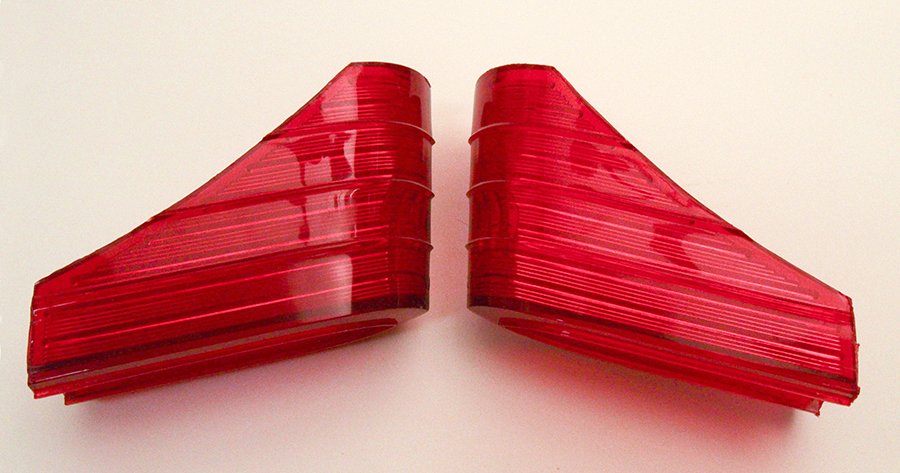
I make reproduction lenses for vintage travel trailers and made reproductions of the tail light lenses for my 49 P18. It's a laborious process and not inexpensive. I'd be happy to share the process if anyone is interested. There was a lot of trial and much more error years ago when I started but I have a system which works for me. I use a vibrating platform, a vacuum chamber that can take the materials down to 29 lbs, and pressure pot to take the material and mold back to 90 lbs while curing. The materials I use are latex molding rubber and a two part polymer that needs to be heated to 150º while in the pressure pot for 6-8 hours.
- 42 replies
-
- 1
-

-
- 49 chrysler
- tail light
-
(and 1 more)
Tagged with:
-
As to repairing tears in old rubber matting, My P18 back rubber floor mat was in really amazing shape save a few tears. I flipped it over and covered the torn sections with Dynamat. Helped with noise as well. So far it's holding together great. Albeit, I don't get much traffic in the back anymore. Alas those were great times.
-
Thanks! This REALLY helps. I removed the radio and cover, to get better access. I felt the rubber grommets but the two off center ones are hard to get to. Of course I can't see anything. One seemed to have something else attached to it with a set screw. I'll crawl under again when it warms up a little. I found a picture of the back of an old one. With your explanation. I think Ican now figure it out. Lanny
-
I've searched and just can't find info. I found a couple of posts about removing the dash etc. and removing one gauge or another but I need to take out the whole cluster. I can't get to the mounting nuts on a couple. Can anybody help me out? Thanks Lanny


