


RonaldC
-
Posts
53 -
Joined
-
Last visited
Content Type
Links Directory
Profiles
Articles
Forums
Downloads
Store
Gallery
Blogs
Events
Everything posted by RonaldC
-
251 vs. 264
RonaldC replied to RonaldC's topic in DPETCA - Dodge Pilothouse Era Truck Club of America
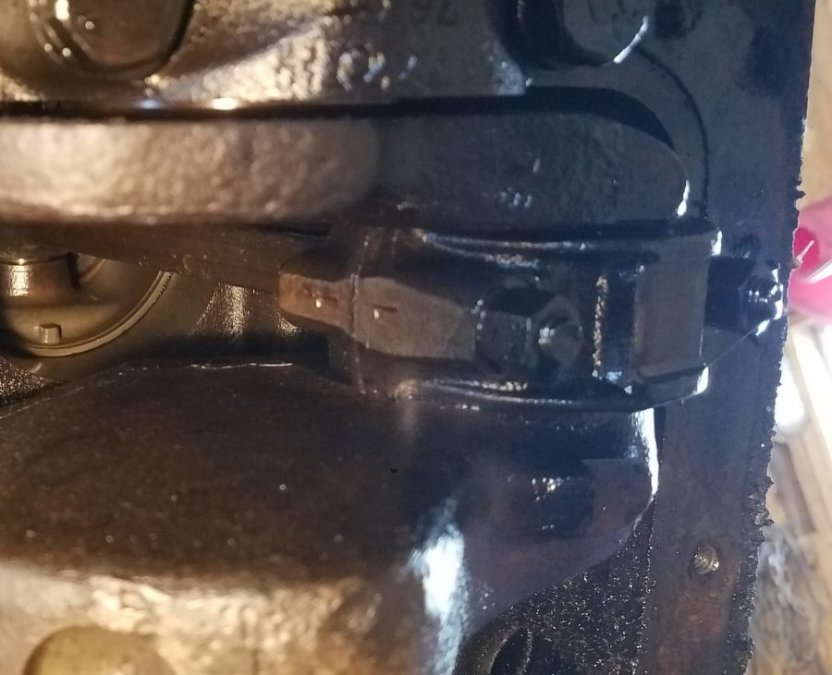
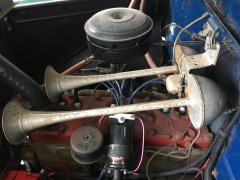
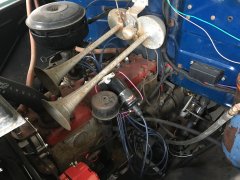
Looks like a 251 CUI. to me 265 had a different nut on the connecting rod. Had more of a stamped nut, where the 251 had a "regular" nut on it -
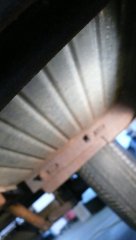
From the album: Ronald Cornell
-
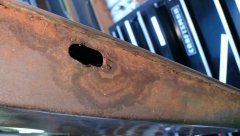
From the album: Ronald Cornell
-
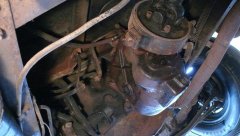
Block says 264 (C5363), but cant tell for sure when looking at the connecting rod. Anyone have a better eye than I?
-
1951 Frame swap
RonaldC replied to RonaldC's topic in DPETCA - Dodge Pilothouse Era Truck Club of America
I would be very interested in any pictures you could share. Is the frame relatively close to the width of the 51? -
So, no secret by now that I have two 1951 pilot house. One is great and only getting better. But I am unsettled on what to do with the second one. It needs a lot of work. But in reality the body is in great shape, the frame is in great shape. it just would be up for frame off restoration. So I’m thinking I may want to make this 4 wheel drive so I have something reliable yet fun to play with around the farm, running to town, getting into trouble with my children. . Any suggestions on frames that are conducive to the pilot house when considering a frame swap ?
-
Shipped a 51 Dodge from Portland to Texas via UShip. Not sure the dispatcher was to savvy on efficiently routing the drivers as they went 4 hours past and then called to see how close they were. But, all told, truck arrived un scathed and for the agreed price. Would suggest you save your time, do the UShip deal. Would also recommend checking out the drivers reviews be for picking one. You will have options and we all know in the end, you get what you pay for.
-
The Vintage Auto Garage kit was the exact kit I used. I would agree you may be able to piece together your own kit, but again for me, ease and simplicity is worth the relatively inexpensive purchase price. Good luck and should you run into a problem, don’t hesitate to reach out to the fellow Mopar lovers around here. Though not an expert, I’m always happy to help where I can.....
-
For me, I always try to start with the obvious issues and work backwards into the “root”. If I was concerned about causing damage down stream, may be worth it to remove any of the respective wires from said device. I think there is only 2 at the most per device anyway, no? All of that being said though, the amount of time vested in chasing somewhat of a moving target may be better spent on just starting over and replacing it all. To be clear though, I would have to be compelled to believe there are multiple multiple issues, not 1 or 2 problematic functions. My experience with “clean up” of others “failed attempts” has been I inadvertently create another problem trying to diagnose the 1st one, bumping loose wires or things of the sort. Now, all that said, and not that I am professing to know the extent of your situation, nor am I “huge” proponent of giving up and starting over, but to be candid, there isn’t just a whole lot to wiring a 50’s model pickup. But what I am advocating is make sure you are being efficient with your resources. 2 or 3 days of my time, plus material, when I could clean it up in a day? I’m trouble shooting. 3 or 4 weeks trouble shooting when I could have all new, done right, done my way, all for 2 or 3 days of my time, plus material? Yep, no brainer. My advice is grab a bucket of ice and a couple beers. Start with fixing the known issues. If I make some real progress by days end, stay with the clean up initiative. But if I’m no closer, and/or out of beer by day 2, I’m really thinking seriously about will my continued efforts prove to be in vain...... Hope this helps, or at least gives you food for thought. cheers!
-
But when its off, it is still has a power source via the Positive "ground'. My guess is when its in the on position, there is no ground to be found. But in all fairness, I cant say I have ever tried to wire it backwards to test my theory so I am far from a subject matter expert here.
-
Thank you. I am kind of partial to old Dodges (and HD) myself. Which components? Most all existing will work with 12volt, just have the resistor inline. I used Vintage Auto Garage for the conversion pieces. Maybe could have it done it diff for slightly less, but not much less. http://www.vintageautogarage.com
-
John, 1st, yes, you need to have a NEGATIVE ground. Everything is working in reverse because the circuits are in reverse. Meaning you are actually turning the radio "on" when you are turning it "off". I would not suggest trying to chase any problems until you correct the known issues. You may find that most of it is wired correctly once you fix the ground. Gauges will need to have a resistor in order to work with the 12 volt system, here again making them far more reliable. I bet they work great when the truck is turned off. Well, probably not but you get the jest. As far as rebuilding them, there is a guy here, but cant remember his name. I want to say he is also on E bay. If not, and you are willing to part with some of your kids college fund, Red Line Gauges in southern California looks to do some pretty high quality work. To the cloth wiring. Me? I pulled it all out. I don't trust things that actually look they are about to catch fire. Historically dust and electricity are not a good match. Or maybe they are. (pardon the pun). I ordered a complete kit from Yogi's online and replaced it all. Done. No more worries or electrical problems. Now the Knucklehead? You sir clearly have impeccable taste. Early 50's Mopar AND a 47 Knuckelhead? You friend are a gentlemen among gentlemen. But to the point. I don't know who does. Would suggest contacting my local HOG chapter. Those guys are ALL ABOUT breathing life into lost treasures. Hope this help, let me know if I can be of service. Ronald C.
-
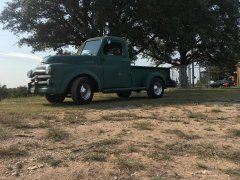
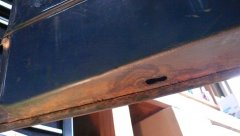
From the album: Ronald Cornell
-
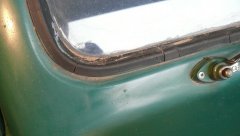
From the album: Ronald Cornell
-
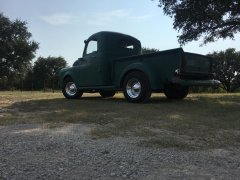
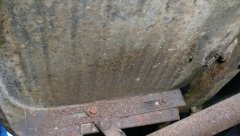
From the album: Ronald Cornell
-
From the album: Ronald Cornell
-

From the album: Ronald Cornell
-
From the album: Ronald Cornell
-
From the album: Ronald Cornell
-
From the album: Ronald Cornell
-
From the album: Ronald Cornell
-
From the album: Ronald Cornell
-

From the album: Ronald Cornell
-

From the album: Ronald Cornell
-

From the album: Ronald Cornell

