Mertz
-
Posts
409 -
Joined
-
Last visited
-
The mystery oil has worked for me several times.
-
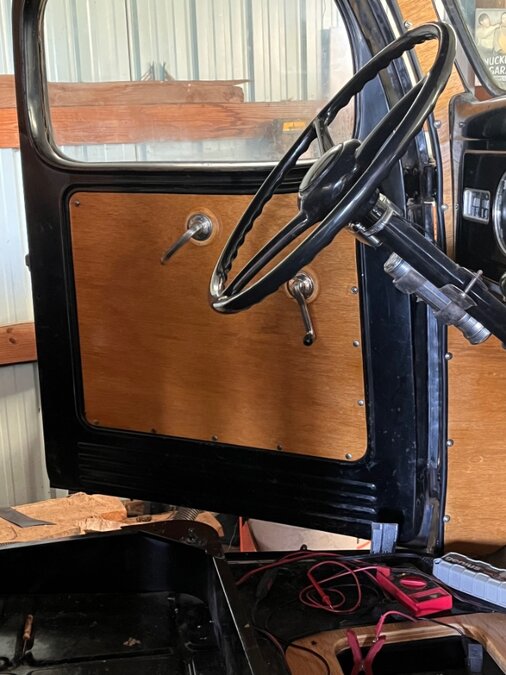
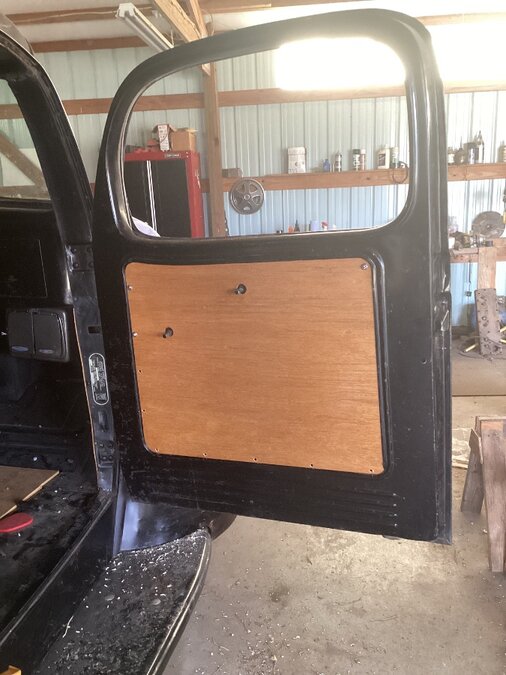
I built a trim piece above the doors and installed my handle trim rings.

-
I just tried putting the handles back on and I have a pretty good gap between the escutcheon and the wood panel. I didn’t use the springs because the wood panel is not flexible enough to work as they did with the cardboard. I will be using lighter springs and building a wood surround around the escutcheons to hide the gap between the panel and the escutcheons. Two hole saws should do the trick and they should look pretty good. I’ll send pictures when complete.
-
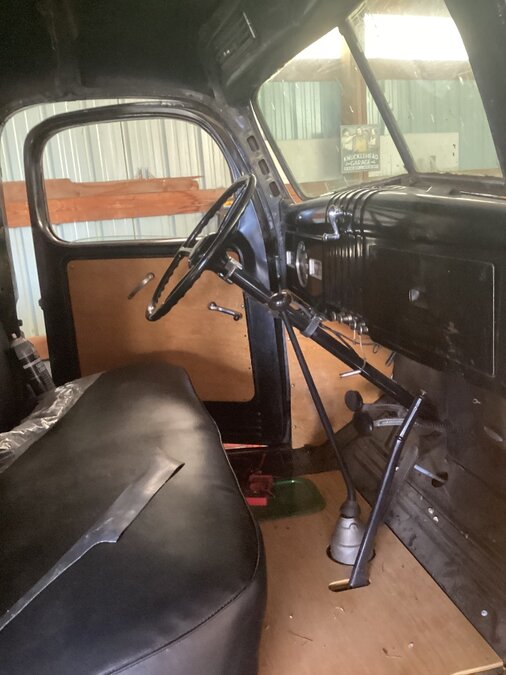
I got the motor working today. The marvel mystery oil sat in it overnight and this afternoon I removed most of it and used my vacuum pump to apply vacuum and the motor works as it should and even returns to its rest position. I used this method before on my Studebaker after years of not having effective wipers. I now can use them and not get pauses do to low vacuum.
-
I bought the replacement rubber for my windshield but not sure how to install it. I can open the windshield about 3”. I tried pulling on the old brittle rubber but it doesn’t want to come out. Can I remove and install the new rubber with the windshield in that position? It appears that to remove the windshield I need to remove a screw on each hinge and 2 on the actuator. Neither of these screws will come out and seem to be very soft. Are there any tricks to remove the windshield I need?
-
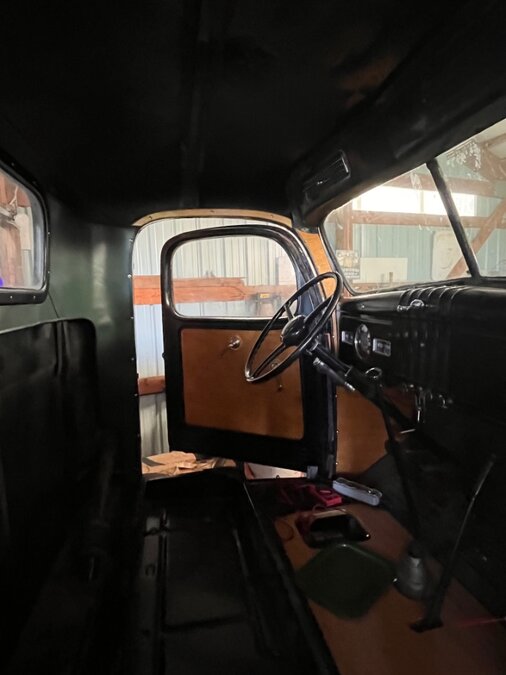
The interior of my truck was almost gone when I got it. I’m now putting in wood door panel and windshield pillars. I’m using rubber roofing for the back panels behind the seat. I noticed there are a number of metal tacks that apparently held something in place under the interior panels. Looking at some interior car pictures I see a cloth covered bead where the door hits the frame. I assume that was installed in my truck but this doesn’t seem to be an effective weatherstripping. There is no evidence of anything applied to the door. How were our doors weatherstripped? Does anyone have any pictures what it should look like? I have since added the wood pillar pieces and added black rubber trim to the edges.
-
I removed my wiper motor, cleaned it up and put some mystery oil in it. Before adding the oil I could hear vacuum being pulled when I manually move the wiper arm mechanism. After adding the oil and using my vacuum pump I got it to hold vacuum with the gate closed. Putting my finger over the vacuum tube I could not move the arm without a lot of effort. When I apply vacuum with my pump however the arm does not move. Am I missing something?
-
I wanted to make it look more like a woodie so I used mahogany since it doesn’t have a pronounced grain like oak. The trick was to get something thin enough to slide under the metal tracks in the door. I started with tempered hardboard but it was slightly too thick. I was going add the strips like the original with pin striping tape and use texture paint in black to give it some grain. You could also do it with the mahogany plywood, route in the stripes and paint it black or what ever color your interior is. A CNC machine would be great for making the stripes. The escutcheons do have pins that stick into the wood that might be enough so I don’t have to use the springs. I have the door and kick panels complete and am working on the pieces at the windshield. I have to bend some the panel so it conforms to the curve of the windshield which I have done. I’m thinking about using some fender welting on the edge to give it a more finished look. The rear panels require a pretty good curve so I’m making them out of some rubber roofing I have. I also am using it for the floor mat.
-
I thought that might be the case. The pins are loose so maybe it does both.
-
I have been working on building interior door panels for my truck out of mahogany plywood. These are fairly stiff and am wondering if I need the springs behind the handles. It would be a real pane to put them in. Are they there to apply pressure to hold the handle pins in place?
-
It’s very cold here so I don’t go out much and I moved the seat to the unheated shop. I will go out and see what’s exposed of the hinge on the seat back. It looks like it broke at a rivet or spot weld so I think I will try to remove the piece on the seat and have it welded back together. I don’t have any welding equipment and am not a welder.
-
There will be no welding to the original strap now that the seat has new upholstery. I think I’m going to try to bolt it on or have a piece welded and then bolt it to the frame. I have to see if I can unscrew it from the cab.
-
So it would have been screwed on after the seat was in place and the upholstery worked around it. I don’t think I can reattach it know.
-
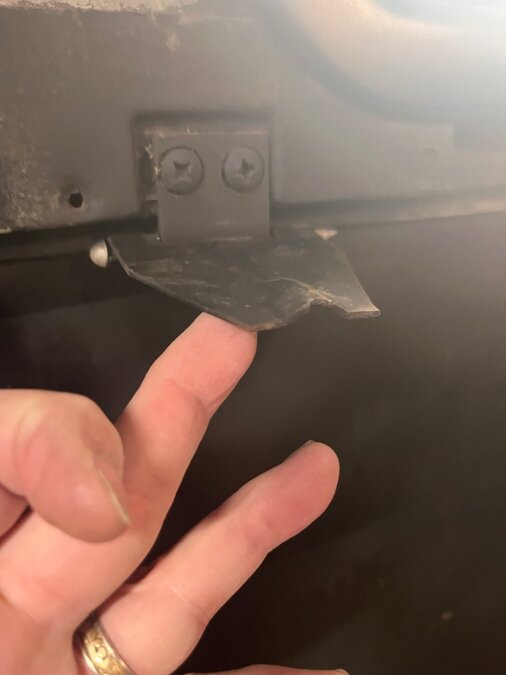
These hinged metal flaps are behind the back of the seat back. I thought maybe they are supposed to hold the back of the seat in place but there is no where on the seat for it to go. What’s it supposed to do?

-
Vintage power wagon