Mertz
Members-
Posts
399 -
Joined
-
Last visited
Reputation
54 ExcellentAbout Mertz
- Birthday 01/31/1952
Profile Information
-
Gender
Male
-
Location
Reardan, WA
-
Interests
Wood working, fly fishing, my vineyard, making wine, my cars, gardening and my cat
-
My Project Cars
1940 Plymouth truck, 49 Studebaker Champion, 68 Corvair, 72 Chevy C20 pickup, 1974.5 Datsun 260Z and 1995 Ford F-250 power stroke
Contact Methods
-
Biography
Born in the Netherlands and grew up in Southern California
-
Occupation
Retired architect
Converted
-
Location
Reardan, WA
-
Interests
Fly fishing, old cars, wine making, gardening, wood working and my vineyard
Recent Profile Visitors
The recent visitors block is disabled and is not being shown to other users.
-
It’s very cold here so I don’t go out much and I moved the seat to the unheated shop. I will go out and see what’s exposed of the hinge on the seat back. It looks like it broke at a rivet or spot weld so I think I will try to remove the piece on the seat and have it welded back together. I don’t have any welding equipment and am not a welder.
-
There will be no welding to the original strap now that the seat has new upholstery. I think I’m going to try to bolt it on or have a piece welded and then bolt it to the frame. I have to see if I can unscrew it from the cab.
-
So it would have been screwed on after the seat was in place and the upholstery worked around it. I don’t think I can reattach it know.
-
Mertz started following Rear axle shims , What is it for? , Seat upholstery and 1 other
-
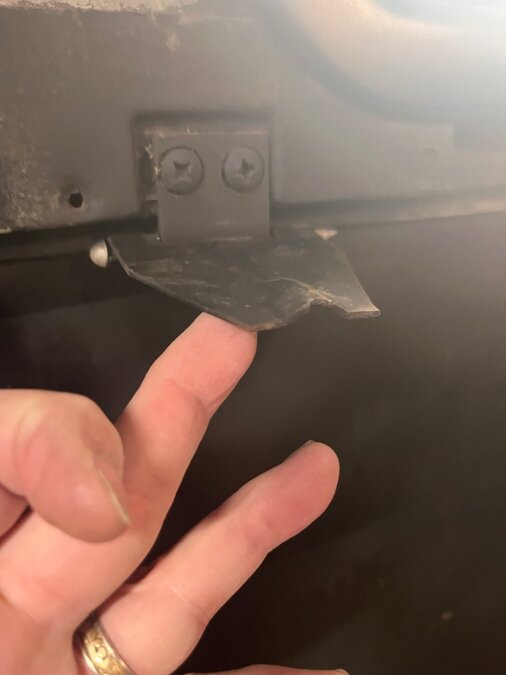
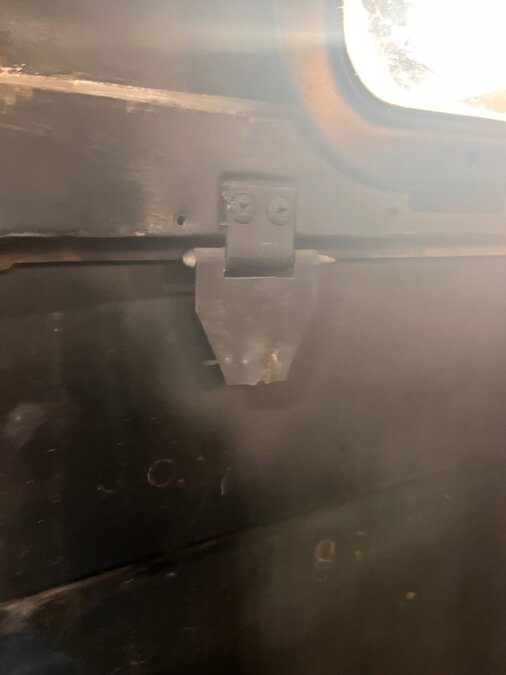
These hinged metal flaps are behind the back of the seat back. I thought maybe they are supposed to hold the back of the seat in place but there is no where on the seat for it to go. What’s it supposed to do?
-
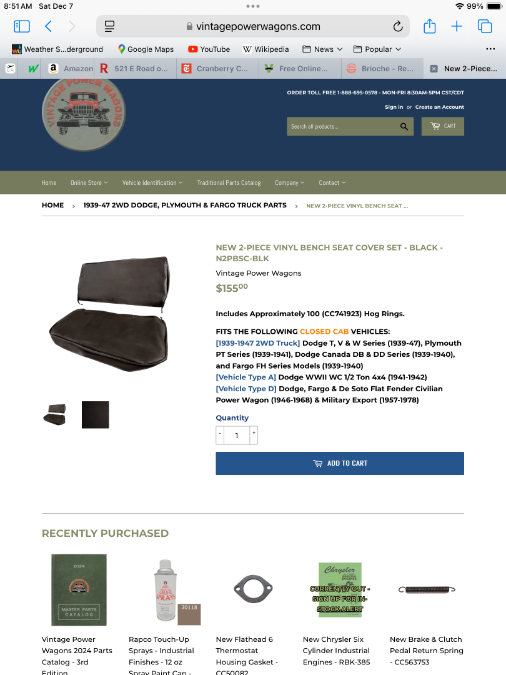
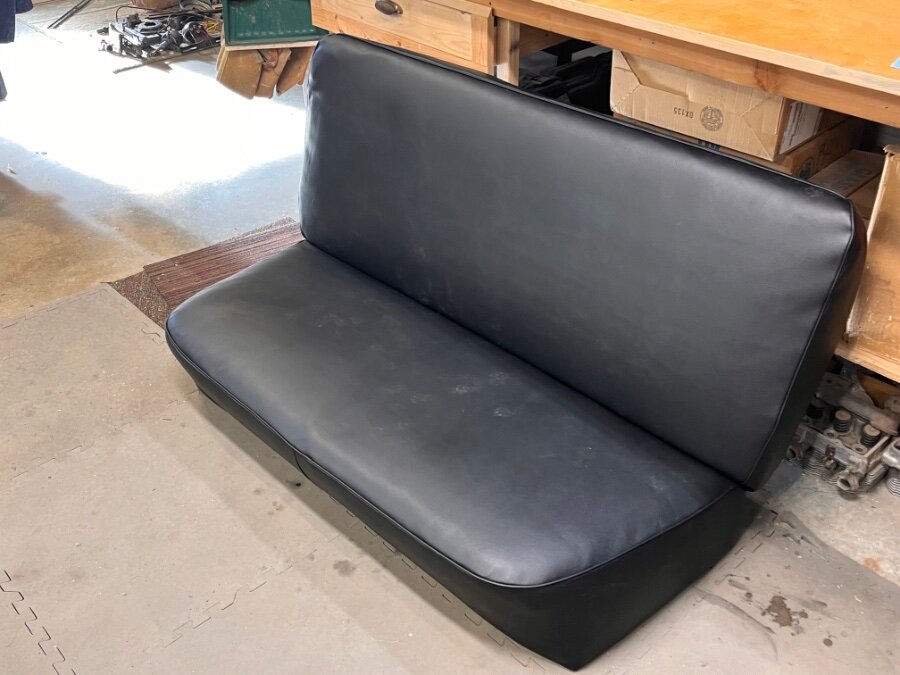
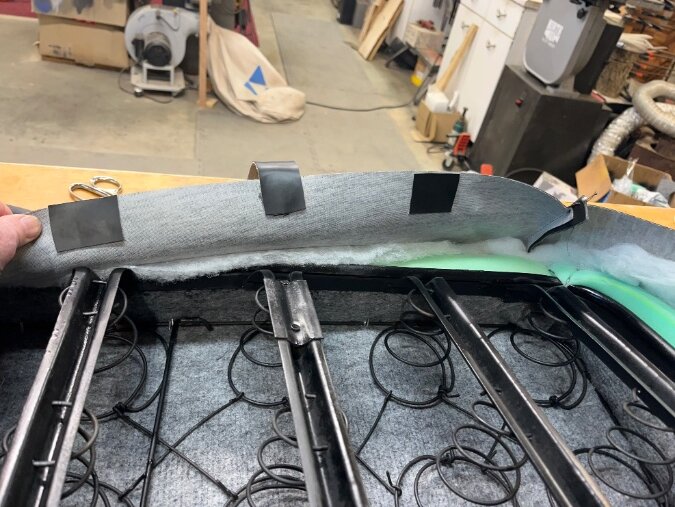
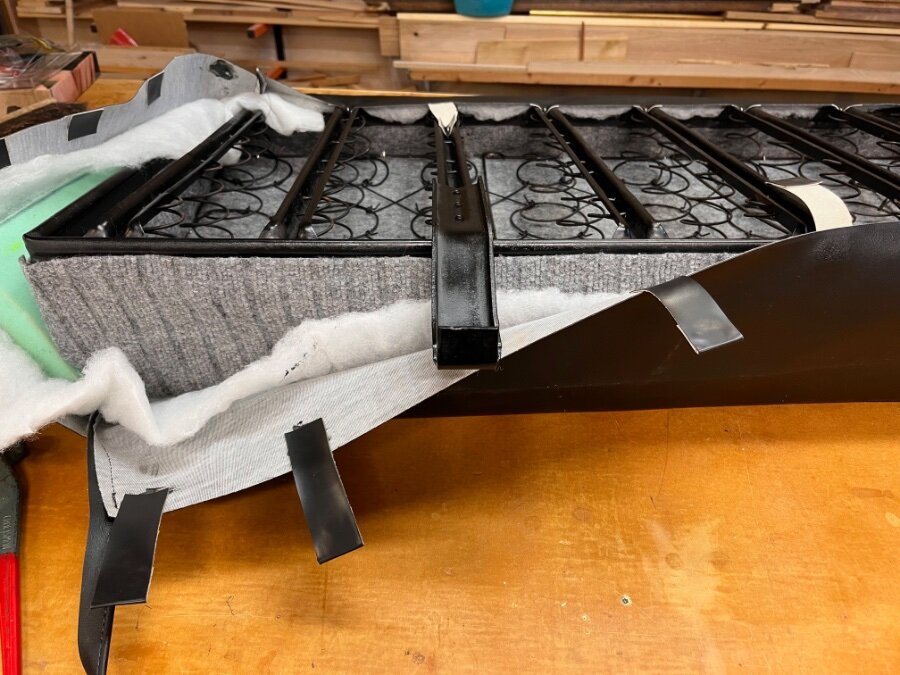
Got a seat upholstery kit for Christmas and started work on the seats 1/18. I removed the old upholstery and cleaned up and painted the frames. The back frame was in excellent shape. The bottom had a few broken springs and some strut breaks. I repaired the broken struts with some ⅛” brake line and JB weld. I wrapped the spring breaks with light wire and covered with JB weld. The original upholstery was held in place with clips in the frame channel. That would not work with the heavier vinyl and it is very difficult to get them out so I used hog rings. In most cases I was able attach to the springs but I had to make some extensions using weatherstripping adhesive and some leftover vinyl I had laying around. I also used the vinyl to reinforce the cover where I was attaching the hog rings. It all came out pretty good. The back corners were the most difficult. I used some indoor/outdoor carpet instead of burlap then 1” high density foam and batting. I used a 5oz tube and a half of weatherstripping adhesive. 3M super adhesive is slightly better than permatex.
-
My 40 Plymouth has the ribs waterfall all the way from windshield to under the control knobs.
-
I bought the upholstery kit so I’m not doing the sewing. Looks like I can get 1/2”, 1” or 2” foam and mostly firm. I’ll also use batting. How thick should the foam be? BTW. My truck had a radio at one time in the same spot. The antenna, bracket and fused wire are still there.
-
That is what held on my old seat upholstery. They are still in the frame. I got one out to see what they were. What did you use to get the old clips out and where did you get the new ones? I have some flexible indoor/outdoor carpet I’m using instead of burlap. I don’t see the plate on the bottom of your seat with holes to adjust the seat back and forth. What is that fan looking piece on the bottom seat with? Any helpful hints would be greatly appreciated. Right now I have hog rings that I will have to clamp to the channel those clips go in. The clips would be cleaner. Hope it’s not too cold in Montana right now.
-
I read that putting indoor/outdoor carpet over the springs then install high density foam. I will probably at cotton batting over the foam.
-
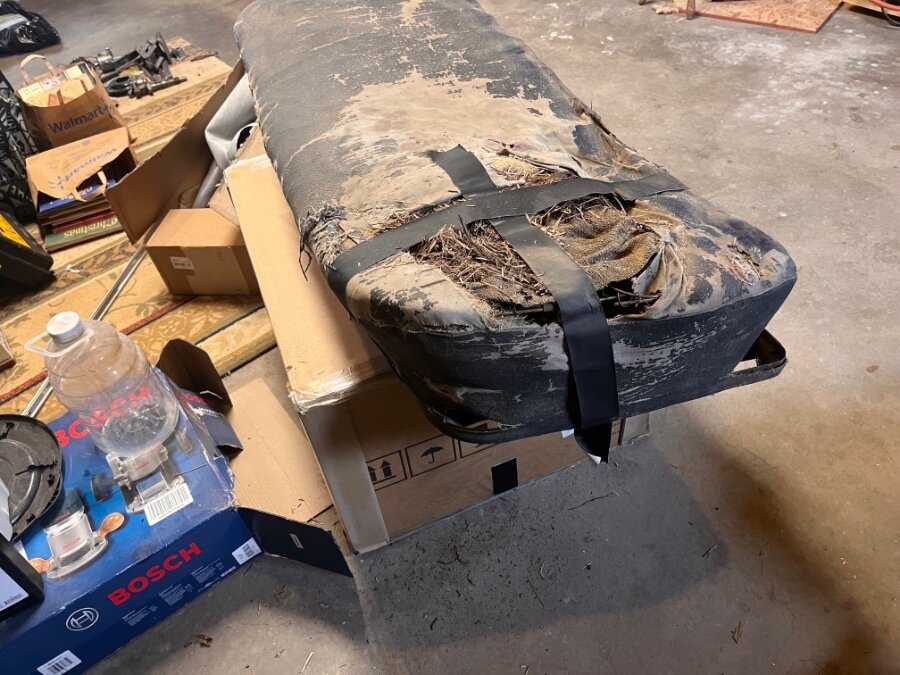
I got some nice gifts for Christmas for my truck. Bed strips, floor mat and upholstery for the seat. I have removed the old upholstery from the back and have checked the springs and all looks good. I need to clean and paint the springs and frame. The old stuffing was straw on burlap. I intend on using foam. Can I put the foam directly on the springs or do I need burlap? Is there a good diy video out there? Nothing really showed up for my old truck on YouTube.
-
Studebaker recommends 120 to 130. I don’t think 142 is that much different. I got both the drums off the studebaker and the Plymouth with a regular puller.
-
I was trying to torque the rear axle nuts so I applied the parking brake figuring it would stop the drums from turning but the drums still turn. The drive shaft does not. The truck is off the ground with wheels off. I checked the ebrake and it is properly adjusted. Is my truck going to roll when the wheels are on and on the ground?
-
Thanks for the help. I guess since the axle nuts are castle nuts you would torque the nut but would then have to back it off to insert the cotter pin. I think I will torque the backing plate nuts the same as the Studebaker at 35ftlbs. At least I’ll know they are a consistent. I’ll torque the axle nut to the recommendation for the 3/4”x16 nut then see if the hole lines up.
-
I was doing the rear brakes on my studebaker and had to adjust the end play on the passenger side. I took off the backing plates and thought I would remove equal shims on each side to solve the problem. I took out a 0.03 shim on the driver’s side and tightened up the backing plate and all play disappeared from both sides. I put all the shims back in and still no end play. Long story short the manual called for torquing the backing plate bolts to 35 to 40. I looked at my manual for my truck and it has no torque spec in the adjustment description. Is there a torque spec for the backing plate and the axle nut also provided in the studebaker manual?

