peteandvanessa
Members-
Posts
159 -
Joined
-
Last visited
-
Days Won
4
Everything posted by peteandvanessa
-
1953 Dodge - What have I got into
peteandvanessa replied to peteandvanessa's topic in Mopar Flathead Truck Forum
That won't take much to get back on the road. -
1953 Dodge - What have I got into
peteandvanessa replied to peteandvanessa's topic in Mopar Flathead Truck Forum
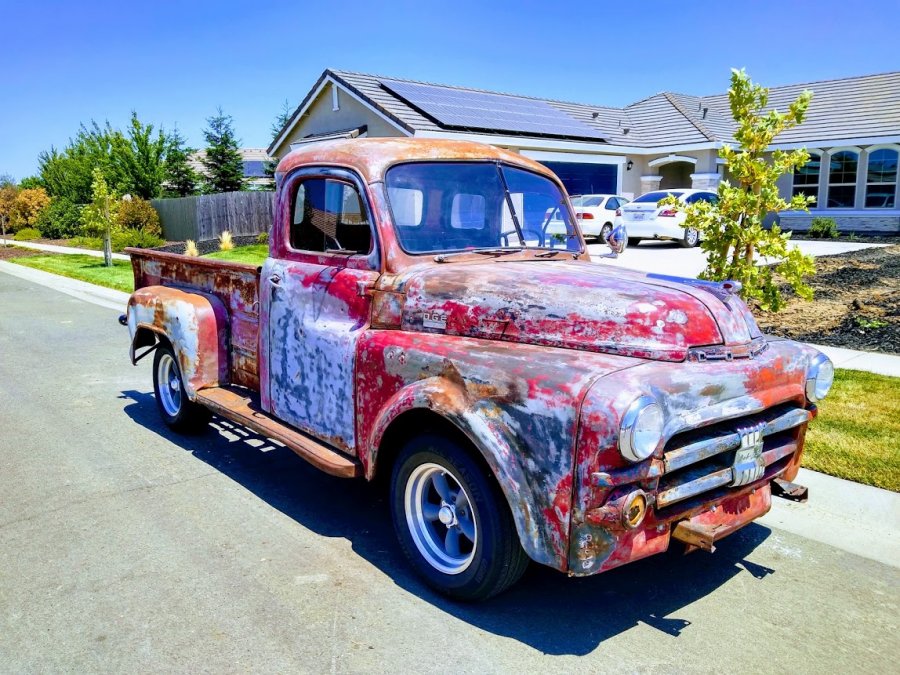
I guess I've spent about $3,500 to put it back on the road. Expensive parts were exhausts, mufflers, new door glass, the bed wood and stainless steel bed strips. Not too bad for $3,500 and I get to drive regularly now. ? -
1953 Dodge - What have I got into
peteandvanessa replied to peteandvanessa's topic in Mopar Flathead Truck Forum
I'll be there, I missed this years since I didn't get all the paperwork sorted. I'm already now ? -
1953 Dodge - What have I got into
peteandvanessa replied to peteandvanessa's topic in Mopar Flathead Truck Forum
I'll be there, I missed this years since I didn't get all the paperwork sorted. I'm already now ? -
1953 Dodge - What have I got into
peteandvanessa replied to peteandvanessa's topic in Mopar Flathead Truck Forum
-
1953 Dodge - What have I got into
peteandvanessa replied to peteandvanessa's topic in Mopar Flathead Truck Forum
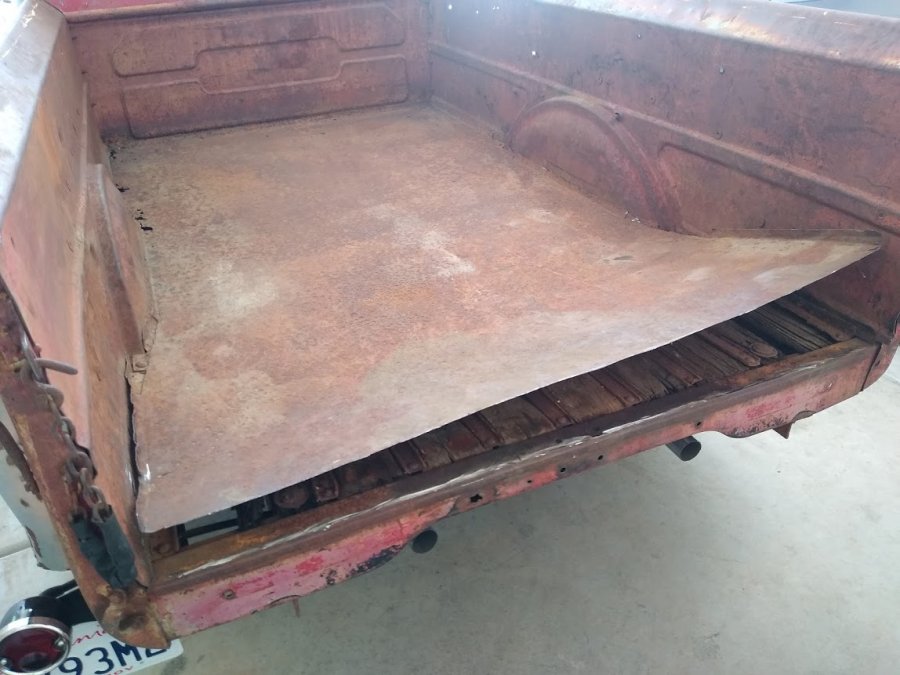
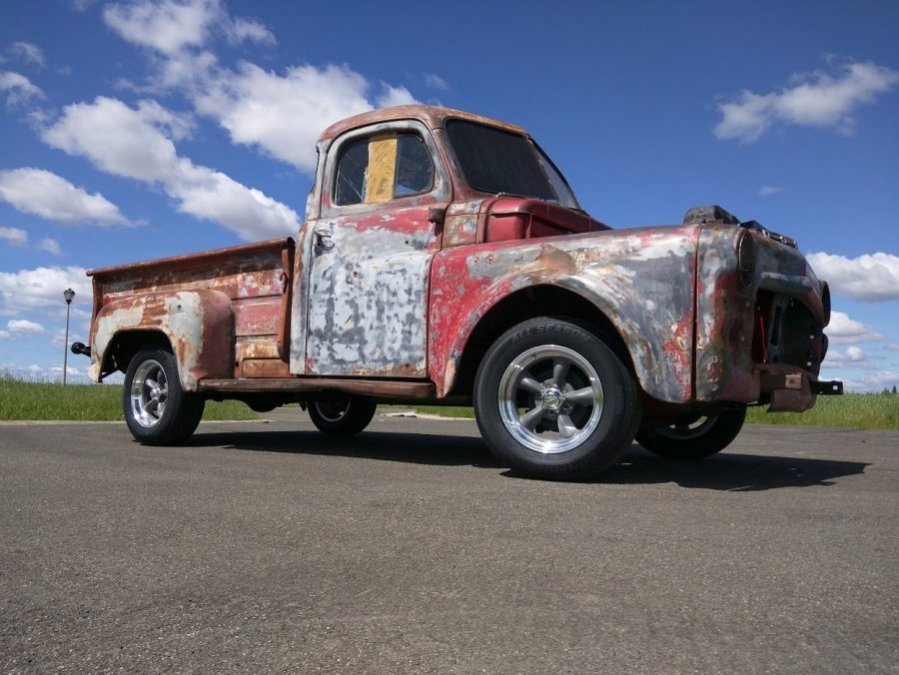
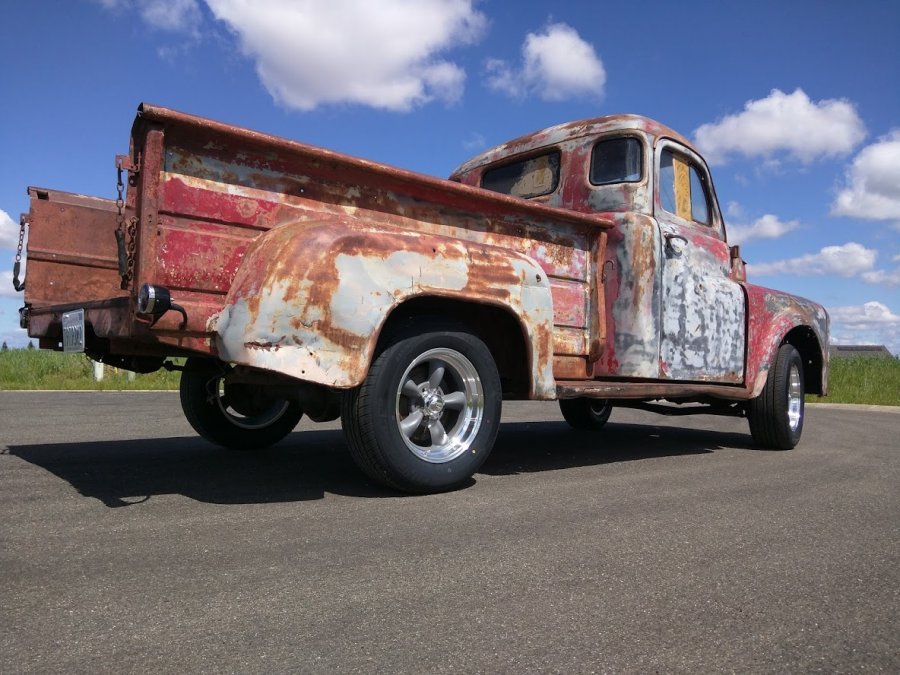
Not posted in a while, I guess I've been too busy working on my truck. Here's a few things I've done over the last few months. Cut the steel bed out and replaced it to some new wood. Used poplar from Lowe's and stainless strips from the web Fixed the two side windows with new glass. Fixed all the gauges and sourced a used speedometer All the exterior and gauge and blinkers lights working now Replaced the rear shocks, they were really bad. Cleaned up the interior and made some temporary seat covers. See, I've been busy ? -
Use an ohm meter across the Fuel Sender terminals (with the wires disconnected from the Fuel Gauge). You should get somewhere between 10 ohms (full) and 90 ohms (empty). Then reconnect to the Fuel Sender to the Fuel gauge. You should have a wire from the ignition switch that goes to the SW terminal on the fuel gauge. When you turn on the ignition switch, you should have about 6 volts on the SW terminal. On the GA terminal on the fuel gauge you should have less that 6 volts on that terminal (the voltage will vary depending on what the fuel sender resistance is). Make sure all the terminals are clean and making a good connection. You also need to make sure that there is a good ground connection on the fuel gauge itself. That ground connection relies on grounding the fuel gauge through the small mounting screws on the back of the gauge, and then the mounting screws for the actual mounting of the gauges, grounds itself to the dash. If either of those screw connections don't make a good connection to ground then the fuel gauge will read intermittently.
-
1953 Dodge - What have I got into
peteandvanessa replied to peteandvanessa's topic in Mopar Flathead Truck Forum
-
1953 Dodge - What have I got into
peteandvanessa replied to peteandvanessa's topic in Mopar Flathead Truck Forum
-
1953 Dodge - What have I got into
peteandvanessa replied to peteandvanessa's topic in Mopar Flathead Truck Forum
-
1953 Dodge - What have I got into
peteandvanessa replied to peteandvanessa's topic in Mopar Flathead Truck Forum
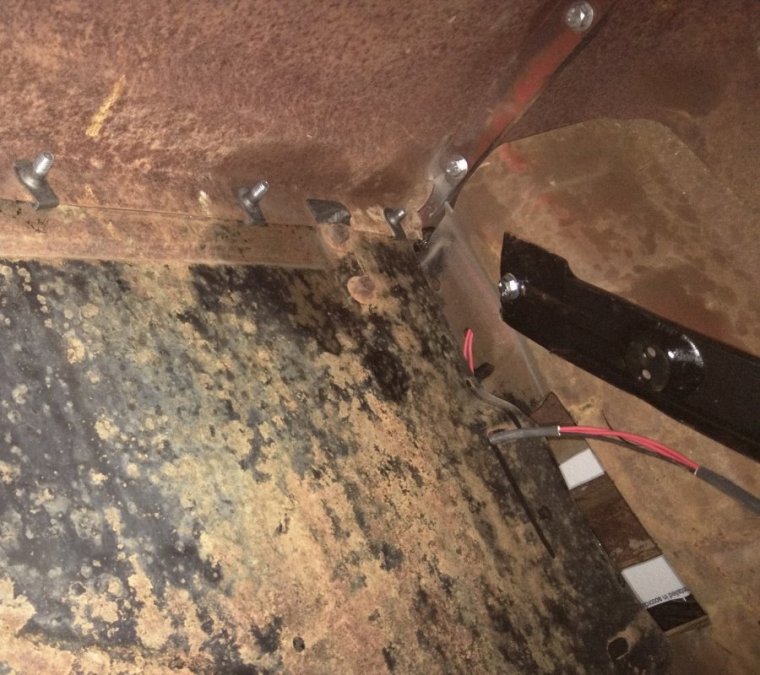
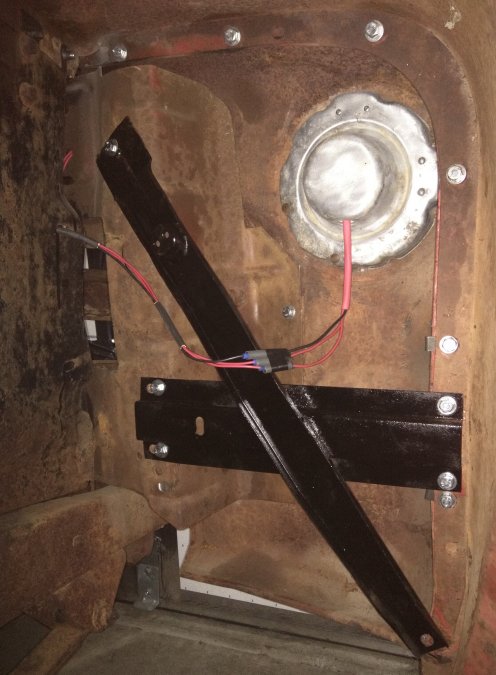
I can take pics tomorrow for you, what would you like specifically pics of -
1953 Dodge - What have I got into
peteandvanessa replied to peteandvanessa's topic in Mopar Flathead Truck Forum
-
1953 Dodge - What have I got into
peteandvanessa replied to peteandvanessa's topic in Mopar Flathead Truck Forum
Headlights in and wired, tug goes to the garage next week to fix the brake leak, and have twin exhausts fitted, then it's brum brum time. Wiring is about 90% complete -
1953 Dodge - What have I got into
peteandvanessa replied to peteandvanessa's topic in Mopar Flathead Truck Forum
-
1953 Dodge - What have I got into
peteandvanessa replied to peteandvanessa's topic in Mopar Flathead Truck Forum
Ha, ha, PB blaster, most of the bolts I've encountered on tug needed a cut off wheel. -
1953 Dodge - What have I got into
peteandvanessa replied to peteandvanessa's topic in Mopar Flathead Truck Forum
It's the angle of the shot, but then again, very little is square on Tug, he's got bits drooping all over the place ,? -
1953 Dodge - What have I got into
peteandvanessa replied to peteandvanessa's topic in Mopar Flathead Truck Forum
Ha, ha, I'm sure that will be in Tugs future, there's way too much room at the top of the wheel arch. Btw, that motor runs sweet, starts right up, just a tad of throttle, and brum, brum, brum, every time. -
1953 Dodge - What have I got into
peteandvanessa replied to peteandvanessa's topic in Mopar Flathead Truck Forum
Well lookie here, Tug slipped into his new shoes today. Full lock, left and right, no clearance issues or rubbing whatsoever. -
1953 Dodge - What have I got into
peteandvanessa replied to peteandvanessa's topic in Mopar Flathead Truck Forum
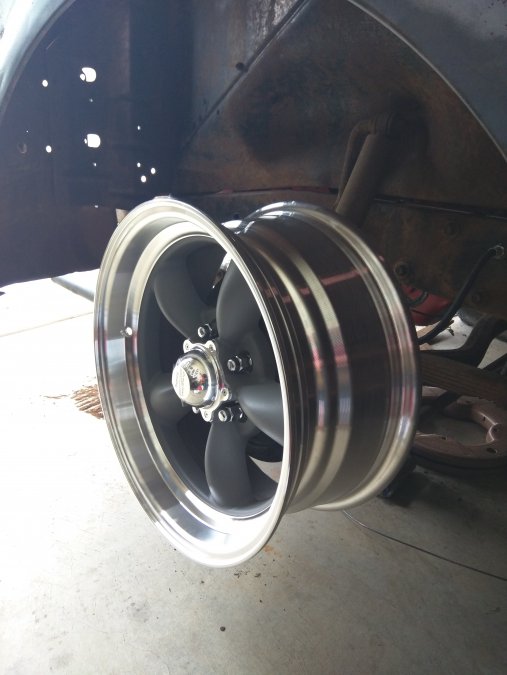
The back spacing is 4 inches, tires will be slightly lower profile since the rims are 16" rather than 15", I'm hoping I won't have any tire rubbing though. If I do, there will be some rolling going on ? -
1953 Dodge - What have I got into
peteandvanessa replied to peteandvanessa's topic in Mopar Flathead Truck Forum
-
1953 Dodge - What have I got into
peteandvanessa replied to peteandvanessa's topic in Mopar Flathead Truck Forum
Tugs newly issued title arrived from the DMV today, paperwork is finally complete. Then Bling, Bling test fit of the rim before fitting the tires tomorrow. -
1953 Dodge - What have I got into
peteandvanessa replied to peteandvanessa's topic in Mopar Flathead Truck Forum
-
1953 Dodge - What have I got into
peteandvanessa replied to peteandvanessa's topic in Mopar Flathead Truck Forum
Tugs grill sunning itself on the driveway, I'll wake him up with a big friendly hammer -
1953 Dodge - What have I got into
peteandvanessa replied to peteandvanessa's topic in Mopar Flathead Truck Forum
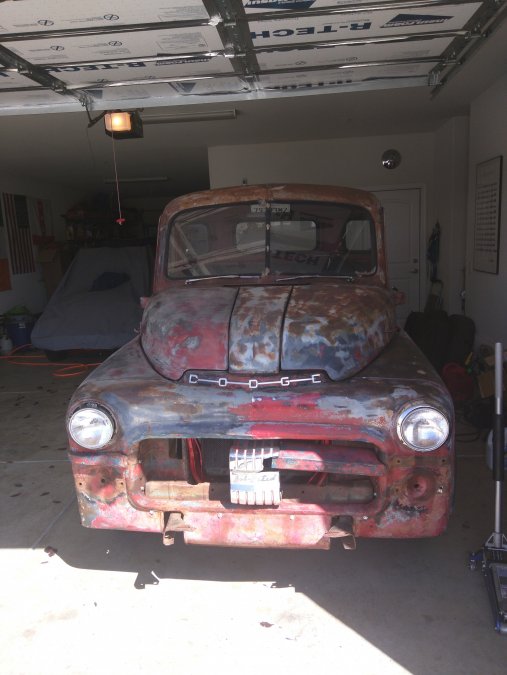
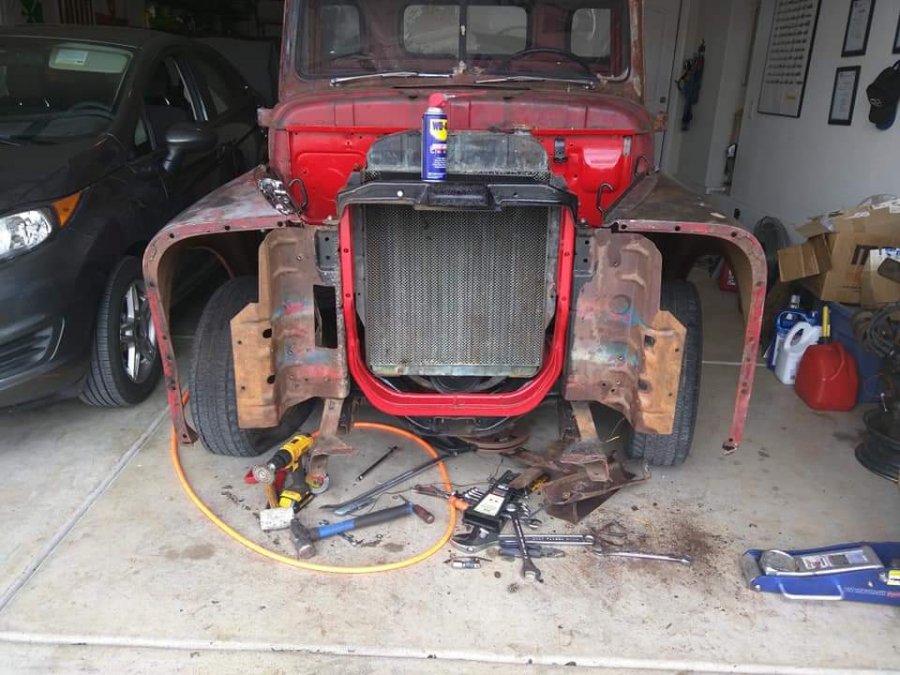
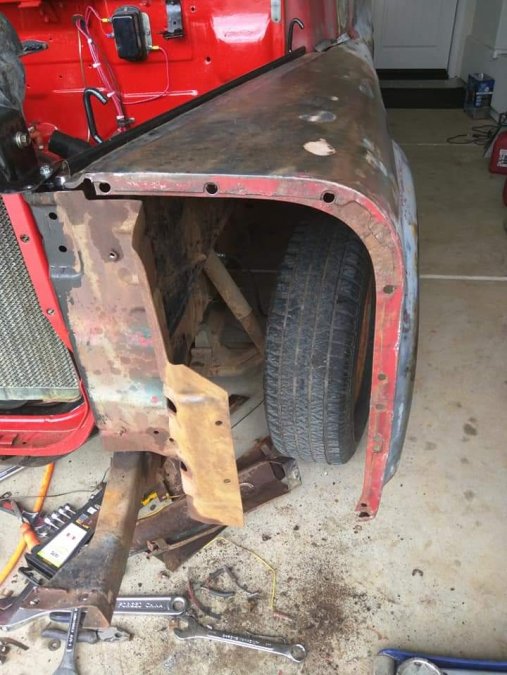
I was going to fit the front lights to Tug today, then this happened, major metalwork bashing session, oh well, at least it getting all straightened out ? -
1953 Dodge - What have I got into
peteandvanessa replied to peteandvanessa's topic in Mopar Flathead Truck Forum


