Cat Whisker
-
Posts
63 -
Joined
-
Last visited
Content Type
Links Directory
Profiles
Articles
Forums
Downloads
Store
Gallery
Blogs
Events
Everything posted by Cat Whisker
-
That was my problem. I didn't check for the small shaft seals when I got the tranny kit. Now that I have seals on the way I found that this one old Mopar seller on eBay has them included: https://www.ebay.com/itm/NOS-MOPAR-1063655-40-52-6-CYL-STND-TRANS-GASK-PKG-INCL-5-GASK-S-2-GROM-S-2-SE/293376806292?epid=1830419448&hash=item444e9ecd94:g:JQIAAOSwR0dcL-g- Thanks again and take care
-
Thanks for the tip. I'll lube it and be sure to drive it in flat and even.
-
First off many, many thanks for the info. I like the X cut type ring much better and just ordered one from Clearwater. For $2 a piece that a super deal. I also found the Honda seal at AutoZone and will pick it up this afternoon. I feel much better using something tried and tested instead of taking a chance on the Fel-Pro ones. Thanks again and take care.
-
Well after overhauling the non FD 3 speed tranny with some new bearings, syschros, gaskets, etc. for a 49 Plymouth with a 52 Dodge engine, I have found that I need new seals for the shift selector shafts. The gasket kit I used did not include them and sure enough after filling with oil on the bench, she's seeping at the 1st-reverse shaft. My book shows the Mopar part numbers as 1127794 and 1134903 in the section of the exploded tranny view. I have found a cross reference for the 11277994 seal as a Fel-Pro number 409 and Fel-Pro 415 for the other one. Has anyone used the Fel-Pro seals and if so, did they work?? Thanks in advance.
-
I have used GM intermediate calipers on many different T Buckets and Rat Rods builds in the past and never had any problems.
-
I used the Ford Probe rotors and the Cadillac calipers. The pads are the S10 ones and since the pads fit perfect, the two calipers must be almost identical.
-
So far I'm using the stock (rebuilt it about 2 weeks ago) and so far all seems OK after bleeding everything. I put new lines everywhere and new rear slave cylinders. I have plenty of pedal pressure, but once I get on the road, I'll have a better idea. If I need to change, I think i'll go with passing a rod thur the old one to push the new master cylinder mounted behind it.
-
That's probably the difference. My pads are for a S10 but my calipers are the Cadillac ones.
-
Hello Stargrinder. I'm afraid that I only took 2 pics of the wheel spacers prior to installing everything. The only reason the spacers were needed was due to the way Mopar made the wheels. They are riveted together and its the inner webs or spokes (for lack of a better word) between the rivets that are raised and that's where they just barely touch or rub. If they were made flat against the wheel all the way around, there would be no problem but the center of the 4 webs are slotted (probably for strength or ventilation) and that's the edge that rubs the calipers. I used washers when testing for the clearance I needed. The spacers I used are 5mm (way less than 1/4") thick which gave plenty of room between the wheel and the calipers. When looking for spacers, be sure to notice the size of the center hole in them. The hubs that come with the ScareBird kit have very large centers. The common size of the center hole in wheel spacers seems to be 68mm. The hubs center size are 73mm. You can see in the pics that I centered the spacer on the inside of the wheel and tacked them with some upholstery spray adhesive to hold them in place until mounted.


-
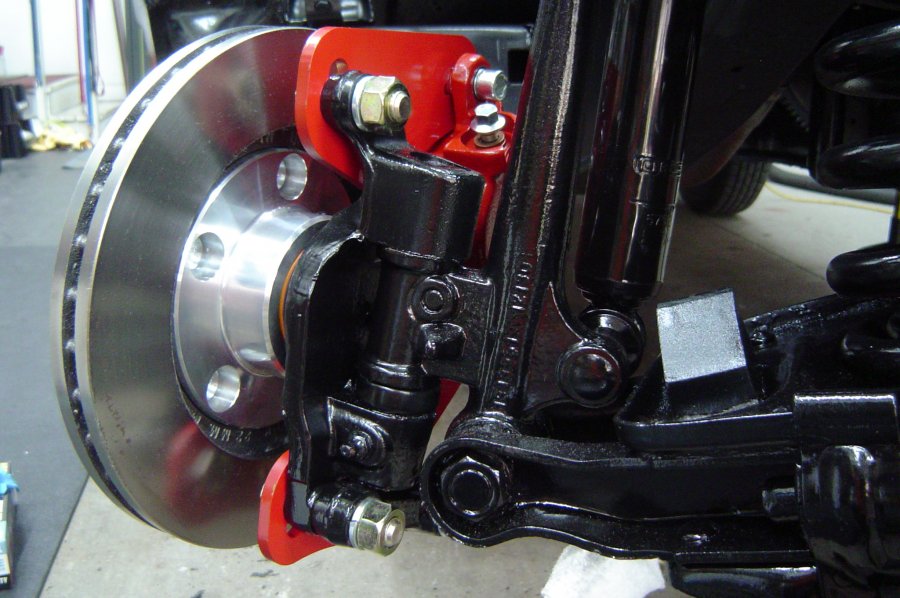
The wheel pattern is common 5 on 4-1/2 which is the same as most Honda's, Nissan's, and many others. I found 2 5mm spacers on eBay for $12 and they fit and work great on the stock wheels which have the rivet bumps between the bolt holes. The wheel bolts that came installed in the ScareBird hubs are plenty long to accommodate the spacers. I can post more pictures of the spacers if needed. The ScareBird kit uses or works with the following user supplied parts: Part Application NAPA Wagner Raybestos Rotor 1993-96 Ford Probe front 4886318 BD125274 96318(R) Caliper, LH 1979-85 Cad. Eldo front SE4680 TQM25048 RC5248 Caliper, RH 1979-85 Cad. Eldo front SE4679 TQM25049 RC5247 Hose (15”)* 1979 Seville front 36845 F98912 BH36845 Hose (17”)* 1979-82 El Dorado front 36959/36960 F98914/98914 BH36959/3696 Brake pads 1983-92 S10 4WD TS7070AM MX154 EHT154 Wheel Seal 1967-69 Camaro Timken, National 8705S SKF, NAPA 17187 Dust cap 1983-2010 Ranger 2WD NAPA 735142 Dorman 618-503 Note: Go with the 17" hoses and pay attention the the orientation of the banjo brake line fitting. It does have an up and down side...
-
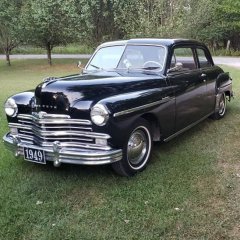
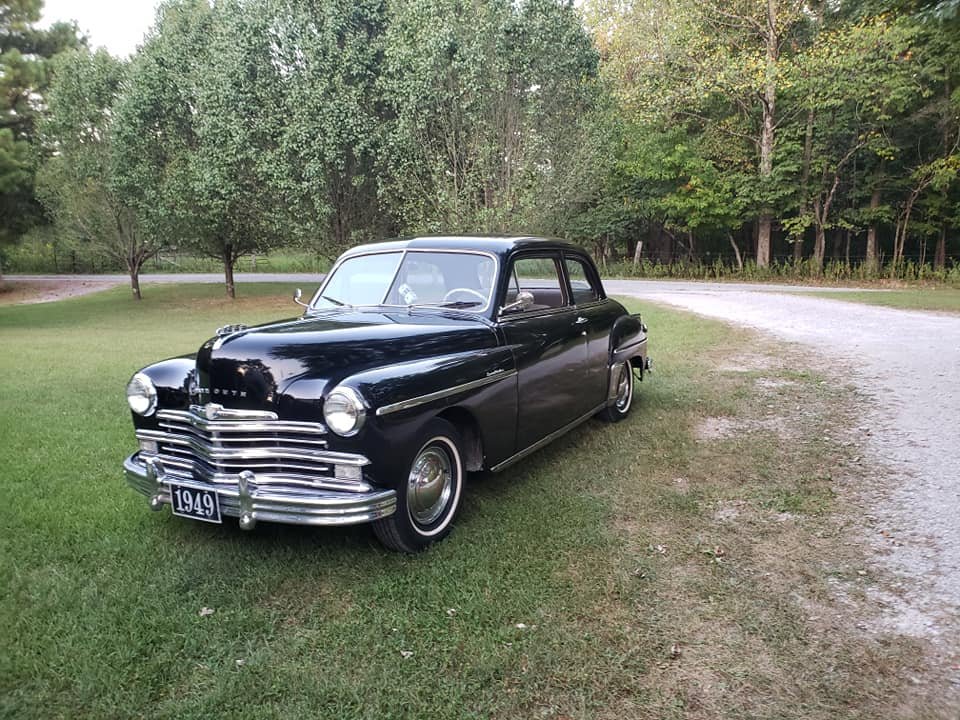
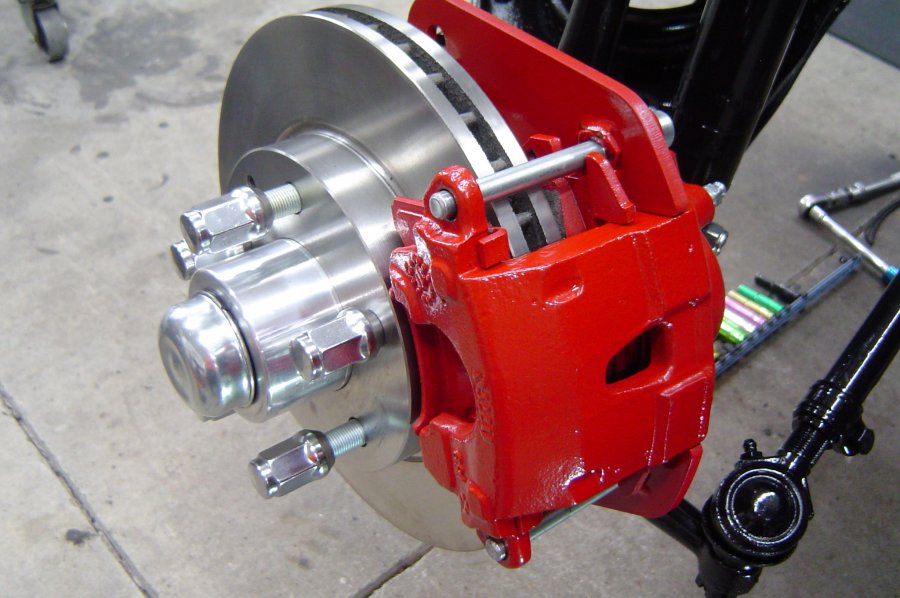
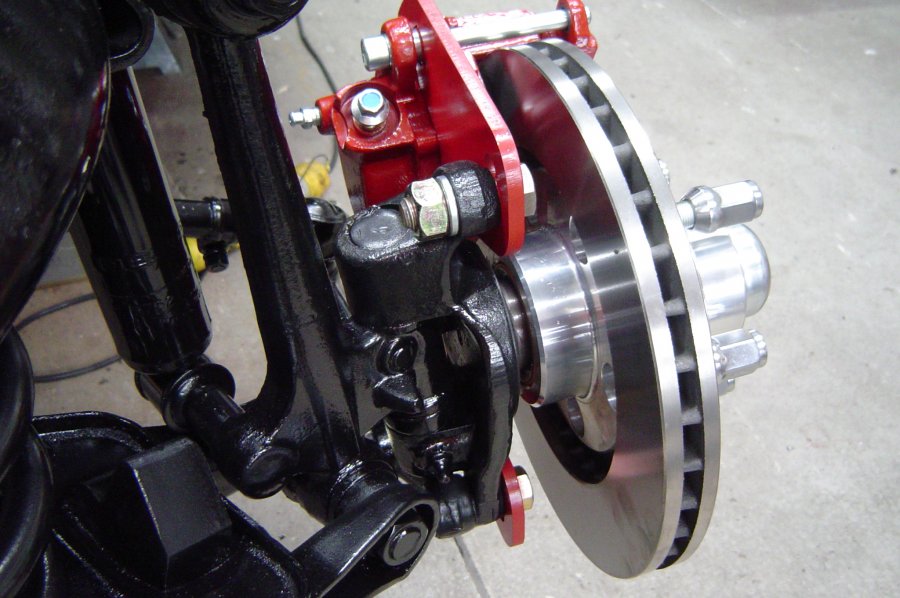
I ordered, received and installed the ScareBird brakes on a 1949 Plymouth SD and here's what I found... Pros: Well Made Easy install Uses common inexpensive aftermarket calipers, rotors, pads etc. Good instructions Cons: Said item was in stock but waited almost a month for shipment Had to get wheel spacers ((1/4") to clear stock factory wheels All bolts grade 8 except lock washers (grade 5) Spindle/wheel nut caps don't fit All in all I'm a happy camper. See pictures of install after a red powder coat.


-
The picture was before I started to assemble and you are right. The ring gear was hitting the gasket when it was about an inch from being home. Long story short, the gasket now has a notch in it. Many thanks and take care.
-
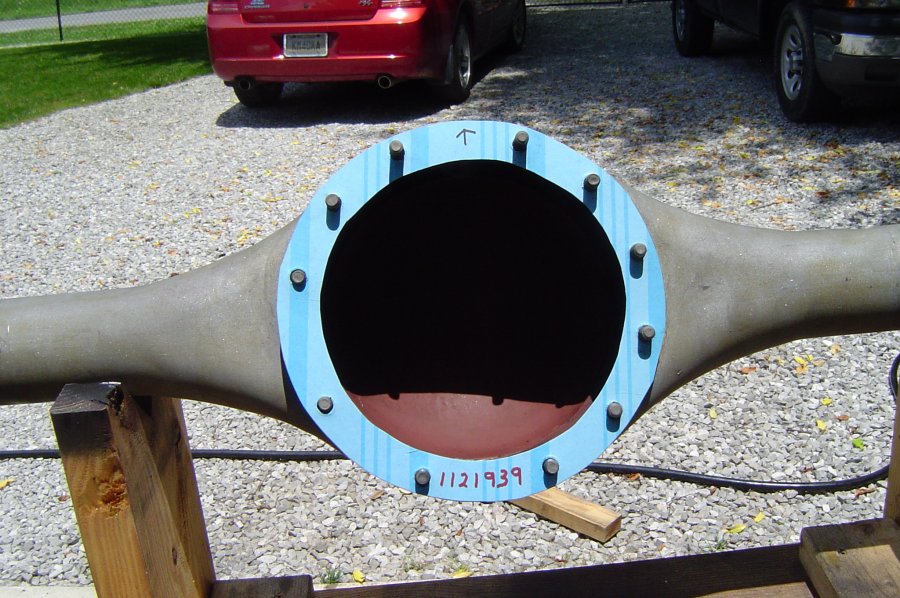
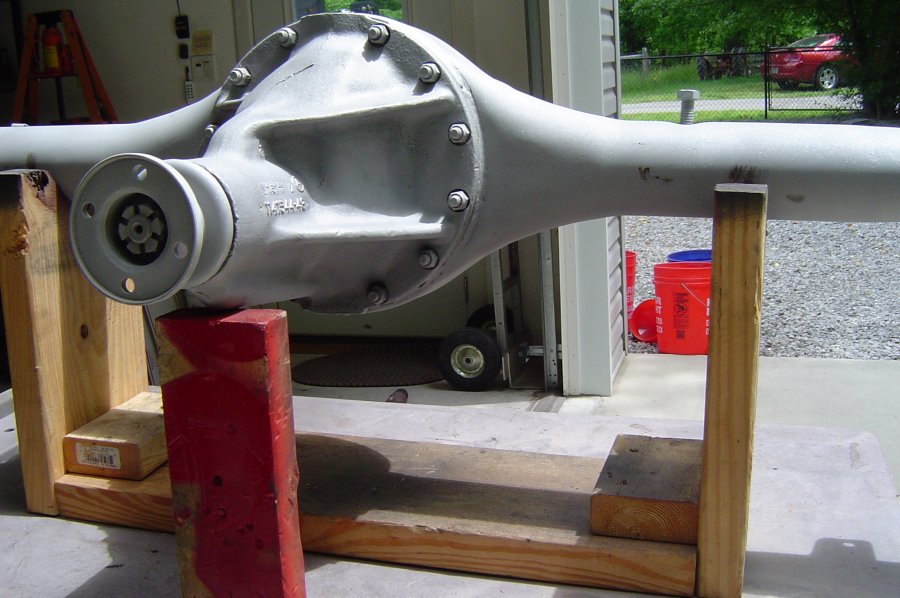
Thanks for the input dpollo. I thought it best to blast it first before I took it apart in an effort to keep any blasting media out of it. The pumpkin and axle tubes were completely stripped as the insides had a complete coating of about a 1/4" of pure sludge. I've seen engines that ran 70K miles on older paraffin based oils with less buildup of crud. All bearings were replaced and the rebuild only required the addition of .002 more shim ( took out a .090 and added a .092) to get the preload at 20 IP without the drag of the axle or pinion seals. Before assembly, I thoroughly cleaned everything and power sprayed it. I found all the parts that I needed except the carrier gasket so I had to make one. Just to keep it all MOPAR, I added the part number. See picture. My reason for asking the year of the rear end is because this came out of a 49 Plymouth SD and all replacement parts for the rear crossed to a 49 Plymouth except the pinion bearing ( the one I removed was a Timken 31590 which every reference I found for it said it belonged in a 50 Dodge 1/2 truck. That's the pinion bearing I ended up getting and it fit and torqued perfect. Thanks again and take care.
-
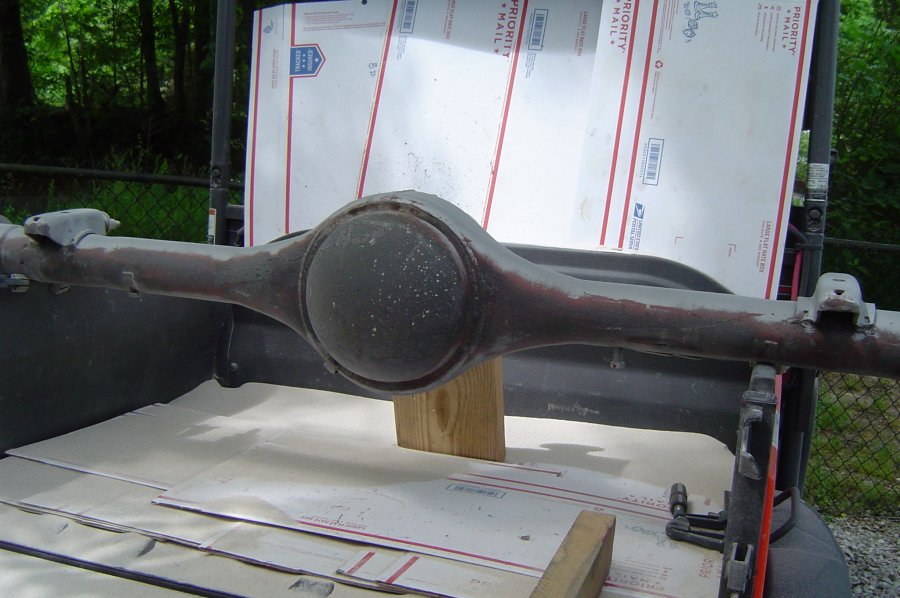
I finally got started on the rear axle. Fun times with the sand blaster but it cleaned up very nice. It had no serious leaks or drips but did have the normal seepage. After getting all the mud, crud, and at least 50K miles of road tar outta the way, I was able to see the casting numbers and the ratio stamped by the fill plug, which 3.9:1 is the normal from what I have found. I was hoping for something a bit more highway friendly. I have found/obtained the inner and outer axle seals, axle bearings, pinion bearings, wheel cylinders, pinion bearing w/seal, case gasket, and pinion Speedi-Sleeve, by searching this forum for 1949 Plymouth SD parts. My question is how to determine what year the rear end was made. Does the 151 above the casting correlate to a year like Jan 51? Many thanks in advance for any assistance.

-
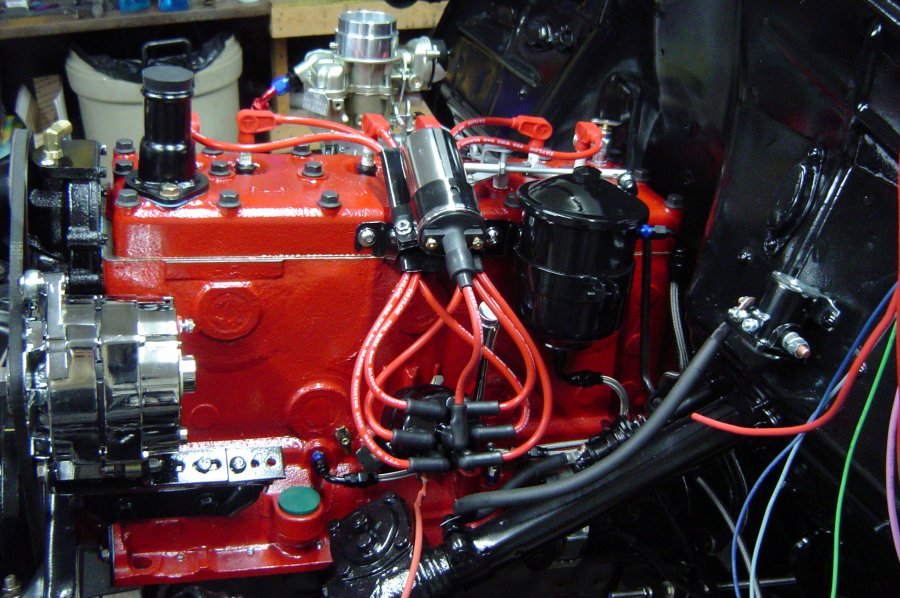
Well Greg, I must be doing something right. The Glove Compartment Gods (GOG) are watching out for me. In restoring the inside area, specifically the dash with new gauges, I opted for a new glove box and when it arrived, I wondered why it had an emergency kit in it. Low and behold, check out the picture of what it contained. I also made sure I got a starter solenoid with a terminal for the "I" if I need to revert back to the stone age. For now I'm going with just the one heat shield as most of my efforts are contraited on the rear end. It's getting new bearings, seals, etc. I am glad it's got spacer shims for the pinion preload and not a PITA crush sleeve. The local O'reilly's has all the bearings and the correct inner oil seals. They even recommended the correct outer oil seals. Many, many thanks for the advice and info. And for making me go thru my old parts bins to find a ballast resistor, even if it's a GM...


-
I didn't even know there was a heat shield.Since you mentioned it, I found a few pictures of it installed and I did talk to the previous owner. There wasn't one on it during the 9 years he had it either. He said there was no problems. I know I wasn't too fond of the metal fuel tube that was going to the carb being as close to the manifold as it was. That's why I used braided PTFE hose and kept it somewhat away from the heat. I did download the specs for the heat shield which calls for cold RS about .050 thick. I do have lots of 14, 18, and 22 gauge metal around but will probably make one out of aluminum. A close neighbor has a real nice forming brake that can do rolled sections too. The dizzy is a stock Autolite but I did replace the points with a Pertronix Ignitor. Testing it on the bench really impressed me. The multiple spark it makes rivals anything that MSD has. The carb is a Uremco that was for a 1966 Mustang L6 (260 CI). It's a 2 bbl downdraft which fits the intake manifold and required very little adjustment for the stock throttle linkage. As for the timing, I will use a vacuum gauge and a under hood digital tach. The current plugs are stock R45's set at .038 which should be OK with the Pertronix 60K volt coil. Many, many thanks for the info and the reference to the heat shield.
-
I did the putty thing and got the measurements before I milled the deck and head. I guess like you, I never thought to take them again AFTER metal work was finished. It's together and torqued down, installed, and resting on the mounts. I will definitely keep this in mind for the next time. Thanks and take care.
-
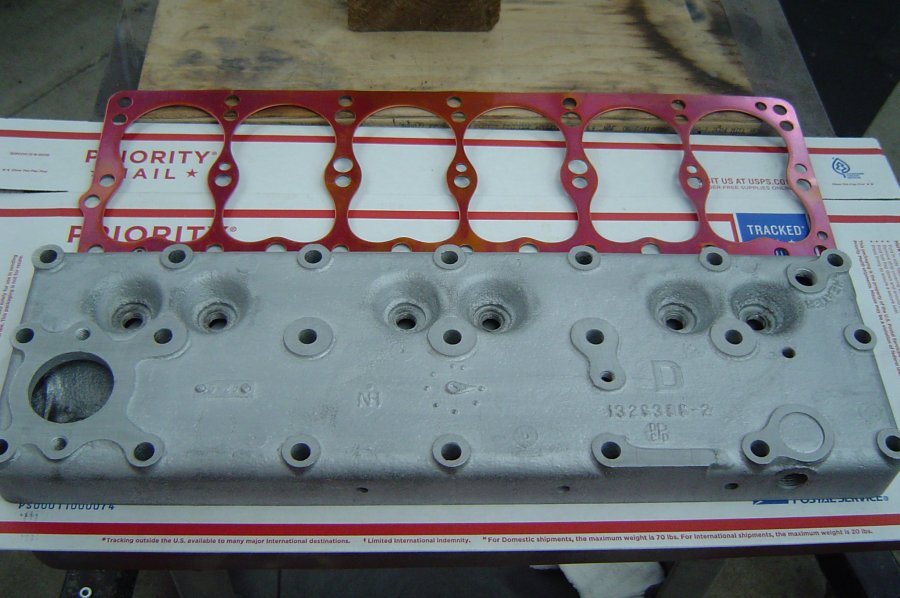
I'm sure glad someone is out there to keep me honest. Of the heads/blocks I've done in the past, I have chamfered around the sharp edges. I had forgotten this time. Many thanks for the reminder. I cleaned the head again and give her a good coat. I got it mounted and torqued down yesterdy. I was able to add some of the goodies now the head is on. Many thanks again and take care.

-
Thanks for the info Adam. This is the 1st OHV engine that I have done. Play-Doh is my friend. I did take .050 more for a total of .083 off the head and .008 off the top of the block. The top of the pistons are still below the deck, but just barely. I just finished the head yesterday. I also took about .007 off the top of the head to square it up at the bolt holes and the water gasket surface. The mill marks look rough in the picture but the surfaces are really smooth. I should have this puppy started in a few days. Thanks again and take care.

-
I would like to get this puppy together but I am going to cc it just to have an idea. If I can reach something around 8 to 1, I'll be a happy camper. Thanks for the info and take care.
-
That's what I did. It cleaned it up real nice. I was going by the stamp of .023 that was already on the head so I guessing/hoping that I'm at .070 plus the .002-.003 I took off at first to deglaze it. Thanks for the vote of confidence.
-
Great reference info. Many thanks for sharing. I'm going to get the head mounted on the mill table this evening and let the chips fly. Thanks and take care.
-
I did the clay (Play-Doh) in 3 cylinders. That's how I got the measurements of .204 to .216 of head to valve clearance at the edges of the domes (thinnest area). Thanks again and take care.
-
If I can get something close to 8 to 1, I think that will wake it up just a bit. My husband left me this project which has become more of an obsession than a project to finish it. As for the money, I have a J2 mill and with this stay at home stuff, I have plenty of time. I was just hoping that someone would have some experience with the head to valve clearances on a flathead Dodge 6. Thanks and take care.
-
I forgot to mention that I did take some of the top of the block to deglaze it. I removed no more than .002 at the most. The head gasket I plan on using is a Fel-Pro with copper on one side. With the numbers you have on yours, they sound great. I'll bet it's a real pleasure to drive. If I can reach something close to 8 to 1, I'll be a happy camper. Thanks and take care.