


Ttumachy
-
Posts
32 -
Joined
-
Last visited
-
Days Won
1
-
Just want to follow up and say thanks! The sending unit was completely corroded. It wouldn’t float with the fuel, and even if I moved it the entire thing wasn’t reading it. Fairly cheap fix, glad to have the fuel gage working again!
-
Thanks, opposing was wrong word. varying, or different voltage was what I was thinking. Top of the terminal in the truck is also reading 6 volts so that would say the wire is connected and there’s no resistance? Next step would be open the tank and check the sending unit then?
-
Going through the dash to try and get gauges working. Fuel gauge is sitting at E although I know it’s full. Both terminals on the back of the gauge show 6.04 volts so I know it’s getting power. To show full, do they need to be opposing voltage (so 6 volts and 0 volts from the sensing unit)? Or should there gauge show full with both terminals reading 6 volts? ‘51 Plymouth. It has an aftermarket wiring harness installed by previous owner. 12v conversion, but step down to 6 volts for fuel gauge. Thanks in advance for anyone that can help!
-
Thanks for the help!
-
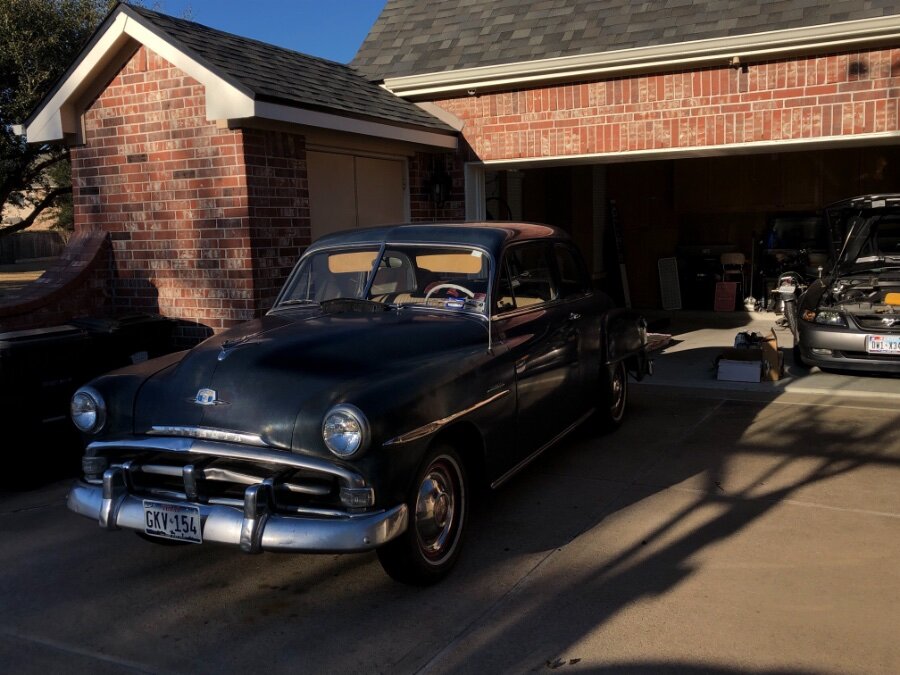
1951 Cranbrook with model 101 Heater. This is the four silver knobs below the radio. I got the fan to blow, but the other three knobs appear to be cables similar to a bike shifter or brake. And they all seem to be locked up as none want to move in or out. Can you just replace these cables? They don’t look to come off too easy. Find a whole new assembly? Where to get either/or? Thanks in advance! Moving along. Running, driving. All four brakes now work instead of just the front. Horn, blinkers, and brake lights now all work. Little baffle in front of the windshield opens again and doors close somewhat smooth. Great to have it out!
-
That looks like them. But cleaner! This is just on the front, correct? My rear doesn’t have these. Forgive the questions, I’m still learning the way they used to do things in the ‘50’s!
-
Appreciate the picture! I’ll be able to dig around in the ‘box of parts’ to identify the bracket now.
-
Thanks. I can definitely see the spot weld. Worst case - replace the outside rubber only as it’s be better than nothing. But there’s play in the rubber as is. Preference would be replace both!
-
Well; that explains it. Thanks for the fast replies!! Disc conversation so they aren’t needed and I couldn’t figure it out.
-
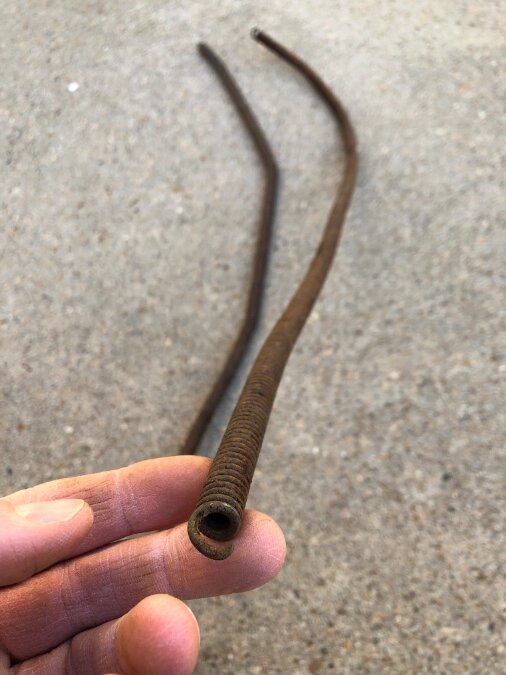
1951’ Cranbrook. Still figuring out from someone else’s disassembly. Can’t figure these - somewhere on the front end I believe (could be wrong). About 2’ long, 1/2” diameter. Appear to be long springs?
-
‘51 Cranbrook. Front end is rebuilt and car is back on the ground. But, driving it without the front stabilizer bar. First - does anyone have a picture of where it attaches to the control arms? It looks like it’s just rubber that holds it inside the control arm? If its just rubber holding it in place of the control arm, that looks easy enough to replace, but not the rubber that’s in the mounting hardware at the frame side. Any tricks to get the rubber out and new ones back in? Rubber I’m referring to is in the picture.

-
Thanks. I don’t think it is the ferrule - everything ran normal when we parked it and nothing has been replaced relative to the fuel system. Air in the lines could be the likely culprit. I could use starting fluid around all the fittings to see if that does anything. Unless someone tells me a horrible idea!
-
Interesting. I tested brakes and they did seem to stick a bit when turning the wheel by hand after release. Not horrible by any means, but more sticky than a new vehicle. That could be the issue then, thanks!
-
Tried uncapping, no change. Also tried hooking up the other side of the fuel pump again and no start. Looking more and more like the fuel pump...
-
I have not done that. To be honest, I’m not experienced enough to know where that would be needed though. Quick look from the overly reliable google (which must be true cause it’s the internet - please read sarcasm there!) shows something I’m thinking for you- on the back side of the master, between the hard brake lines and the master? Is this where you put yours? Help prevent back pressure? Any input would be very welcome! I just rebuilt the master with stock set up so stock residual valve and plugged the rear for now. One line is capped at the wheel and the other won’t bleed some somethings wrong there anyway.
