mm289
-
Posts
83 -
Joined
-
Last visited
1 Follower

Recent Profile Visitors
872 profile views


-
Hey Casper, thanks for the interest, sometimes it is people on forums like this giving you a "nudge" that keeps ya at it Summer is never a good time for the long terms projects for me, spent time getting a beach buggy up and running, then a VW camper van ready for our holiday - so it could break down whilst we were away and now stuck in some house stuff (we have a C18 farmhouse built with lime mortar and none of the builders around here now how to work with it so I am having to do a lot of the work myself!) So thats all the excuses, hope to get back on the dodge in the next month or so when it gets too cold to work on the house. Cheers, Paul.
-
Not much time this weekend, but got out to the workshop this afternoon and closed up the rear rocker repair panel. Seam welded to the original and filed back. Really happy - it is very close to spot on with just a few small depressions in the panel, which given you can't get to the back of the weld and some of the original metal was a bit thin - I am happy with. When i have got the rear quarter lower repair in place then I will clean all the metal with a grit blaster beofre leading in and filing back so that it will be arrow straight without any filler Cheers, Paul.


-
Thats pretty good typing considering it is with your toes - admire your stamina, it can be pretty soul destroying doing all that sanding and blocking and you then realise just how big these things are . Like I said before though - I reckon yours will look better than it did in the dealers showroom by the time you have finished! That Raptor is pretty good stuff, my next door neighbour used it to paint the outside of his 4x4. The only thing I would note is his had a deliberately "rough" finish, kinda crinkle cut, not smooth. Don't know if you can get different styles of finsh. On one of the VW Vans I am doing I am gonna put a couple of coats of tinted Epoxy primer on the chassis and then a clear underseal (Dinitrol sort of stuff). The Epoxy is hard as nails and with the clear wax will still give me a bit of colour (as they had from factory) Cheers, Paul.
-
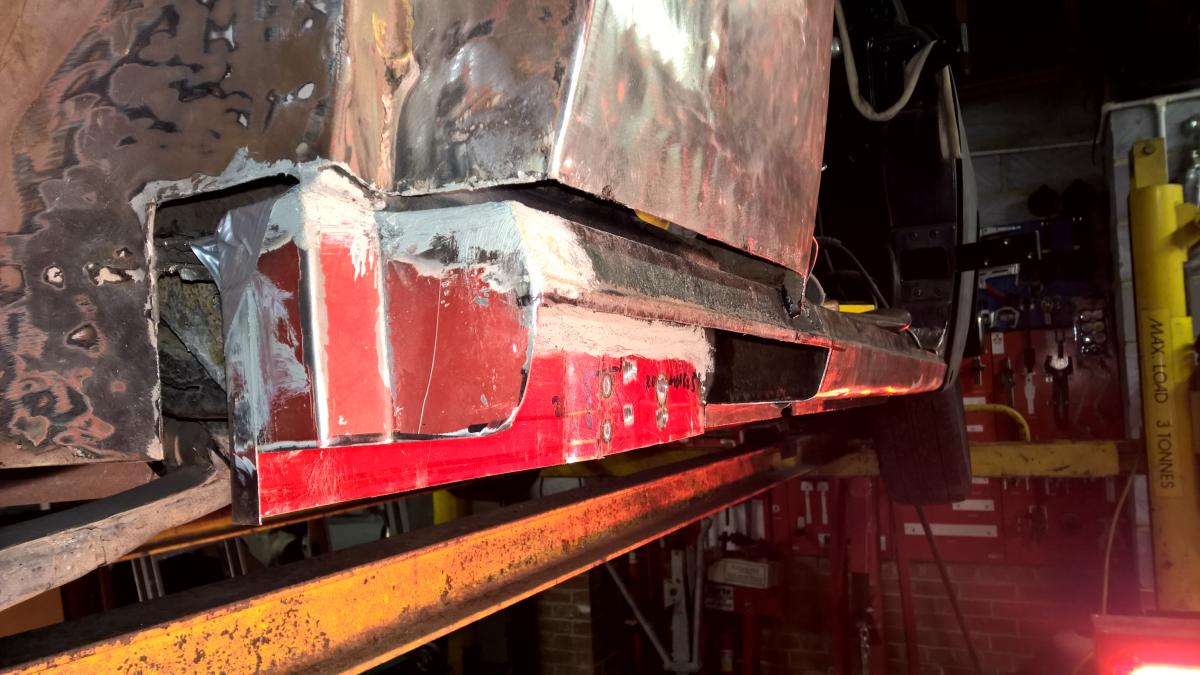
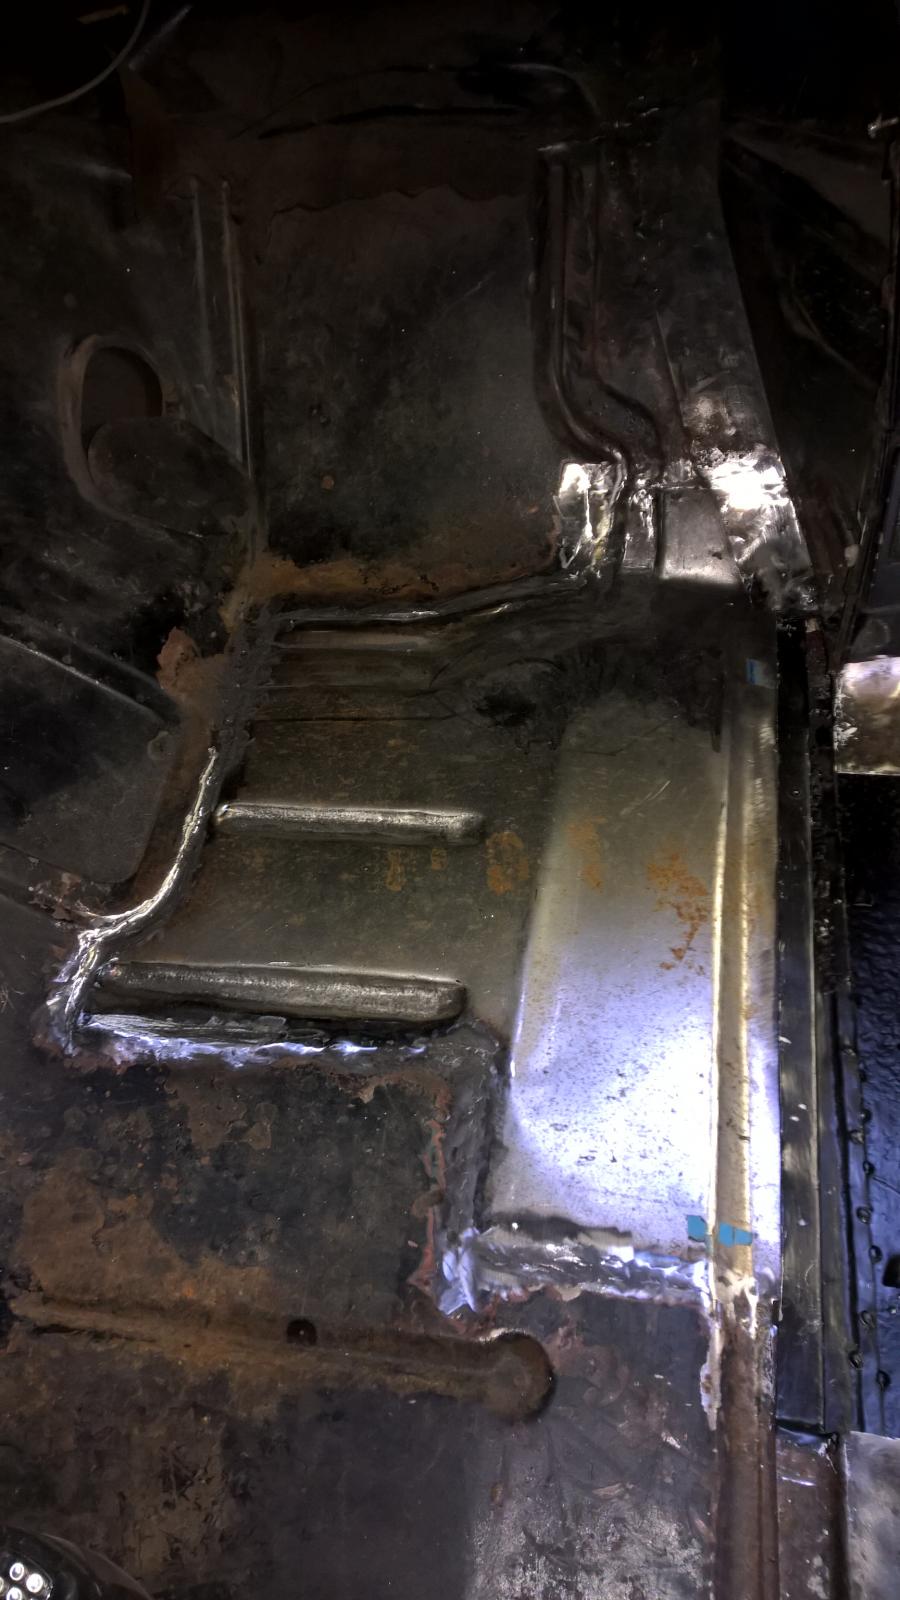
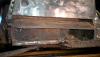
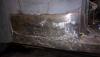
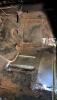
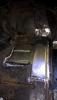
Productive couple of days this week/end. Having cut out the rocker I could see the ends of the outrigger and rear body support were badly rusted. Given the problems with access I decided to make up and patch in new ends rather than remake both brackets like I did for the front. So few hours later and we had nice new ends fabbed up and fitted. With those fitted next job was to make up a new piece of inner rocker panel and drop this in. Welded from the inside with a copper backing plate so from the "outside" I.e. looking at the rocker from underneath the car you can hardly tell there has been a repair. Then spot welded to outrigger. Not to fussed about dressing the welds as they will be invisible once the box section is complete. Then made up a closer to seal off the back of the rocker. On the other side this is all open, but it looks like a poor quality replacement rather than factory and given this is in the rear wheel well, I want to keep it as water tight as possible. Made up, welded in and then treated with seam sealer. Final job was then to make up the replacement panel for the outer rocker. Was a bit tricky as it has a right angle return to the inner rocker and a step and I was very keen to get the curvature spot on to the front part of the rocker. I won't be fitting a trim so want it to be near perfect in the metal so I don't have to use a lot of bondo to get it straight. This is it clamped in place. It doesn't show well but this is the curve, very happy with how it has come out. Will weld in then grind down and if necessary touch up with lead, should be impossible to tell it has been patched when finished So pretty good day, just waiting for the seam sealer to dry, then will paint all the interior metal before closing up the new outer panel. Cheers, Paul.


-
Thats great thanks, - so it looks like the lower edge of the qtr panel overlaps the top of the side of the rocker then gets smoothed over to give the finish that makes it look like one panel? I know these usually have a trim panel that goes along the rocker which probably covers/draws the eye away from this area, but mine has no side chrome trim at all. Getting it over here is pretty much impossibly/very expensive, so I am going for the smoothed '50s Kustom look anyway and will lead all thisin I think to give a nice clean finish. Cheers, Paul.
-
That looks great, congrats on getting it back on the road Paul.
-
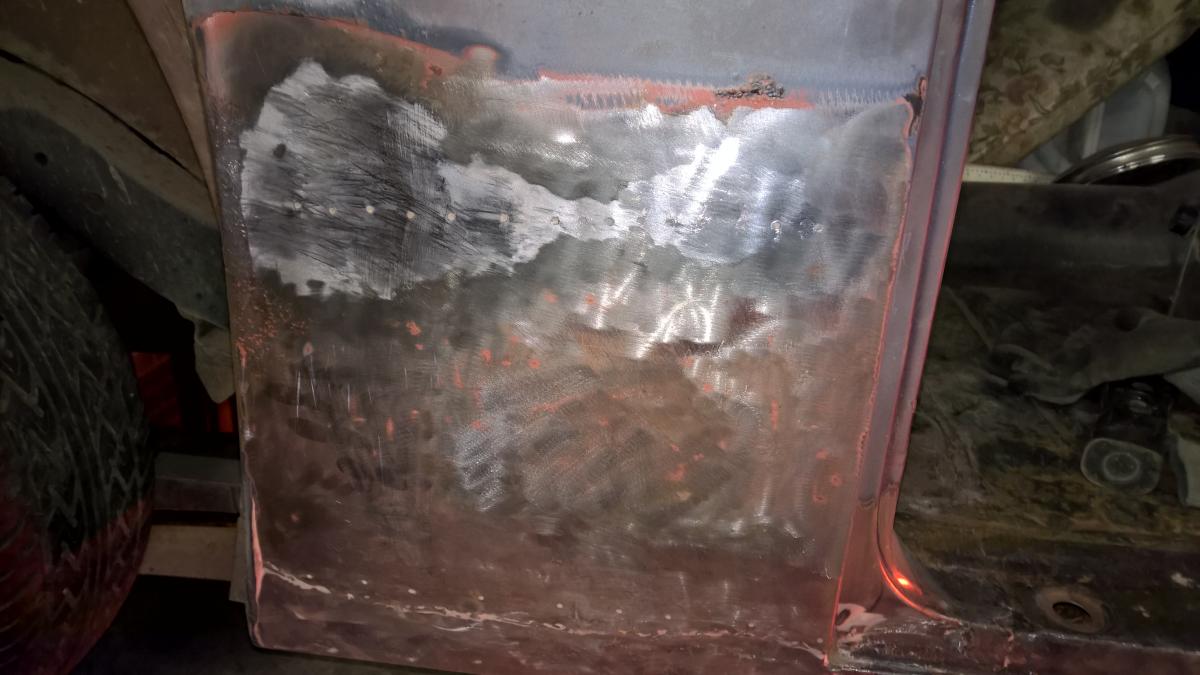
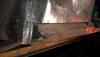
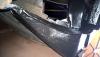
SO started work on repairing the rear rocker. I could see there had been some work done higher up on the quarter panel so stripped that back whilst I was at it. Under the bondo was a leaded area, so guessing is an old repair as not many people lead in repairs now (and certainly not the PO of this one!). Strange though, as the area had obviously been pushed in and then leaded over, but they had then drilled the lead and bondo'd over the lot. Would have been easier to push out the panel and only skim with lead (which is what I will do). Then cut away the bottom of the quarter panel, which had been welded to a repair of the rocker. Rather than make a new rocker, they had just wrapped some new tin over the old rocker then tacked to the quarter panel. Once the old rocker panel was exposed, I could then cut that out to look behind it. Inner rocker is gone, as is the face plates on the two outriggers. Also had a "repair" done to the inner wheel arch area on the back of the rocker. So, time to step back and start again Cheers, Paul.


-
Thanks Casper, I can only think it is blended into the top of the rocker as the rocker is one piece front to back....... Imported from the US a few years back and sat around waiting for someone (me!) to be brave enough to start work , as yours is a business couple as well, do you recall how the rear quarters blended into the rocker? I have looked at your build thread and can see you did some work around the base of the quarter but can't see if you actually had to remake the qtr to rocker join? Cheers, Paul.
-
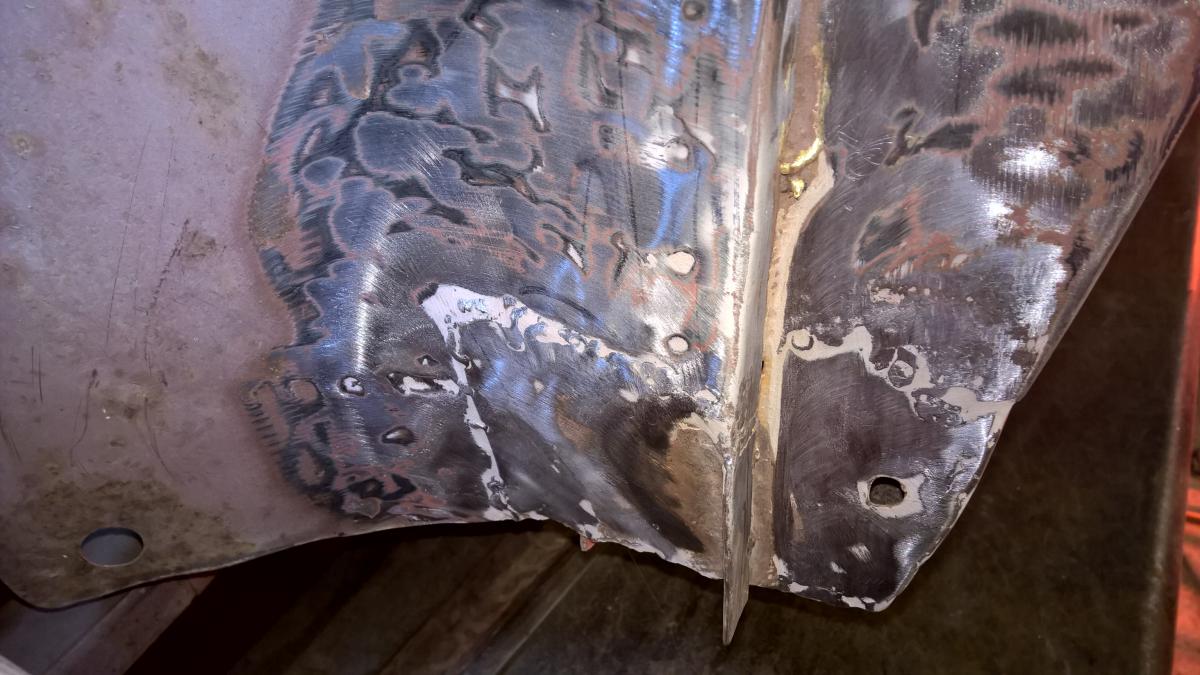
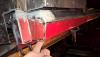
So now onto the rear qtr panel and the rear of the rocker. BIG QUESTION is how does the rear quarter fix to the rocker? On this pic you can see that there is a jagged end to the rear quarter which has been tacked to the rocker in line with the bottom of the door and then filled over. The other side looks like it has been done the same just with mountains of filler covering the join. I can't believe this is how it was done in the factory so anyone got any advice. (this is specific to a 3 window business coupe as it has the large rear qtr panel between the door and rear fender. Cheers, Paul.

-
Yes very satisfying, although no where near as much progress as you - I think I was about right with the thread title Paul.
-
Finally got the passenger side floor welded in today so that is that side all done. Now I can get onto fixing the rear of the rocker and the wing. Cheers, Paul.

-
Yeh, I was pretty happy with them, one went a little too deep but you will never tell when it is under carpet Paul.
-
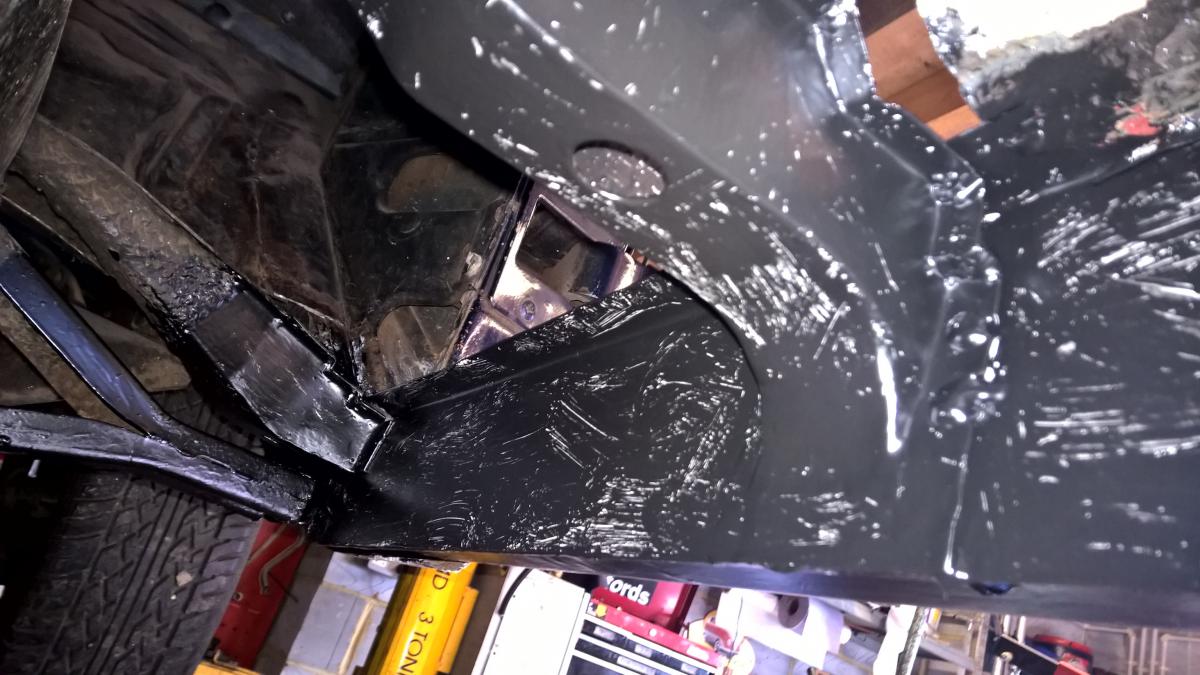
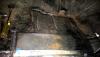
Having got all the panels pretty much in place it was time to start closing it all up. Started off by spotwelding the new outriggers to the replacement inner rocker where I could get the spot welder in and then puddle welding elsewhere. Then tidied up the repair panel I had put into the bottom of the rocker - this ended up being a right PITA as I had flanged the repair panel and then decided I want to seam weld it so you couldnt see the join - lots of welding and grinding later With all the welding done I then hit the bare metal with a couple of coats of 2K Epoxy Primer and then a coat of black rustoleum. Once that was dried I could think about doing the floor. Had Dave around today ('47 Desoto http://p15-d24.com/topic/39753-hi-all-new-to-the-forum-from-england/?hl=wilma ) for a couple of cups of coffee and to compare notes. Then got on with putting the final swages into the floor panel I made. Experimented with a hammerform made out of ply and an air hammer with a special anvil I ground in it. Worked pretty well really. Can see the floor and tools in the pic below. Then got the floor in place and have started to weld in. Am using a mixture of TIG and MIG, I dont want the joins to show so TIG is the preference but some of the old floor isn't good enough to TIG weld too so having to do bits in MIG then grind back. Hopefully will finish the welding this week and move onto the back of the rocker and rear fender area. Cheers Paul.


-
That thing is gonna look better than it did when it came outta the factory - well done fella Paul.
-
That looks really tidy and a great price, have fun Paul.