Bobandy
-
Posts
44 -
Joined
-
Last visited
Recent Profile Visitors
902 profile views


-
Wow, I had forgotten about the length of the rod... It so happens that my carburetor was changed to a Carter and the rod was about an inch longer than the one on it now. I didn't change the carb but I know it was changed. It wasn't working well at all... seemed like it had no chance of working due to the rod length. Then I found a 49 Plymouth at the local Salvage yard with a rod that was obviously shorter and straight. It measures just a hair over 5 and 3/8 inches. I believe the carb was also a Carter. Looks like changing the brand of Carb requires one to be sure the rod length is compatible. Bob
-
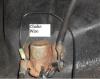
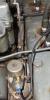
OK. I'll re-post a picture of my choke on my 52 Dodge. It works correctly now that I have the correct linkage and rebuilt the coil section on top as well has tearing it all apart and generally cleaning it up. If you look close you can see the brass shaft with the actuating arm attached. Bob
-
I saw my Dad kill a 4 cyl engine one time by grabbing all 4 spark plugs at once. I've never tried it and don't plan to. Bob
-
Thanks James, If this one doesn't work out for some reason... I'll come knocking... Bob
-
There is no Sission Choke in these pictures.... The choke is mounted on the back side of the carb. Hey, on a 52 Dodge Coronet the sisson choke is definitely mounted on the exhaust manifold and located in front of the carb with linkage from the choke to the carb.
-
Yes... Well actually it's on the way. should have it soon.. Thanks for asking... Bob
-
Thanks James.... That does make sense. I'm a little surprise that there isn't some documentation of that in our manuals... Oh well... life must go on. Thanks again, Bob
-
Thanks for the info. That probably means there was only one Spreading spring in my "tranny in a box" because there was only one in use. I did notice that the snap ring was missing from the front bearing which allowed the pilot shaft to move backwards into the transmission. The stop Ring was cracked (been replaced), I think due to this and it probably destroyed the spreading spring as well. Regardless, I need to find a new spring. Your information probably explains why the spreading spring does not show in the diagram in my shop manual. Thanks again, Bob
-
Don, I wonder how many places we have in the states that rebuild pressure Plates and clutch disc. There is one about an hour north of me located in Jonesburg, Missouri. It's also a little bit colorful.... Colorful but I didn't feel I was in any danger. The guy that ran the shop is called "SNAKE" by everyone in the place. In this case it didn't seem to be a place for just local customers. It had an office building that received and sent out jobs from all over. Snake only ran the shop where all the actual work occurred. For those that might be interested it's called Unique Automotive Rebuilders. Bob
-
Hey Guys, A couple years ago or so I needed a Fluid Drive 3 speed transmission... I now have a good transmission installed and operational. In the process of searching, I also picked up a "transmission in a box" (no joke) that was suppose to be complete... only needed to be reassembled. Well, I'm still trying to find parts to finish it up (will keep as a backup). The only thing I'm missing is a couple of Spreader Springs that pair with the Synchronizer Stop Rings. At first I didn't know the name of this part.. I found it (the name) in an old Chilton Repair Manual. The transmission breakdown in my Dodge repair manual doesn't show these spreader springs at all. I'm guessing (don't know for sure) that each stop ring must be paired with a spreader spring.... The transmission is 49 - 52 Dodge and probably others... I don't currently have a Parts manual. Plan on ordering one soon. Bottom line, I'm looking for a couple of these spreader springs. Anyone happen to have a couple that you could spare or know of a good source?? I have both Stop Rings and they are in good shape. Thanks, Bob

-
Busse's Junk Yard... His phone number is 636-257-5112... The interior of the 49 has been burned due to an accident in the yard but since you will be machining the thing anyway.... it should work fine. (Bob)
-
Guru, Not sure exactly what you're needing.... but, I do know where there are a couple of old Plymouths in a salvage yard I visit occasionally. On is a 49 Plymouth which has been burned except for the engine compartment (gas tank accident) and a 52 Plymouth fully intact.... The next time I'm at this yard I'll take a closer look at the steering wheel on both cars for you... It's located in Robertsville, MO ( in the same state at least) about 10 minutes from Pacific, MO. If you think the Steering wheel off either car will help you just let me know... Don't know how much the guy will ask... (( Bob ))
-
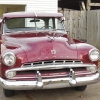
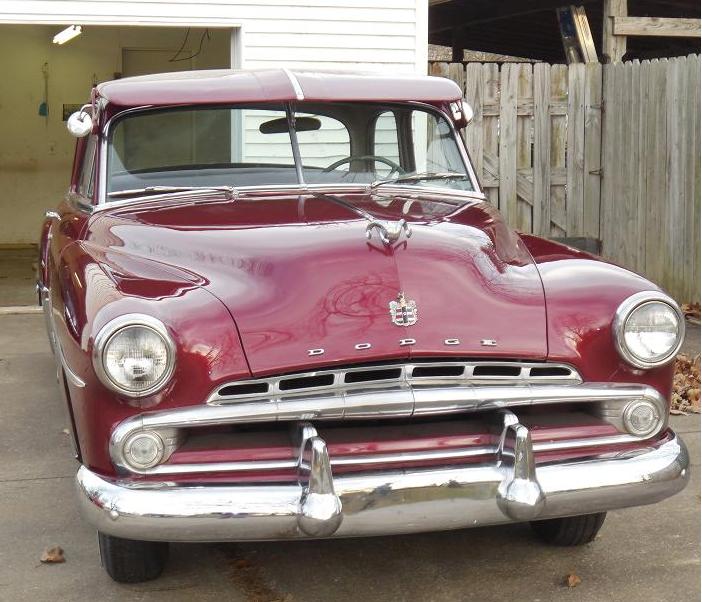
Hey... just caught the reference to the blue in the background... That's my 49 Ford two Door Custom... I agree, the Dodge is more classy.... Bob
-
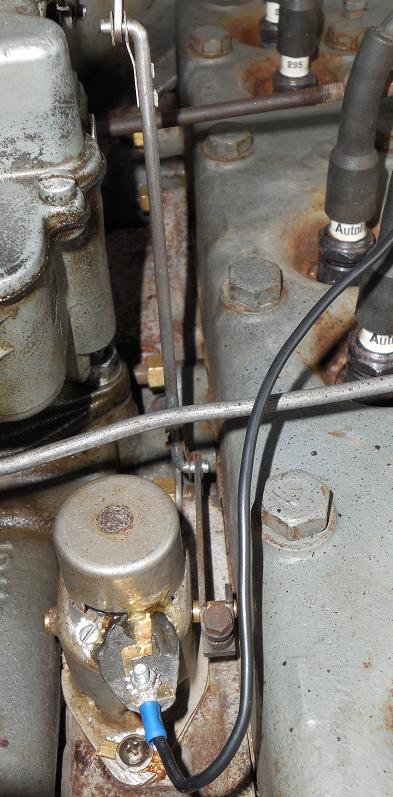
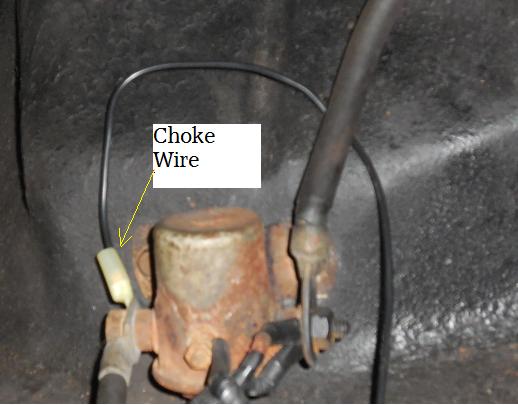
Phil, I'm still learning about posts... Not sure I can add the photo... anyway, the other end of the wire is attached to the starter side of the starter solenoid. At least that's where I attached it. The choke coil should receive current at the same time the starter receives current . Hmmm... It didn't work.
-
Phil, I'm still learning about posts... Not sure I can add the photo... anyway, the other end of the wire is attached to the starter side of the starter solenoid. At least that's where I attached it. The choke coil should receive current at the same time the starter receives current . I think I got it added finally... When I see this solenoid, I'm embarrassed that I haven't changed it. Anyway, you see where the other end is attached. It could also be attached at the starter end of the big wire going to the starter. Was less effort to attach it where I placed it.