boxer_inv
-
Posts
308 -
Joined
-
Last visited
Content Type
Links Directory
Profiles
Articles
Forums
Downloads
Store
Gallery
Blogs
Events
Classifieds
Everything posted by boxer_inv
-
To the best of my knowledge, no, we don't have them in OZ. Certainly not where I live, and I've not heard of them in the major cities. At the risk of hi-jacking this thread (apologies Jim!!), how does the whole 'drive-through' bank concept work? Is it like an ATM without leaving your car? From the pics, there seems to be some type of tube going down into the 'box', it is a vacuum tube or something??
-
Ok, I give up. Can anyone enlighten me as to the actual or conventional use of the 'drive-thru' building in the photos? I don't see any burgers or fries..... (I must comment that it looks like corvette owners are the same the world over...just by virtue of the orientation of their parked vehicles in opposition to the painted arrows...!)
-
That hospitality extends up in Tropical Cairns too, if any forum members ever travel to this neck of the woods I'd be happy to put the welcome mat out!!!
-
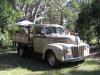
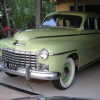
Hi all I just had these photos emailed to me from a guy I met through my work - the cars belong to a fellow in OZ (not sure where) who I believe visits Cairns regularly - I'm hoping to meet him sometime. I'm not up enough on my old cars to know what they are - can you guys chime in to help me? Thanks Rob.


-
Yes, it certainly is. There were a few patrons there at the time, you can just see some to the RHS of the first shot. Its the quintessential 'local' bar...
-
I used that site....great result!! Thanks guys Rob

-
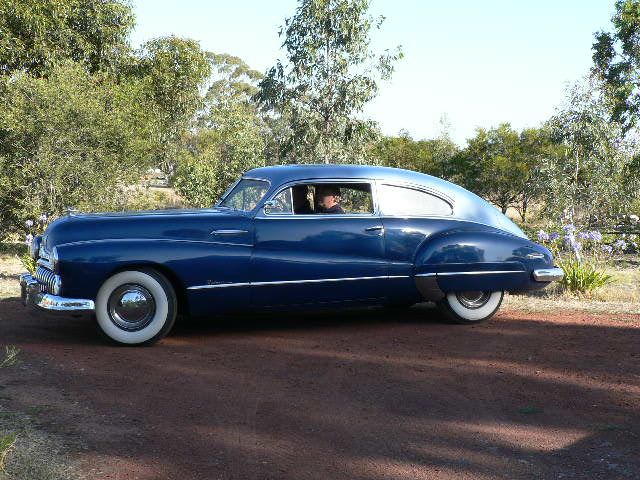
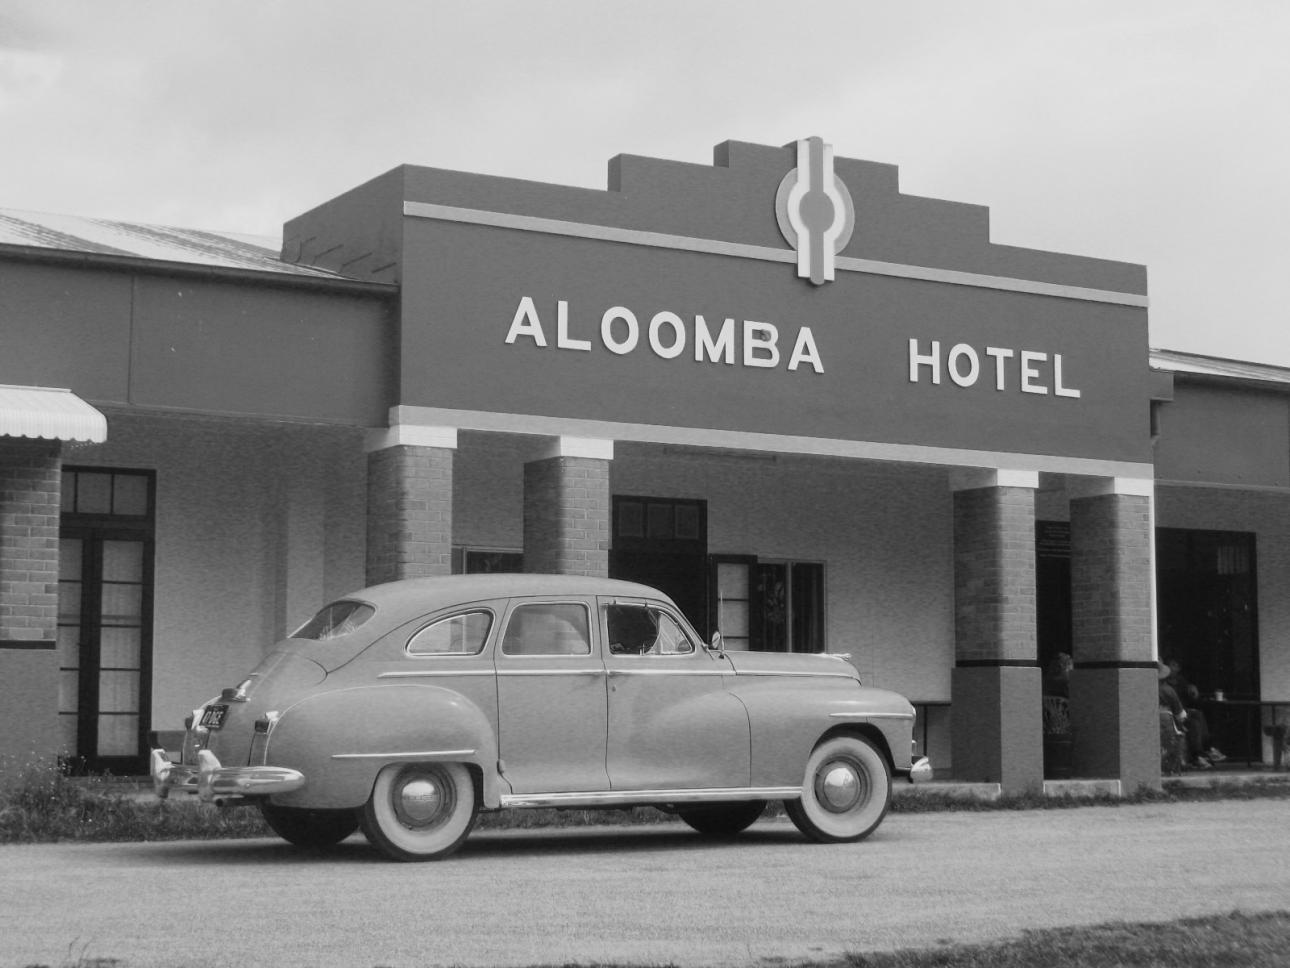
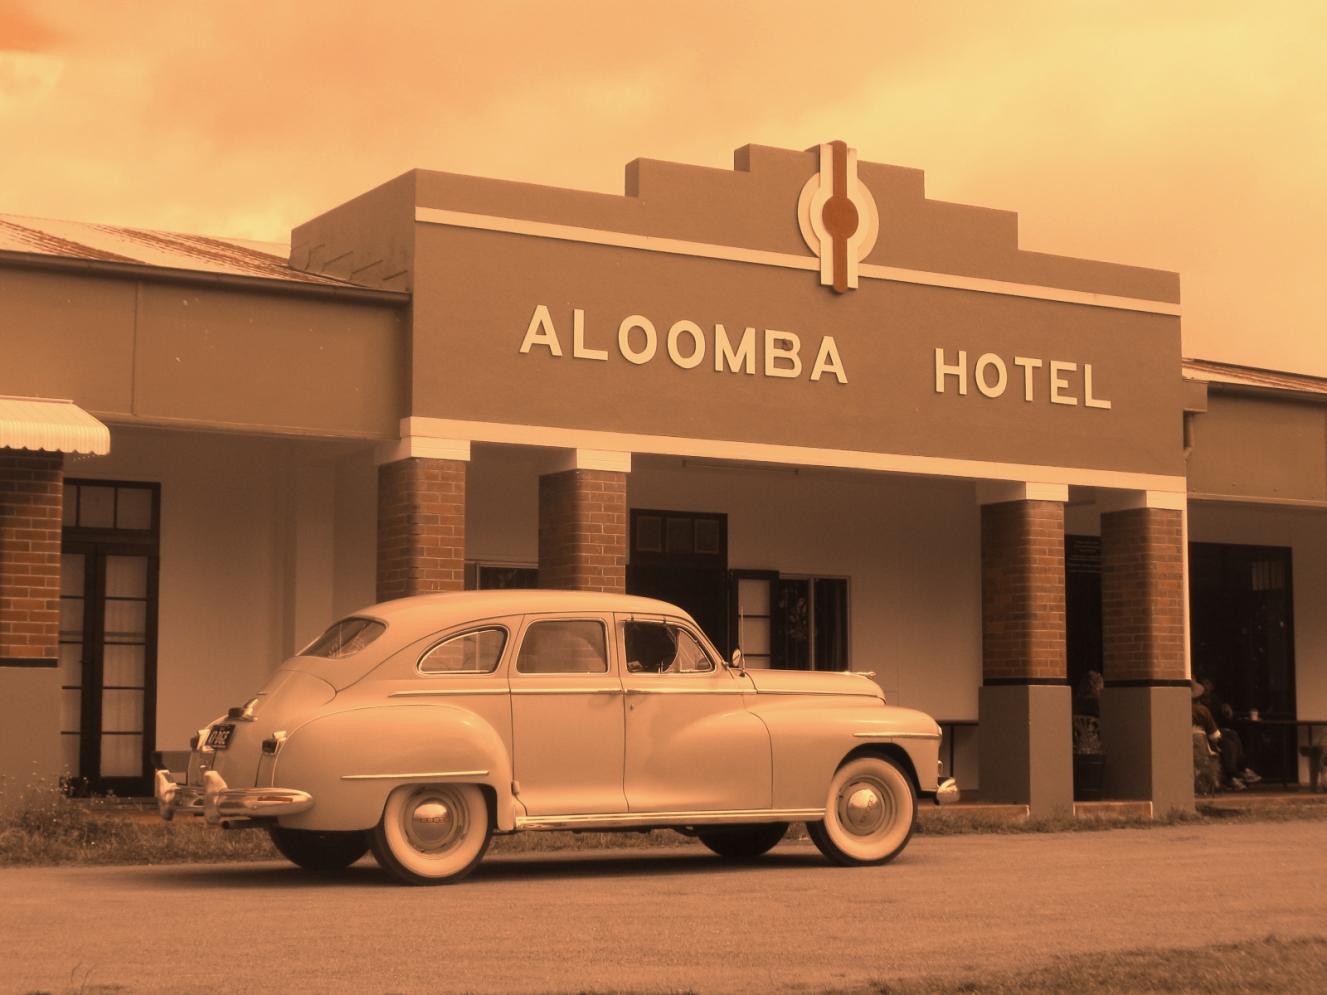
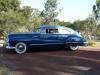
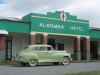
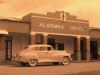
Today I managed to negotiate some 'me' time and decided to take Dorothy for a run to a very small community out of Cairns. I picked up a friend of mine who needed to have a 'guys' chat and we took a leisurely drive together. I took the opportunity to park Dorothy in front of the old hotel front in this town, liked the kind of 'art deco' facade, and took some photos. I took the liberty of playing with one of the photos to 'age' it a little - she looks nice in them. I like the 'grainy' black and white one. You gents may or may not be interested but thought I'd share. Unfortunately, I don't have a dog at the moment so there isn't a co-star such as the famous 'Cooper' to steal the scene! Rob.


-
Hey guys Thanks for the referrals - I've got some legwork to do now with this information - much appreciated indeed. Rob.
-
Hi Both Daisy and Dorothy are Canadian built Mopar masterpieces and hence both have the 25" engines. I don't have a parts book and I'm looking to source a full gasket set (possibly 2) for my tear-down project. I see some on ebay listed, but presume these will be for the 'normal' 23" block engines. I did find this set though...on ebay...can anyone advise me whether this would suit? It seems a better option for the price against the $215.00 per set that has been given me by an Australian source.
-
Thanks I'm quite chuffed at how it looks too.
-
The rear freeze plug. I have what appears to be 3 'plugs' in the block to the rear. Which of these is the freeze plug? I've flushed out mucho engine crud already, but there's always going to be more in it. I've tried briefly to tug on the distribution tube but it hasn't budged. I'm obviously going to have to talk sternly to it with a larger implement in my hand.... A question on the head - there is a heater hose connection point to the rear, but this is plugged with a screw in blank. I should take this out and flush this area also, yeah?
-
 ...must....resist.....temptation... Perhaps one of my fellow DOWN UNDER forum friends might like to jump on this one. Any room in your shed for a 3rd Andy???? http://www.ebay.com.au/itm/1948-Plymouth-4-door-sedan-/230639952844?pt=AU_Cars&hash=item35b33663cc#ht_1077wt_1139 Looks interesting. Looks very similar to something already in my shed.
 -
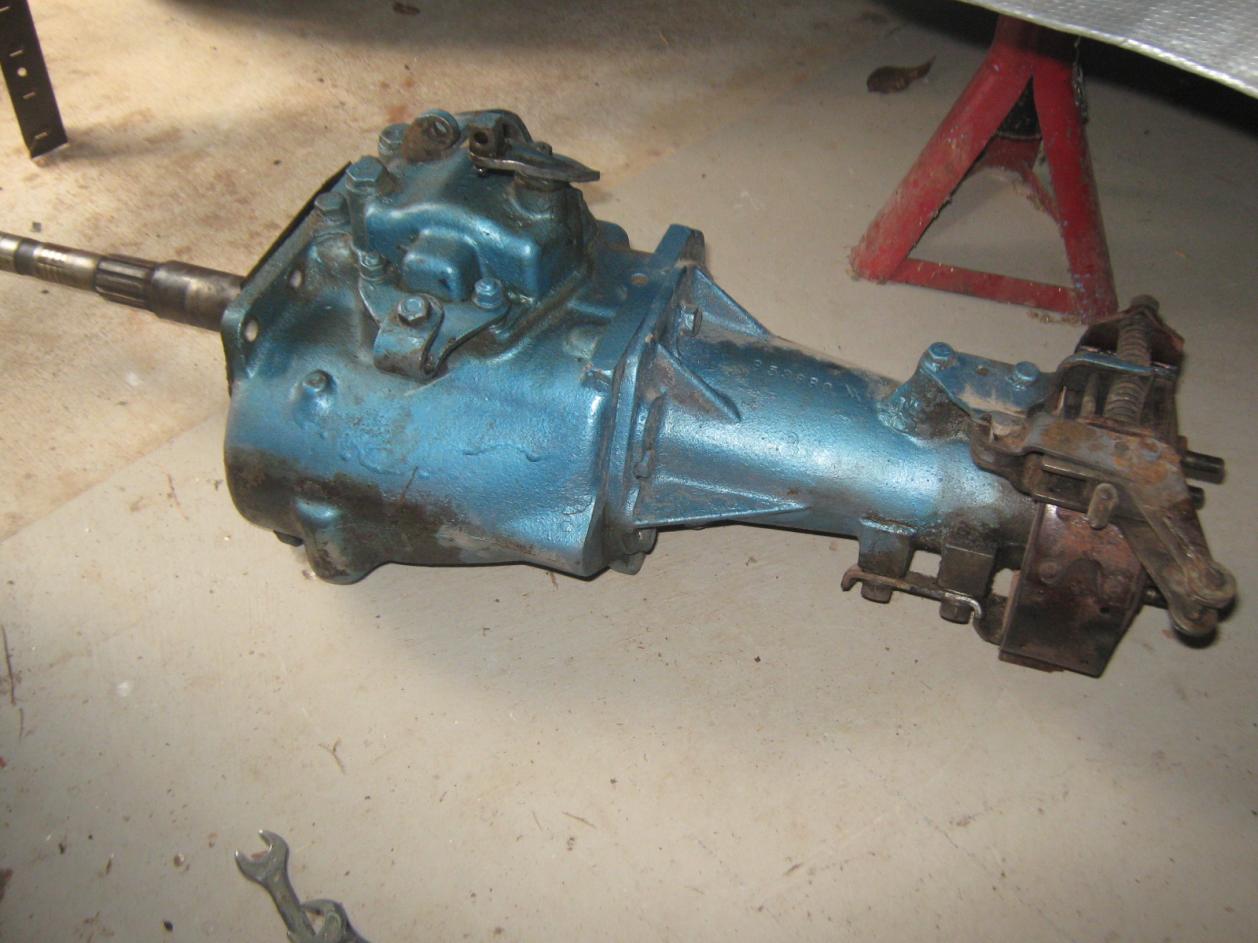
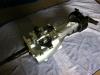
I reassembled various pieces back onto the painted trans today. I'm happy with the result. I also armed myself with the hose, piece of stiff wire and other poking implements and flushed out the block. What....a...clogged...up...filthy...mess! I know that its not as clean as it could be with chemical treatments/boiling etc etc, but as I'm not completely stripping the engine down it will have to suffice. I'm sure in the knowledge however, that the engine couldn't possibly be worse off from getting rid of the crud that came out from within...:

-
Well............not quite the case insofar that there has been some restoration work done to this project before I got it. The body has been off previously and the chassis was painted etc etc etc, but it had sat for many years since without being finished. Its filthy, but I'd rather have filthy than rusty!!
-
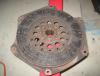
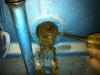
Hi all I Managed to get the engine block off the crane and onto the engine stand today. I had my youngest little helper with me to get the oil pan off - see photo - we had fun and he's great at turning the ratchet. I then managed to get the fluid drive unit off the crank. To do this I purchased a cheap set of wrenches and used the grinding wheel to narrow the ring end of a 5/8 spanner to get it between the block and nuts. As recommended by you fine fellows, I then used a block of wood to keep the crank from turning - worked a treat and easy off. Heavy beast though! Tonight I got down to popping out the freeze plugs in the full knowledge that there would be a lot - a LOT - of sludge in this head. As you can see, I wasn't disappointed! I had a good belly laugh when I managed to shift enough crud from the first plug that the remaining water in the head finally evacuated itself - all over me! I foresee a strong hose jet and a wire poker thingy in my immediate future as I try to clean it out some more.... Lovin it.


-
I'll investigate with one of the local outfits, but Jim has advised he has only 1 left for the fluid drive unit and it has 'some surface rust' so is willing to sell it for $80, down from the $125 list. Whaddayareckon? I think the fluid drive / non-fluid drive plates differ in that the 'standard' clutch plates have damper springs - my fluid drive plate doesn't. Would this make sense? Rob.
-
Hi Some time ago I rewired my '47 and during that process, I did up my own diagram using Excel. I've attached a PDF of the diagram - it doesn't seem too clear (the excel image file is clearer) but can email you a copy of the actual excel file too, so you could use that as the basis of your own and modify it to suit. I didn't bother putting the wire size on my diagram - I was using one of the other diagrams already on here for reference. PM me your email if you would like it. Rob. Rewire diagram_new.pdf
-
...a genuine Mopar parking accessory in the front of your rear wheel..... And yes, I've got one too!
-
Exactly the right answer. I'm fairly sure Dorothy and Daisy have never shifted themselves up or down the gears without driver input in their 63-odd years! Myself, I love the nice burbling sound the flathead makes when moving off nice and easy in top gear from a standing start at lights. As they say, low and slow.....low and sloww.....
-
Andy - see PM
-
Hi Don I hope one of the others will chime in on your query - this is my first hands-on with the parking brake mechanism, so I've got not idea really on where to 'set' it as yet, other than to have it loose enough so that the drum will turn. Any advice on just how 'loose' the fit should be?
-
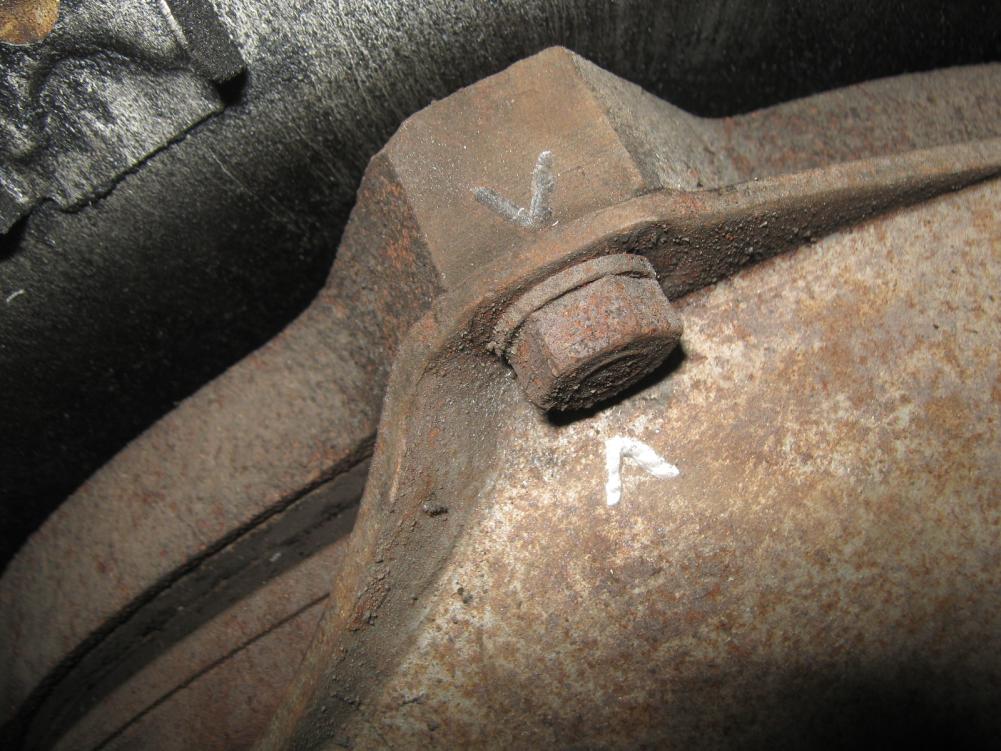
Andy - I got a parts/price list from Jim Robinson, but this doesn't have any reference to clutch. Would he have a clutch place you reckon? I'm going to assume this isn't going to be a readily available 'off the shelf' plate that my local shop is going to have in stock... Photo below - this was a good example (for me at least) of why it is so important to have the Shop Manual's available to read FIRST before tearing headlong into much. It was on my SECOND reading of the manual that I properly understood the reference to marking the plates prior to removal. I've also used my Dremel to make a mark on the fluid drive unit and crank flange before I go any further to separate them. I've been making a point of grabbing a coffee (or beer...) before getting my hands dirty and just reading the manual for what needs to be done. I know it won't save me from making some dumb mistakes along the way, but hopefully it might minimise the extent of any screw ups!

-
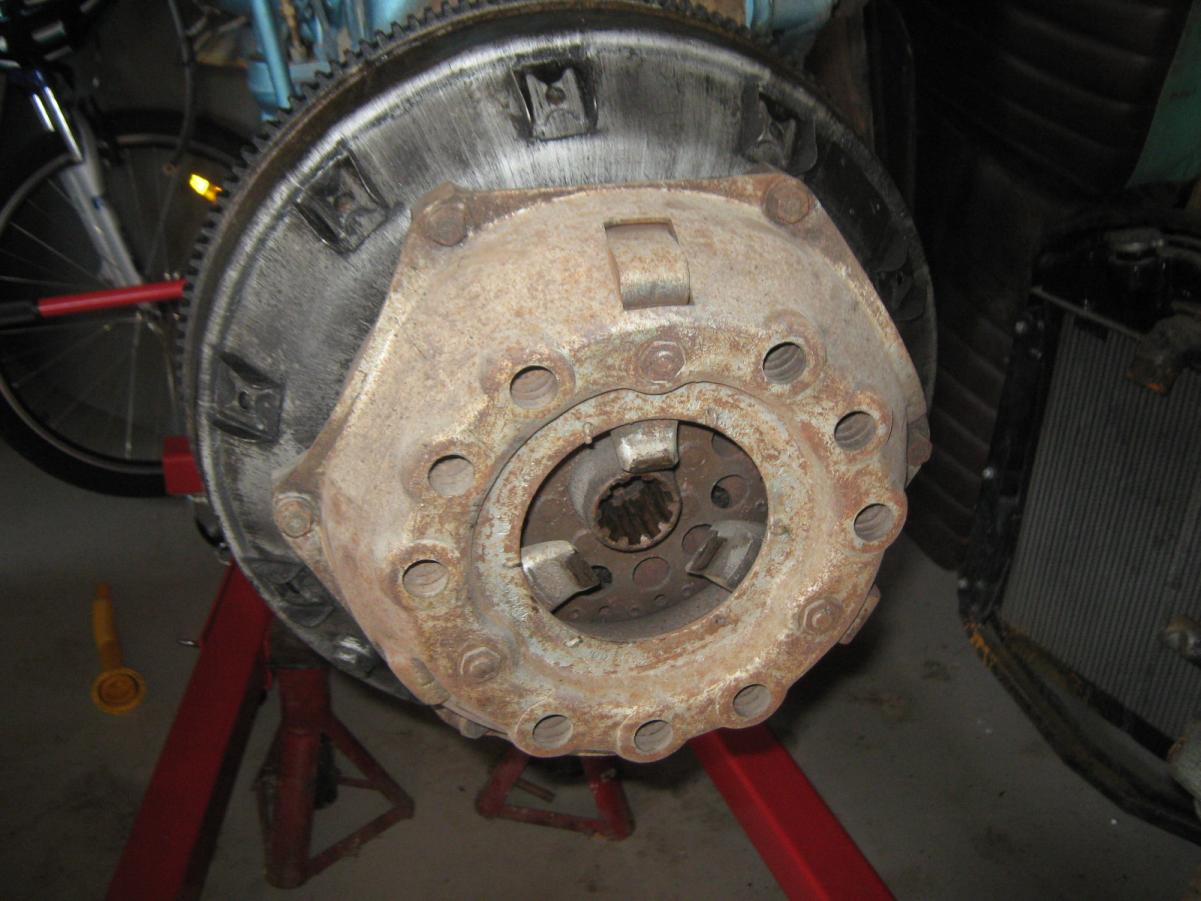
I tried briefly to undo a couple of the nuts with no success. Ended up just turning the motor over. Can anyone suggest a good way to prevent the crank from turning while I'm putting some pressure on the wrench? I guess I could just lower the unit down until the flywheel is resting on the ground and let the weight of the engine prevent it from turning.
-
Andy - Bogan Moths - are they the moths with blue singlets, stubbie shorts and mullet haircuts?! I've heard of the Bogong moths before but not seen them, though I hear they swarm in large numbers often. Up here in North Queensland we occasionally see a Hercules Moth - we used to get them often on the side of our shop building - big ones almost as big as your hand.
-
Today I removed the bellhousing covers and then also the clutch outer. No major grooves or flaws to my eyes, but I'm a clutch 'virgin' so to speak, so perhaps you all can comment on how this looks to you? The next task is to remove the fluid drive unit.... Am I reading correctly in my shop manual that this is achieved by undoing and removing the nuts located on the rear of the fluid drive unit, between it and the crank flange? If so, what an interesting job that is going to be.... Photos of clutch and faces.