1952B3b23
-
Posts
993 -
Joined
-
Last visited
-
Days Won
5
Content Type
Links Directory
Profiles
Articles
Forums
Downloads
Store
Gallery
Blogs
Events
Classifieds
Everything posted by 1952B3b23
-
Looking good. Can you tell some details about what you did? It looks like you added some custom touches. -Chris
-
I installed an aluminum radiator that's meant for '48-'49 coupes (if i remember correctly) in my '39 Plymouth coupe. It was pretty easy, just involved a little trimming and making the mounting holes on the radiator match up with the ones on the radiator support. I'd say go for it. It sure beats the cost of re-coring the old one. Good luck, -Chris
-
Thanks guys. I'll have to look and see if i can find that thread where the guy made the tools himself. I have e-mailed Rich, i believe his user name on here is "desoto1939." If i cant borrow the tools i'll just do without and make it work. -Chris
-

New Guy - New Toy - Job Rated or WC
1952B3b23 replied to jeepinchris's topic in Mopar Flathead Truck Forum
Welcome and nice truck. If i was you I'd make it road worthy and have fun driving it around with the kids. Then make improvements as you go along. -Chris -
Thanks a bunch for the input Robert. I was thinking the same, if i take it easy and make sure everything goes in evenly i should be able to do it without the tools. I'm waiting on my upper control arms to come in the mail. Once i get those ill start reassembling. -Chris
-
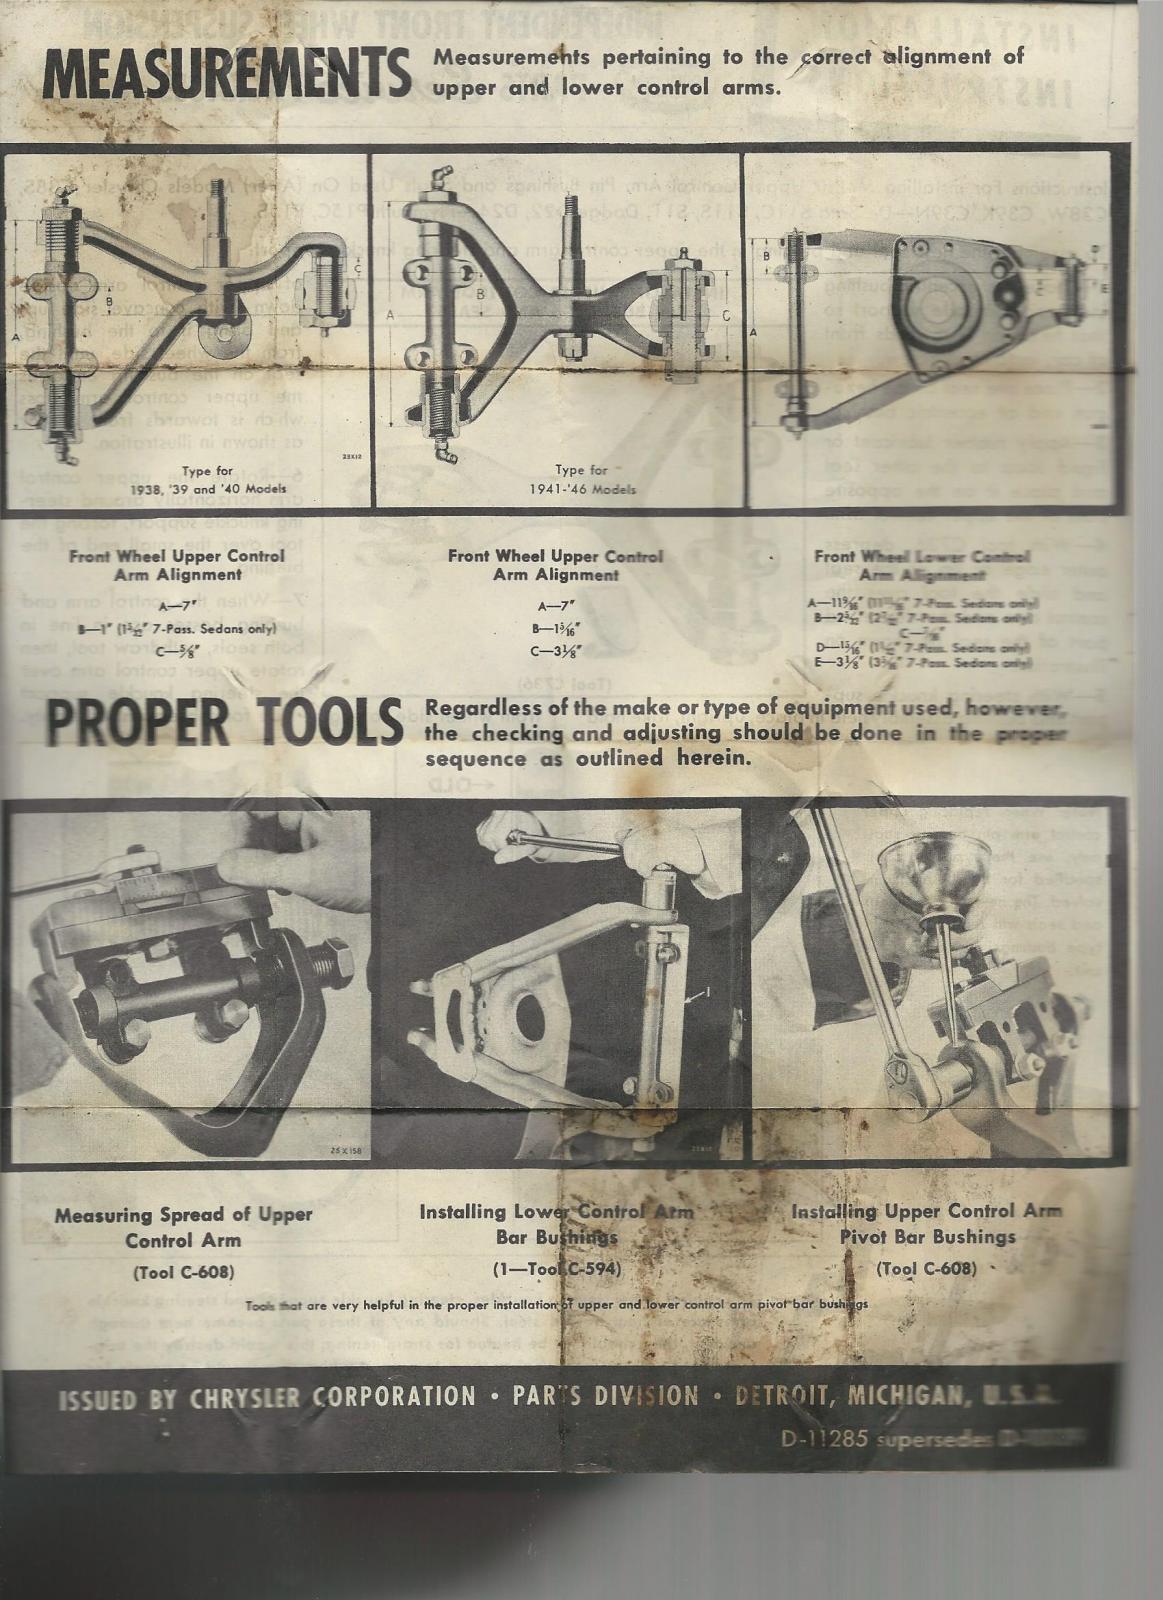
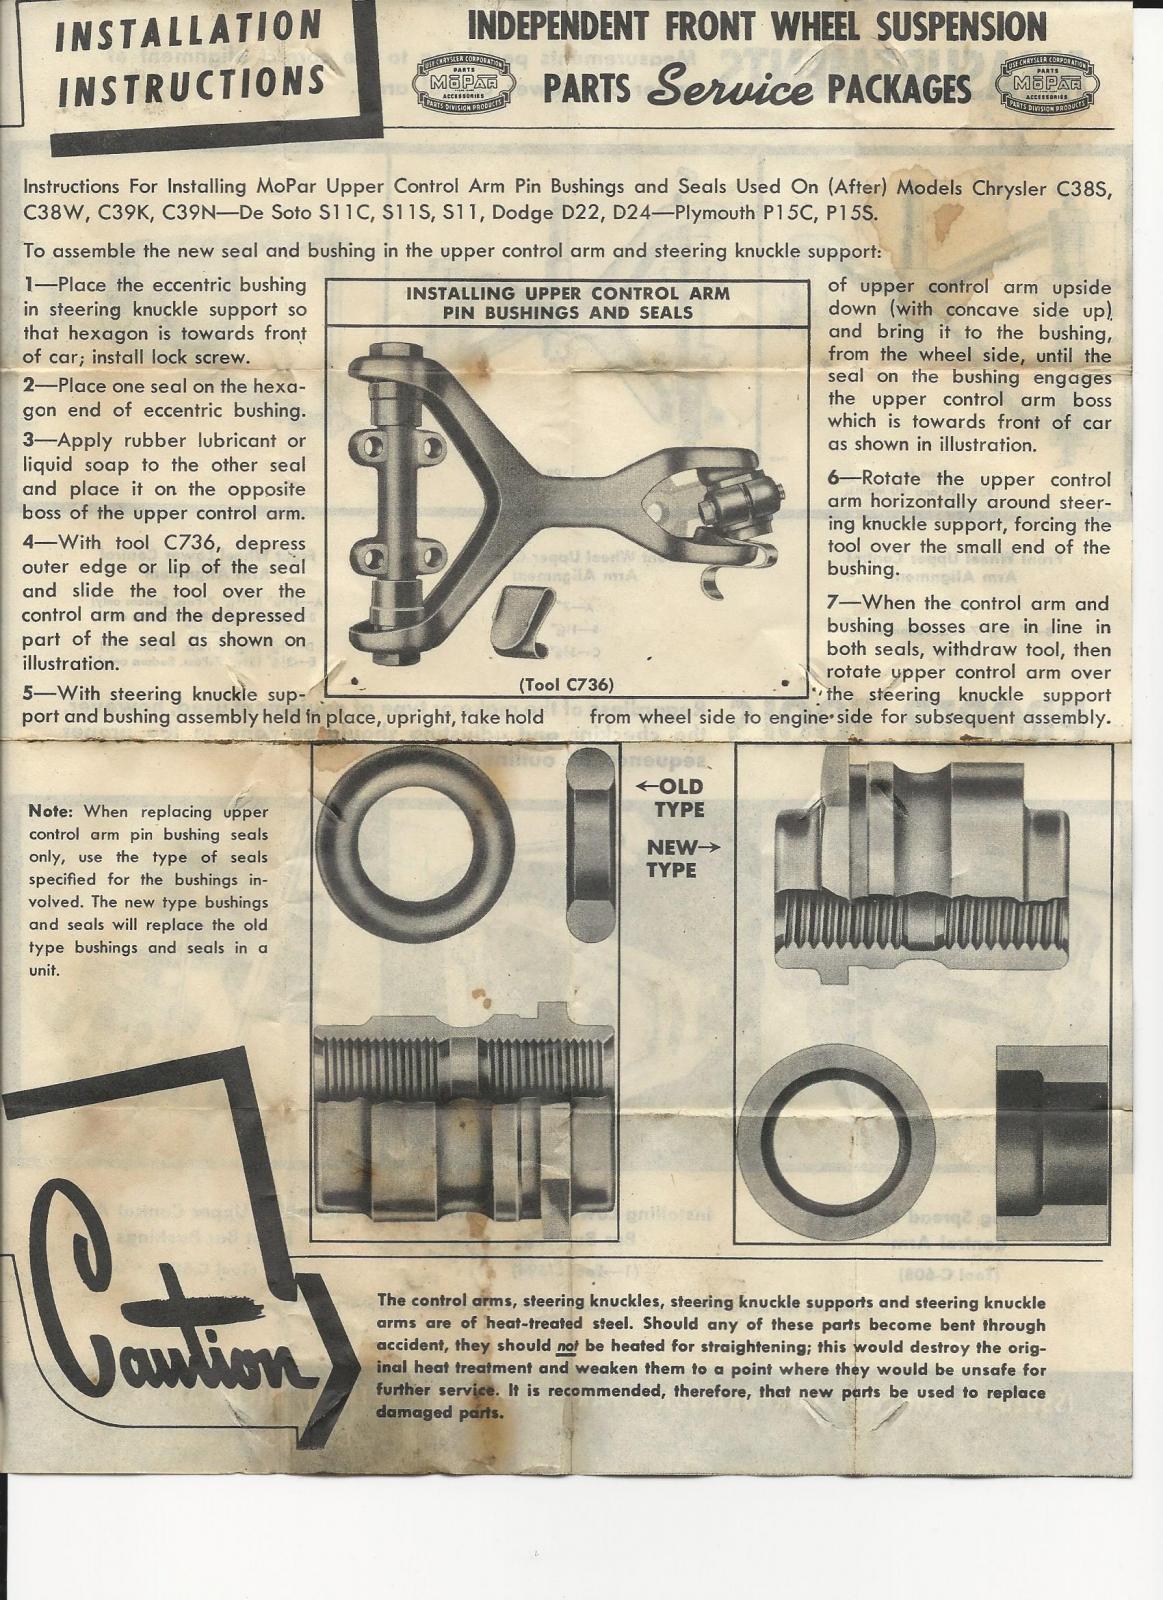
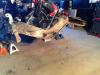
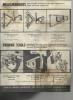
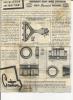
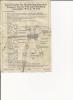
Well i had some time on Saturday to finish disassembling the front suspension. I'm glad that i'm tackling this cause all of the pin/bushing joints where so worn out. Now i know why the car was handling so poorly the first few times i drove it on the road. I was also able to find two used upper control arms from French Lake Auto Parts in MN. Hopefully i will be getting those by then end of this week. I know that in the owners manual it calls for special tools for reassembling the lower and upper control arms. My question is do you really need them or can you get away without and still get good results? I've never completely rebuilt a front suspension like this so i'm looking for some tips and advice. I've attached a few scans of some of the old installation instructions that came with the NOS parts i got for the front end. Thanks. -Chris

-
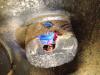
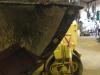
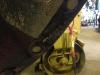
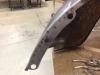
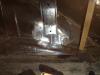
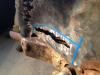
So i inspected my front suspension the other day and found out that it needs to be totally rebuilt. The pin/bushing connections all had a ton of slop. So last night after work i began disassembling it. Sure enough the pins where worn down to the point where it looked like someone took a grinder to them. One of the lower control arm bushings was worn completely through on one side. I have only been able to take apart the drivers side so far and i found that the threaded end that goes into the camber adjustment bushing on my upper control arm is badly worn. This means i need a new upper control arm. I have attached a few pictures. The person that i bought the rest of the parts from doesn't have the arms. Any suggestions? If someone is looking to sell a left and right side upper control arm let me know. The Chrysler part numbers are as follow: Right: 689101 Left: 689102 Thanks in advance, Chris


-
Yup it's the same thing on my 39 coupe.
-
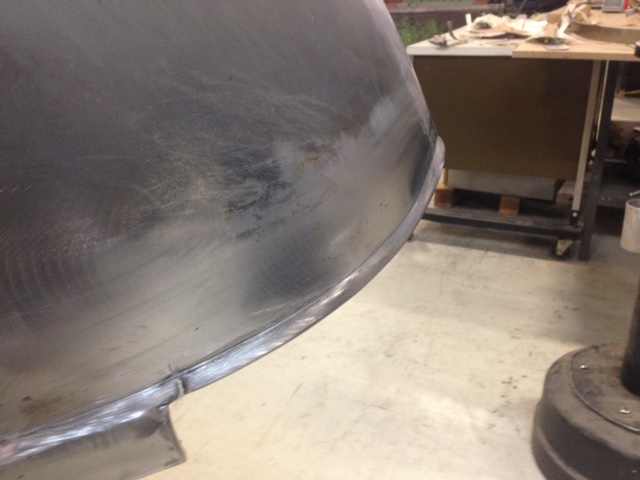
Thanks, i'm my own plymouth doctor lol!! Maybe I'll start talking orders once i can get all the patch work on my car done. The detailed areas on these fenders are actually pretty complicated to re-make. Especially for someone like me who is relatively new to metal shaping. All of this was done with hand methods, bead roller, and shrinker/stretcher, no Pullmax or other type of machine used. -Chris
-
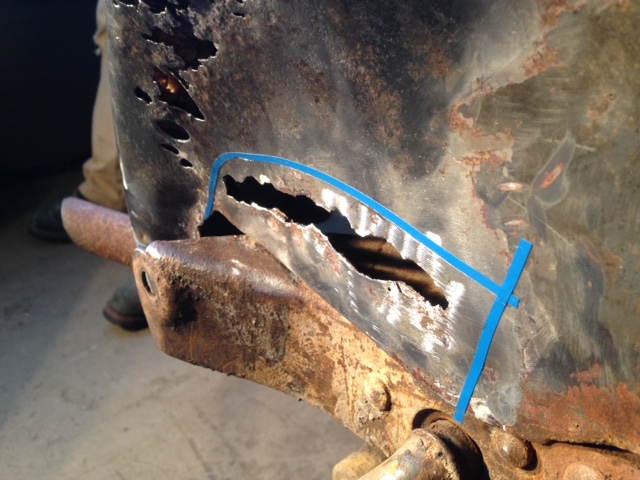
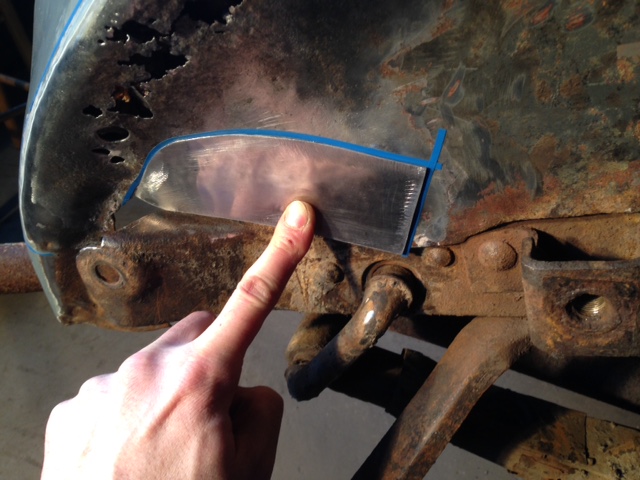
This is a continuation from the post above. Here are some before pics of the drivers side fender. Its shows some of the problem areas. -Chris


-
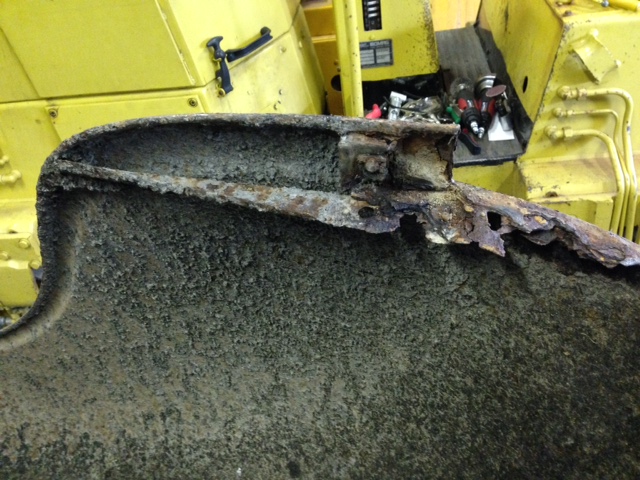
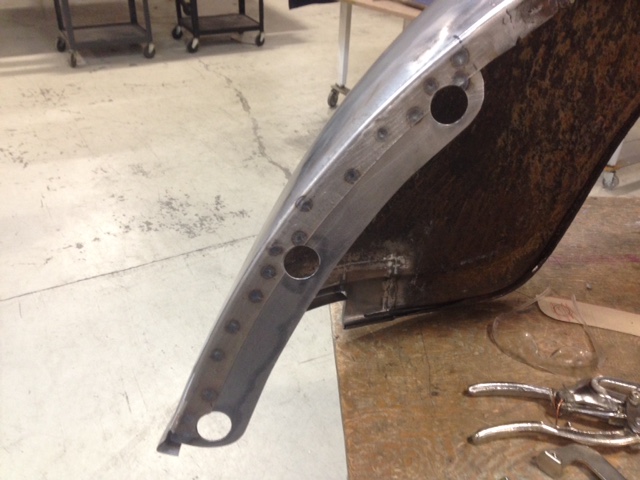
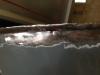
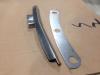
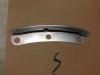
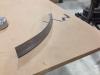
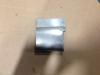
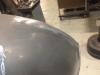
I've been chipping away on my drivers side front fender for awhile now. The bottom of the fender where it meets the running board was pretty toasted from the years of abuse. Its a perfect place for dirt and moisture to collect and rot out the steel. I decided to remake the entire lower area (near running board) and the portion that has the three hole flange which holds the fender to the cowl. I will let the pictures speak for themselves instead of my rambling on . The first few pics are of the individual pieces that replaced the old rotted ones. Next on the list is patching up the headlight bucket. Thanks for looking, -Chris


-
I did get the measurements for "hairball52" and the arms on my '39 are not 2 inches shorter like he was looking for. -Chris
-
The frame that is over the glass is pried off only at the bottom most edge. The entire frame does not lift off. Start prying very gently at the bottom and you'll see exactly how much of the frame lifts. The glass just sits in a recess below the frame, there is no glue or adhesive holding it in. The new decal should have adhesive already on one side so that you can stick it to the glass. Once the decal is on the glass you pry up the frame and slide the glass piece back in. Then the screws on the back side will hold it all together. I hope that answers your questions. -Chris
-
Yup it can be removed. First thing to do is remove the gauge cluster from the car. Then if you look at the back of the cluster there should be two or three screws at the bottom. Remove these and flip the cluster back over. This will now allow you to gently pry the frame that's over the glass up. Be sure to only pry the lower part of the frame the top does not lift. You should be able to lift the frame enough to slide out the curved glass. I hope this makes some sense. It's kind of hard to explain without pictures. Good luck. -Chris
-
Casper, i think if I was going to weld the fenders on I'd ditch the side trim for a nice clean look. If you know someone that is good at photoshop they could render you several pics of your car in different styles. Then you'd have an easier time settling on what you like best and making a plan. Take a look over on The Custom Car Chronicle website or even e-mail Rik Hoving the creator. He's very good at photoshop and has a really good eye for early customs. -Chris
-
Thanks for sharing those Frank! -Chris
-
I agree! It's almost worth making a Facebook account just for that.
-
That's a good point Frank. The lower price tags for these cars does make me happy too. What's the Facebook link to? I don't have an account so I can't see anything. -Chris
-
Nice car. It's a shame that we don't get to see more Mopars turned into early style customs. To me they are great candidates for restyling and don't get the attention that they deserve. Lots of people are so obsessed with the Ford Shoeboxes and Mercurys that it get's kind of old seeing the same types of cars all the time. I'm a custom car lover and can really appreciate a well restyled Ford or Merc but it's nice to see some diversity out there. Just my two cents. Thanks for sharing, -Chris
-
Looks awesome, great job!!
-
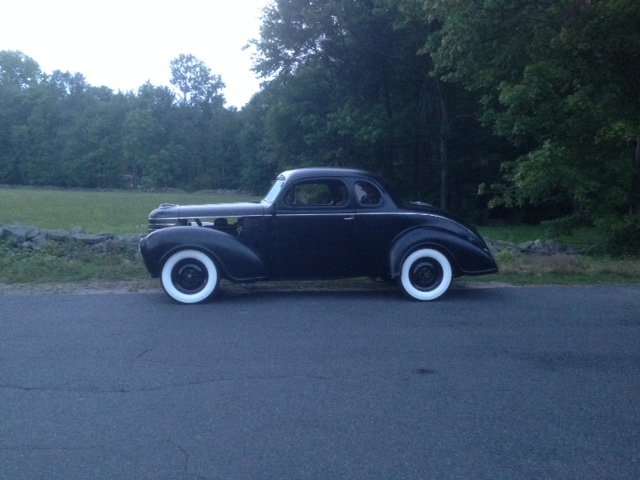
Very nice car. Love the wheels! Any more pics?
-
Thanks! I've been dreaming of rusty metal lately, it's getting bad lol.
-
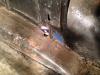
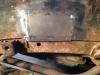
I got some time to do a bit more patch work on the car. The last time i posted i had recreated the rotted out bottom half of the trunk support bracket (post #144). Not only was the bracket rotted out but a bit of the trunk floor underneath it and a bit of the inner fender well needed replacing. So those are the parts that i tackled next, see pics below for completed repair. I also put the trunk support bracket in place with clamps to see how it fit with the new piece of floor i made and it turned out well. Then i was able to shape a small patch piece for a rear section of the inner fender well (last four pics). -Chris


-
Welcome to the forum! I like the plans you have for the car. Keep us posted. -Chris
-
Basically everything I know about metal shaping was taught to me by Wray Schelin. He owns Pro Shaper Sheetmetal and teaches classes. He's located in charlton, ma about 40 minutes from me. I took his 3 day class back in June 2014 and learned so much. I now get to go back up to his shop and work and learn more. He's become a good friend/ mentor. I'd highly recommend him to anyone reading this that is interested in metal shaping. He can teach you how to shape anything without the need for fancy expensive tools. taking that class was one of the best decisions I've made. -Chris