


Mopar 49
-
Posts
32 -
Joined
-
Last visited
-
A few more pics of the front frame build and the engine bay tins painted up with POR15. I tried to get the front bumper to line up with the frame width but had an issue with the sway bar that I decided to add in so I will have to add back 3" of width to make the front bumper work. I have some mock up work to verify the fit of the front end. The radiator mount is in the same spot so I expect the fit to go well. I am adding in a triple core radiator so I expect to test fit the motor to see where the mounts will get welded as well as making sure I have clearance for the radiator and fans and any cut out of the tunnel. I am also going to have to weld in a mount for the intercooler and the AC/transmission cooler. They will roughly fit in where the dual horns used to be.
-

-
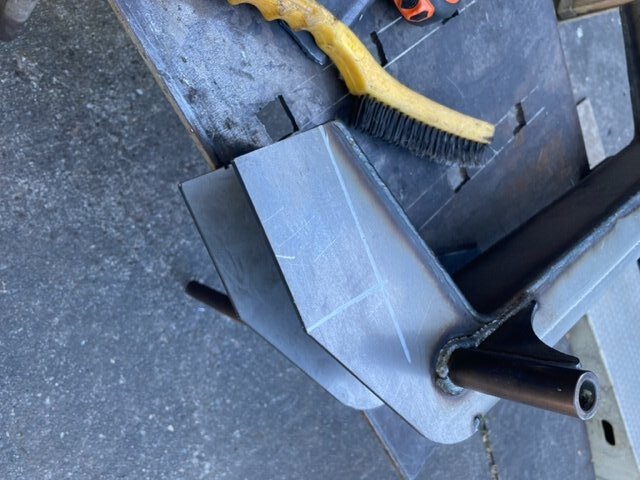
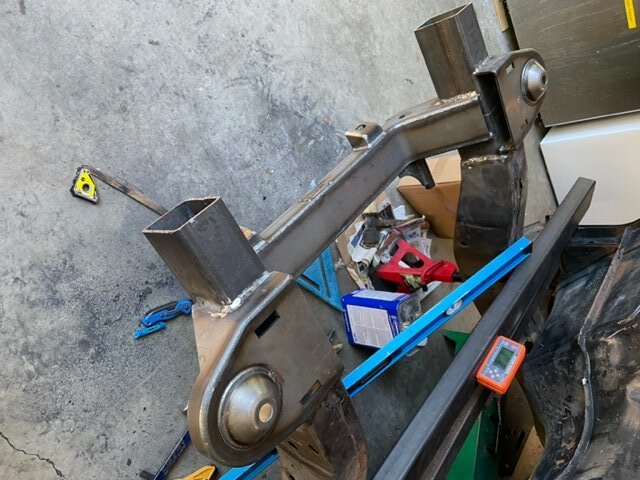
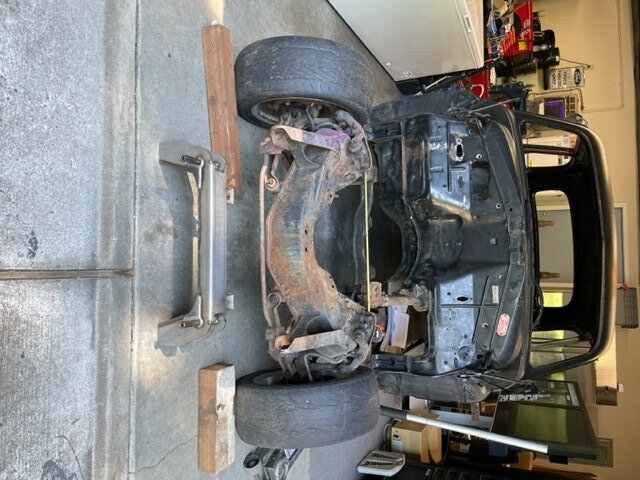
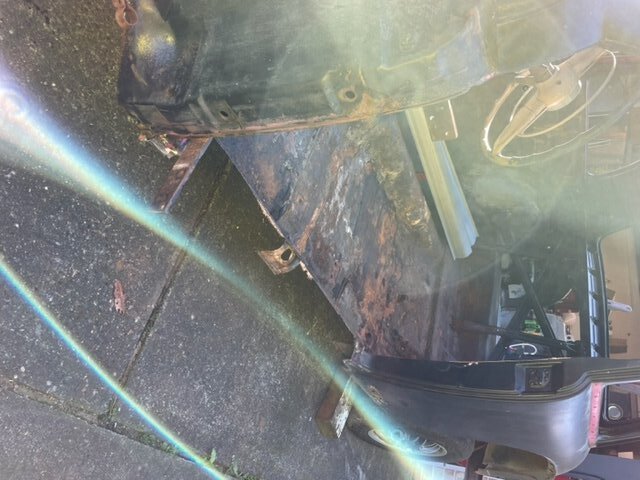
I have been making some good progress with the coupe. I put the car on jack stands leveled the car and cut the front frame. I used 3x4x 3/16 tube steel with shims to center the new frame rails to the old. It is welded all the way around. I considered doing a 3/4" plug weld on the back where it curves down but decided on 2 1/2" grade 8 bolts. I installed a new Heidts front crossmember and spring perch/upper A arm assemblies. I have those angled for the anti-dive and centered out off the old suspension. I had not decided on the front sway bar since I didn't really see one that would work without guessing. I called and talked to Heidts and they have one that is made for my application so I have it coming. I mocked up the front half of the frame where the angle dives down slightly. I have to weld a radiator support and figure out exactly where the sway bar will fit. Once I have that done I can finalize or possibly change the front half of the frame. Once the frame is finalized I can get the front put back together, verify the fit and get the motor and transmission installed.
.jpg.dd67e41253329b2b4cfda0d761542d1c.jpg)


-
The chicken thinks its a coop! Got the 49 in the garage ready to level and do some frame cutting to get the new crossmember installed.

-
I turned in the fraud paperwork to my bank concerning street rod engineering and reordered a mustang II front suspension. I ordered a Heidts universal 56.5 crossmember and a Speedway motors mustang II front suspension with front coil overs and a 2" drop. I had wanted to get to the front frame and suspension before August and this should allow me to keep moving forward.
-
Street Rod Engineering went out of business while I have been waiting for my front suspension. This was of course after I had paid and talked to the owner who had assured me that the parts were on order. I knew ahead of time that they were slow in shipping out but didn't figure that they were going to take my money and run. They have been in business for quite a while so I figured it was a safe bet. I am still looking at a front suspension now I have to see if the bank can get my money back so I can order a crossmember and suspension package from speedway.
-
While waiting on the front end components to arrive I decided to remove the rusty rocker panels with some new steel. Probably my second least favorite part of working on a car after body filling. I am cleaning out everything soda blasting, sanding, rust treating and painting the interior and exterior panels. The rocker body panel welds could be a little cleaner, it is a fine line on the new steel vs the old steel since some spots can be a little thin.

-
I decided to go with the full pro street mod for the car build. I ordered the ultra ride front suspension kit from street rod engineering. I also put in an order for a RIPP supercharger for the engine. Both pretty exciting and time consuming for the car build. I just cleared a small space for welding after repairing 2 two riding mowers that had steering and drive problems.
-
I ran out of time to get work done over the winter in my garage. I ended up filling it up with stuff. The good part was the Lincoln power TIG 275 and MIG 215 that I had to upgrade to get some good welding penetration. I also had a YES welder Firstess show up. A 25Lb mini welder that can do MIG TIG Stick and Plasma so I am excited to see how it does. I am hoping I can get a couple more parts sold off to afford a few front end parts that I need to order. More later.
-
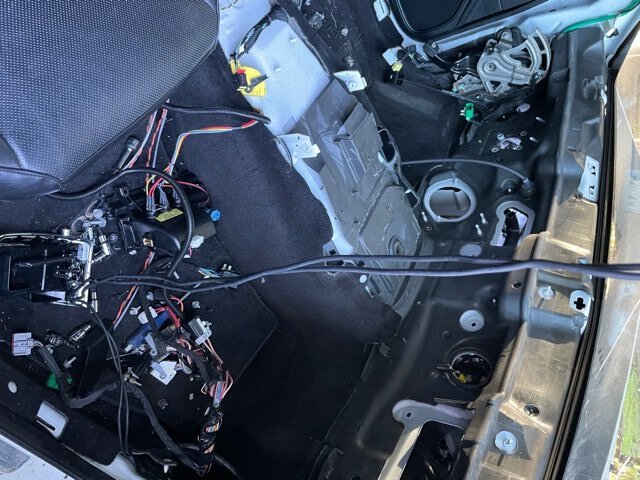
I have been talking to RPM extreme about the ABS. They make a ABS plug in module that allows the NAG1 to operate by simulating the ABS sensors. I was looking into buying that but might not have to I have a ZF8HP transmission mated to the 3.6. I have all the donor parts but it is pretty extensive. Engine harness, ECU, dial shifter, BCM, ABS module, brake sensor, entry antenna, radio hub, key fobs, star connector modules. Pretty much have to pull the wiring harness out and transfer it to the Plymouth. I had intended to use some of the features of the harness since the Plymouth needs a full rewire and why not use what I already have. The bad part is the crazy amount of time pulling everything. Thanks for the brake link Sniper that's a pretty good way to calculate what I need. I finally got some of my replacement 4 link parts and laid them out relative to the rear axle while doing some garage cleaning and mocked up my new fuel tank (had to go with a EFI 56 Chev tank). I have to move the coil overs to the front of the axle to leave room for the fuel tank and not cut holes out of the trunk. Since the 4 link uses the back of the lower mount for the coils I have to add a second mount in the front of the axle similar to a Ford Fair lane. The other bad part is the fun I will have figuring out where the exhaust will go when I fill up all of the space with shocks and arms.
-
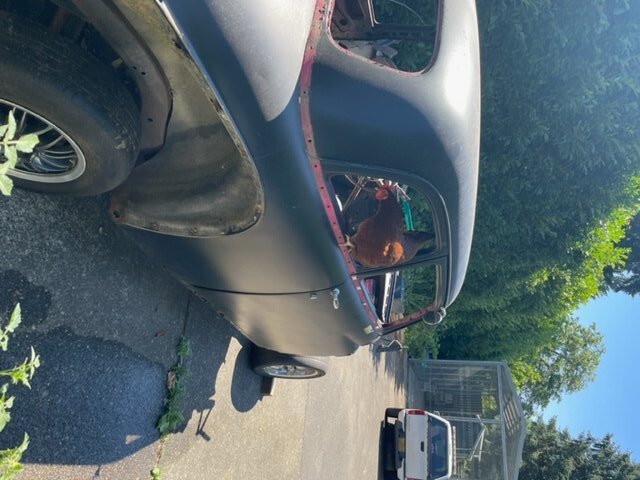
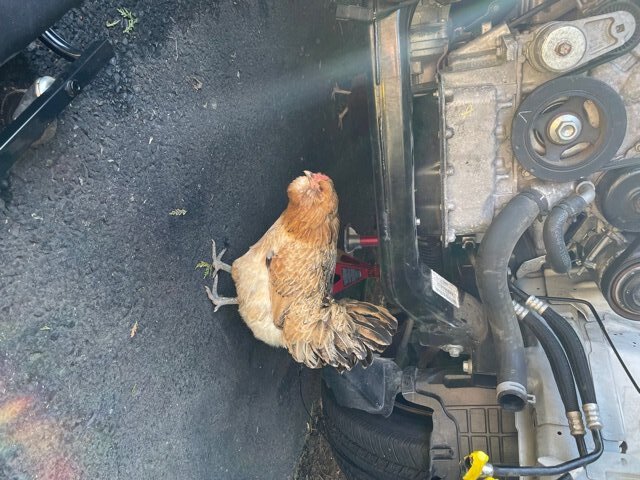
While I am waiting for some of my parts and cleaning out the garage to work on the car during the winter I was thinking about the brake system. It will be all disc when finished. I have to use the pedal sensor from the donor car, it also looks like I have to have the ABS module present as the car does not start without it. The transmission has built in speed sensors so it should not need the rear end ABS sensor. It would be be nice to be able to use the ABS system but I would need the wheel sensors active and a retrofit to a ford 8.8 for 2 brake channels on a rear end that only used one channel originally (since it has the single sensor in the center). The front would be a challenge as well since the spindles will not be setup for ABS. The only ABS that I can find to add to a car is a universal system from Bosch and the $10K price tag seems high and my car isn't a race car. I have also seen some threads on early 2000's corvettes that you can pull the stand alone ABS out of. The number of master cylinders, vac or hydraulic boosters and proportioning valves available is pretty lengthy. Are there any suggestions on the brake master/booster that have worked on a build you have done? The finished brake system will be 11" ford discs with single piston calipers. The rear will be the 2005 factory Ford Sportrac calipers brakes and rotors. The chickens have decided to hop in the coupe to try it out but nothing too exciting for them.
-
I had hoped to do a mockup and get closer to the frame but spent so much time pulling the last of the wiring harness out of the 300. I had to pull the entire dash to get to the last couple of wires that went to the gas pedal. I was also able to pull the exhaust (first time I ever had an exhaust bolt that I could finger loosen from the engine block). Finished disconnecting the 300 motor minus the 2 fuel lines and pulled the driveline and unbolted the transmission. My wife has her pet chickens that also had to come help me under the car.
-
I have been looking at the mustang 2 IFS from street rod engineering and think it would give me the room I want for the motor to fit in easily I don't think I can work around the steering box without the motor sticking out of the hood. I was also looking at the steering sub frame that the Chrysler 300 has. The 300 has a bolt up sub frame to the body and would need some metal/frame added to attach to the shock towers. The Plymouth would also need the front suspension removed and the frame leveled out/widened to be able to bolt the 300 sub frame on. I was thinking it was a similar idea to the Volare front end. Probably better to go with the kit that has been done in the past but needs the whole front end cut off than try to modify the existing frame to accept the Chrysler sub frame. Any ideas?
-
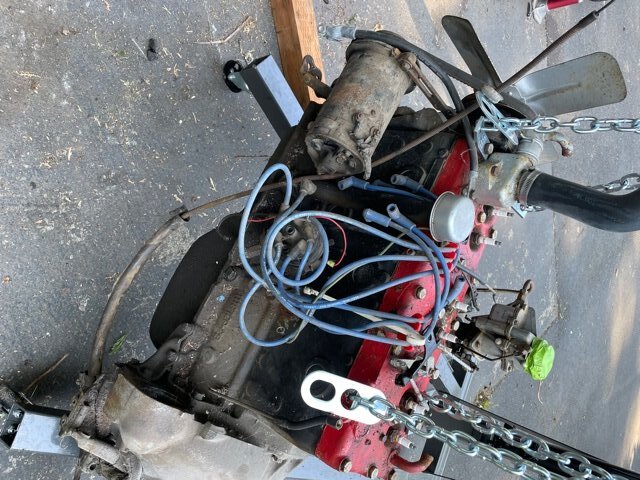
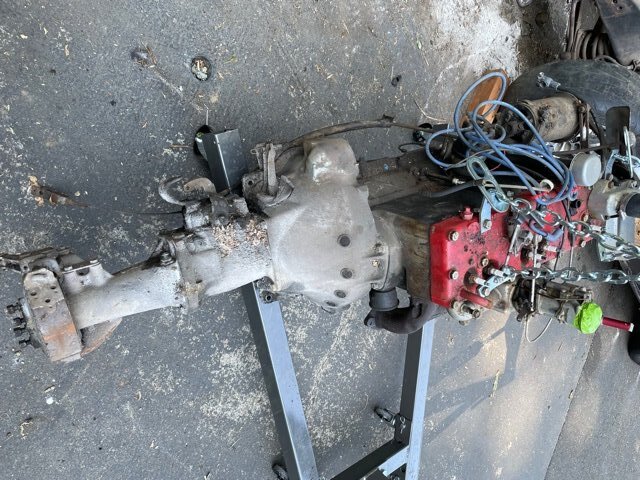
I didn't have to work all weekend at work so I had time to pull apart some of the Plymouth. The motor and transmission are out and waiting for someone who needs a flat 6 for restoration. The 300 is a bit of a pain to take apart since everything is so packed together, at least it's clean and the bolts are not frozen. I have most of the wiring and hoses free from the motor and inside the car. I am hoping that I can get the 300 motor hanging in the Plymouth by next weekend to see how it will line up.


-
I picked up the back of my car this afternoon with an engine hoist and load cell since I dont have a scale. Fully loaded without passengers I have a rear weight of 770 #'s I added 300 #'s to my calculations to get 1070 loaded weight. I think the factory springs were rated at 600lbs each, pretty close to the 1070 I calculated. At 770lbs the leaf springs are flat across If I use a 20 degree angle I am at a 200 pound to 225 pound spring rate. The factory shocks were mounted at about a 45 degree angle. I could go 25-30 on the angle but not sure if there is an advantage to it. I would be asking for a serious problem if I matched the 45 degree existing. I might be able to use the existing shock mounts depending on where the triangulated members end up at.

