

Scott Knecht
-
Posts
85 -
Joined
-
Last visited
-
Days Won
2
1 Follower
.thumb.jpeg.28cb36506a6b17cd30e7d4a22504384d.jpeg)
-
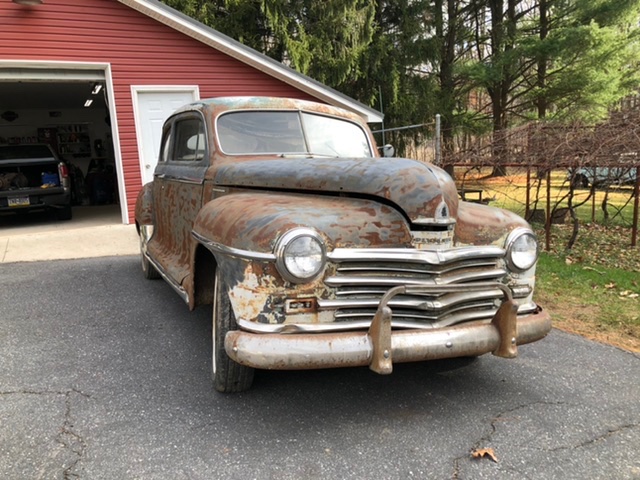
It’s kind of hard to tell from the photo but is that an S10 frame under there? I see it’s front steer and I’m curious where you got the nice heavy sway bar from?
-
Thank you James! Yes it was a learning process but now looking back it’s really not that hard of a modification. Just gotta pay attention to the details. I do have to confess I sort of was wondering about weight however. I mean a Cavalier is what? 2600lbs maybe? I’m guessing my Special Deluxe to be around 3800 but I don’t know for sure. The car steers fantastic and the power assist makes it feel like the Plymouth weighs nothing. So far so good here but in a Suburban it may be too light a unit.
-
Hi David. Well all in all the steering swap cost me a tick over $700 total. The biggest expense being the FatMan kit at $320. A reman rack was $110 at Napa. I think the rod ends and tie rods came in around $180. The bar stock for the steering arms was $20. The bushing kit for the inner tie rod mounts was around $20. Also the tapered reamer I purchased on eBay was $70. Keep in mind these are all new prices. If you have a yard to scour you would save a lot. You also always have the hidden cost of labor if you’re not doing it yourself. Here is the link to FatMan https://www.google.com/search?q=fatman+fabrications&ie=UTF-8&oe=UTF-8&hl=en-us&client=safari#
-
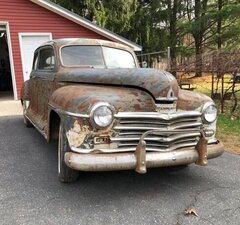
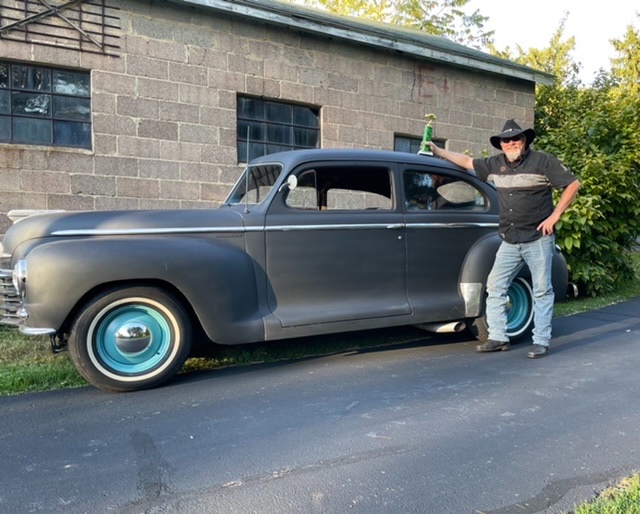
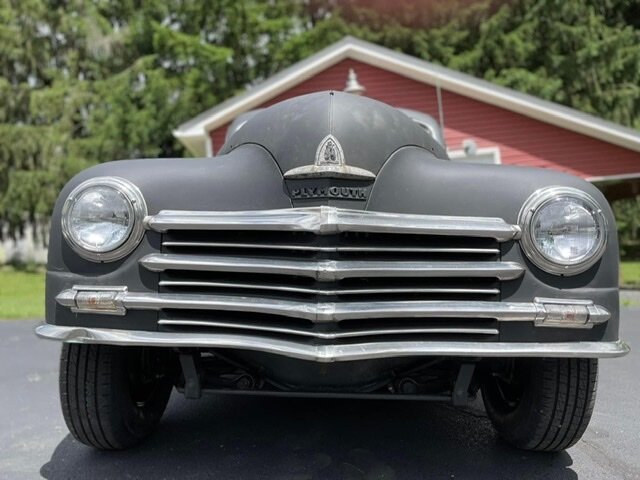
My ‘48 Plymouth Special Deluxe rat rod project
Scott Knecht replied to Scott Knecht's topic in P15-D24 Forum
Thank you andyd! I am going to continue further massaging the body and yes maybe one day I’ll spent the time and coin to put a quality paint job on it. I actually enjoy spending more time with her than my Harley. Lol -
My ‘48 Plymouth Special Deluxe rat rod project
Scott Knecht replied to Scott Knecht's topic in P15-D24 Forum
No center support or mount. It fits perfectly snug as is. Does not flop even at 100. Lol -
My ‘48 Plymouth Special Deluxe rat rod project
Scott Knecht replied to Scott Knecht's topic in P15-D24 Forum
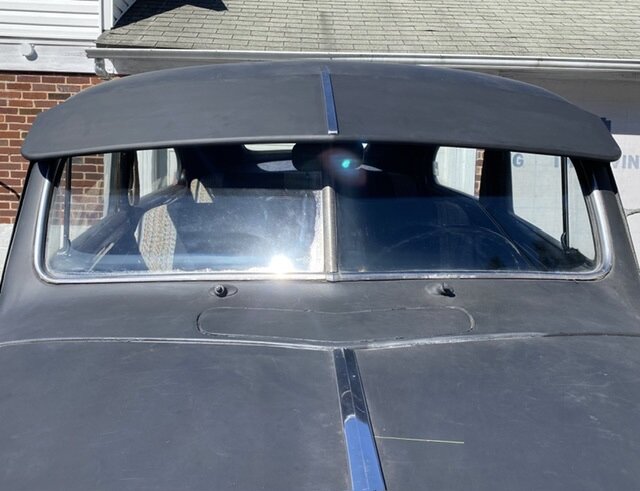
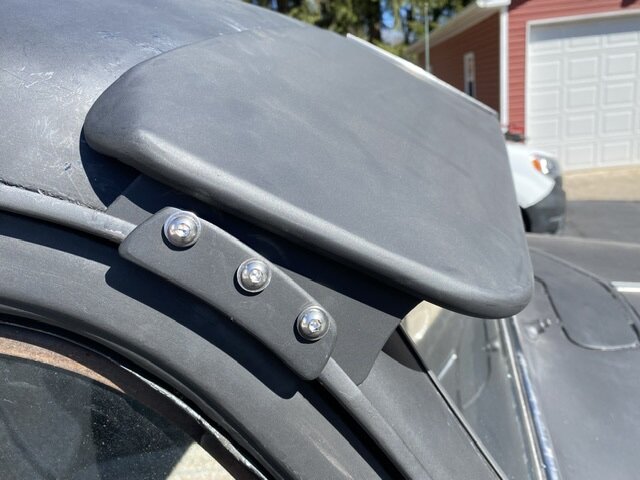
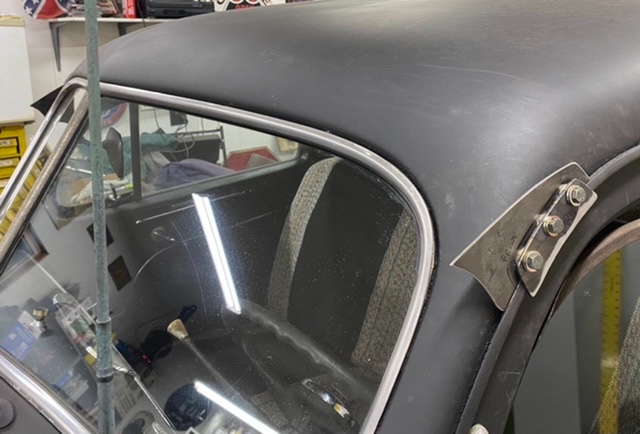
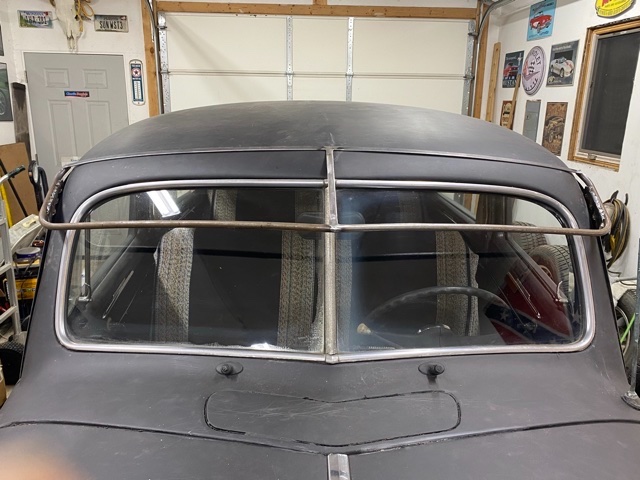
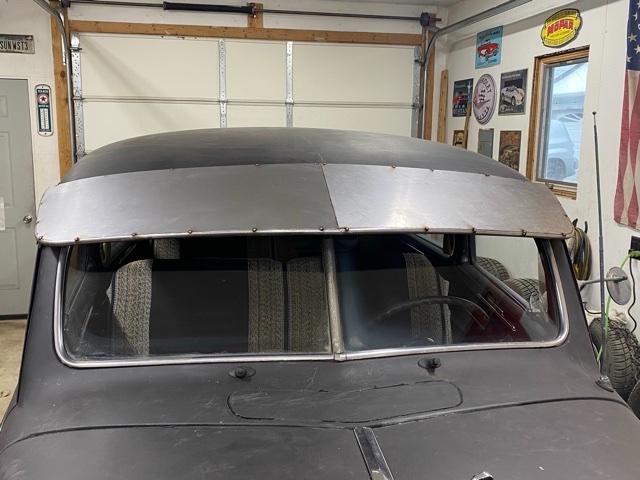
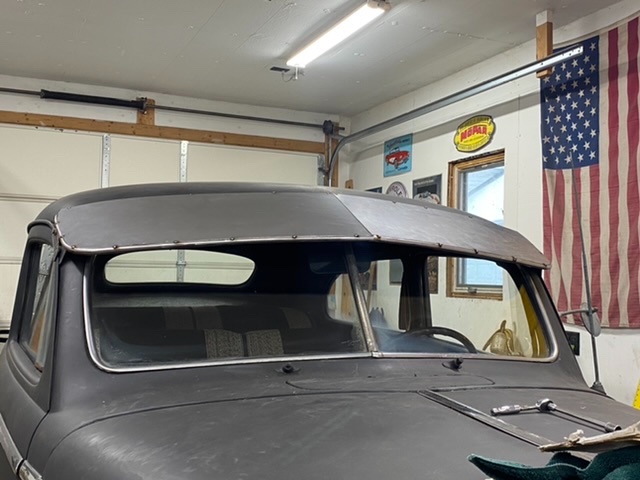
Just an update on my ‘48 project. After seeking out a visor for my car and discovering the out of sight prices, I decided to build my own. I fabbed up the frame work from 1/2” aircraft tubing (which bends nicely in my Harbor Freight pipe bender) and some 1/8” by 1/2” flat stock. Some 24 gauge sheet metal stretched over it all welded around the edges and smoothed makes it look like one stamped piece. Found an old piece of stainless trim I had laying around the shop to cover the center seam. I made some clamps to hold it to the rain gutter held on with 3 stainless button screws on each side. Easy to remove if need be and no holes needed to be drilled to mount it. Finally I added a few small pieces of thin rubber glued under the 1/8” flat stock where it meets the roof to prevent damage and provide a vented area for air to pass through.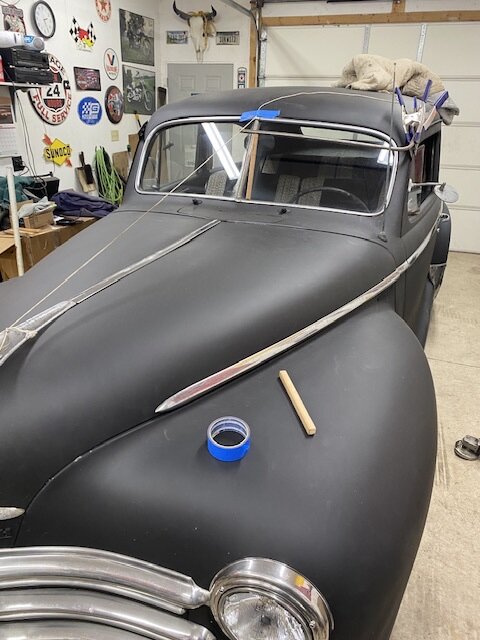


-
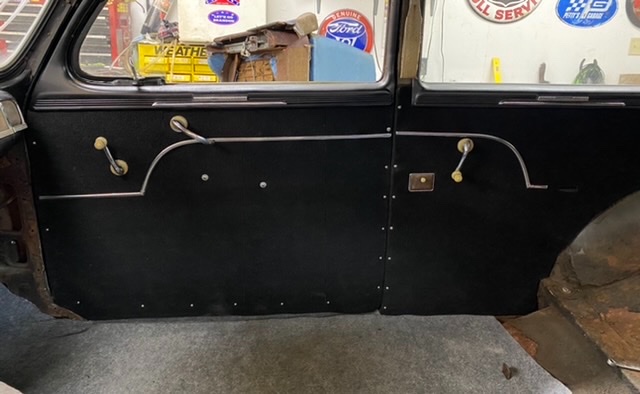
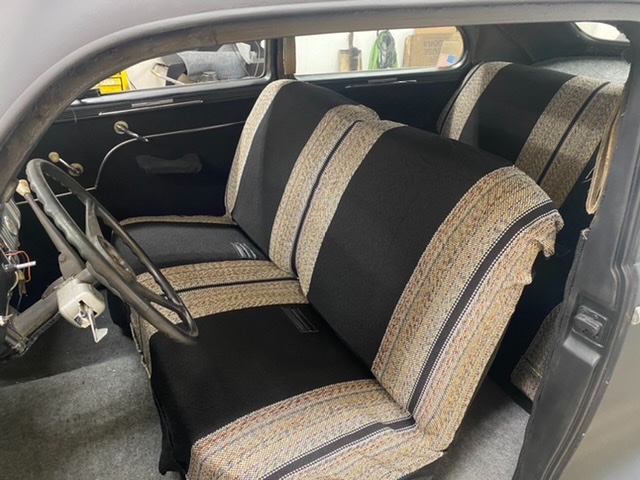
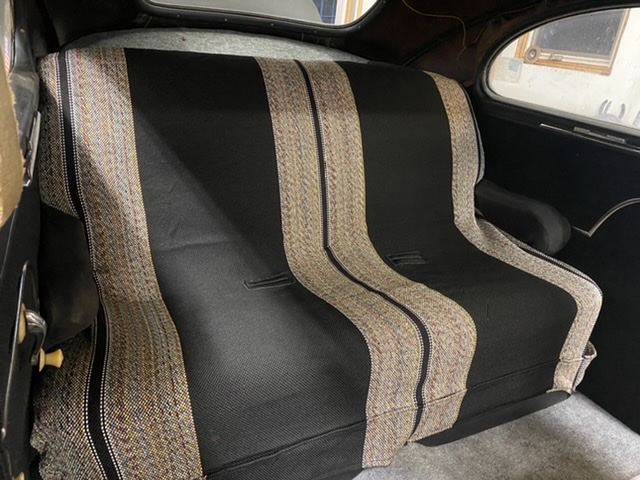
Haven’t been on here in while so just wanted to add a few photos of the recent progress to my ride. This past summer I redid the interior for under $150. Some Marine carpeting and cheap seat covers from Amazon made fairly easy work of the refresh. Recovered the factory door panels and made some kick panels. My current project is a custom built windshield visor. Still in progress with this one. I made some clamps that attach solely to the drip edge so no need for drilling anything. Easily removable. She also won a trophy at a local car show over the summer.


-
Thanks Sniper! I will probably start a new thread with a general overview and some pics of the project as a whole in the near future.
-
Thanks Andy! Yes that bearded fellow was smiling all day yesterday! Especially when the tires broke loose from a rolling start. Haha
-
Well guys it’s been far longer than I expected to test drive this project but it finally happened yesterday! I’m excited to report the rack and pinion and all the mods paid off hugely! 2-1/2 turns lock to lock effortlessly and factory spec turning radius. A quick rip down the not-so-smooth road by my house produced zero bump steer! I’m very happy with things so far. Still have much to finish on the project as a whole. Some exterior trim, some interior pieces, etc. but overall I’m stoked about driving it soon for some summer fun.


-
My ‘48 Plymouth Special Deluxe rat rod project
Scott Knecht replied to Scott Knecht's topic in P15-D24 Forum
Well the day finally came yesterday when I could give it a flogging and see how things worked. I’m delighted to say the rack and pinion works flawlessly! Steering radius is factory spec with the shorter arms and the 2-1/2 turns lock to lock are effortless. Zero bump steer too! This whole project took longer than I expected and there’s still things left to do such as finish installing some trim and interior items but all in all I’m very happy so far. And yes knuckleharley I spent some time and effort and repaired all the rust but I am leaving the black primer for now. Lol I’ll probably start a new thread at some point so for now I’ll leave a few pics and say thank you to all who joined the conversation and shared thoughts and opinions. This is a great site!

-
Also RacerX I’m not sure what column you’re using but my factory unit is splined to only fit one way on the shaft. That may be an issue when you try to put it straight.
-
Also RacerX I’m not sure what column you’re using but my factory unit is splined to only fit one way on the shaft. That may be an issue when you try to put it straight.
-
Yeah I did some quick research the other day and found some racks do in fact have a 3 turn lock on them. Apparently some models used wider ratio steering. So something is definitely binding in your case. One thing I’ve learned with this project is just about every modification leads to another to get everything to work. Hopefully you can figure it out without too much distress. Sorry to hear of the surgery situation. That’s a drag. Hope you have a speedy recovery and can resume the project in short order.
-
I’m feeling pressured Bob! Haha Racer x, Are you sure you have 3 turns lock to lock on your rack? Mine only turns 2-1/2. If yours is actually 2-1/2 that would explain why you can’t turn fully in one direction. The rack isn’t centered too start with. I’m not saying there aren’t racks that turn 3 full turns, I just know mine does not.

