
moparfun
-
Posts
115 -
Joined
-
Last visited
-
Days Won
1
1 Follower

Recent Profile Visitors
1,289 profile views


-
 Just a shout out to you guys, I'm just over the grade.
 -
Welcome, nice ride
-
Beautiful Truck https://slo.craigslist.org/cto/d/atascadero-1952-dodge-b3b-pickup-pilot/7721520499.html
-
I did this same swap a while back. Sorry I could't figure out how to bring the post up, maybe some knowledgable tech can help. The post is, Rear Axle Help, Dec. 27, 2022. I hope it helps.
-
Looks like your having fun and success.
-
Very well done, as a fabricator I can appreciate the hours that you have in to this. Good job
-
I got all the rubber for the doors and rear hatch on the 54 plaza wagon from mike at MikeCo (805) 482-1725. He is a one man operation that has a lot of knowledge and has a lot of parts for our cars.
-
Nice Car, keep it simple and enjoy
-
ISO Components to Mount 1950 - '52 Steering Wheel - Help!!!
moparfun replied to Stargrinder's topic in P15-D24 Forum
This is what Mike @ MikeCo has . His number is (805) 482 1725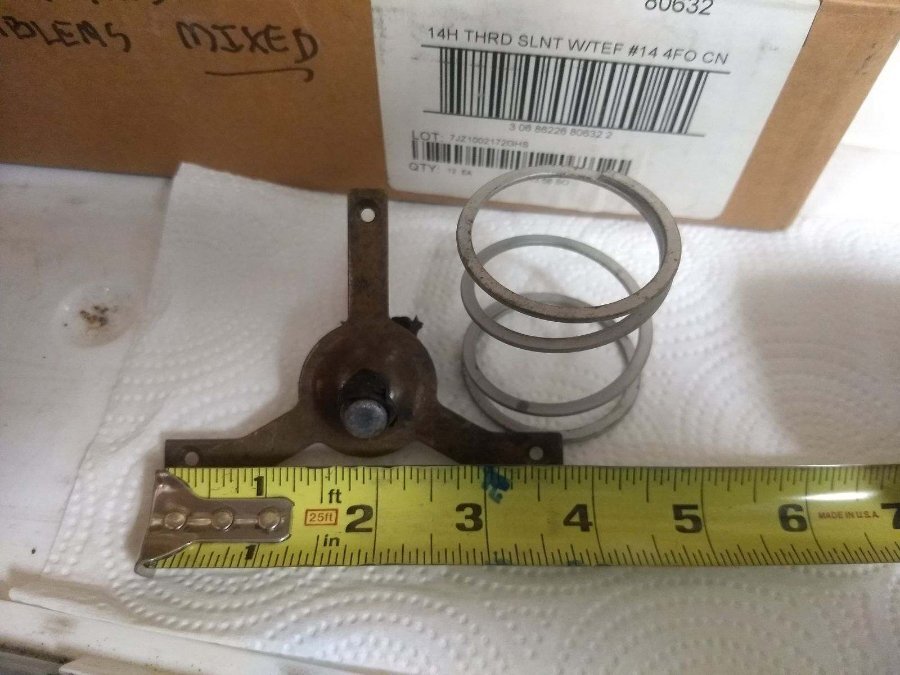
-
The alignment pin can be removed, I used a 1/8 wafer wheel to cut them off. Ideally the new wheels will be hub-centric
-
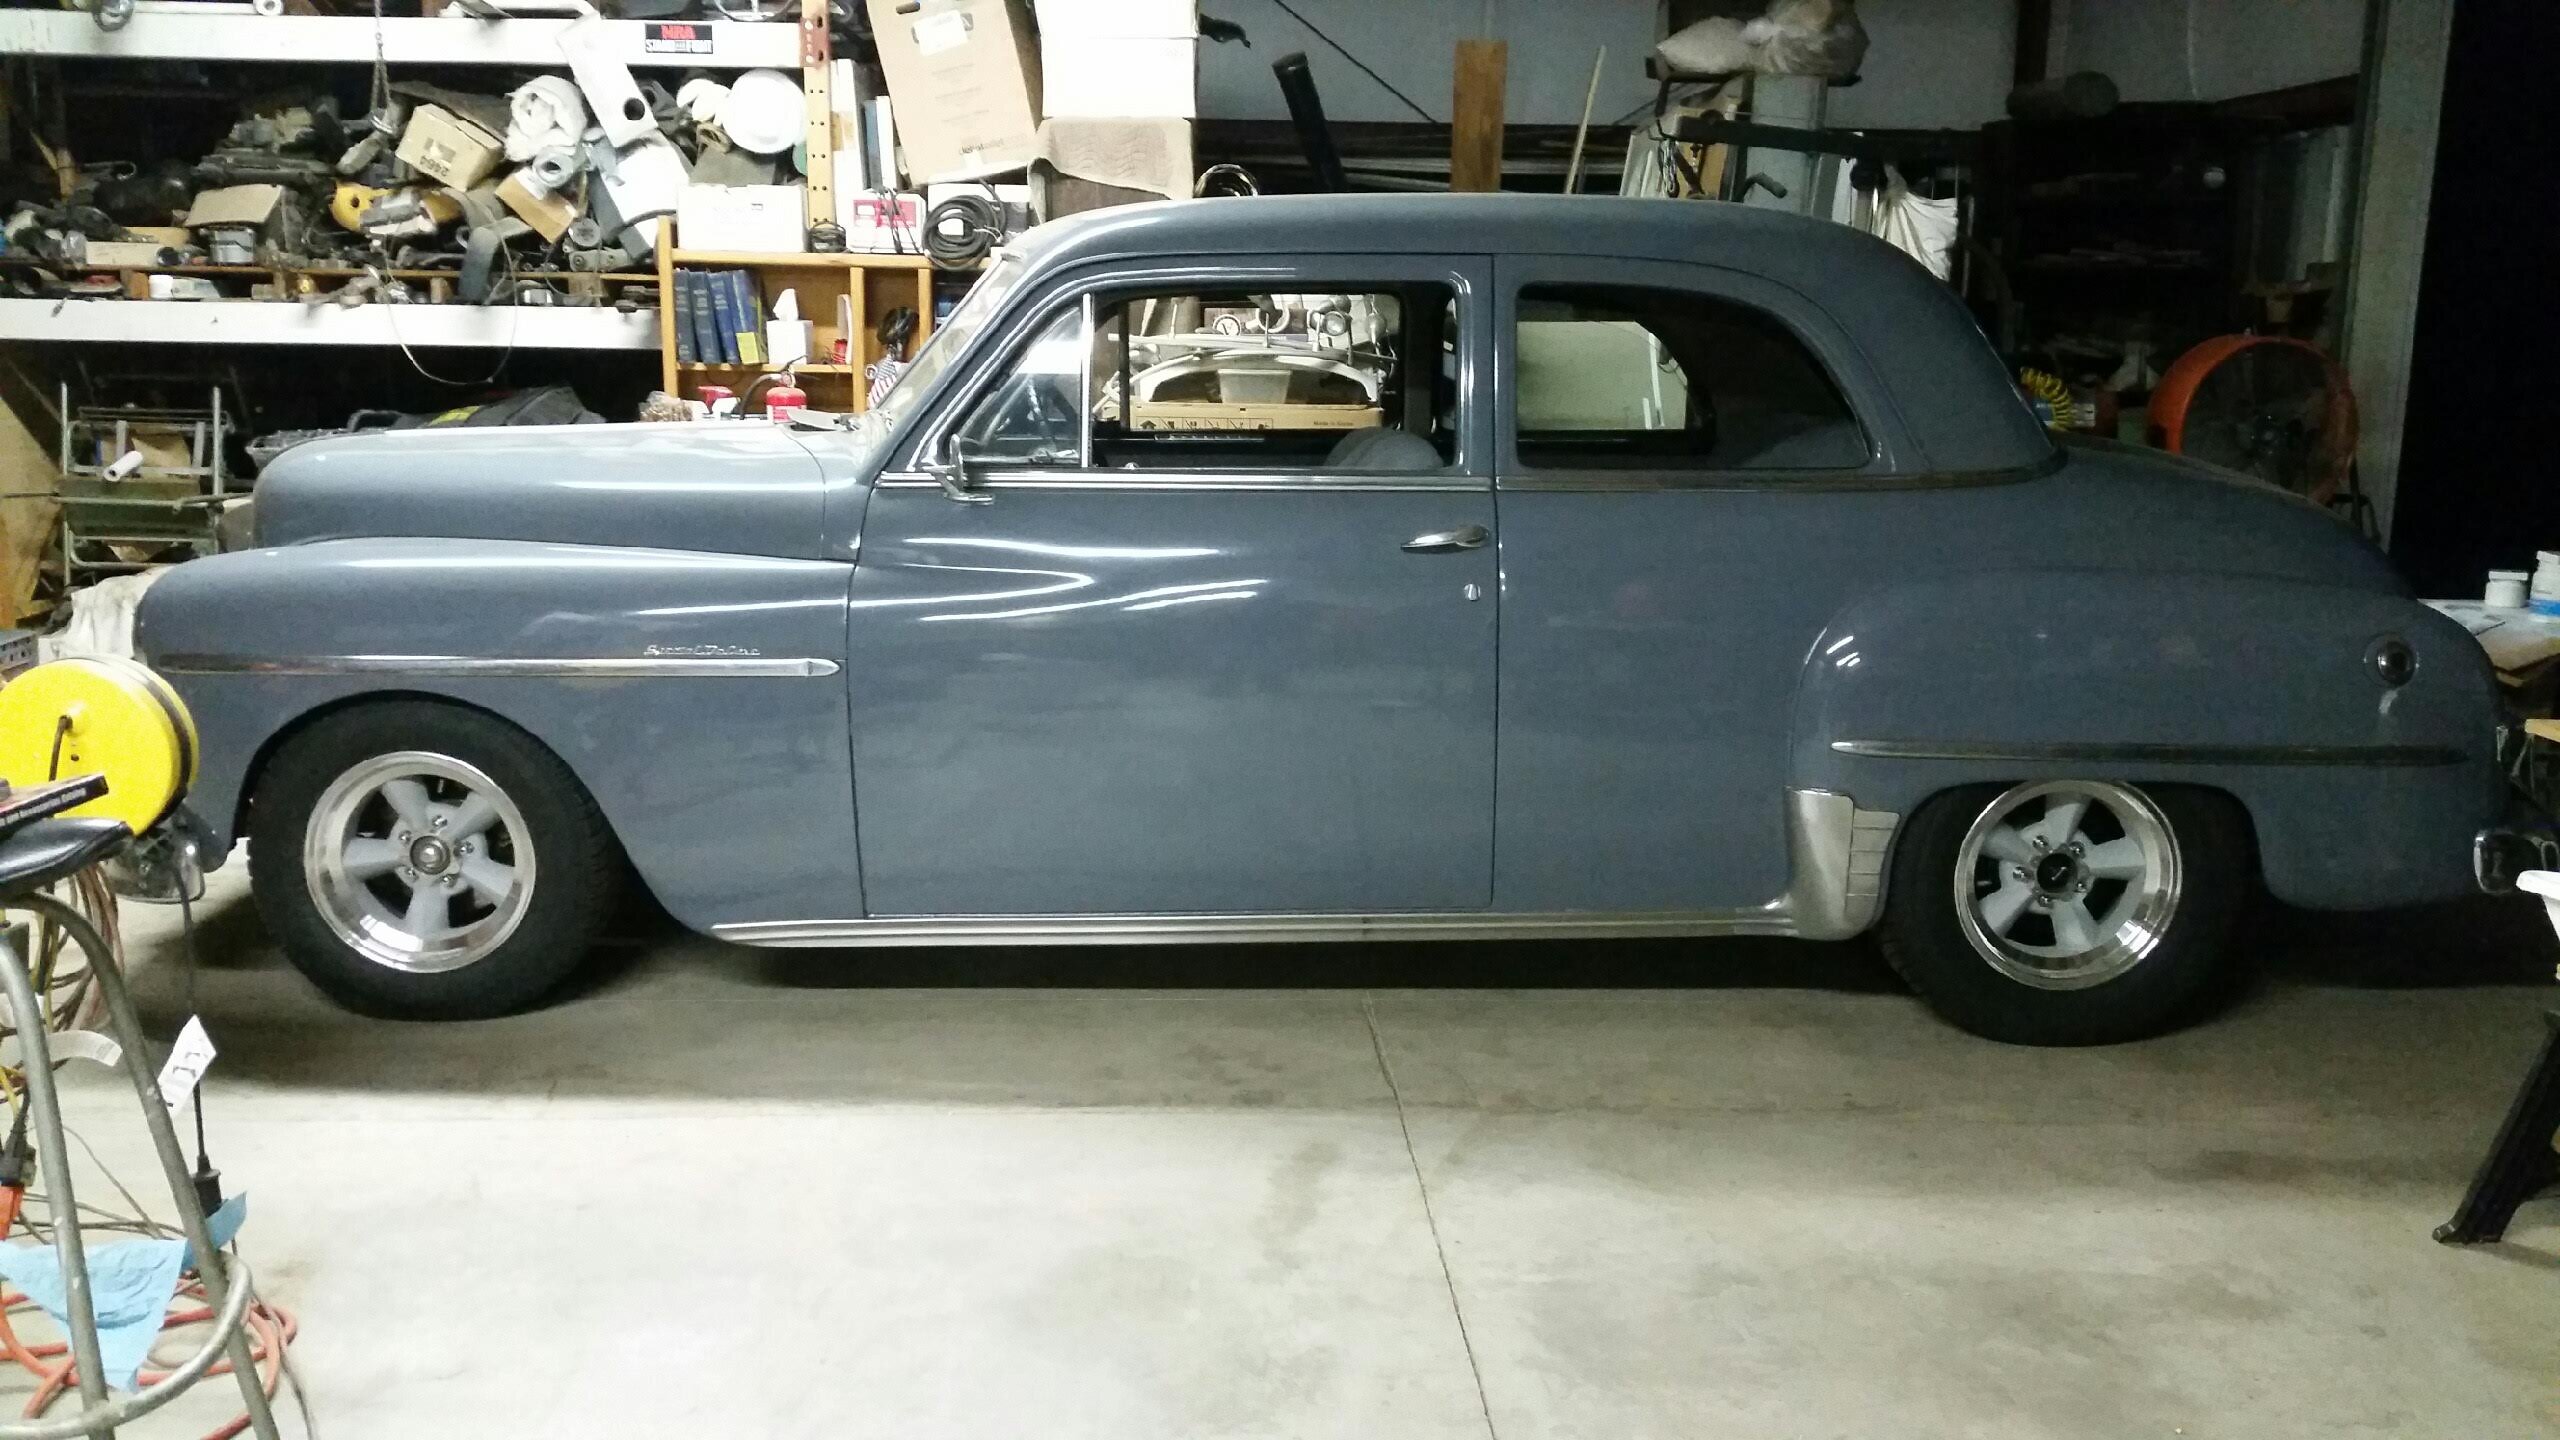
We had our annual cruise and show this weekend in little town I live in, someone took this picture of my 50 at the cruise and posted it on bookface, I was pleasantly surprised

- 1 reply
-
- 5
-

-
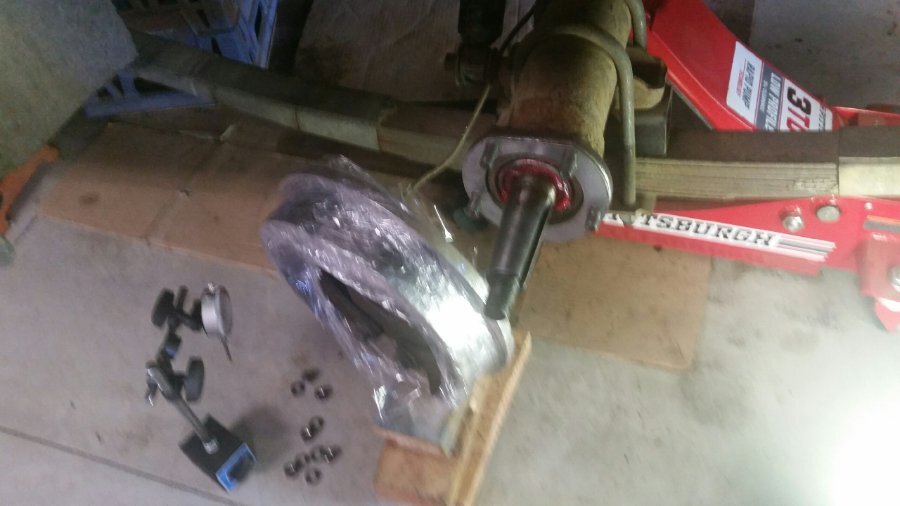
Take plenty of pictures while disassembly. Check for axle endplay before you start and keep track of the axle shims. I found all the parts needed at my local NAPA. If your brakes or wheel cylinders do not need replacing you can unfasten the rear axle breather and use some shrink rap to keep the assembly clean and just move out of the way so you never have to open the brake fluid lines saving time and the mess later.
-
Really nice car , great find
-
one nut one washer on each post, and the wires
-
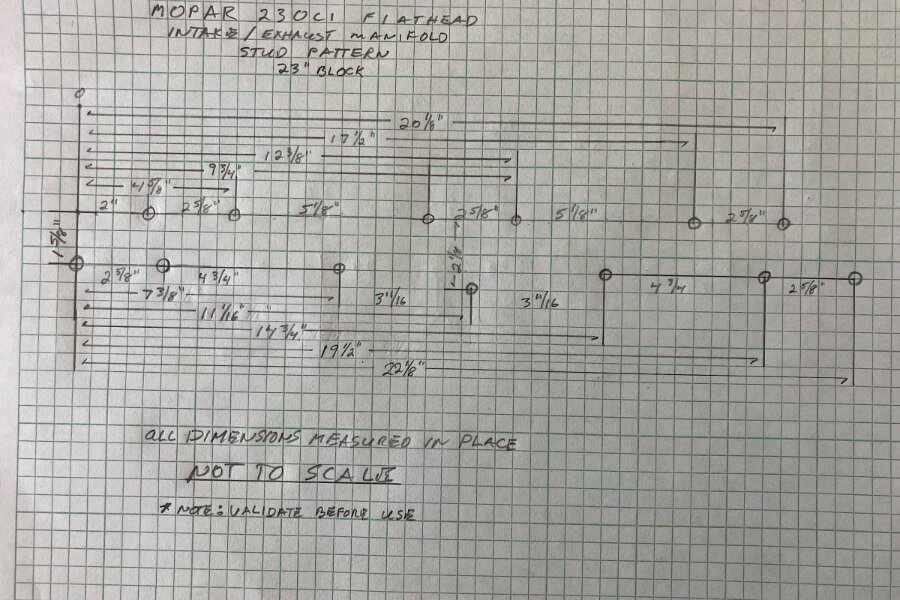
ANSWERED 230ci manifold bolt pattern
moparfun replied to Dodge_48's topic in Mopar Flathead Truck Forum
If you work on old stuff this happens, patience is what it takes to be successful with this issue. The following is what has worked for me, spray some penetrant and let sit then center punch make sure to be in the center of broken bolt. Start with a small drill bit and drill all the way through the bolt, once through you'll see how off center you are and that's ok it just limits the next size or the final size hole you can drill with out damaging the threads. Drill removing ass much of the bolt by drilling out with larger drill bit but staying away from the threads after use an easy out with success, like I said be patient